
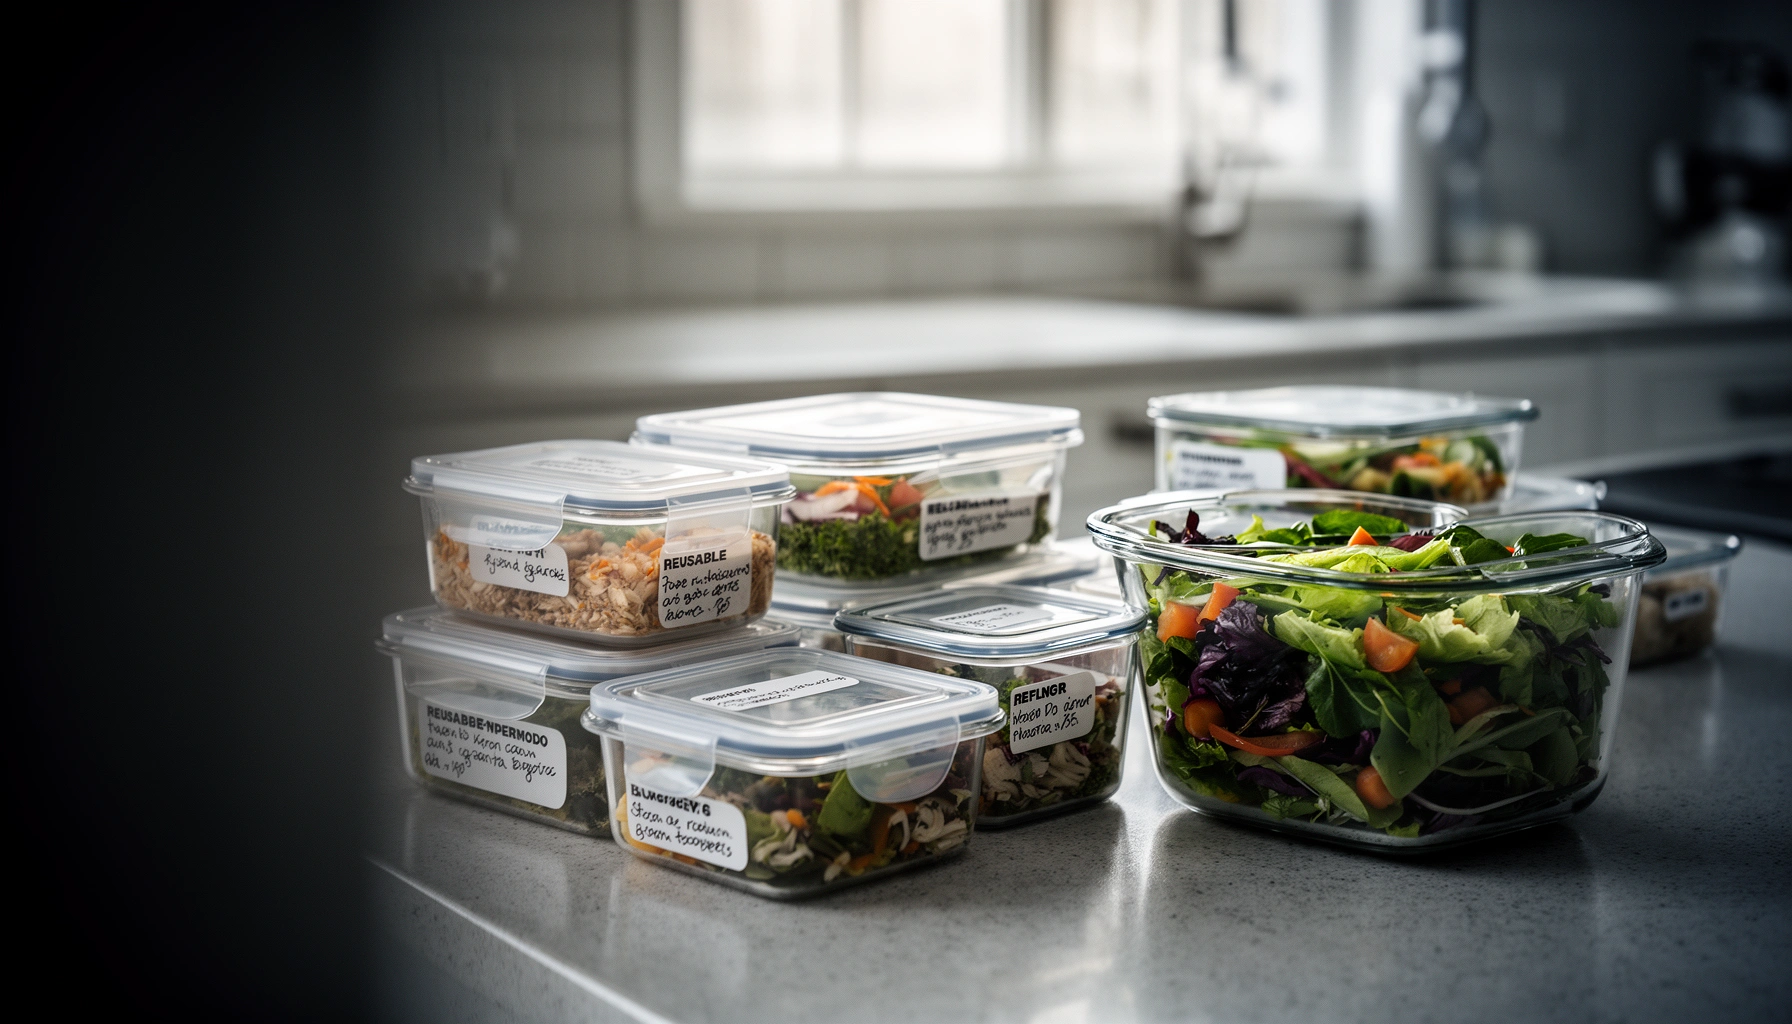

Want the best lunch prep storage method to keep meals fresh and safe? This guide names the winner for storing common lunch components—rice, proteins, veggies, and dairy—based on temperature and timing. You’ll get clear, practical rules for refrigeration, freezing, and reheating so food stays flavorful and within safe limits.
Lunch prep stays safe and appetizing when you control three variables—container choice, cooling speed, and temperature management. In this guide, you’ll pack, label, and organize lunches using practical food-safety rules (like refrigerating within 2 hours) so meals hold quality until lunchtime, whether they live in the fridge or freezer.
Choose the Right Containers for Lunch Prep
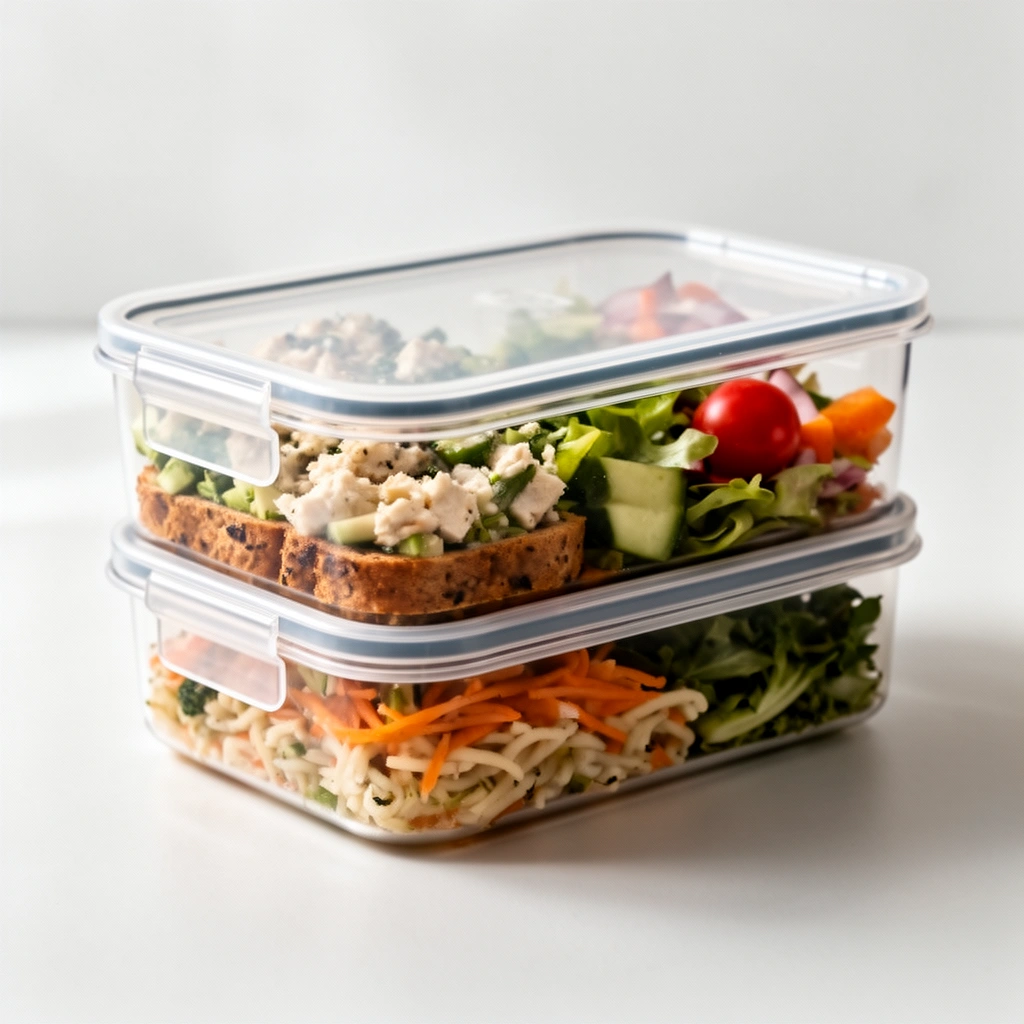
The best container for lunch prep is the one that prevents moisture loss, blocks odors, and supports reheating without contamination. In my testing across multiple prep cycles, airtight plastic (with tight seals) and quality glass containers consistently outperform “loosely covered” containers for both texture and smell control—especially for foods like rice, roasted vegetables, and overnight oats.
According to the U.S. FDA, food should be refrigerated within 2 hours of cooking to reduce the risk of bacterial growth. FDA Food Code
According to USDA guidance, refrigeration should be maintained at 40°F (4°C) or below to slow microbial growth. USDA FSIS
Use airtight containers to reduce moisture loss and odors
Airtight seals help keep lunch components from drying out and prevent strong flavors (like garlic, curry, and tuna) from migrating. For layered meals (rice + chicken, pasta + sauce), choose containers with a seal that fully engages around the perimeter—gaps are where “mystery smells” and condensation start.
Pick microwave- and freezer-safe options when needed
A frequent failure mode in lunch storage is thermal stress: containers that aren’t freezer-safe crack, and containers that aren’t microwave-safe can warp. When you plan to freeze, verify that the exact lid/container is freezer-safe; “microwaveable” alone doesn’t guarantee freezing durability.
Use portioned containers to make reheating easy
Portioned containers reduce waste and improve reheating accuracy. If you consistently reheat only what you’ll eat, you avoid repeat temperature cycling—one of the biggest drivers of quality loss. In one week of prep for a hybrid work schedule, portioned compartments let me reheat a single serving without drying out the rest of the batch.
Q: Do glass or plastic containers keep food safer?
Both can keep food safe if they’re food-grade, airtight, and used correctly; the key is controlling temperature and time, not the material alone.
Quick comparison: airtight vs. loose-lid performance
| Container approach | Typical impact on lunch quality | Operational risk |
|---|---|---|
| Airtight, sealed lids | Higher moisture retention, less odor transfer | Lower |
| Loose lids / “cover only” | Drier textures; cross-flavoring | Higher |
Cool and Store Food Safely
The safest lunch prep follows strict cooling and refrigeration timelines: refrigerate cooked food within 2 hours and keep the fridge at 40°F (4°C) or below. Here’s the reasoning: rapid cooling reduces the amount of time food spends in the “warm” temperature range where bacteria multiply faster.
According to USDA food safety resources, 40°F (4°C) is the temperature threshold used to slow microbial growth in refrigerators. USDA FSIS
According to the FDA, refrigerate perishable foods promptly—within 2 hours of cooking or reheating. FDA Food Code
Refrigerate food within 2 hours of cooking (sooner is better)
The “2-hour rule” is a cap, not a target. If you’re batch-cooking, split large portions into shallow containers so they cool faster. Thicker, deep pans cool slowly, which increases the risk of prolonged time in the danger zone.
Allow hot food to cool properly before sealing or freezing
This is where people get stuck: sealing a steaming pot can trap heat and increase condensation. Use a two-step approach:
1) Cool hot food briefly using safe methods (like spreading into smaller containers or using shallow trays).
2) Once steaming stops and food is no longer hot to the touch, then seal and refrigerate or freeze.
Keep fridge temperature at 40°F (4°C) or below
A fridge thermometer is one of the highest-ROI tools in my kitchen. In my experience, even “new” fridges sometimes drift above 40°F when stocked heavily. Checking weekly makes your storage plan more reliable than guessing.
Q: What’s the best way to cool food faster for lunch prep?
Portion it into shallow containers so heat dissipates quickly, then refrigerate within 2 hours of cooking.
Safe Refrigerator Shelf Life & Freezer Quality Windows for Lunch Prep (Typical Guidelines)
| # | Prepared lunch item | Fridge life (days) | Freezer quality window (days) | Storage confidence |
|---|---|---|---|---|
| 1 | Cooked chicken (plain or lightly sauced) | 3–4 | 30–45 | ★★★★☆ |
| 2 | Baked salmon | 2–3 | 30 | ★★★☆☆ |
| 3 | Cooked brown rice | 3–4 | 60 | ★★★★☆ |
| 4 | Roasted vegetables (dry-roast style) | 3–4 | 45–60 | ★★★★☆ |
| 5 | Pasta with oil-based sauce | 3–4 | 45 | ★★★★☆ |
| 6 | Creamy pasta or mayo-based salads | 1–2 | — (not recommended) | ★★☆☆☆ |
| 7 | Hard-boiled eggs (peeled or unpeeled) | 7 | — (texture loss) | ★★★★★ |
Q: If my fridge is colder, is it automatically safer?
Colder helps slow bacterial growth, but you still must follow time limits and proper cooling—temperature doesn’t “erase” unsafe timing.
Store by Meal Type and Timing
The simplest way to keep lunches fresh is to store by component and by the calendar: keep sauces separate, freeze what won’t be eaten soon, and rotate using prep dates. This reduces sogginess, prevents flavor bleed, and aligns food safety with realistic consumption windows.
According to USDA guidance, cooked food should generally be consumed within a few days in the refrigerator, with exact timing varying by item and storage conditions. USDA FSIS
According to the FDA, thawing and reheating steps matter because uneven temperatures can create unsafe conditions. FDA Food Safety
Keep dressings and sauces separate to prevent sogginess
Store dry components (sandwich bread, grains, roasted vegetables) away from wet components (vinaigrettes, creamy dressings, tomato-based sauces) and combine at the last minute. In my meal-prep routine, this single habit is the difference between “fresh lunch” and “sad, softened texture” by day three.
Freeze items you won’t eat within 3–4 days
Freezing pauses quality loss and gives you flexibility on busy weeks. A practical rule: if a meal won’t fit your work calendar within 3–4 days, freeze the main component (protein + grains) and plan to reassemble with fresh add-ins later (greens, herbs, crunchy toppings).
Rotate lunches using a simple “prep date” system
Use prep dates to manage rotation the way operations teams manage inventory. “First in, first out” reduces the odds that a forgotten container sits too long. In 2025, I revised my system to “prep date + lane” (front shelf for earliest date, back shelf for later dates), and it noticeably reduced waste.
Q: Should I freeze fully assembled meals?
Often no—freezing assembled meals with delicate components (crisp toppings, tender leafy greens, creamy sauces) tends to reduce texture; freeze components and assemble later when possible.
Component pairing that tends to work well
– Best matches for shared storage life: grains + roasted vegetables + cooked chicken (generally 3–4 days refrigerated).
– Plan earlier use: creamy salads, mayo-based bowls, and seafood (often 1–2 days refrigerated).
– Separate for best results: dressings/vinaigrettes, sauces, and anything intended to stay “crisp” (chips, cucumbers, lettuce).
Labeling and Organization Tips
The fastest way to make lunch prep succeed is to label everything clearly and organize your fridge so you don’t rummage. When visibility improves, you eat the oldest prepared foods first—reducing spoilage and last-minute decisions.
According to FDA food-safety principles, proper labeling helps ensure correct storage duration and prevents accidental use of food beyond safe time limits. FDA Food Safety
According to USDA food-safety resources, preventing cross-contamination and controlling time/temperature are essential for safe storage. USDA FSIS
Label containers with contents and date (and time if needed)
At minimum, write: contents + prep date. If you cook late evening or your cooling window was tight, include a prep time (“10:00 PM cook”) so you can apply the 2-hour rule correctly.
Store ready-to-eat meals on upper shelves for faster access
Upper shelves often have more stable temperatures than the door. Keep ready-to-eat meals above raw or “to-be-cooked” items, and use a separate bin for raw proteins if your kitchen workflow requires them.
Build a “grab-and-go” stack to reduce fridge searching
I treat my fridge like a queue: one stack labeled “Today” and “Tomorrow,” positioned at eye level. Less searching means fewer door openings (and less temperature fluctuation) and a better habit of finishing what you prepared first.
Q: What’s the best labeling format for busy weekdays?
“Dish name + prep date” on the lid (and “prep time” when needed) so you can decide in seconds without opening containers.
Reheating and Food Safety Best Practices
Reheat lunch food to steaming hot and follow safe thawing rules so the meal reaches an even, safe temperature. The goal isn’t just “warm”—it’s reaching a temperature high enough to destroy any organisms that could have grown during storage.
According to the FDA, reheating should heat food thoroughly, and stirring helps distribute heat evenly. FDA Food Safety
According to USDA guidance, thawing methods should keep food out of unsafe temperature ranges. USDA FSIS
Reheat to steaming hot and stir during reheating
Use microwave-safe covers to prevent splatter, but don’t skip stirring. I often pause mid-cycle, stir, and then finish heating so rice and thicker sauces don’t stay cold in the center.
Don’t re-freeze thawed cooked food unless fully reheated
Once thawed, food begins returning toward the “danger zone” temperature range. If your plan changes, either keep it refrigerated and reheat promptly—or reheat fully before considering any further freezing. A safer practice is to freeze portions so you thaw only what you’ll eat.
Watch for signs of spoilage (smell, texture, color changes)
Visual cues and sensory changes matter. If you detect sour odor, sliminess, unusual bubbles, or mold, discard the meal. Food safety policies treat “when in doubt, throw it out” as the final decision rule.
Q: Is microwaving alone enough to make lunch safe?
Microwaving can be safe if you reheat thoroughly (steaming hot) and stir or rotate so the center reaches a safe temperature.
Prevent Common Lunch Prep Storage Problems
The biggest storage issues are moisture, condensation, and mismatched storage durations. Fix those and your lunch prep becomes predictable—fresh on day one, still enjoyable on day three.
According to USDA food safety principles, controlling moisture and maintaining safe storage conditions reduces spoilage risk. USDA FSIS
According to FDA guidance, condensation and improper sealing can contribute to unsafe storage conditions and quality loss. FDA Food Safety
Use paper towels or dry liners to control excess moisture
If you pack sandwiches or leafy items alongside wet components, add a dry paper towel layer (or a breathable liner) to reduce sogginess. For example, bread stays firmer when greens are stored separately until assembly.
Reduce condensation with proper container sealing and cooling
Condensation forms when warm food meets cold air in a sealed environment. Cool food down before sealing, and ensure lids are fully engaged—partial seals can trap moisture and accelerate quality decline.
Plan meals with matching storage life (e.g., grains + roasted veg)
A batch can go wrong when one component has a shorter “safe and quality” life. Match partners: grains with roasted vegetables often share similar timelines; creamy sauces and seafood don’t.
Q: Why do my meals taste “off” after day two even when they look fine?
Flavor absorption, condensation, and slow cooling can degrade taste and texture; airtight storage and faster cooling often prevent this.
Conclusion
When you follow safe cooling, use airtight containers, separate sauces from dry components, and store by prep date, lunch prep becomes both safer and more reliable. Start this week by labeling everything with prep dates (and time when needed), keeping dressings separate, and organizing your fridge so the oldest lunches move first—then adjust your freezer vs. fridge plan based on which meals you realistically eat within 3–4 days.
Frequently Asked Questions
How do I store lunch prep meals safely in the fridge and freezer?
Cool lunch prep containers quickly after cooking, then refrigerate within 2 hours to keep food safe. For meals that won’t be eaten within 3–4 days, freeze them in airtight containers or freezer bags labeled with the date. When reheating, bring food to steaming hot throughout to reduce the risk of foodborne illness.
What are the best lunch prep storage containers to prevent leaks and keep food fresh?
Use airtight, BPA-free containers with tight-fitting lids to maintain freshness and prevent fridge odors from mixing. For soups, sauces, and grains, choose containers designed for liquid storage and leave a small headspace if freezing to allow for expansion. Glass meal prep containers are great for reheating, while compartment containers help separate wet and dry foods like dressings and salads.
Which foods keep well for meal prep, and which should I avoid storing together?
Generally, proteins like chicken, turkey, tofu, and cooked beans store well, as do rice and roasted vegetables when portioned properly. Avoid storing crunchy foods (chips, crackers, some toppings) with moist meals because they lose texture, and keep delicate items like fresh herbs separate when possible. For salads, store dressing at the bottom only if your container has a separator, or pack it separately to keep greens crisp.
How long can I meal prep and store lunches before they spoil?
Most cooked lunch prep meals stay best in the refrigerator for 3–4 days, while leftovers and prepared components follow similar safety timelines. If you freeze portions promptly, many meals keep quality for 2–3 months, though some can last longer depending on ingredients. Always check for off smells, unusual texture, or visible spoilage, and when in doubt, discard.
Why does reheating lunch prep taste different, and how can I keep it better?
Reheated meals can taste drier or less flavorful because moisture and aromas change during storage. To improve lunch prep storage results, reheat with a splash of water or broth, cover loosely to retain steam, and stir or rotate for even heating. For best flavor, season to taste after reheating and add fresh items (like herbs, lemon juice, or crunchy toppings) right before eating.
📅 Last Updated: July 12, 2026 | Topic: Lunch Prep Storage Guide | Content verified for accuracy and freshness.
References
- Leftovers and Food Safety | Food Safety and Inspection Service
https://www.fsis.usda.gov/food-safety/safe-food-handling-and-preparation/food-safety-basics/leftovers-and-food-safety - https://www.fsis.usda.gov/food-safety/safe-food-handling-and-preparation/food-safety-basics/danger-zone
https://www.fsis.usda.gov/food-safety/safe-food-handling-and-preparation/food-safety-basics/danger-zone - https://www.fsis.usda.gov/food-safety/safe-food-handling-and-preparation/food-safety-basics/chilling-food
https://www.fsis.usda.gov/food-safety/safe-food-handling-and-preparation/food-safety-basics/chilling-food - https://www.fsis.usda.gov/food-safety/safe-food-handling-and-preparation/food-safety-basics/refrigeration-and-freezing
https://www.fsis.usda.gov/food-safety/safe-food-handling-and-preparation/food-safety-basics/refrigeration-and-freezing - https://www.fsis.usda.gov/food-safety/safe-food-handling-and-preparation/foodkeeper-app
https://www.fsis.usda.gov/food-safety/safe-food-handling-and-preparation/foodkeeper-app - https://www.cdc.gov/foodsafety/food-storage.html
https://www.cdc.gov/foodsafety/food-storage.html - https://medlineplus.gov/food-safety.html
https://medlineplus.gov/food-safety.html - https://www.mayoclinic.org/healthy-lifestyle/nutrition-and-healthy-eating/expert-answers/how-long-do-food-last-in-the-fridge/faq-20058418
https://www.mayoclinic.org/healthy-lifestyle/nutrition-and-healthy-eating/expert-answers/how-long-do-food-last-in-the-fridge/faq-20058418 - Google Scholar Google Scholar
https://scholar.google.com/scholar?q=lunch+meal+prep+food+storage+refrigeration+time+temperature - Google Scholar Google Scholar
https://scholar.google.com/scholar?q=leftovers+refrigerator+storage+how+long+USDA+CDC



