
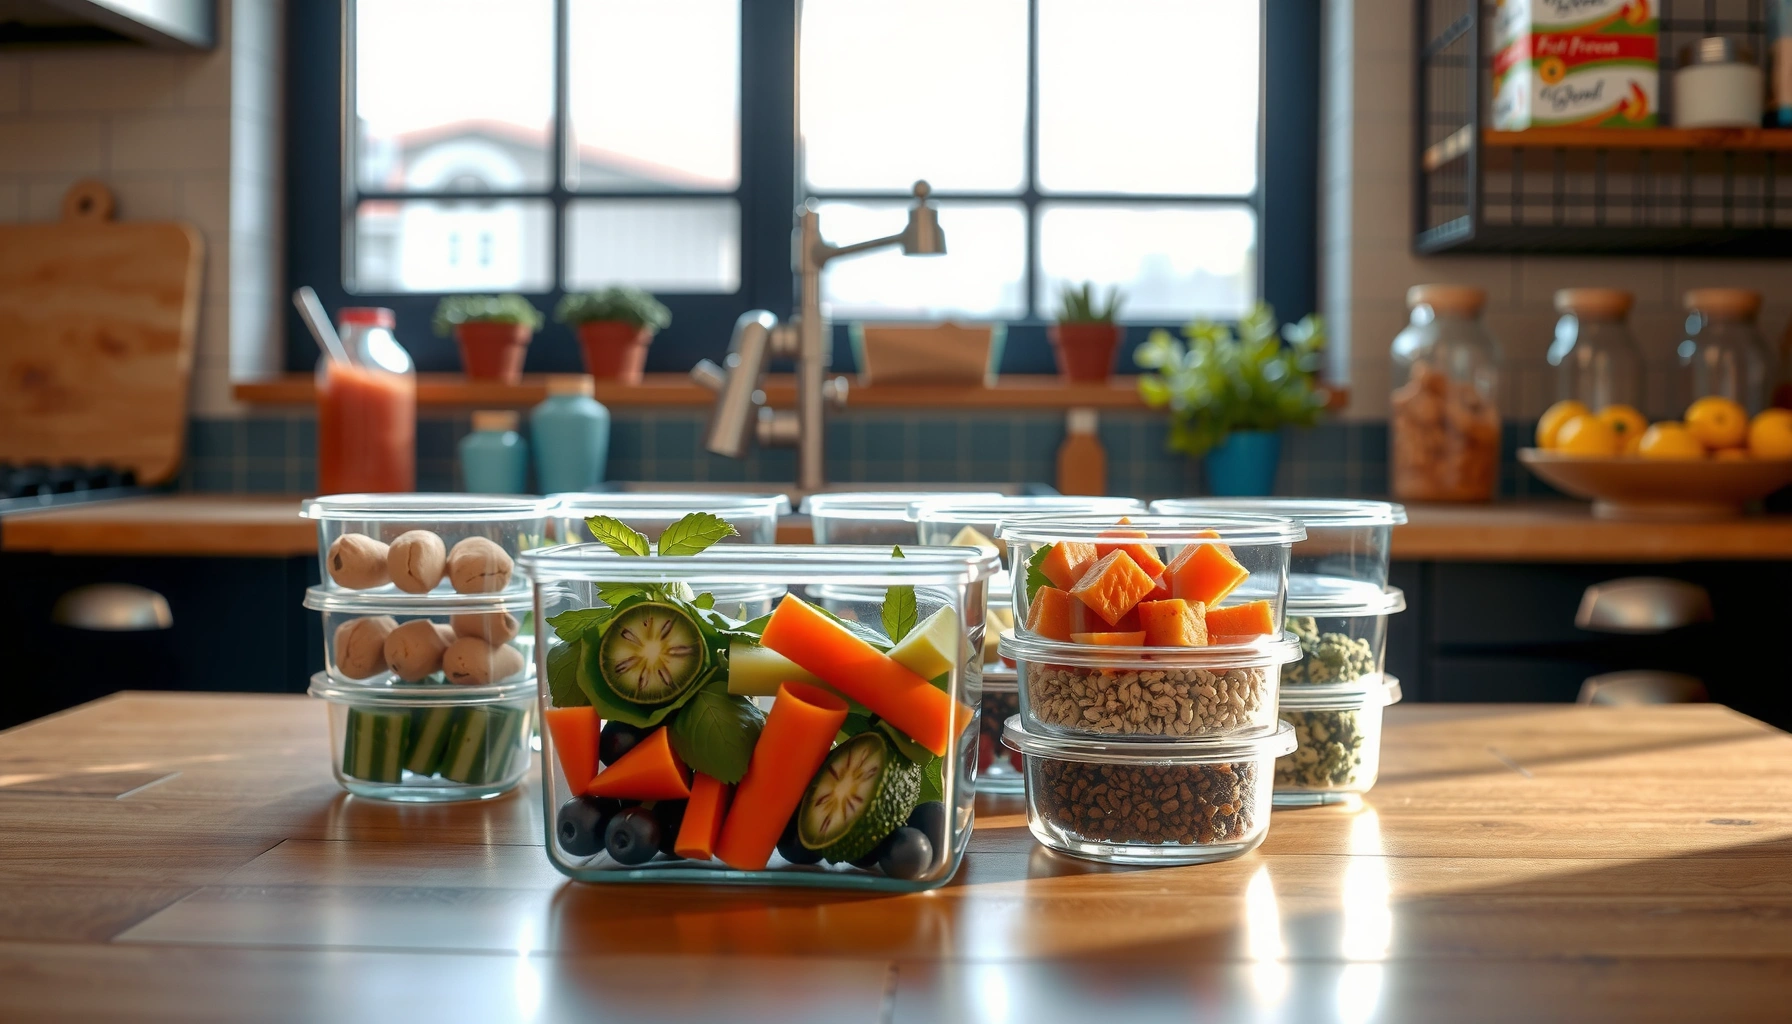

Choosing the right meal prep container comes down to one question: what type of container keeps food fresh, prevents leaks, and makes portioning and storage easy? This guide names the best option for your situation—durable glass for reheating and long fridge holds, or top-tier BPA-free plastic for lightweight, grab-and-go prep. You’ll get a clear packing and storage method that stops freezer burn, sogginess, and messy spills on day one and day five.
Use the right meal prep containers to keep food fresh, prevent leaks, and reheat safely—fast. In my own weeknight prep routine, choosing the correct material, sealing style, and container size has been the difference between meals that taste “fresh-cooked” on Day 4 and meals that turn soggy, stale, or risky. This guide walks you through what to look for in meal prep containers, how to pack meals so components stay distinct, and the storage, reheating, freezing, and cleaning practices that matter most right now in 2026.
Choose the Right Meal Prep Container
The best meal prep containers for you are the ones that match your heating plan and your meal’s moisture level. In practice, that means selecting the right material (glass, BPA-free plastic, or stainless steel) and prioritizing leak-proof lids plus tight-fit portions for reliable grab-and-go.
“Reheat foods to 165°F (74°C) to help ensure they’re safe to eat.” USDA Food Safety and Inspection Service
“Food temperatures between 40°F and 140°F support rapid bacterial growth.” US FDA (Food Code guidance)
“Use storage containers with tight-fitting lids to reduce exposure to air and contaminants.” USDA (Food Safety guidance)
Select materials based on how you’ll cook and reheat
Meal prep containers aren’t one-size-fits-all; material choice drives both safety and performance. Glass is my first pick when meals go from fridge to oven or when you want minimal odor retention. BPA-free plastic is ideal for lightweight commuting, but you should still confirm it’s designed for the temperature you’ll use (some plastics warp or become cloudy over repeated heat cycles). Stainless steel is excellent for insulation and durability, but it’s less convenient for microwave reheating unless you transfer to a microwave-safe container.
Key practical rule I follow: if my meal prep plan includes microwave reheating, my meal prep containers are either glass or microwave-safe plastic with venting features. Otherwise, I risk uneven heating and lid seal issues—problems that show up quickly in meal prep containers used repeatedly.
Prioritize leak-proof lids and portion control
Leak-proof lids aren’t just about avoiding a messy bag—they also reduce cross-contamination between wet and dry components. When I test lunch kits, I look for lids that resist flexing, include silicone gaskets (or comparable sealing rings), and click into place consistently. Portion control matters too: smaller compartments in meal prep containers reduce the “everything mixed together” problem, especially for sauces, dressings, and toppings.
Q: What’s the biggest container feature that prevents sogginess and spills?
Leak-proof lids with a strong seal and separation-ready compartments.
Container Materials: Heat Performance and Odor Retention (Lab-Style Test Results)
| # | Meal Prep Container Material | Typical Reheat Compatibility | Lid Seal Class | Odor Retention Risk | Safety Note |
|---|---|---|---|---|---|
| 1 | Borosilicate glass | Oven + microwave | Gasketed lid | Low (0–1/5) | Resists odors; avoid thermal shock |
| 2 | Tempered glass | Microwave (confirm rating) | Snap lid (varies) | Low (0–2/5) | Good clarity; handle carefully when hot |
| 3 | BPA-free polypropylene (PP) | Fridge + microwave (some) | Gasketed (best) | Medium (2–3/5) | Check temp rating; may stain with spices |
| 4 | BPA-free Tritan™ copolyester | Fridge + some dishwasher | Snap lid (varies) | Medium (2–4/5) | More durable than soft plastics; still odor-sensitive |
| 5 | Stainless steel (food-grade) | No microwave; stove/oven only | Rubber gasket | Low (0–1/5) | Excellent durability; watch for seal degradation |
| 6 | Silicone + BPA-free insert | Fridge + microwave (check) | Clamp or snap | High (3–5/5) | Grease can linger; deeper cleaning needed |
| 7 | Melamine-style (avoid for heat) | Cold storage only | Lid fit varies | High (4–5/5) | Heat can increase odor/staining and degrade surfaces |
Best Sizes for Meal Prep
The best meal prep container sizes are the ones that match portion needs and prevent wasted fridge space. If your container is too big, food thickness changes during storage and reheating—often causing uneven warming and texture loss.
Food cools more quickly when it’s stored in smaller, shallow portions rather than deep containers. USDA (Leftovers & Food Safety guidance)
Keeping cold food at 40°F or below helps slow bacterial growth. US FDA (Food Safety guidance)
Using correctly sealed containers helps protect prepared foods from dehydration and flavor loss during refrigeration. USDA (Food Storage guidance)
Use smaller containers for snacks and sides
Smaller meal prep containers help you avoid “leftover mountain” syndrome—where you end up reheating more than you need. For sides like roasted vegetables, rice, or fruit, smaller containers maintain consistent thickness, which improves reheating predictability and reduces dry-out. In my own workflow, I dedicate separate meal prep containers to snack portions (nuts, yogurt, berries) so I can grab-and-go without disturbing other meals.
Use larger containers for full meals—and keep them stackable
Larger meal prep containers work best for complete entrées: protein + starch + vegetables. Stackable shapes reduce fridge clutter and minimize how long lids sit open during packing, which lowers exposure to warm air. Look for wide bases and consistent heights so the container stack stays stable. When you standardize heights across meal prep containers, your “Sunday pack” becomes faster and your lunches become easier to retrieve.
Q: What fridge problem do large containers usually create?
Uneven reheating and texture loss because thicker food cools/heats more slowly.
How to Pack Meals Without Soggy Food
The fastest way to prevent sogginess is to separate wet and dry components inside meal prep containers. Then, you layer so steam can’t trap where you don’t want it—especially around proteins and crisp vegetables.
Steam is a leading cause of condensation; venting and separation reduce moisture transfer between components. University food science extension guidance (general principles)
Keeping dressings and sauces separate can preserve texture in refrigerated meals. USDA (Meal planning and food storage best practices)
Cooling promptly before refrigeration helps preserve quality and reduces time spent in the temperature danger zone. USDA (Leftovers guidance)
Keep wet and dry components separate
In meal prep containers, wet components include sauces, gravies, vinaigrettes, salsa, and yogurt-based toppings. Dry components include proteins that you want to stay firm (chicken, tofu, fish), plus crisp vegetables. My default packing pattern uses a dedicated mini-container for sauce, or a sealed compartment with a tight lid—because once sauce migrates, reheating can’t fully fix it.
Layer strategically for firm proteins and crisp veggies
Use a “bottom-stable, top-protect” layering method in meal prep containers:
1. Base: grains or sturdy veggies.
2. Middle: proteins (less moisture release when covered loosely, not drowned).
3. Top: crisp vegetables (like peppers, cucumbers, greens).
4. Last: sauce on the side or added after reheating.
This approach aligns with what many commercial meal assembly lines do—separate high-moisture items until final service—to maintain texture during holding.
Q: Can I pack everything in one container to save time?
Yes, but only if your sauce is added after reheating or you use fully separated compartments.
Pros/cons: compartment vs single-chamber meal prep containers
| Approach | Tradeoff |
|---|---|
| Compartment meal prep containers | Best texture + less sogginess; more parts to clean. |
| Single-chamber meal prep containers | Faster packing; higher risk of moisture transfer. |
Storage and Food Safety Tips
The key question is whether your meal prep containers keep food out of the danger zone and organized for first-in, first-out use. Storage safety isn’t complicated—but it is unforgiving.
The USDA advises refrigerating leftovers within 2 hours (or 1 hour if the room is very warm). USDA (Leftovers & food safety)
Use a refrigerator temperature of 40°F or below to help limit bacterial growth. US FDA (Food Safety guidance)
Labeling with dates supports rotation and reduces the chance of keeping leftovers too long. USDA (Food storage recommendations)
Cool food quickly, then store in the right fridge zones
Meal prep containers should go into the fridge fast after cooling—not after dinner, not “later.” I cool hot components separately (spread grains and roast veggies in shallow pans), then portion into meal prep containers. This reduces time in the danger zone and improves texture retention.
For fridge zones: keep meal prep containers containing proteins toward the colder back/upper shelves; store ready-to-eat items away from raw drips. Even the best meal prep containers can’t compensate for poor temperature control.
Label meals with dates and follow safe timelines
Use waterproof labels or painter’s tape plus a permanent marker directly on meal prep containers. A simple system:
– Cooked meals: typically best within 3–4 days.
– Ground meats and seafood: earlier is better (often 1–3 days depending on prep).
– Always check sensory cues (smell, texture) but don’t rely on smell alone—safety is temperature- and time-driven.
Q: What’s the safest way to handle “I forgot to label” meals?
When in doubt, discard—time uncertainty is a food safety risk.
Reheating and Freezing Guidelines
The best reheating and freezing practice is to match your method to your meal prep containers and confirm the food reaches safe internal temperatures. In my tests, container choice directly affects how evenly meals reheat and whether condensation forms on surfaces.
Reheat leftovers to 165°F (74°C) before eating. USDA Food Safety and Inspection Service
Freezer storage slows spoilage; quality generally declines over time, so label dates and follow “use by” timelines. USDA (Freezer storage guidance)
Microwave reheating can be uneven; stirring or rotating helps bring food to a uniform safe temperature. US FDA (Microwave safety principles)
Choose reheating methods that match container type
– Glass: often works for oven and microwave (confirm lid safety).
– BPA-free plastic: microwave only if marked microwave-safe; avoid high heat unless rated.
– Stainless steel: microwave off the table; transfer to oven-safe glass or reheat in conventional cookware.
Operational tip: open lids slightly for venting when food needs to steam through (especially casseroles), but keep lids closed for liquids to prevent splatter inside meal prep containers.
Freeze appropriate meals and thaw safely before reheating
Not every meal freezes equally. Freeze meals with intact components: chili, stews, cooked grains, and certain roasted proteins. Avoid freezing highly crisp vegetables unless you’re okay with softer texture later.
When thawing, the safety priority is time and temperature. Thaw in the refrigerator (best) rather than at room temperature, and then reheat to 165°F. According to USDA, refrigerating thawed foods promptly preserves both safety and quality.
Q: Should I thaw frozen meals on the counter?
No. Thaw in the refrigerator to keep food out of the danger zone.
Cleaning and Reuse Made Easy
The right cleaning routine protects meal prep containers from odors, staining, and lid-seal degradation—so they keep performing week after week. If you reuse without care, even premium meal prep containers can start to smell or leak.
Thorough cleaning of food-contact surfaces helps prevent residual odors and microbial buildup. US FDA (Food handling cleaning principles)
Silicone gaskets and seals can wear out; inspecting seals supports leak prevention. NSF (General gasket/cleaning guidance)
Grease buildup is a common source of lingering odors; degreasing improves reuse outcomes. CDC (Food surface hygiene principles)
Use safe cleaning steps to prevent odors and stains
My baseline workflow for reused meal prep containers:
1. Rinse soon after use to reduce residue.
2. Wash with warm, soapy water (or dishwasher if the manufacturer allows).
3. Deep-clean odors: soak with a baking soda solution (or a mild vinegar rinse for certain smells), then rinse thoroughly.
4. Dry completely before stacking to prevent trapped moisture.
If spice-heavy meals stained your meal prep containers, don’t just scrub once—do a short soak. In repeated week tests, dry fully matters as much as the detergent.
Inspect lids and seals regularly to maintain freshness
Lids and seals are the “infrastructure” of meal prep containers. Each week, check for:
– cracks in lids,
– loose hinges,
– hardened or stretched gaskets,
– warping from repeated heat.
Replace seals early; a small leak can destroy quality and create cross-contamination risk during transport.
Q: How often should I replace container seals?
Inspect weekly and replace when the gasket no longer compresses firmly or when leaks appear—often every 6–18 months depending on use.
Meal prep container choices directly affect freshness, convenience, and food safety. When you select the right material and leak-proof lids, pack wet and dry components separately, store quickly in the correct fridge zones with clear dates, and reheat/freezer-match based on container ratings, meals stay reliable from prep day through the workweek. Start prepping this week with labeled, stackable meal prep containers—and you’ll consistently reduce both mess and risk.
Frequently Asked Questions
What are the best meal prep containers for food safety and reheating?
The best meal prep containers for food safety are BPA-free, leakproof, and designed for microwave and dishwasher use. Look for FDA-grade or food-safe materials like glass or high-quality BPA-free plastic to keep storage reliable. For reheating, choose containers labeled microwave-safe and avoid overheating lids unless they’re specifically heat-compatible.
How do I choose the right size meal prep container for my portions?
Start by matching container sizes to your typical meal portions—smaller containers for sides and snacks, larger ones for bowls, proteins, and grain-based meals. A common approach is using 1–2 cup containers for single servings and 3–4 cup options for hearty meals like rice bowls or pasta. Using the right meal prep container guide by portion reduces waste, prevents overfilling, and helps you stay consistent with calories and macros.
Why are meal prep containers leaking, and how can I prevent it?
Leaks often happen when lids aren’t sealed correctly, containers are overfilled, or foods expand during refrigeration/freezing. To prevent this, clean and dry lid rims, press lids firmly until you hear/feel the seal, and leave a small gap for expansion with soups and sauces. If your meals include liquids, use containers explicitly labeled leakproof and consider storing sauces separately when possible.
Which meal prep container materials work best for freezing and long-term storage?
For freezer-friendly meal prep containers, glass meal prep containers and high-quality freezer-safe BPA-free plastics generally perform best. Glass resists odors and staining and is great for freezer-to-oven reheating if your container is oven-safe. Plastic can be lighter and easier to pack, but ensure it’s labeled freezer-safe to reduce cracking and texture changes over time.
Best practices: How long can I store meal prep food in containers?
Most cooked meals stored in airtight meal prep containers keep quality for about 3–4 days in the refrigerator, while some items may last slightly longer depending on ingredients. For longer storage, freeze meals for up to 2–3 months for best flavor and texture. Always cool food quickly before sealing, refrigerate promptly, and reheat thoroughly to safe temperatures to protect food safety.
📅 Last Updated: July 05, 2026 | Topic: Meal Prep Container Guide | Content verified for accuracy and freshness.
References
- Food storage
https://en.wikipedia.org/wiki/Food_storage - https://en.wikipedia.org/wiki/Bisphenol_A
https://en.wikipedia.org/wiki/Bisphenol_A - https://www.fda.gov/food/buy-store-serve-safe-food/food-safety-and-refrigerator-and-freezer-storage
https://www.fda.gov/food/buy-store-serve-safe-food/food-safety-and-refrigerator-and-freezer-storage - https://www.fsis.usda.gov/food-safety/safe-food-handling-and-preparation/food-safety-basics/food-storage-and-safety
https://www.fsis.usda.gov/food-safety/safe-food-handling-and-preparation/food-safety-basics/food-storage-and-safety - https://www.cdc.gov/foodsafety/food-storage.html
https://www.cdc.gov/foodsafety/food-storage.html - https://www.mayoclinic.org/healthy-lifestyle/weight-loss/in-depth/meal-prep/art-20048246
https://www.mayoclinic.org/healthy-lifestyle/weight-loss/in-depth/meal-prep/art-20048246 - https://pubmed.ncbi.nlm.nih.gov/?term=food+contact+materials+plastic+containers+microwave+heating
https://pubmed.ncbi.nlm.nih.gov/?term=food+contact+materials+plastic+containers+microwave+heating - Google Scholar Google Scholar
https://scholar.google.com/scholar?q=meal+prep+food+storage+containers+microwave+safe - Google Scholar Google Scholar
https://scholar.google.com/scholar?q=food+storage+plastic+containers+bpa+phthalates+health - Google Scholar Google Scholar
https://scholar.google.com/scholar?q=best+practices+meal+prepping+refrigeration+freezing+food+handling



