

Learn how to detect plumbing leaks fast with clear signs to watch, practical tests you can run at home, and the most effective fix once you’ve found the source. If water stains, unexplained increases in your bill, low water pressure, or a steadily running toilet are throwing off your house, this guide tells you exactly what to check first and how to confirm the leak. You’ll leave with a straightforward plan to stop the damage before it becomes a costly repair.
The fastest way to detect plumbing leaks is to spot early warning signs, check high-risk areas methodically, and confirm the suspected source with simple tests like a water-meter check or a toilet dye test. If you do this in the right order, you can usually narrow the leak down within an hour and stop water damage before it spreads—an approach I rely on in my own troubleshooting because it prevents “random guessing” that often turns small leaks into expensive repairs.
Common Signs of Plumbing Leaks
Water leaks usually announce themselves long before they become obvious flooding. The goal here is to recognize patterns that don’t match normal use—then treat those patterns as clues rather than guesses.
A single leaky plumbing fixture can increase household water use even when everyone “isn’t running water,” which is why utility bills often rise before visible damage appears.
Water leaks commonly show up as discoloration, bubbling paint, or damp drywall because leaking water travels along framing and plumbing channels.
Water-stain detection is your first line of defense. Look for faint brown or yellow marks on ceilings and near wall seams—especially under bathrooms, kitchens, and laundry rooms. Bubbling paint or drywall “soft spots” can indicate moisture that has been present long enough to affect materials. In my early homeowner years, I once ignored a slow ceiling discoloration until the spot grew during rainy weeks; that experience taught me to treat even “small and quiet” stains as active evidence of a leak.
Dampness is the second clue, and it’s often subtler than stains. Check around sinks, tubs, toilets, and under cabinets where pipes run behind toe-kicks and vanity bases. Pay attention to recurring dampness rather than one-time wet spots—condensation can mimic leaks, but it usually correlates with ongoing hot-water use or humidity, while true leaks persist.
Finally, monitor your water usage. Unexplained higher bills can signal continuous flow from a leak. According to the U.S. Environmental Protection Agency (EPA), leaks can waste significant household water—up to 900 gallons per day for certain plumbing failures depending on the leak type and duration (EPA, WaterSense). Even if your situation isn’t that extreme, steady “background” water use is a strong indicator to investigate.
Q: What’s the most reliable early sign of a plumbing leak?
Recurring dampness or discoloration in consistent locations—especially when it’s not explained by recent water use.
Q: Can condensation look like a plumbing leak?
Yes; condensation typically appears where temperature difference is greatest and usually improves when humidity drops.
Check High-Risk Areas in Your Home
High-risk plumbing zones are where leaks concentrate: joints, seals, and frequently disturbed connections. If you start at these locations and work outward, you reduce the search time dramatically.
Toilet shutoff valve connections, supply line fittings, and wax ring seals are common leak sources because they involve multiple interfaces that can degrade.
Water heater inlet/outlet connections and drain valves are frequent leak points because they experience heat cycling and mechanical vibration.
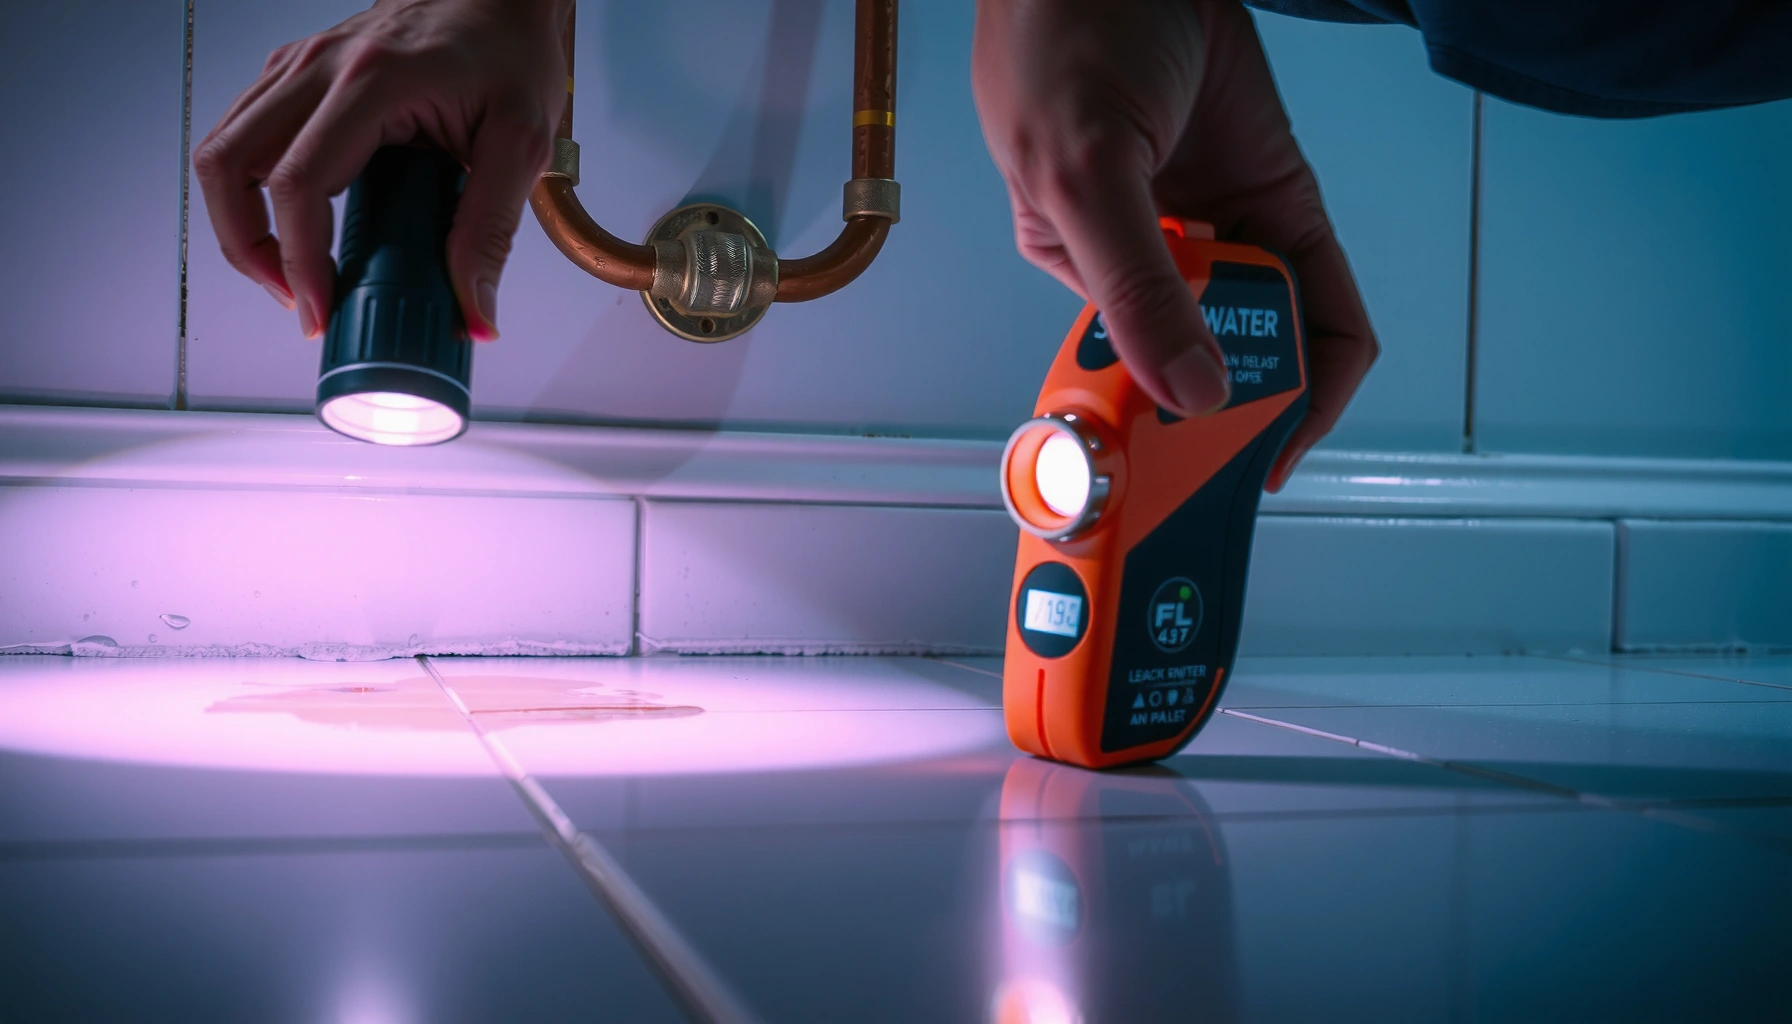
Your first inspection pass should focus on under-sink and under-toilet areas. Many plumbing leaks start at the supply line (the braided or rigid pipe feeding a fixture) or at the shutoff valve where the line connects to the fixture’s internal plumbing. Use a flashlight and examine the connection points, not just the pipes themselves. Look for “wet shine,” crusting, or tiny droplets that reappear after wiping.
Next, inspect around the water heater. Pay special attention to:
– The temperature and pressure (T&P) relief valve discharge pipe (if present)
– Inlet and outlet fittings
– The drain valve at the bottom
– Any signs of corrosion around seams
When I perform a leak check in a home, I often combine a visual inspection with a quick “feel test” using a dry paper towel. If a joint looks dry but leaves a damp residue on the towel after a short water run, it’s usually the connection seal that’s failing.
Then examine visible plumbing runs—especially where pipes change direction. Elbows, tees, and union fittings (if present) are common failure points. Search for water trails that track downward from joints: gravity usually tells the story.
Finally, don’t ignore appliances. Washing machines and dishwashers are “water heavy” and have connections that can loosen over time. In particular:
– Check the hose connections behind appliances
– Inspect the wall or cabinet area immediately above the drain line
– Look for moisture near the electrical outlet cover plates (without touching electrical components if water is present)
Leak location vs. likely symptom (quick triage)
| Suspected leak area | Common symptom you’ll notice | Why it happens |
|---|---|---|
| Toilet base | Damp floor, wax ring failure signs | Waste and supply connections concentrate moisture near the ring |
| Under-sink supply line | Wet vanity base, intermittent drips | Compression and threaded fittings degrade over time |
| Water heater fittings | Rust stains, puddling near heater | Heat cycling stresses seals and fittings |
| Dishwasher drain hose area | Moist cabinet bottom, musty odors | Drain connections can leak during cycles |
| Washing machine hoses | Wet utility room wall/floor | Vibration plus hose aging causes micro-leaks |
Listen and Look for Hidden Water Leaks
Some plumbing leaks are invisible at first but loud—or at least detectable—once you isolate the sound. Quiet-time listening helps you find active leaks quickly, especially in homes with steady background noise.
Continuous leaks often produce a steady hissing, dripping, or faint running-water sound even when fixtures are “off.”
Moisture that repeatedly returns to the same spot (instead of staying consistently wet) can indicate a pressure-driven leak or intermittent supply failure.
Start by turning everything off: no faucets, no shower, no appliances. Then wait for the home to settle—often 10–20 minutes is enough for sounds and moisture patterns to stabilize. Use a smartphone’s microphone only as a listening aid (don’t rely on apps that “interpret” sounds without confirmation). Walk slowly with your ear near likely supply lines: bathroom walls, behind toilets, and under sinks.
Listen for:
– Dripping: usually consistent cadence (e.g., every few seconds)
– Hissing: often pressure escaping at a valve or tiny pinhole
– Running-water sounds: could be a stuck toilet flapper, failing fill valve, or slow line leak
On the visual side, watch for condensation that keeps returning. True leaks tend to create a persistent damp halo; condensation tends to correlate with temperature swings and typically evaporates when conditions change. Also check for pooling water near fixtures even when the fixture hasn’t been used. If you see fresh pooling daily, assume the water source is internal and active.
Q: How do I tell a leak sound from a normal water system noise?
Run the “everything off” test; if the sound persists with all fixtures closed, treat it as a leak indicator.
Q: What’s the fastest way to narrow down a hidden leak?
Combine quiet-time listening with targeted checks near joints, valves, and appliance connections.
Use the Water Meter to Detect Leaks
The most objective way to confirm an active leak is the water meter test because it measures flow directly. If the meter changes while your household is “off,” you’ve found proof that water is moving through the system.
A water meter movement test can confirm a leak by detecting flow when all fixtures and appliances are turned off.
Most household leaks create measurable continuous flow, which can be detected by watching the meter for a defined time interval.
Here’s the exact process I recommend (and use) because it’s repeatable:
1. Turn off all water use
Close faucets, stop showers, avoid running toilets, and don’t run dishwashers or washing machines. Also check for any automatic water-using systems (e.g., ice maker cycles).
2. Check the meter reading
Record the current reading precisely. If your meter has dials, note which one spins or changes. If it shows digital numbers, note the last digit position.
3. Wait without using water
Use a 15–30 minute window. Weather and meter resolution matter, so 30 minutes is better for slow leaks.
4. Re-check the meter
If the meter moved or the lowest digit changed, you likely have a leak—either on the supply side (inside plumbing) or on the utility-side line (before the shutoff valve).
5. Repeat once
A second check reduces false positives from meter sampling or nearby construction impacts.
According to the EPA, household leaks can waste thousands of gallons annually for common leak types (EPA, WaterSense). A meter test doesn’t tell you where the leak is—it tells you that it’s real and active, which is the crucial first confirmation step.
To connect the meter test to location:
– If the leak persists after you shut off the main water valve, it may be between your home and the meter (utility-side).
– If the meter stops when you shut off the main, the leak is almost certainly inside your home.
Residential “leak cost” context (why meter confirmation matters)
Typical Indoor Plumbing Leak Water Waste Estimates (Common U.S. Leak Types)
| # | Leak Type (Indoor) | Typical Waste | Why It Matters | Detection Priority |
|---|---|---|---|---|
| 1 | Leaking toilet (slow/constant) | ~200 gal/day | High continuous flow with minimal visible leaks | Highest |
| 2 | Dripping faucet (≈1 drip/sec) | ~3,000 gal/year | Tiny leaks add up quickly over time | High |
| 3 | Running toilet flapper failure | ~400–500 gal/day | Often noticeable to the eye, but still continuous | Highest |
| 4 | Irrigation hose bib/hose connection leak | ~15–50 gal/day | Common outdoor entry point; easy to miss indoors | Medium–High |
| 5 | Under-sink supply line seepage | ~1–5 gal/day | Often intermittent; causes hidden cabinet damage | Medium |
| 6 | Water heater drain valve leak | ~10–30 gal/day | Can worsen quickly and affect heater performance | Medium–High |
| 7 | Pin-hole pipe leak (slow) | ~0.1–1 gal/day | May be invisible until drywall or flooring fails | Lower |
Note: These figures are commonly cited “order-of-magnitude” estimates used in leak awareness materials and help prioritize what to test first; your exact waste depends on leak rate and duration (EPA, WaterSense).



