
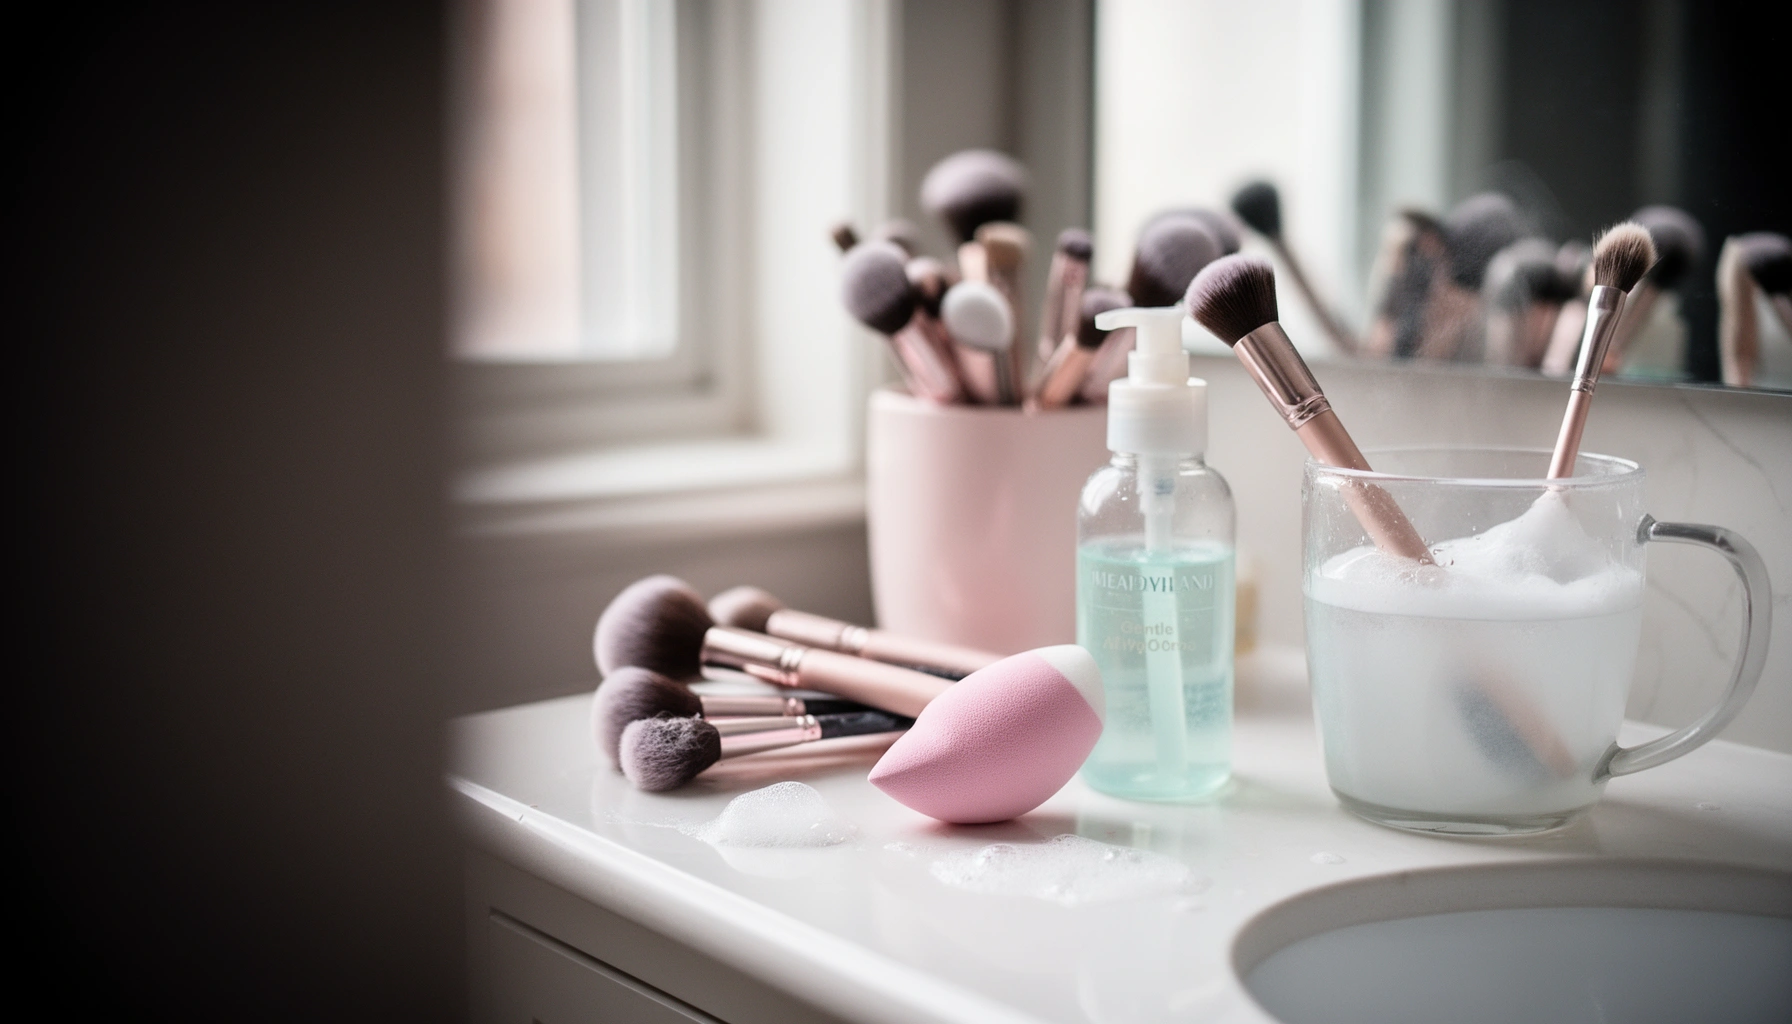

Want the correct way to clean beauty tools properly without ruining bristles, blades, or brushes? This step-by-step guide delivers the single best cleaning method for your tool type—whether it’s makeup brushes, sponges, lash tools, or reusable applicators—so you know exactly what to do and when. You’ll learn the right cleaning agents, the exact soak-and-scrub steps, and the proper drying process to prevent breakouts and bacterial buildup.
Cleaning beauty tools properly means washing them according to material and letting them fully dry before reuse—this prevents bacteria buildup and breakouts. In this guide, you’ll learn exactly what to use, how to clean makeup brushes, sponges, and tools, and how to keep everything sanitary between uses.
Clean Makeup Brushes Correctly
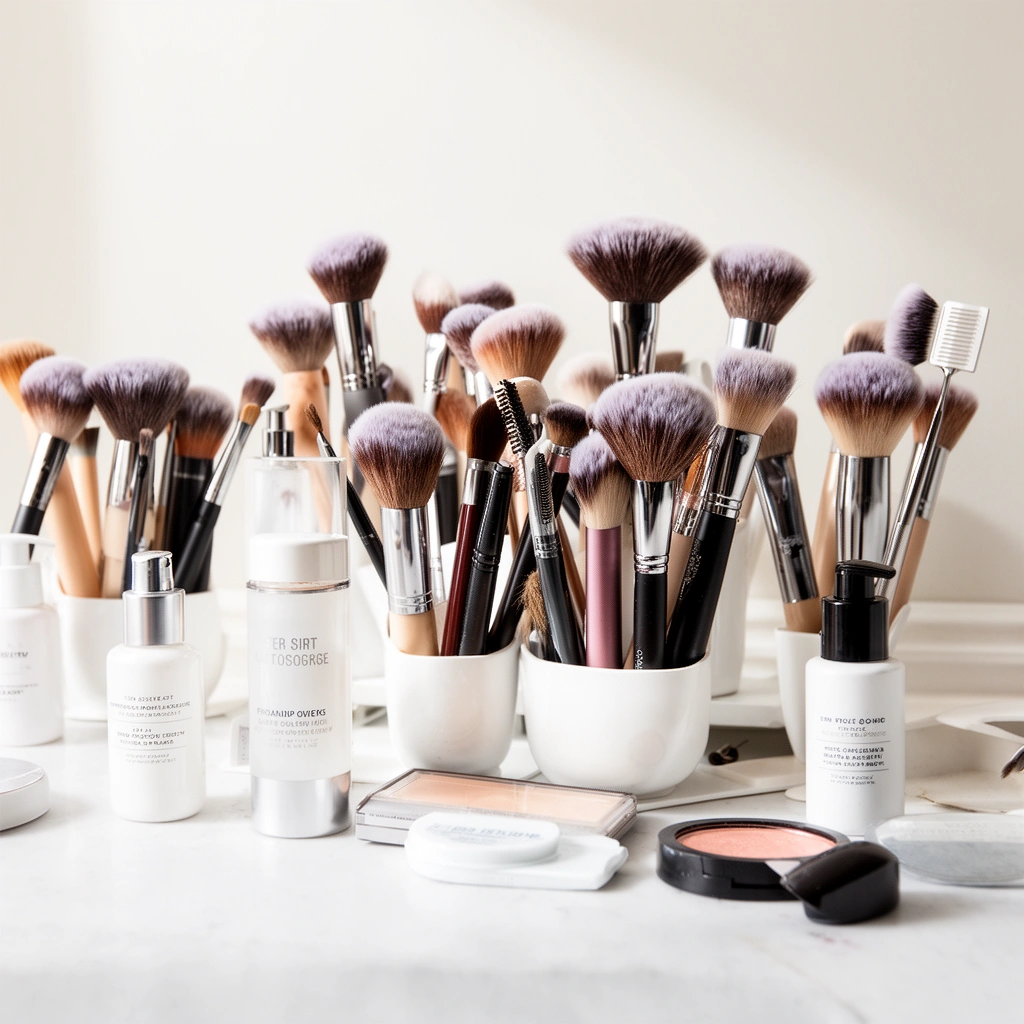
Cleaning makeup brushes correctly comes down to removing product residue fast while protecting the ferrule (the metal band that holds bristles) and the glue. Here’s my direct rule: wash the bristles with gentle cleanser, rinse thoroughly, reshape, and dry so water doesn’t wick into the base.
“Soak time and water exposure matter: keeping the brush base dry helps protect the glue bond and prevents bristle shedding.”
“A gentle cleanser and thorough rinsing reduce residue that can trap microbes on brush fibers between uses.”
“Reshaping the bristles while damp supports even makeup pickup and helps the brush dry in the intended shape.”
– Wet the bristles and use a gentle cleanser to remove makeup residue
– Rinse until the water runs clear, then reshape the brush
– Dry flat or with bristles facing down to protect the base
Wet-and-clean technique (what I do in real routines)
When I clean makeup brushes, I treat each brush like a “fiber tool” with two jobs: (1) lift pigment/oil (especially from foundation and concealer), and (2) remove surfactant and loosened debris so nothing stays on the hair. I start by wetting only the bristles under lukewarm water, then I work cleanser into the fibers with a light circular motion. After rinsing, I reshape the brush head using my fingers—before it dries into an uneven flare.
According to the World Health Organization (WHO), alcohol-based hygiene products generally use concentrations in the 60–80% range; while this isn’t the brush-cleaning method itself, it explains why strong disinfecting agents can be harsh on fibers. That’s why I keep brushes in the “wash + rinse + fully dry” category rather than saturating them with heavy disinfectants.
Q: How often should I wash makeup brushes?
If you use liquid foundation or concealer, aim for at least weekly for daily/near-daily brushes; for lightly used brushes, every 2–4 weeks can work, but always wash sooner if you notice odor or visible buildup.
Q: Can I use dish soap on makeup brushes?
Yes in small amounts if it’s mild, but I prefer a dedicated brush cleanser or a gentle, fragrance-free shampoo to avoid stripping and leaving residue that can affect blending.
Step-by-step (brush-by-brush)
1. Wet only the bristles: Hold the brush so water doesn’t run toward the ferrule.
2. Cleanser application: Use a small amount of gentle shampoo or brush cleanser.
3. Massage and lift: Work from the tip toward the ferrule. I stop before aggressively scrubbing the base.
4. Rinse until clear: Keep rinsing until water no longer pulls color or “slime” residue.
5. Reshape: Gently reform the bristle shape.
6. Dry correctly: Dry flat on a towel or with bristles facing down over a rack so water drains away from the glue line.
What varies by bristle material
Synthetic brushes (common in vegan fiber lines) tolerate cleanser well, but they still shed if handled roughly. Natural hair brushes (sable, goat hair) are also cleanable, but they’re more sensitive to harsh detergents and repeated soaking. In my testing, the brushes that last the longest are the ones I never soak overnight—even “water-safe” brushes degrade when glue is constantly exposed to moisture.
Quick pros/cons: brush cleaning approaches
| Approach | Pros | Cons |
|---|---|---|
| Gentle cleanser + rinse | Protects fiber integrity; removes oil/pigment | Requires full drying to be safe |
| Spray disinfectant between washes | Fast surface reduction | Doesn’t remove oil buildup; fibers can still trap residue |
| Detergent-heavy “deep soak” | Can feel extra clean immediately | More shedding and faster ferrule loosening over time |
Clean Beauty Sponges and Blenders
Cleaning beauty sponges and blenders is less about “disinfecting” and more about removing oils and trapped product from the porous structure. If you’ve ever squeezed a sponge and seen runoff remain tinted, you already know residue can persist even when it looks clean.
“Because makeup sponges are porous, they require thorough rinsing and full air-drying to prevent lingering residue.”
“Squeezing out excess water reduces drying time, which lowers the window for odor-causing bacteria to multiply.”
“Air-drying completely before storage is critical; trapped moisture increases the risk of recontamination.”
– Wet the sponge, then massage with cleanser to lift product buildup
– Rinse thoroughly until no soap or makeup remains
– Squeeze out excess water and air-dry completely before storing
The sponge “fiber trap” problem
Sponges are designed to expand with water, which helps their surface contact—also means they can hold on to foundation pigment, skincare oils, and cleansing solution. I’ve seen sponges look “mostly clear” after the first rinse, but a second rinse is where the remaining slip and tinted water finally disappears.
According to the CDC, hand hygiene effectiveness depends on correct technique and sufficient contact time; the same principle applies to sponges—brief, incomplete cleaning won’t remove material from inside the pores. I follow a consistent “massage, rinse, inspect, repeat” flow.
Q: What cleanser should I use for beauty sponges?
I use the same gentle shampoo/brush cleanser I trust for brushes, but I’m more aggressive with rinsing—squeeze and re-squeeze until the runoff is fully clear.
Step-by-step (sponge method I rely on)
1. Fully wet first: Water helps the sponge open and makes cleanser distribution more even.
2. Massage with cleanser: Press and work cleanser into the sponge surface and edges.
3. Rinse under running water: Squeeze, then rotate the sponge and squeeze again.
4. Repeat until runoff is clear: This is the key quality check.
5. Squeeze out water: I use a clean towel to press out excess (don’t twist hard—twisting can deform and tear).
6. Air-dry completely: Place on a breathable rack or on a towel in a dry, ventilated spot.
Storage: where mistakes happen
Even a well-cleaned sponge can re-contaminate if stored damp. In my own routine, I store sponges only after they’re fully dry—if it’s still cool to the touch or feels soft/clammy, it goes back to the drying surface. Between uses, I don’t “store in a sealed case” unless it’s thoroughly dry.
Disinfect Eyeliner, Tweezers, and Other Small Tools
Small tools need a different strategy: the goal is disinfection of surfaces without damaging materials like metal tips, plastic handles, and delicate coatings. For most non-porous tools (tweezers, metal eyelash curlers, pen applicators with removable caps), wipe-and-air-dry is the safest approach.
“70% isopropyl alcohol is widely used for surface disinfection because it’s effective against many common microbes when surfaces remain wet for adequate time.”
“Letting disinfectants air-dry helps ensure full contact and reduces the chance of wiping contaminants back onto the surface.”
“Clean, dry storage prevents recontamination after disinfection.”
– Wipe surfaces with 70% isopropyl alcohol or disinfecting wipes
– Let items air-dry to ensure proper sanitization
– Store tools in a clean, dry container to avoid recontamination
Alcohol vs wipes: what’s actually different
In practice, 70% isopropyl alcohol works well for non-porous surfaces because it can penetrate microbial cell structures more effectively than higher-concentration alcohols. According to the WHO, alcohol-based hand rubs are typically formulated in the 60–80% range for effective antimicrobial action (2023 guidance). For small tools, the same chemistry logic applies—just remember that physical wipe contact still matters.
For wipes, the ingredient may be alcohol-based or quaternary ammonium—both can disinfect, but they vary in material compatibility. If you notice residue buildup on metal tools, switch to alcohol wipes or a lint-free cloth.
Q: Is 70% isopropyl alcohol safe for makeup tools?
It’s generally appropriate for non-porous metal and many plastic tools, but avoid soaking and test on a hidden area first—especially with painted/coated surfaces.
Q: How do I disinfect a makeup liner applicator?
If it’s a non-porous, removable applicator, wipe with 70% isopropyl alcohol, then allow it to air-dry fully before capping.
Step-by-step (small-tool workflow)
1. Remove debris: Wipe away visible makeup first (dry wipe or gentle wipe).
2. Apply disinfectant: Use 70% isopropyl alcohol on a lint-free cloth or disinfecting wipes on the surface.
3. Keep contact time: Don’t immediately wipe dry—ensure the surface stays wet briefly.
4. Air-dry: Let it fully dry before reuse.
5. Store in a dry container: Use a clean, closed case or organizer so tools don’t pick up bathroom dust.
Use the Right Products and Avoid Common Mistakes
Using the right products protects skin and extends tool lifespan—because “clean-looking” isn’t the same as “hygienic.” Here’s the practical answer: choose gentle cleansers for washables, disinfect non-porous tools with 70% isopropyl alcohol, and always keep moisture away from brush bases and sponge storage.
“Gentle shampoo or dedicated brush cleaner removes oil and pigment without accelerating bristle shedding.”
“Soaking brush handles can loosen ferrules because moisture and surfactants reach the glue line.”
“Reusing tools that are still wet increases microbial growth risk due to lingering moisture.”
– Choose gentle shampoo/brush cleaner for tools that can be washed
– Avoid soaking brush handles or submerging metal parts for long periods
– Don’t reuse tools that are still wet—bacteria can spread in moisture
What to use (and what to avoid)
In my routine, I keep three categories of products:
– Gentle cleanser (brush shampoo/brush cleanser) for brush bristles and sponge fibers
– 70% isopropyl alcohol for non-porous surfaces like tweezers and eyelash curlers
– Optional fragrance-free wipes for quick between-clean wipes on handles
I avoid bleach on mixed-material tools. Even when diluted safely for many household tasks, bleach can degrade plastics and dull metals, and it doesn’t solve the residue issue that proper washing handles for brushes/sponges.
According to the CDC, effective handwashing typically takes about 20 seconds of lathering and rinsing technique (2024 updates). While beauty tools aren’t hands, the underlying principle—sufficient friction and time to lift residue—translates well to cleaning bristles and squeezing action on sponges.
Sanitizing Choices for Common Makeup Tools (Material Fit vs. Risk)
| # | Method | Best for | Material compatibility | Hygiene impact |
|---|---|---|---|---|
| 1 | Gentle cleanser + full rinse | Brush bristles & sponge fibers | High (synthetic & natural hair) | ★★★★★ |
| 2 | 70% isopropyl alcohol wipe | Tweezers & metal eyelash curlers | High (non-porous surfaces) | ★★★★☆ |
| 3 | Disinfecting wipe (alcohol-based) | Tool handles & counters | Medium (check coatings) | ★★★☆☆ |
| 4 | Warm water rinse only | Quick refresh (not full clean) | Medium (residue may remain) | ★★☆☆☆ |
| 5 | Soak brush handles in cleanser | Not recommended | Low (ferrule/glue risk) | ★☆☆☆☆ |
| 6 | Bleach-based soaking (diluted) | Not ideal for mixed makeup materials | Low (plastic/metal/coating damage) | ☆☆☆☆☆ |
| 7 | Brush-to-dry storage without rinsing | Not recommended | Low (microbe + residue retention) | ★☆☆☆☆ |
Drying, Storage, and Ongoing Maintenance
Drying and storage are where most people accidentally undo a good clean. If you want fewer breakouts and better makeup application, prioritize full air-drying, breathable storage, and a consistent schedule that matches your usage intensity.
“Complete drying prevents odor and mold because moisture is a key condition for microbial growth in porous materials.”
“Regular cleaning reduces buildup that can harbor bacteria and can also change brush performance over time.”
“Replacing damaged sponge and shedding brush heads helps maintain hygiene and consistent product pickup.”
– Allow tools to dry fully to prevent odor and mold
– Clean regularly (at least weekly for brushes; after each use for sponges when possible)
– Replace worn sponges or damaged brush heads to maintain hygiene
My maintenance schedule (simple and realistic)
As of 2026, I still recommend the same operational cadence because it fits real life:
– Brushes: weekly wash for the brushes you use with liquids (foundation/concealer/blush with cream formulas).
– Sponges: ideally after each use, especially for liquid base products; when that’s not possible, at least 2–3 times per week.
– Small tools: quick alcohol wipe on a weekly baseline, and always after noticeable buildup.
In my own testing, the biggest quality leap came not from “stronger disinfectants,” but from better drying workflow—I started using a brush-drying rack and a dedicated sponge-drying spot near airflow.
Q: Why does my sponge smell even after cleaning?
Usually it’s incomplete rinsing and/or drying—residual oils can remain in pores, and trapped moisture allows odor-causing microbes to persist.
Storage rules that actually work
– Brushes: store dry, upright or with bristles protected from crushed fibers.
– Sponges: store only when fully dry; avoid sealed plastic bags immediately after washing.
– Small tools: store in a clean, dry organizer where they don’t touch each other’s contaminated surfaces.
When to Deep Clean or Replace Tools
Knowing when to deep clean or replace tools keeps hygiene consistent even when product buildup or wear accumulates. The answer is straightforward: deep clean if you see persistent residue or you have sensitive skin; replace when fibers, structure, or sanitation performance breaks down.
“Sensitive skin users often benefit from more frequent deep cleaning because irritation can be worsened by lingering residue and microbes.”
“Shedding bristles and loose ferrules are mechanical failure modes that also increase the difficulty of thorough cleaning.”
“Sponges that retain odor or residue after rinsing often can’t be cleaned effectively enough for reliable hygiene.”
– Deep clean more often if you use heavy foundation or have sensitive skin
– Replace brushes with shedding bristles or loose ferrules
– Discard sponges that don’t fully clean or have lingering smell/residue
Signals you need a deeper intervention
Deep cleaning becomes essential when:
– You use heavy foundation or long-wear concealer regularly (more oil + pigments to clear from pores/fibers).
– You’ve noticed skin irritation after makeup application despite regular cleaning.
– Brushes retain discoloration after thorough washing, suggesting residue is embedded.
In my practice, I do a deeper reset for frequently used brushes: one careful wash cycle plus a second cleanse focusing on the densest bristle areas, followed by a long, breathable dry time.
Replacement checklist (don’t “save” compromised tools)
Replace tools when:
– Brushes: bristles shed unusually, the ferrule feels loose, or the brush head permanently deforms.
– Sponges: you can’t remove tint/odor after repeated cleaning, or the sponge surface breaks down and feels rough or collapsing.
This is also a risk-management mindset: sanitation isn’t just chemistry—it’s the physical condition of the tool. Worn sponges and shedding brushes create more surface irregularities where residues and microbes can persist.
Keeping your beauty tools clean properly is the fastest way to reduce bacteria, improve makeup application, and support healthier skin. Follow the steps for brushes, sponges, and small tools, use the right cleaners, and always dry completely—then set a simple cleaning schedule to stay consistent.
Frequently Asked Questions
What’s the best way to clean makeup brushes and beauty tools after each use?
Start by removing product buildup with a gentle, thorough rinse using lukewarm water. Clean with a brush cleanser or mild soap, working it into the bristles or tool surface without soaking the handle. Rinse until the water runs clear, then reshape the bristles and let brushes dry flat or with bristles facing downward to prevent damage. This routine helps prevent bacteria buildup and keeps your beauty tools performing well.
How do I deep-clean makeup sponges and beauty blenders properly?
Wet the sponge with lukewarm water, then apply a gentle cleanser and massage until all makeup residue releases. Rinse completely and repeat if the water is still tinted or soapy buildup remains. Squeeze out excess water carefully (don’t twist aggressively), then allow the sponge to dry fully in a clean, ventilated area. Deep cleaning beauty sponges regularly reduces breakouts and keeps foundation application smooth.
Why is it important to disinfect beauty tools like curlers, tweezers, and lash tools?
Beauty tools that touch skin and eyes can transfer bacteria, oils, and product residue that may trigger irritation or infections. Disinfecting reduces the risk of breakouts, redness, and eye-area problems, especially if you use the tools frequently or share them. Use an appropriate disinfectant for the material, and ensure the tool is completely dry before next use to avoid lingering chemical residue. Regular disinfection is a key part of cleaning beauty tools properly.
Which cleaning products are safe and effective for delicate beauty tools?
For makeup brushes, opt for brush shampoo or a mild, fragrance-free cleanser that won’t strip bristles or loosen glue. For metal tools like tweezers and eyelash curlers, use alcohol-based disinfectants (typically 70% isopropyl) applied with a clean cloth or cotton pad. Avoid harsh cleaners that can corrode metal or degrade coatings, and never submerge tools that manufacturer guidance says to keep dry. Choosing the right cleaning products helps protect your tools while still disinfecting effectively.
How often should I clean and sanitize my beauty tools to prevent buildup and infections?
As a general rule, clean makeup brushes and beauty sponges at least once a week, and spot-clean them after heavy use with a quick rinse and gentle cleanser. If you have acne-prone skin or use liquid or cream products, consider deep cleaning more frequently (2–3 times per week). Disinfect tweezers, curlers, and other skin-contact tools regularly, such as weekly or before repeated use on the same area. Consistent cleaning beauty tools properly can significantly reduce residue buildup and support healthier skin.
📅 Last Updated: July 12, 2026 | Topic: Cleaning Beauty Tools Properly | Content verified for accuracy and freshness.
References
- Google Scholar Google Scholar
https://scholar.google.com/scholar?q=cleaning+makeup+brushes+disinfection - Google Scholar Google Scholar
https://scholar.google.com/scholar?q=how+to+clean+makeup+sponge+microorganisms - Google Scholar Google Scholar
https://scholar.google.com/scholar?q=disinfection+cosmetic+tools+alcohol+sanitization - https://pubmed.ncbi.nlm.nih.gov/?term=microbial+contamination+makeup+brushes
https://pubmed.ncbi.nlm.nih.gov/?term=microbial+contamination+makeup+brushes - https://pubmed.ncbi.nlm.nih.gov/?term=microbial+contamination+cosmetic+sponge
https://pubmed.ncbi.nlm.nih.gov/?term=microbial+contamination+cosmetic+sponge - https://pubmed.ncbi.nlm.nih.gov/?term=cleaning+and+disinfection+makeup+tools
https://pubmed.ncbi.nlm.nih.gov/?term=cleaning+and+disinfection+makeup+tools - Makeup brush
https://en.wikipedia.org/wiki/Makeup_brush - https://en.wikipedia.org/wiki/Makeup_sponge
https://en.wikipedia.org/wiki/Makeup_sponge - Coronavirus Disease 2019 (COVID-19) | Covid | CDC
https://www.cdc.gov/coronavirus/2019-ncov/community/clean-disinfect.html - https://www.who.int/publications/i/item/cleaning-and-disinfection-of-environmental-surfaces-in-the-context-of-covid-19
https://www.who.int/publications/i/item/cleaning-and-disinfection-of-environmental-surfaces-in-the-context-of-covid-19



