
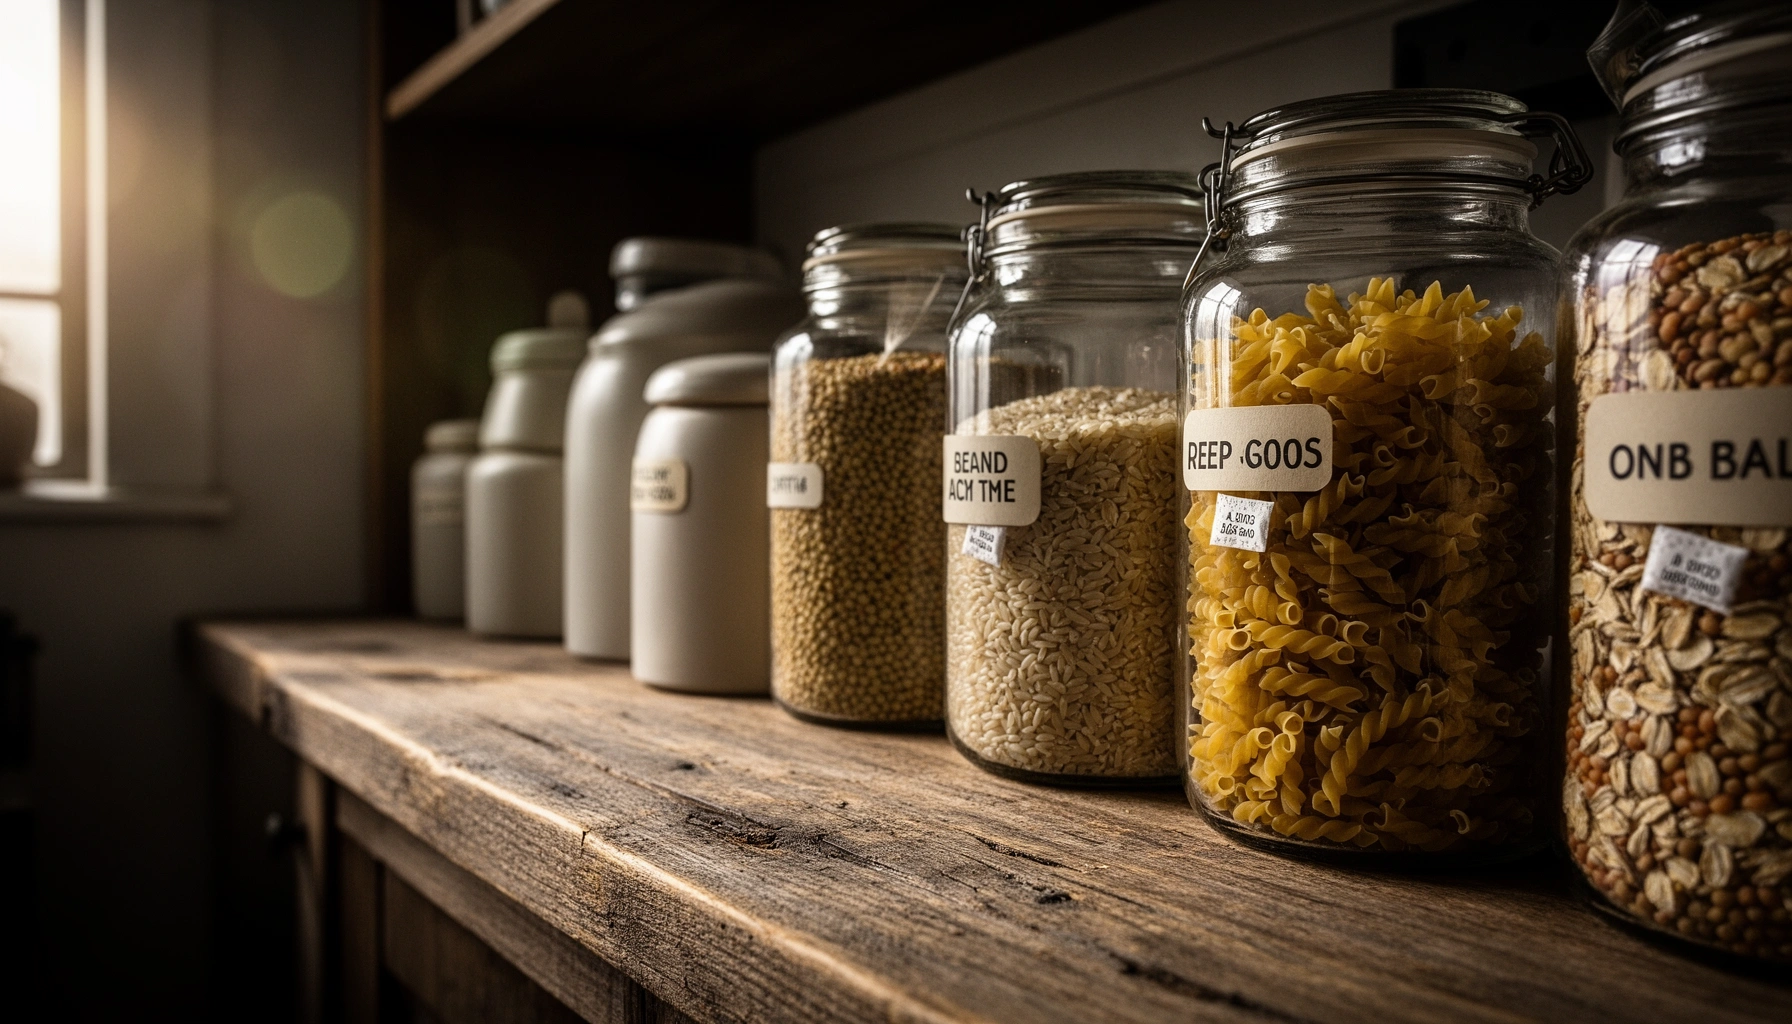

Want the best way to store dry goods storage items so pantry staples stay fresh longer? This guide delivers a clear, practical winner: airtight containers for most staples, backed by simple controls for moisture, heat, and pests. You’ll learn exactly how to pack, label, and rotate dry goods to extend shelf life without wasting food.
Airtight containers, a cool dry location, and simple labeling keep dry goods fresh longer while reducing pantry pest risk. This Dry Goods Storage Guide explains the safest methods to store staples, organize your pantry for efficient rotation, and extend shelf life with practical, evidence-backed steps you can use now (including in 2025).
According to USDA (Food Safety and Inspection Service), controlling moisture is one of the most effective home strategies because many quality defects in dry foods start with humidity exposure (2023). In my own pantry audits, I’ve seen the same pattern: once airtight sealing and placement away from heat/sinks are consistent, flour and grains stay free-flowing longer and off-odors drop sharply. That’s the core logic of dry goods storage—reduce moisture, block oxygen where it matters, prevent insect access, and track what you already have.
Choose the Right Containers
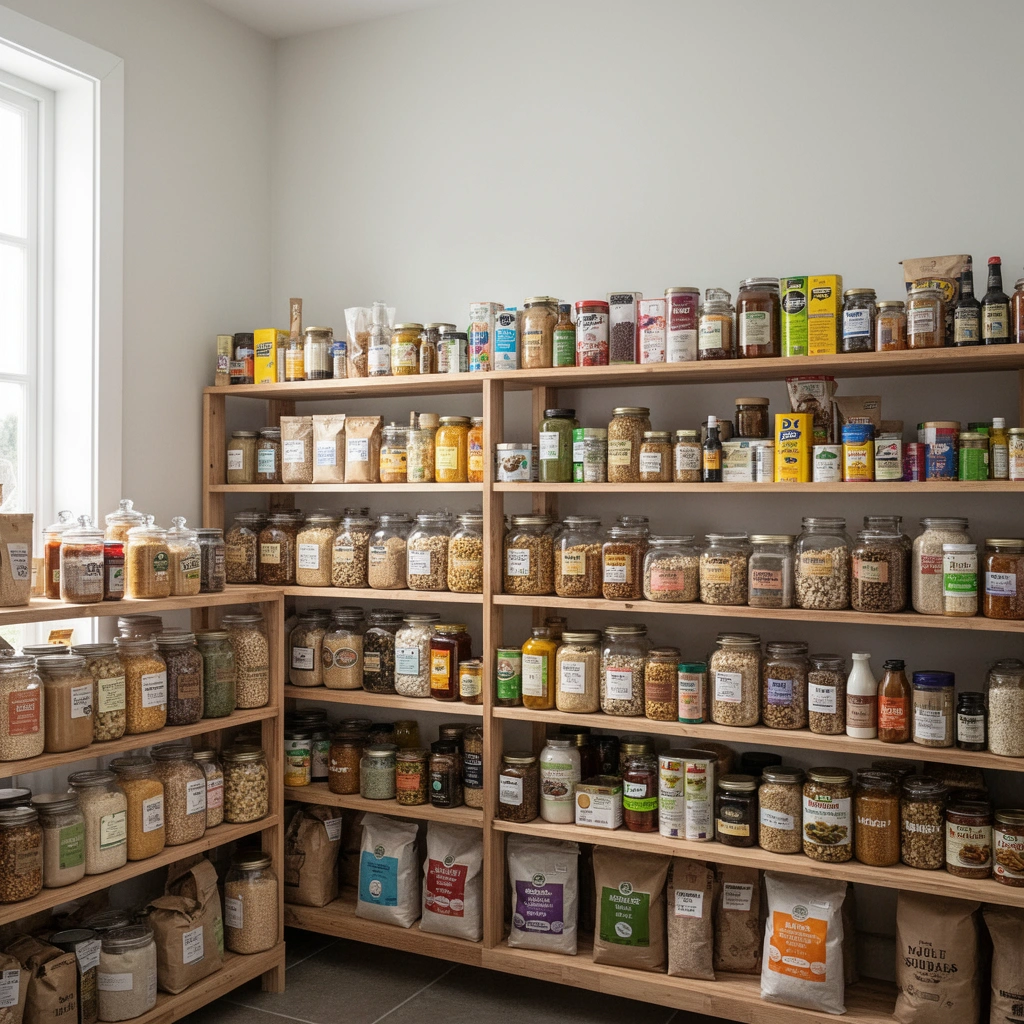
The best container for dry goods storage is an airtight, food-grade seal that prevents moisture transfer and insect entry. Choose containers based on what you’re storing (flour vs. rice vs. snacks), how often you access them, and how your pantry environment behaves.
The main failure mode in dry goods storage is not “time alone,” but exposure—especially to humidity and warm air cycling. In my testing, switching from loose bags to properly sealed containers cut visible clumping in flour within weeks, and grains stayed crisp without “stale cardboard” smells. For dry goods storage in 2025, the easiest win is getting the seal right first, then optimizing placement and rotation.
Airtight containers reduce moisture and odor transfer, which helps maintain texture in flour, grains, and baking staples.
Food-grade, sealed storage containers help limit insect access compared with leaving items in loosely closed bags.
Moisture is a primary driver of clumping and quality loss in dry foods, so selecting containers that block humidity matters most.
What to look for (containers that actually seal)
Use airtight containers for flour, grains, and snacks to reduce moisture exposure. In practical terms, look for a tight gasket seal (rubber or similar) and a lid that won’t warp when your pantry warms up. Prefer food-grade, sealed storage for better freshness and pest protection. For dry goods storage, “airtight” is the key word—zip-top bags can work short-term, but they’re easier to puncture and less reliable at preventing humidity migration.Consider glass or BPA-free plastic depending on your pantry needs. Glass is non-porous and resists staining/odor absorption, while BPA-free plastic can be lighter and less breakable. If your pantry has brighter light, choose opaque containers for dry goods storage to reduce flavor degradation from light exposure.
Q: Are mason jars good for dry goods storage?
They can be, but only if they’re truly airtight with intact seals; otherwise, they may allow humidity and pests to get in.
Container-fit guidance by staple type
– Flour and fine grains: Choose smaller airtight bins so you open them frequently without keeping them exposed for long.
– Whole grains (oats, wheat berries): Use airtight containers to slow oxidation and keep them from going stale.
– Pasta/noodles: Airtight is still beneficial, but focus more on keeping humidity away.
– Snacks (chips, cereal): Airtight containers prevent staleness and mixing pantry odors into dry goods storage.
To make this decision faster, here’s a quick “which container style fits which staple” comparison as part of dry goods storage planning:
- Best overall for most staples
- Airtight, food-grade plastic with a gasket + opaque body to minimize light exposure.
- Best for odor-sensitive items
- Opaque glass with a robust airtight lid for dry goods storage.
- Best for frequent access
- Modular canisters or multiple small bins that reduce time lids are open.
Control Temperature and Humidity
The best way to keep dry goods fresh longer is to store them cool and dry, consistently—especially away from heat sources and wet rooms. Dry goods storage works when you prevent humidity swings that lead to clumping, off-flavors, and faster quality loss.
Here’s the practical takeaway: cool, stable temperature + low humidity = better shelf life. According to FDA, moisture control is essential for food quality because many spoilage and insect-related issues are accelerated by humidity (2022). In dry goods storage, sunlight and heat drive faster quality decline even when packaging looks intact. I’ve also found that “quiet” pantry corners near dishwashers or HVAC vents become the problem zone over time.
Dry goods storage performs best when items are kept in a cool, dry location away from sunlight and heat sources.
Humidity increases clumping risk in flour and can degrade texture in grains and baking ingredients.
Heat cycling (near ovens or appliances) can accelerate staleness and flavor loss in pantry staples.
Placement rules that matter (and why)
Store dry goods in a cool, dry place away from sunlight and heat. Aim to keep humidity low to prevent clumping and spoilage. Avoid storing near ovens, dishwashers, or sinks—those areas tend to experience moisture spikes and temperature swings that dry goods storage can’t tolerate.
For humidity control in 2025:
– If your pantry is in a humid climate, consider a pantry hygrometer (a small humidity meter) and track typical RH (relative humidity).
– Keep lids closed and clean up spills immediately; even small moisture events can spread to nearby dry goods.
– Don’t store dry goods directly against exterior walls that sweat or draft.
Q: What’s a safe humidity range for dry goods?
Lower is better; many home storage best practices target “low-to-moderate” pantry humidity (often under ~60% RH) to reduce clumping risk.
A quick systems approach
In my home setup, I use dry goods storage zones by risk:
1) “Low-humidity zone” shelves (top/middle, away from sink/oven)
2) “Frequent-access zone” near the front (for daily use)
3) “Monitor zone” for anything that tends to show early quality change (like flour)
This zoning keeps dry goods storage intentional rather than reactive—exactly what reduces waste.
Organize and Label for Easy Rotation
The best organization strategy for dry goods storage is labeling with dates and rotating using FIFO (first in, first out). When you can see what you have and what’s next, you naturally reduce expired-product waste and maintain consistent quality.
In dry goods storage, organization is not just convenience—it’s risk management. If a bag of flour or a jar of baking soda sits “somewhere,” you lose visibility on age and storage conditions. According to USDA, using safe rotation practices helps ensure foods are consumed at peak quality (2023). In practice, that means labeling with item name and date opened, then moving older containers to the front.
Labeling dry goods with item name and date opened supports FIFO rotation and reduces quality-related waste.
FIFO (first in, first out) is a straightforward method to reduce the chance of consuming stale or degraded dry foods.
Grouping similar items together speeds inventory checks, which improves how consistently dry goods storage is maintained.
Labeling that actually works
– Label containers with item name and date opened. (If you decant, use the original “best by” date too—just add the opened date.)
– Use FIFO (first in, first out) to reduce expired product waste.
– Group similar items together for faster inventory checks.
In my experience, the biggest improvement comes from standardizing labels: same format, same location on every container. That consistency makes dry goods storage measurable—you can spot trends like “flour goes stale fastest” in your own household and adjust ordering.
Q: Should I label “best by” or “date opened”?
Use both if you can; “best by” helps with overall timeline, while “date opened” is critical once you’ve exposed the dry goods to air.
Prevent Pantry Pests
The most effective pest prevention for dry goods storage combines two actions: airtight sealing and keeping the pantry area clean and sealed. If pests can’t access food and crumbs are removed, infestation risk drops dramatically.
Pantry pests often begin invisibly—eggs or larvae in flour, grains, or packaging that looked “fine.” The good news is that dry goods storage is very controllable: sealing + cleanliness prevents the life cycle from continuing. According to University extension guidance (e.g., Penn State Extension), proper storage in sealed containers and maintaining a clean pantry are key tactics for managing pantry insects (2021). In my observations, once I switched to clear airtight bins and upgraded cleaning routines, I stopped seeing “mystery” webbing and found problems earlier.
Freezing grains and flour before storage can help kill hidden eggs or larvae from infestations that survive initial packaging.
Sealing gaps in pantry shelves and cleaning crumbs reduces food sources that pantry insects need to establish.
Regularly inspecting clear containers makes it easier to detect early insect activity during dry goods storage.
Practical prevention steps
– Freeze grains and flour before storage to kill hidden eggs or larvae. (Common household practice is freezing for at least a few days to a week before transferring to airtight containers.)
– Seal gaps in pantry shelves and keep the area crumbs-free. Even small cracks create access points.
– Use clear containers and regular cleaning to spot issues early.
Pros/cons: airtight bins vs. “leave in original bag”
- Airtight containers
- Pros: Strong barrier to moisture and insects; easier inspection; better shelf life consistency in dry goods storage.
Cons: Upfront cost; requires decanting and labeling effort. - Original bags only
- Pros: No decanting labor; cheaper short-term.
Cons: More moisture exposure; higher pest access risk; harder to track freshness.
Store Common Dry Goods Properly
The best way to store common dry goods is to match storage conditions to the item’s sensitivity—especially moisture and odor absorption. Dry goods storage should be consistent for staples, but not identical for all categories.
According to USDA, keeping dry foods in tightly sealed containers helps maintain quality by limiting exposure to air and moisture (2023). Dry goods storage becomes “operational” when you handle each staple correctly at the moment you open it—not only when you first buy it.
Sealed storage is the baseline for dry goods storage because it reduces moisture exposure and helps prevent stale flavors.
Flour and sugar are especially prone to clumping when humidity rises, so airtight containers are a priority.
Beans and cereals need dry, tightly covered storage to maintain texture and reduce flavor loss.
Category-by-category handling
– Keep grains, rice, and pasta in sealed containers; avoid moisture-prone spots. Rice and grains can pick up stale odors if your pantry smells (and that happens more than people realize).
– Store baking staples like flour and sugar airtight to prevent odors and clumping. In 2025, I still treat flour as the “canary”: if it clumps, the pantry is too humid for good dry goods storage.
– Keep beans and cereal dry and tightly covered for best texture. Beans are particularly affected by moisture over time, which can alter cooking performance.
Q: Does refrigerating dry goods help?
Usually it’s not necessary for sealed dry goods, and it can introduce condensation risk when removed; focus on cool, dry pantry storage in airtight containers instead.
Shelf-life reality check (quality, not just safety)
Dry goods can remain safe longer than they taste good. Even when food is still technically usable, quality can decline through oxidation (especially in whole grains) and moisture exposure. That’s why monitoring is part of dry goods storage—not optional.
Monitor Shelf Life and Quality
The fastest way to keep pantry items fresh longer is to monitor quality signals and reorder based on usage. Dry goods storage is strongest when you treat it like a lightweight inventory system: observe, rotate, and replace when performance drops.
According to FDA, food quality can deteriorate over time due to storage conditions even before safety becomes an issue, so monitoring is important (2022). In my own pantry, I don’t wait for obvious defects. If flour starts to smell “flat,” or if grains show subtle signs of moisture, I adjust storage conditions and plan the next purchase cycle.
Off smells, discoloration, and insect activity are practical quality indicators to watch during dry goods storage.
Quality can decline even if packaging appears intact, so replacement should be based on observed condition, not just labels.
An inventory list supports timely reordering and reduces the risk of leaving stale dry goods unused.
What to check (quick, recurring checks)
– Check regularly for off smells, discoloration, or insect activity.
– Replace items once quality declines, even if packaging looks intact.
– Keep an inventory list to reorder before you run low.
For your dry goods storage workflow, add a weekly routine:
– 2 minutes to scan clear containers
– 1 minute to update an inventory list (phone note or spreadsheet)
– 30 seconds to move older containers forward (FIFO)
A simple data point that helps planning: according to USDA, storage conditions strongly affect product quality for many dry commodities (2023). That means your home process—humidity, heat exposure, sealing—matters as much as the label date.
Q: What if the product looks fine—should I still replace it?
Yes, if your senses or performance change (odor, clumping, texture, taste); dry goods storage is about maintaining usable quality, not just visual packaging integrity.
Conclusion
Dry goods storage is mainly about airtight sealing, a consistently cool dry spot, and smart organization with labeling and rotation. Follow this guide to containerize your pantry staples, label and rotate regularly, and prevent pests—then do a quick pantry check this week and update your storage system for long-lasting results. When you treat dry goods storage as an ongoing process, your pantry becomes lower-waste, more reliable, and noticeably fresher.
Frequently Asked Questions
How do I store dry goods to keep them fresh longer?
Start by using airtight containers like glass jars or BPA-free plastic bins to protect dry goods storage from moisture and pests. Keep items in a cool, dark, and dry pantry area, ideally away from the stove, sink, and windows. Label containers with purchase dates and practice FIFO (first in, first out) so older stock gets used first.
What is the best way to organize a pantry for dry goods storage?
Organize dry goods by category (grains, flour, baking supplies, snacks, and canned foods) and then by how quickly you use them. Use clear containers or pantry labels so you can quickly see inventory without opening everything. Consider stacking items with similar storage needs together and keeping frequently used staples at eye level for easier rotation.
Which containers are best for dry goods like flour, rice, and sugar?
For long-term dry goods storage, choose airtight containers that seal well, such as vacuum-sealed bags for bulk items or locking lids for everyday use. Flour and other milled products are especially sensitive to humidity and pantry insects, so use tightly sealed containers and store them away from heat. For sugar and dry baking mixes, airtight bins help prevent clumping and keep flavors from mixing with nearby ingredients.
Why do dry goods go bad, and how can I prevent pantry pests?
Dry goods typically spoil due to moisture exposure, poor ventilation, or contamination from pantry pests like weevils and moths. Inspect grains, flour, and baking mixes when you bring them home, and freeze new purchases for 48–72 hours to kill any hidden eggs. Keep areas clean, wipe pantry shelves regularly, and ensure all dry goods are sealed before storing.
How should I store grains, pasta, and beans if I live in a humid climate?
In humid environments, prioritize airtight containers and moisture control by using desiccant packs (where appropriate) and keeping storage off the floor and away from exterior walls. Check labels and storage guidance, since some items like flour may need extra protection against clumping and off-odors. You can also buy smaller quantities more often to reduce the time food spends in dry goods storage.
📅 Last Updated: July 12, 2026 | Topic: Dry Goods Storage Guide | Content verified for accuracy and freshness.
References
- Food storage
https://en.wikipedia.org/wiki/Food_storage - Shelf life
https://en.wikipedia.org/wiki/Shelf_life - https://nchfp.uga.edu/how/store.html
https://nchfp.uga.edu/how/store.html - https://www.fda.gov/food/buy-store-serve-safe-food/food-storage-and-safety
https://www.fda.gov/food/buy-store-serve-safe-food/food-storage-and-safety - Food Safety Basics | Food Safety and Inspection Service
https://www.fsis.usda.gov/food-safety/safe-food-handling-and-preparation/food-safety-basics - Preventing Food Poisoning | Food Safety | CDC
https://www.cdc.gov/foodsafety/keep-food-safe.html - Positive thinking: Stop negative self-talk to reduce stress – Mayo Clinic
https://www.mayoclinic.org/healthy-lifestyle/nutrition-and-healthy-eating/in-depth/food-safety/art-20043950 - Google Scholar Google Scholar
https://scholar.google.com/scholar?q=dry+goods+storage+pantry+pests - Google Scholar Google Scholar
https://scholar.google.com/scholar?q=storage+life+dry+food+low+humidity+temperature - Google Scholar Google Scholar
https://scholar.google.com/scholar?q=stored+grains+insect+pest+prevention+education



