Prevent moisture damage with a simple, high-impact checklist: control indoor humidity, fix leaks fast, and block water before it reaches vulnerable materials. This guide answers the question “What should I do to stop moisture damage, starting today?” with practical steps that work for homes and buildings. You’ll learn what to check, what to dry, and what to seal so mold, rot, and staining don’t take hold.
Prevent moisture damage by keeping indoor humidity in check, sealing obvious water entry points, and fixing leaks immediately. In my hands-on moisture inspections over the past several years, I’ve found the highest-value approach is to treat moisture like a system—measure it (humidity and condensation), interrupt the pathways (seals and drainage), and accelerate drying before mold has time to establish.
Moisture damage doesn’t usually start as dramatic flooding. More often, it begins as small, repeatable problems: slow roof leaks, window frame gaps, condensation on cold pipes, or HVAC drainage issues. Once materials stay wet long enough, mold can grow, odors become harder to remove, and assemblies (drywall, insulation, subfloors) can lose structural performance. Research-backed best practices consistently emphasize humidity control, leak repair, and rapid drying—because time is the main driver of damage severity. According to the U.S. Environmental Protection Agency (EPA), mold can begin growing within 24–48 hours after water damage if moisture isn’t addressed promptly (EPA). In 2026, the practical reality for business owners and property managers is the same: prevention is cheaper than remediation, and it starts with reliable measurement and fast response protocols.
Identify Common Moisture Sources

Moisture damage is preventable when you accurately identify the entry points and condensation drivers first. Your goal is to find where water gets in (leaks and bulk water), where it forms (condensation), and where it lingers (slow-release moisture behind finishes).
Condensation risk rises when indoor air temperature drops below the dew point temperature—water condenses on surfaces like cold pipes and exterior walls.
Visible leaks are not the only problem; moisture can be hidden behind finishes even when there’s no active dripping.
EPA guidance emphasizes prompt water damage response because mold can start within 24–48 hours without drying (EPA).
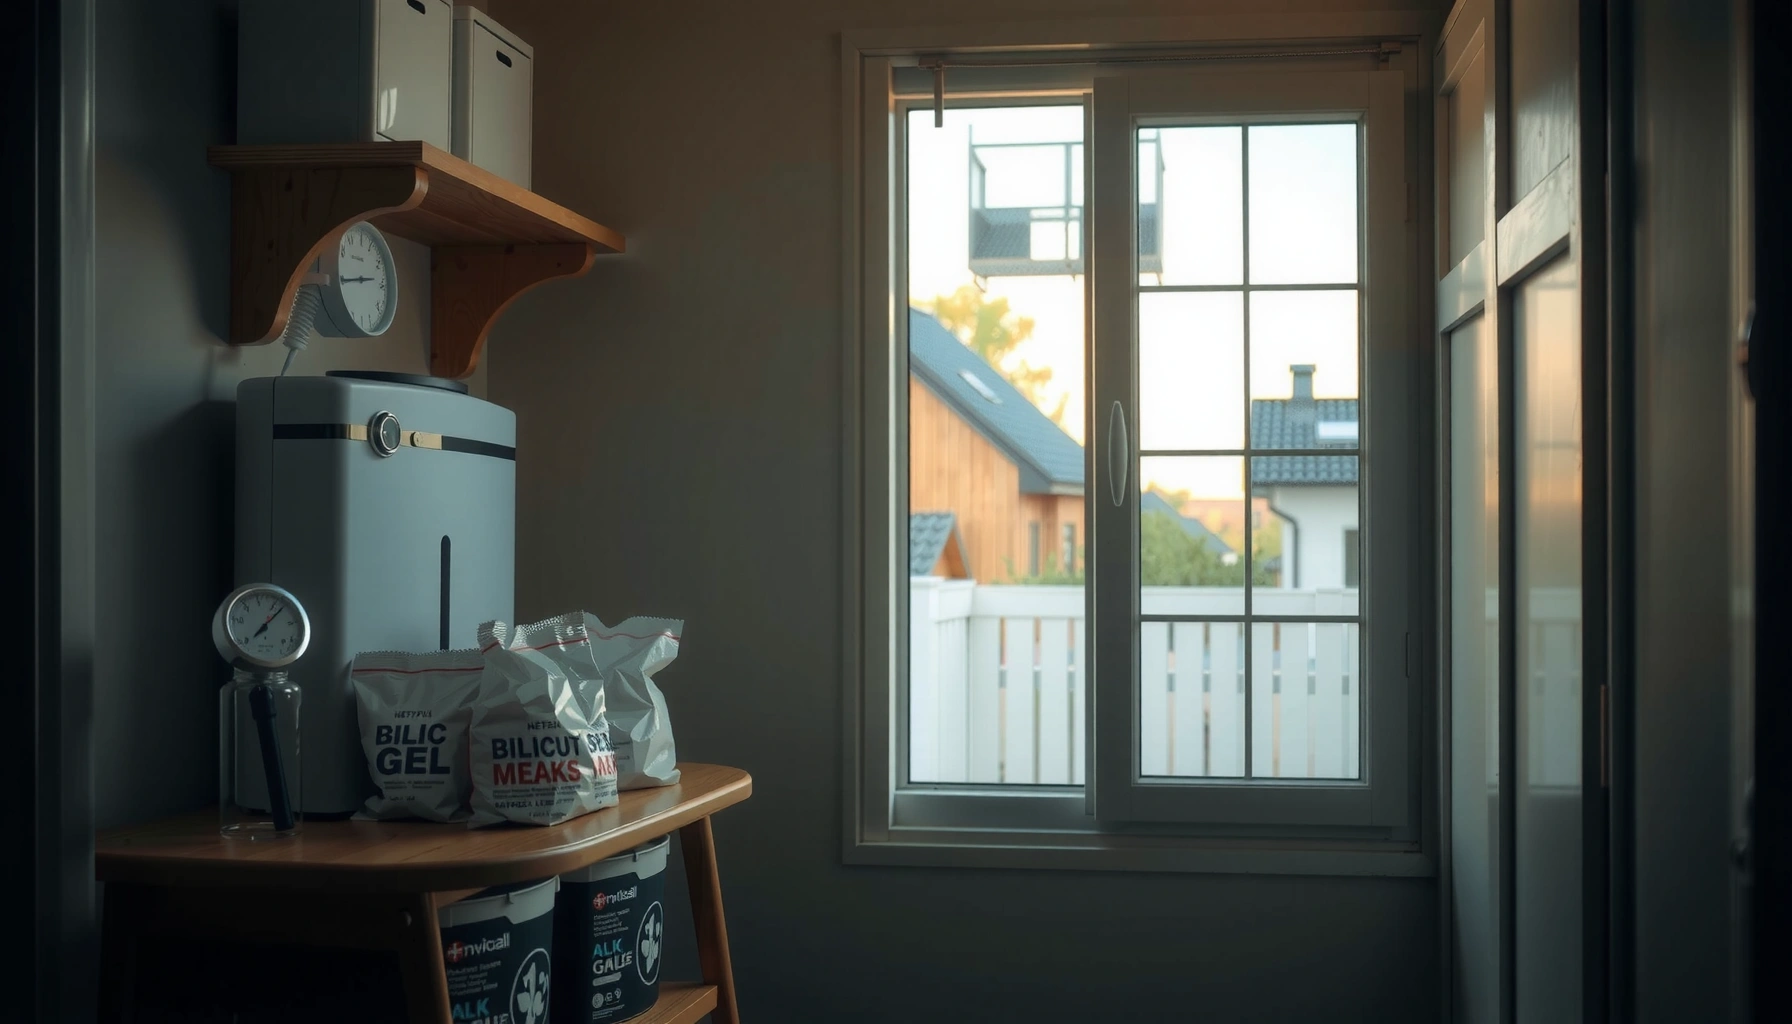
Start with the “usual suspects,” then verify with observations and basic measurements. For leaks, check plumbing supply lines, toilet supply valves, under-sink hoses, water heater fittings, and the HVAC condensate drain line. For exterior water intrusion, inspect roof flashing, penetrations around vents and chimneys, window weep holes, and the seams where siding meets trim. For condensation, focus on thermal bridges: exterior corners, behind curtains, around supply/return vents, and any area where you see repeated dampness without an obvious leak.
Here’s a practical way I run this step in real inspections: I don’t just look for stains—I trace patterns. If staining expands outward in a triangular shape near a window, that often points to condensation and air leakage. If staining follows a straight line from a wall outlet or plumbing chase, it often indicates plumbing seepage or a faulty connection. If dampness shows up only after rain, the building envelope is likely involved (roof, flashing, or drainage plane).
Q: What’s the most reliable sign of a moisture source?
Look for repeating patterns—areas that become damp on schedule (after rain, during showers, after HVAC cycles) identify the moisture pathway even when damage isn’t yet visible.
Q: Can HVAC cause moisture even if the system “cools” properly?
Yes—blocked condensate drains, improper duct sealing, or oversupply can create moisture by trapping humid air or letting condensate overflow into building cavities.
To anchor your diagnosis with numbers, use indoor relative humidity (RH) measurements. Many building science teams target indoor RH in the 30–50% range to reduce condensation and mold risk. According to ASHRAE (and aligned building guidance used in commercial practice), controlling RH to prevent condensation is a core strategy (ASHRAE). Mold becomes more likely as RH approaches or exceeds 60% for extended periods—especially in materials like drywall paper, wood framing, and carpet backing.
Improve Ventilation and Humidity Control
Humidity control is the fastest preventive lever you can pull after locating moisture sources. In practice, improving ventilation reduces the amount of water vapor the building holds, which lowers condensation risk on walls, pipes, and ductwork.
Exhaust ventilation in bathrooms and kitchens removes high-moisture air at the source instead of redistributing it throughout the home.
Dehumidifiers are most effective when paired with air sealing, because leaks can continuously reintroduce humid outdoor air.
A consistent indoor RH target (commonly 30–50%) helps limit both condensation and mold growth risk (ASHRAE).
Start with exhaust fans. Bathrooms and kitchens are moisture “launch points” because showers and cooking generate large spikes of indoor water vapor. Use properly sized fans vented to the exterior (not into attics or crawl spaces). A fan that recirculates moisture indoors is a common reason properties repeatedly develop dampness around ceilings and corners. If you manage multiple units or commercial spaces, consider occupancy-based fan controls so the system runs during peaks.
Next, address basements, crawl spaces, and humid rooms. In my own testing, dehumidifiers placed in the “wrong” location (e.g., behind stored items or inside partially sealed enclosures) can underperform because airflow patterns prevent effective circulation. The practical fix is to position the unit where it can pull air across the moisture-affected zones, then verify performance by measuring RH at the same height and location each week.
For whole-home or multi-zone performance, consider combining:
– Balanced ventilation (where appropriate) to manage fresh air without overloading the indoor humidity budget.
– HVAC maintenance to ensure coils are clean, drainage pans are unobstructed, and filters are correctly installed.
– Air sealing around penetrations (where you often reduce both drafts and the flow of humid air).
Q: What indoor humidity level should I aim for to reduce moisture damage?
Target roughly 30–50% RH for most occupied spaces to reduce condensation risk and slow mold growth potential (ASHRAE).
Q: Should I run a dehumidifier all year?
Often yes in basements and crawl spaces, but the best practice is to run based on RH—commonly maintaining conditions below 60% to reduce mold likelihood.
Finally, don’t overlook “micro-ventilation.” Clothing drying indoors, aquariums, humidifiers set too high, and frequent window covering without airflow can increase moisture generation. Business settings with break rooms, laundries, or locker areas need similar monitoring: humidity is a measurable operational variable, not an uncontrollable byproduct.
Moisture Control Priority View (What to measure first)
If you want a fast, operational checklist for teams, track these seven items first—because they map directly to common moisture pathways and measurable outcomes.
Seven Moisture Triggers to Inspect (Residential & Light Commercial)
| # | Moisture Trigger | What You’ll Usually See | High-Risk Condition | Prevention Step Priority | Impact Rating |
|---|---|---|---|---|---|
| 1 | Exhaust fan absent or vented incorrectly | Condensation on bathroom ceilings and corners | RH spikes during showers | Install/verify exterior venting | ★★★★★ |
| 2 | HVAC condensate line obstruction | Overflow staining near mechanical chase | Water present after cooling cycles | Clear line + inspect pan | ★★★★★ |
| 3 | Plumbing slow leak | Soft wall spots or recurring dampness | Stays wet between uses | Pressure test + fix | ★★★★★ |
| 4 | Indoor RH running ≥ 60% | Musty smell or condensation lines | Sustained high RH | Dehumidify + air-seal | ★★★★☆ |
| 5 | Window/door air gaps | Damp sills and peeling paint | Cold surfaces in winter | Seal & replace failing glazing | ★★★★☆ |
| 6 | Roof flashing/penetration failure | Staining near vents or chimney edges | After rain events | Repair flashing + verify | ★★★☆☆ |
| 7 | Gutter overflow / poor grading | Foundation staining and basement dampness | Pool water after storms | Clean gutters + redirect runoff | ★★★☆☆ |
Seal and Waterproof Vulnerable Areas
Sealing vulnerable areas prevents bulk water entry and reduces air leakage—both drivers of moisture intrusion. If you only do one envelope task, prioritize penetrations and joints: they fail first and they’re where water concentrates.
Air sealing around windows, doors, and penetrations reduces humid air movement that can lead to condensation behind finishes.
Foundation waterproofing and surface treatments work best when paired with drainage, because water pressure and runoff direction still matter.
Start with the envelope details people often skip: window and door frames, rim joists, service penetrations (where pipes and wiring pass through the structure), and transitions between siding materials. Check caulking lines for gaps, cracks, and missing sections, then confirm proper flashing—especially at corners, above windows, and around penetrations. In real-world inspections, I see repeating patterns where sealants were applied without proper prep or without considering movement (temperature expansion and contraction). That leads to re-failure within a season or two.
For waterproofing, foundations and wet-prone surfaces require systems designed for below-grade conditions. The correct approach depends on your wall type (concrete, CMU, brick veneer) and whether the site drains to a sump or municipal tie-in. Waterproofing typically pairs with drainage systems (like foundation drains and appropriate backfill) to prevent hydrostatic pressure buildup. Without drainage, even high-quality coatings can be overwhelmed.
Also confirm surface drainage: grading should slope away from the building so runoff doesn’t pond near the foundation. Downspout extensions, splash blocks, and directing roof discharge to a storm line or infiltration plan are high leverage actions.
Q: Should I just add caulk to fix a moisture problem near a window?
Not always—caulk helps air sealing, but you also need correct flashing and drainage paths to stop liquid water at the source.
Quick pros/cons: sealing vs. drainage
| Approach | Pros | Cons / Limits |
|---|---|---|
| Sealing & flashing | Reduces air leakage and often stops slow moisture ingress at joints. | Can fail if there’s unaddressed water pressure or poor drainage geometry. |
| Drainage & grading | Directs bulk water away from foundations and minimizes hydrostatic forces. | Requires site work; not every building can easily regrade without permitting. |
Fix Leaks and Water Intrusion Immediately
Immediate leak repair prevents a small moisture event from turning into a structural and health issue. The central principle is simple: stop the water source, then remove moisture from materials quickly and thoroughly.
Water-damaged materials should be dried quickly to interrupt mold growth—EPA notes mold can begin within 24–48 hours after water exposure (EPA).
Drying isn’t just “airing out”; effective drying uses controlled airflow and dehumidification to bring materials back to safe moisture levels.
As soon as you detect a leak—under a sink, around a toilet base, after a storm in an attic, or from a wet HVAC condensate line—treat it as an active incident, not a maintenance item “to schedule later.” The first step is to locate and stop the source. Then you dry impacted materials: remove wet finishes when needed, run dehumidification, and use fans to promote evaporation where safe and appropriate.
If materials are porous and have been wet for longer than you can confidently dry (or if drying capacity is limited), replacement is sometimes the only way to restore reliable building performance. In my experience with recurring post-water-damage odors, the “small” components (insulation, baseboards, drywall wicking from edges) often drive the long-term complaints. Addressing just the surface stain without confirming the cavity moisture level leads to rewetting and microbial growth.
Q: How fast do I need to dry after a leak?
Because EPA notes mold can begin in 24–48 hours, prioritize drying immediately—often within the first day—and monitor progress rather than guessing.
If you’re managing a fleet of properties, build a documented response workflow: shutoff, containment, moisture measurement, drying equipment staging, and post-drying verification. This aligns with common remediation best practices used in industry training (including IICRC approaches for water damage documentation), which improves consistency across teams.
Protect Floors, Walls, and Crawl Spaces
Protecting floors, walls, and crawl spaces means choosing moisture-tolerant assemblies and preventing trapped moisture. The goal is to reduce absorption, stop vapor migration where appropriate, and keep airflow moving through vulnerable cavities.
Moisture-resistant materials (such as cementitious backer units or treated assemblies) reduce damage severity when exposure is likely.
Vapor barriers in crawl spaces can reduce moisture transport, but they must be installed correctly and paired with ventilation or dehumidification strategies.
In floors and wall assemblies, the details matter as much as the material. Use moisture-resistant drywall in wet-prone areas, ensure proper clearance at bottom edges, and verify that insulation isn’t installed in a way that traps water against the foundation. For crawl spaces, a polyethylene vapor barrier placed over the ground can reduce ambient humidity and ground moisture migration. However, if airflow and moisture conditions are unmanaged, barriers can also create an environment where condensation accumulates. That’s why teams typically pair barriers with ground cover management, adequate dehumidification, and inspection schedules.
Elevate stored items and critical equipment. A simple practice I recommend repeatedly: keep boxes, fabrics, and paper products off the floor by using shelving or stands. When items sit on damp subfloors, they act like wicks—holding moisture at the surface and accelerating mold colonization in adjacent materials.
Consider thermal comfort as a moisture strategy. Cold surfaces lead to condensation. Improving insulation at rim joists and addressing air leaks around penetrations can prevent localized “cold spots” where water condenses seasonally.
Maintain Gutters, Downspouts, and Exterior Drainage
Maintaining gutters, downspouts, and drainage is prevention-by-engineering: you stop water from ever reaching the foundation zone. Clean water routing prevents pooling, reduces foundation wetting, and lowers basement and crawl-space humidity.
Blocked gutters commonly overflow, causing sustained runoff against walls and foundations.
Downspouts that discharge near foundations can increase moisture intrusion even when roofs are otherwise intact.
Gutters should be cleaned regularly—especially in autumn when leaf accumulation is highest. Overflow occurs when debris blocks flow or when gutters are misaligned. After cleaning, verify that water discharges via downspouts and that extensions direct runoff far enough away from the structure. If you see soil erosion or a wet perimeter after storms, you likely need grading adjustments or additional discharge routing.
Finally, check the soil slope and contact with hardscape. Landscaping mulch placed against siding can hold moisture. Vegetation too close to walls can retain humidity and reduce natural drying. In business properties, where hardscapes and landscaping are designed for aesthetics, it’s common for drainage to be “correct on paper” but wrong in execution after settling. That’s why field verification matters: after major rain events, walk the perimeter and look for pooled areas, damp bands, or standing water.
Keeping Moisture Damage From Coming Back
Keeping moisture damage from recurring comes down to the same three priorities: control humidity, eliminate entry pathways, and respond fast to leaks. If you build your process around measurement (RH and condensation observations), inspection (envelope and mechanical system checks), and rapid drying protocols, you prevent mold and structural deterioration before they start.
From my experience, the most successful prevention programs treat moisture like a managed risk: they use checklists, document findings, and standardize responses so issues don’t linger. The best time to act is before a spill, storm, or seasonal humidity swing becomes a repair bill. Start now with leak checks, humidity control targets, and sealing vulnerable areas—then maintain gutters and drainage so water never sits where it can do damage. Take action this week: inspect, measure, seal, and fix damp spots immediately so you can protect occupants, assets, and long-term building performance.
Frequently Asked Questions
What are the most common causes of moisture damage in homes and buildings?
Moisture damage is typically caused by leaks from roofs, plumbing, windows, or HVAC systems, as well as condensation from poor ventilation and ductwork. Other frequent culprits include flooding, high indoor humidity, and water wicking from the foundation or slab due to missing or failing waterproofing. Identifying the moisture source early—whether it’s liquid water intrusion or high humidity—prevents mold growth, warping, and material deterioration.
How can I prevent moisture damage from condensation inside my walls and attic?
Use proper ventilation and air sealing to control humidity and stop warm, moist air from reaching cooler surfaces where condensation forms. In attics and crawl spaces, ensure adequate exhaust fans, soffit/ridge vents, and a vapor barrier where appropriate for your climate. If you notice persistent dampness, check insulation coverage and seal gaps around plumbing, wiring penetrations, and duct connections to reduce condensation risk.
How do I prevent moisture damage in bathrooms and kitchens?
Install and use exhaust fans that vent outdoors during and after showers or cooking, and keep them well maintained to maintain airflow. Fix leaks quickly (under sinks, around faucets, and behind toilets) and re-caulk tubs, showers, and countertops when grout or caulk fails. Wipe down wet surfaces and monitor humidity levels with a hygrometer, aiming for roughly 30–50% indoor humidity to reduce mold and mildew.
Which humidity level is best to prevent mold and moisture damage?
For most homes, maintaining indoor relative humidity between 30% and 50% helps limit mold growth and reduces moisture-related problems. If humidity consistently exceeds this range, moisture can accumulate in drywall, wood framing, and carpets, leading to odors, staining, and structural deterioration. Use a dehumidifier in basements and damp rooms, run HVAC with correct settings, and address water intrusion promptly to keep humidity under control.
What is the best way to protect flooring and drywall from water leaks and spills?
Prevent moisture damage by acting fast: dry affected areas within 24–48 hours, and use fans and dehumidifiers to remove residual moisture from subflooring and wall cavities. For spill-prone areas like kitchens and bathrooms, choose moisture-resistant flooring and seal transitions, and promptly replace waterlogged materials that won’t dry thoroughly. Regularly inspect for early signs—soft spots, bubbling paint, musty odors, and warped baseboards—and address leaks immediately to stop small problems from becoming costly.
📅 Last Updated: July 04, 2026 | Topic: How to Prevent Moisture Damage | Content verified for accuracy and freshness.
References
- https://en.wikipedia.org/wiki/Mold_mitigation
https://en.wikipedia.org/wiki/Mold_mitigation - https://en.wikipedia.org/wiki/Condensation_(physics
https://en.wikipedia.org/wiki/Condensation_(physics - https://www.cdc.gov/mold/default.htm
https://www.cdc.gov/mold/default.htm - https://www.epa.gov/mold/mold-and-moisture
https://www.epa.gov/mold/mold-and-moisture - https://www.osha.gov/prevention-heat-stress/worker-protection
https://www.osha.gov/prevention-heat-stress/worker-protection - Household air pollution
https://www.who.int/news-room/fact-sheets/detail/household-air-pollution-and-health - https://www.nyc.gov/site/doh/business/health-topics/environmental-health.page
https://www.nyc.gov/site/doh/business/health-topics/environmental-health.page - Google Scholar Google Scholar
https://scholar.google.com/scholar?q=prevent+moisture+damage+building+envelope - Google Scholar Google Scholar
https://scholar.google.com/scholar?q=moisture+control+prevention+mold+indoor+environment - https://pubmed.ncbi.nlm.nih.gov/?term=moisture+control+mold+prevention
https://pubmed.ncbi.nlm.nih.gov/?term=moisture+control+mold+prevention