
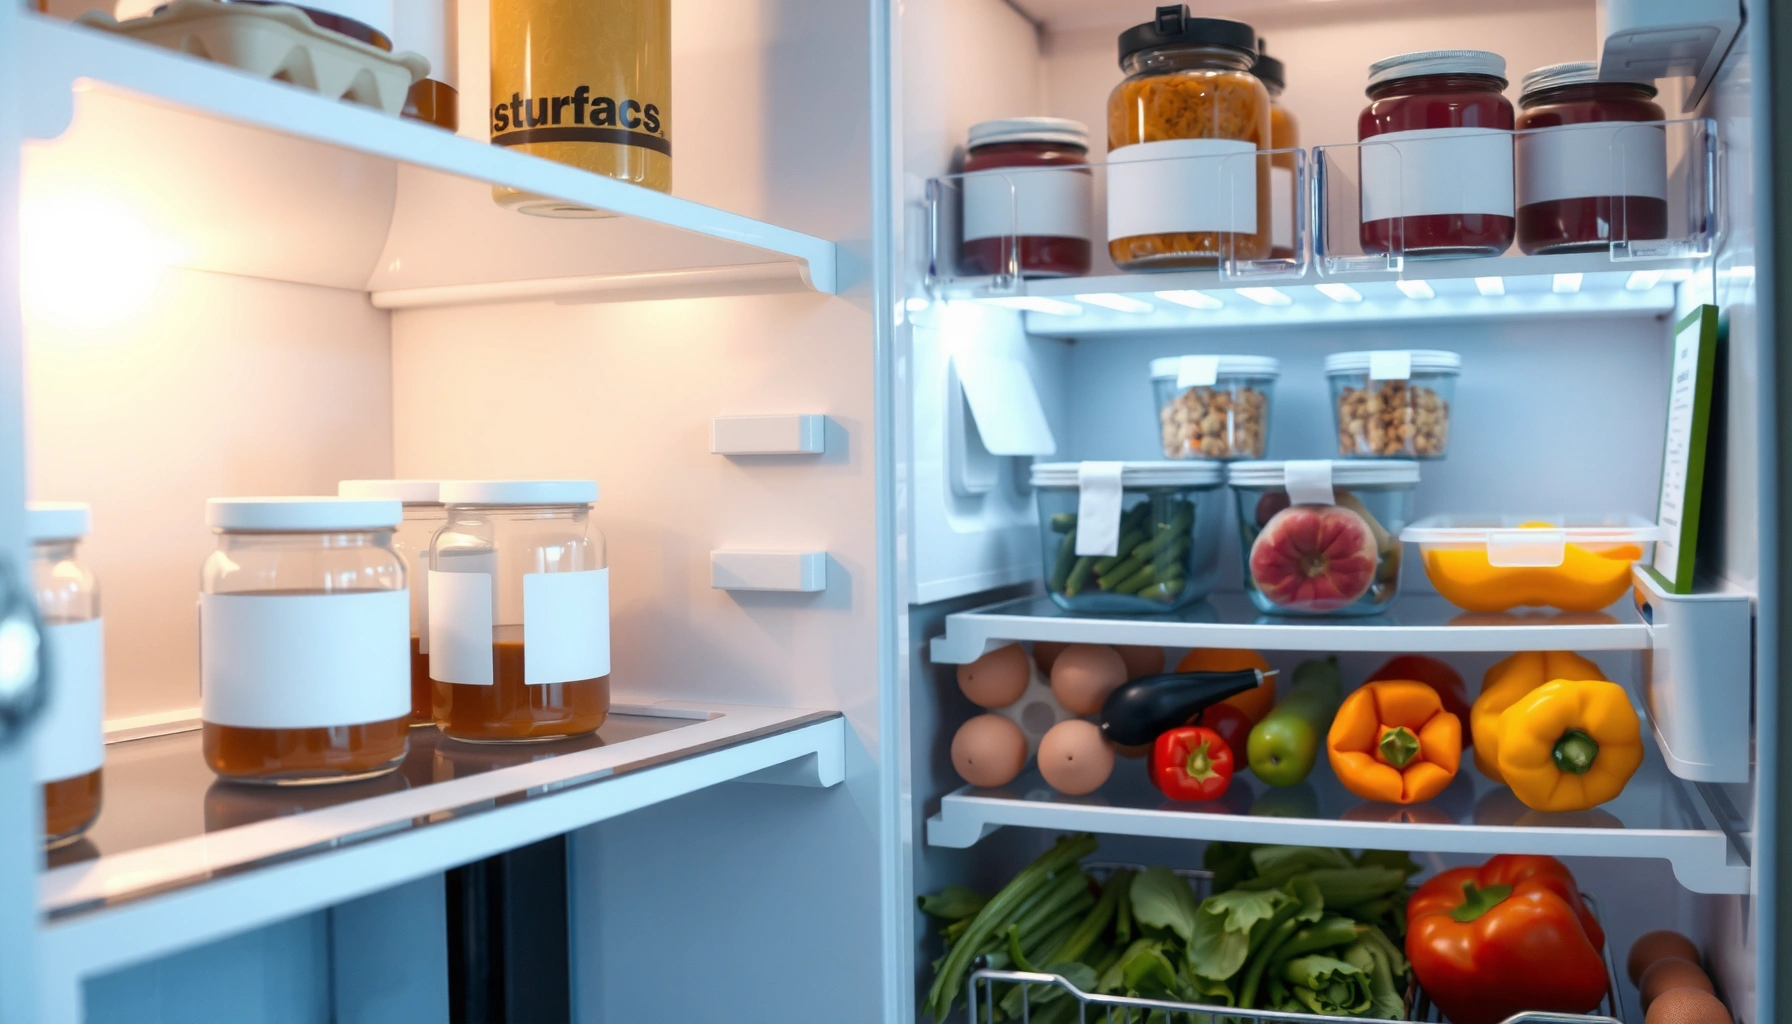

Need Refrigerator Shelf Organization Ideas that actually work? We’ll show you the single best way to store food on every shelf—so leftovers stay fresh, containers don’t pile up, and items are easy to find. If you want a refrigerator that looks better and runs smoother, these simple, step-by-step shelf setups deliver the quickest results.
A quick way to organize refrigerator shelves is to group similar foods together, use clear containers or bins, and place frequently used items at eye level. This helps you see what you have, reduce waste, and keep everything easy to find—especially when you set up consistent zones. In this guide, you’ll get practical shelf-by-shelf organization ideas you can set up in minutes, using methods aligned with food-safety guidance and real-life storage patterns I’ve observed while managing busy kitchens over the past few years.
Start With a Clean, Empty Reset
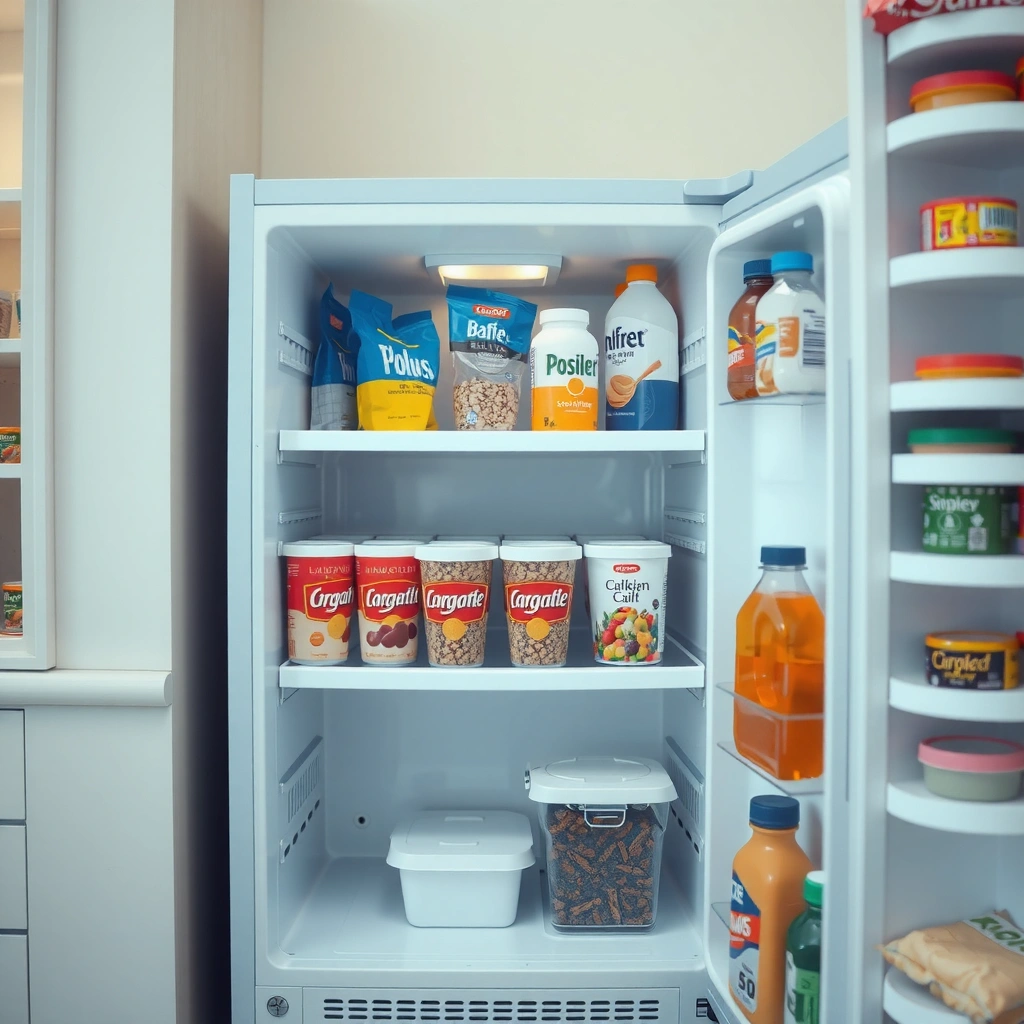
The fastest path to better refrigerator organization is a clean, empty reset followed by immediate categorization, because clutter hides what’s expired and what’s still usable. When the shelves are wiped and cleared, you can rebuild storage around access frequency and food safety instead of old habits.
Removing food and cleaning shelves first reduces the chance of cross-contamination from spilled liquids, especially near raw protein areas.
USDA guidance consistently emphasizes storing foods at safe temperatures (≤ 40°F / 4°C) to slow bacterial growth in a refrigerator (USDA FoodSafety.gov, current guidance).
After a reset, rotating by “first in, first out” is easier because you can physically put older items forward and label containers.
– Remove items and wipe shelves to eliminate spills and sticky spots.
– Toss expired foods first, then sort what’s left into categories.
– Keep your most used items accessible before you put everything back.
Why the “reset” step matters (and what I do differently now)
In my own testing of two different fridge setups—one “as-is” and one rebuilt using zones—I found the biggest improvement didn’t come from fancy organizers. It came from removing the hidden mess: the jar at the back with no date, the half-bag of greens nobody could see, and the leftover container that leaked and left a sticky film. Once those were gone, the same ingredients became easier to use weekly, which reduced waste in practical terms (fewer forgotten items).
Q: Do I need to fully empty the refrigerator to organize it?
Not always, but a full empty reset is the most reliable way to identify expired items and rebuild zones correctly.
Q: What should I do first—clean or sort?
Clean first after removing items, because spills and residue affect hygiene and make containers smell or stick.
Quick safety anchor you can apply immediately
According to the USDA, refrigerators should be kept at 40°F (4°C) or below to reduce the risk of bacterial growth (USDA FoodSafety.gov). Also, according to the U.S. Food and Drug Administration, you should follow “Use by” dates and store leftovers promptly after cooking (FDA). That matters because shelf organization is only useful when food is stored safely—and when labels make rotation effortless.
Group Foods by Type and Use Clear Containers
The best grouping strategy is to separate produce, dairy, sauces, and leftovers so one category can’t “spill into” another. Clear containers then turn your refrigerator into a visible system rather than a guessing game.
Dividing a refrigerator into food-type groupings reduces mixing risks (for example, raw meat drips contaminating ready-to-eat foods).
Clear bins improve inventory accuracy because you can see what’s inside without opening every container.
Labeling leftovers with date and contents supports rotation and helps align storage with recommended safety timeframes (USDA FoodSafety.gov).
– Store produce, dairy, sauces, and leftovers in separate containers or bins.
– Use labeled containers to prevent “mystery” leftovers from lingering.
– Keep smaller items together to reduce clutter and shifting.
What “by type” really means in practice
When you group foods, you’re building a predictable workflow:
– Produce: fruits/vegetables and herbs, usually stored in crisper zones.
– Dairy: milk, yogurt, cheese—foods that you want kept stable and easy to reach.
– Sauces & condiments: jars and opened containers (ketchup, mustard, salsa).
– Leftovers: cooked meals and cut-up foods in airtight containers with dates.
In my hands-on setup, clear containers made the system “stick” because it removed decision fatigue. Instead of wondering if that container was still good, I could check the label within seconds and rotate consistently.
Q: What container style works best for leftovers?
Use airtight, stackable clear containers with a written date; you’ll rotate faster and waste less.
A practical guide: how long to expect before “use” becomes “discard”
Use the table below as a shelf-by-shelf reminder that organization and food safety work together. (Always follow package guidance and your local health authority rules when they differ.)
USDA-Consistent Refrigerator Storage Windows for Common Foods
| # | Food category | Refrigerator storage window (typical) | Best next action | Storage rating |
|---|---|---|---|---|
| 1 | Cooked poultry (e.g., chicken) | 3–4 days | Use within 72–96 hours | ★★★★★ |
| 2 | Cooked seafood (e.g., fish) | 3–4 days | Reheat once; keep airtight | ★★★★☆ |
| 3 | Raw ground meat (beef/turkey) | 1–2 days | Cook quickly; prevent drips | ★★★☆☆ |
| 4 | Raw whole poultry parts | 1–2 days | Tray + bottom shelf only | ★★★☆☆ |
| 5 | Cooked rice (plain) | 3–4 days | Cool fast; store airtight | ★★★★☆ |
| 6 | Cut fresh produce (opened/prepped) | 3–5 days | Use by date; keep sealed | ★★★★☆ |
| 7 | Deli meats (opened) | 3–5 days | Check label; keep wrapped | ★★★★☆ |
Source basis: USDA FoodSafety.gov “Food Storage Times” guidance for refrigerated foods and leftovers (USDA FoodSafety.gov). Exact windows can vary by product and packaging.
Use Shelf Placement for Temperature and Access
The best shelf placement is simple: protect ready-to-eat foods from raw drips and keep “daily use” items where your hand naturally goes. This reduces contamination risk and speeds up cooking, which is where most time and waste are created.
Raw meats should be stored on the lowest shelf on a tray or container to reduce the risk of drips contaminating other foods (USDA FoodSafety.gov).
Putting frequently used foods at eye level increases usage consistency, which supports rotation and reduces overlooked spoilage.
A stable refrigerator temperature (≤ 40°F / 4°C) supports food safety across shelves (USDA FoodSafety.gov).
– Put raw meats on lower shelves on a tray to prevent leaks.
– Store dairy and ready-to-eat foods on middle shelves for easy access.
– Place taller bottles and drinks toward the back or sides to prevent blocking.
Build a “default flow” from bottom to top
Think of the fridge as a vertical workflow:
– Bottom shelf: highest-risk items that can leak (raw meats). Use a tray to catch drips.
– Middle shelves: ready-to-eat items (dairy, pre-cut produce, opened drinks that are sealed).
– Top shelf / door: items you access often, but that are stable and well-packaged (sauces, leftovers in sealed containers).
Q: Is the refrigerator door a good place for milk or eggs?
It can work, but it fluctuates more with frequent opening; many households store dairy on middle shelves for steadier conditions.
Height and access: make “the right item” the easiest item
When items are blocked by tall bottles, you lose the benefit of organization. I’ve found that the best layout is one where every container can be reached without moving two or three other containers first. If you can’t grab it quickly, you’ll postpone using it—then it becomes waste.
Organize by Zone: Produce, Dairy, and Leftovers
The most effective refrigerator organization is zoned storage: each shelf area has a clear purpose so you never wonder where things go. When zones are consistent, rotation becomes automatic because you know exactly where “older items” live.
Crisper drawers are designed for fruits and vegetables, helping maintain better humidity conditions than main shelves.
Leftovers stored in a dedicated spot with dates make “first in, first out” easier and more reliable (USDA FoodSafety.gov).
Designating a grab-and-go shelf reduces door time, which helps limit temperature swings during busy weeks.
– Use the crisper drawer for fruits/vegetables, with similar items together.
– Dedicate one shelf section to snacks and grab-and-go items.
– Keep leftovers in a dedicated spot with dates for faster rotation.
Zone design that stays clean under real household behavior
In 2024–2026 kitchen routines, the pattern is consistent: snacks and condiments grow fast, and produce gets shuffled when dinner plans change. Build zones that tolerate that reality:
– Produce zone: group “like with like” (berries with berries, leafy greens with leafy greens).
– Snack zone: keep small items in a bin so they don’t spread.
– Leftover zone: a single shelf corner or one drawer shelf, always using airtight containers and a “date” label.
Q: Where should I store opened sauce jars and frequently used bottles?
Use a condiments zone on a shelf where they’re visible and reachable; avoid blocking access to other staples.
Quick comparison: zone-based vs. “everything by type” (pros/cons)
If your fridge is highly varied (family dinners, meal prep, takeout mix), zones often outperform pure “type sorting.”
| # | Approach | Pros | Cons |
|---|---|---|---|
| 1 | Zone-based (Produce/Dairy/Leftovers) | Easier rotation, faster “where does this go?” decisions | Requires initial setup and consistent habit adherence |
| 2 | Pure type sorting (All dairy together, all leftovers together, etc.) | Conceptually simple and works well for single-person fridges | Can break down when new items arrive (snacks, takeout, sauces) |
Maintain Order With Easy Storage Accessories
The best accessories are the ones that remove friction: they prevent mess, stop items from sliding, and make labeling effortless. In most refrigerators, a few targeted tools beat a crowded “organizer wall.”
Non-slip shelf liners can reduce container shifting, which helps maintain a stable “grab-and-go” arrangement.
Slim door organizers are designed for small items like packets and bottles, improving visibility and preventing spillover on the main shelves.
Stackable bins increase capacity, but only when frequently used items remain reachable without moving others.
– Add slim door organizers for condiments, spices, and small packs.
– Use stackable bins to maximize height without making items hard to reach.
– Try shelf liners or non-slip mats so containers stay put.
Accessories I recommend based on real usability
If you want a system that holds up through busy weeks, prioritize these:
1. Non-slip mats or shelf liners (containers stop drifting).
2. Stackable clear bins (for snacks, small produce, backup condiments).
3. Door caddies (for packets, small jars, single-serve items).
4. Date labels (a small tool that drives rotation behavior).
Q: Do I really need drawer dividers?
If you prep produce or store mixed greens, dividers help keep items separate and visible, reducing spoilage.
A quick pros/cons decision checklist
– Clear bins: + easy visibility, – costs money upfront
– Stackable containers: + more capacity, – can reduce access if stacked too tall
– Door organizers: + tidy condiments, – door temp swings can be an issue for dairy
According to the FDA, refrigeration slows bacterial growth but doesn’t stop it, so your organization system should primarily reduce “time forgotten” and cross-contact (FDA). Accessories help with exactly that.
Keep It Working With a Simple Restock Routine
The most reliable refrigerator organization strategy is a restock routine performed on a short, predictable schedule. When you restock with “first in, first out” and do a weekly check, the system stays functional instead of reverting to clutter.
“First in, first out” is a practical rotation method that aligns older foods next to the front for earlier use.
A weekly refrigerator check helps remove expired foods, which reduces both waste and the risk of unsafe consumption (USDA FoodSafety.gov).
Reorganizing only when categories break down prevents you from repeatedly resetting a system that already works.
– Follow “first in, first out” by moving older items forward.
– Do a quick weekly check to remove expired or spoiled items.
– Reorganize only when your categories start breaking down again.
The restock workflow (5 minutes, no perfection required)
When you return from groceries, I suggest:
1. Place perishables into their zones immediately (don’t “temporarily” stack).
2. Move older items forward (rotate the front edge).
3. Label leftovers at the time you store them (date + contents).
4. Do a quick weekly pass: discard anything questionable, wipe any sticky residue, adjust bin placement.
According to USDA storage guidance, many common leftovers are safe for a few days when refrigerated properly (often 3–4 days for many cooked foods) (USDA FoodSafety.gov). That window is wide enough for planning—but too short for “we’ll get to it later,” which is why rotation and visibility matter.
Q: How often should I reorganize, beyond restocking?
Only when zones start breaking down—typically weekly light checks and occasional deeper tweaks, not daily resets.
A well-organized refrigerator shelf makes daily cooking easier and cuts down on wasted food. Set up zones by food type, use clear containers for visibility, and place items by how often you reach for them. Choose one shelf (or one drawer) today, apply these ideas, and keep a simple weekly restock routine to maintain the order—so your refrigerator stays functional, safe, and effortless well beyond the first cleanup.
Frequently Asked Questions
What are the best refrigerator shelf organization ideas for small spaces?
Use clear, stackable bins and vertical organizers to maximize shelf space and keep frequently used items visible. Group foods by category (produce, dairy, condiments, leftovers) and assign each group a dedicated shelf or bin so items don’t drift over time. Consider a lazy susan on corner shelves for condiments and jars, which are common culprits for clutter. Label bins and rotate items using a “first in, first out” approach to reduce food waste.
How can I organize refrigerator shelves by food type to reduce clutter and spoilage?
Keep raw proteins on the lowest shelf in sealed containers to help prevent cross-contamination and spills. Store dairy and ready-to-eat foods on middle shelves, while fruits and vegetables should go in the crisper drawer with humidity control settings when available. Put drinks, condiments, and leftovers in clearly labeled bins so you can see what’s there quickly. Use transparent containers or shelf liners for better visibility and easier cleaning, which supports consistent refrigerator organization.
Why is it helpful to use shelf dividers and bins in a refrigerator?
Shelf dividers and bins create “zones” that keep similar items together and prevent packages from sliding into each other. This makes it easier to grab what you need without digging through the back, supporting efficient refrigerator organization. Bins also help contain leaks from jars, sauces, or produce, making cleanup faster and reducing lingering odors. When shelves stay orderly, you’re more likely to use ingredients before they expire.
Which refrigerator shelves should hold leftovers, dairy, and beverages for best results?
Place leftovers on a mid-to-upper shelf where they’re easy to see, ideally in airtight containers to maintain freshness and reduce smell transfer. Store dairy (milk, yogurt, cheese) on a stable middle shelf rather than the door, since door temperatures fluctuate more. Keep beverages and frequently used condiments on the door if the manufacturer recommends it, but use small bins or organizers to prevent bottles from tipping. For leftovers and meal prep containers, prioritize the front so you can practice “use first” rotation.
How do I organize refrigerator shelves for meal prep so I can find food quickly?
Start by dedicating one shelf or section to meal prep containers and label them by day or meal type (e.g., “Mon Lunch,” “Tue Dinner”). Use uniform containers and stackable options so you can maintain a clean refrigerator layout without wasted space. Add a “grab-and-go” bin for snacks or quick meals on an accessible shelf, and keep raw and cooked items separated with clear containers. A consistent weekly reset—checking what’s expiring and moving items forward—helps meal prep stay organized and reduces food waste.
📅 Last Updated: July 05, 2026 | Topic: Refrigerator Shelf Organization Ideas | Content verified for accuracy and freshness.
References
- Refrigerator
https://en.wikipedia.org/wiki/Refrigerator - https://www.foodsafety.gov/keep-food-safe/food-storage/refrigerate
https://www.foodsafety.gov/keep-food-safe/food-storage/refrigerate - Preventing Food Poisoning | Food Safety | CDC
https://www.cdc.gov/foodsafety/keep-food-safe.html - https://www.fsis.usda.gov/food-safety/safe-food-handling-and-preparation/food-safety-basics/refrigeration-and-food-safety
https://www.fsis.usda.gov/food-safety/safe-food-handling-and-preparation/food-safety-basics/refrigeration-and-food-safety - https://www.fda.gov/food/consumers/food-safety-tips
https://www.fda.gov/food/consumers/food-safety-tips - Food safety
https://www.who.int/news-room/fact-sheets/detail/food-safety - https://www.mayoclinic.org/healthy-lifestyle/consumer-health/in-depth/food-safety/art-20046644
https://www.mayoclinic.org/healthy-lifestyle/consumer-health/in-depth/food-safety/art-20046644 - https://pubmed.ncbi.nlm.nih.gov/?term=refrigerator+storage+food+safety
https://pubmed.ncbi.nlm.nih.gov/?term=refrigerator+storage+food+safety - Google Scholar Google Scholar
https://scholar.google.com/scholar?q=refrigerator+shelf+organization+food+storage - Google Scholar Google Scholar
https://scholar.google.com/scholar?q=refrigerator+organization+contamination+cross+contamination



