
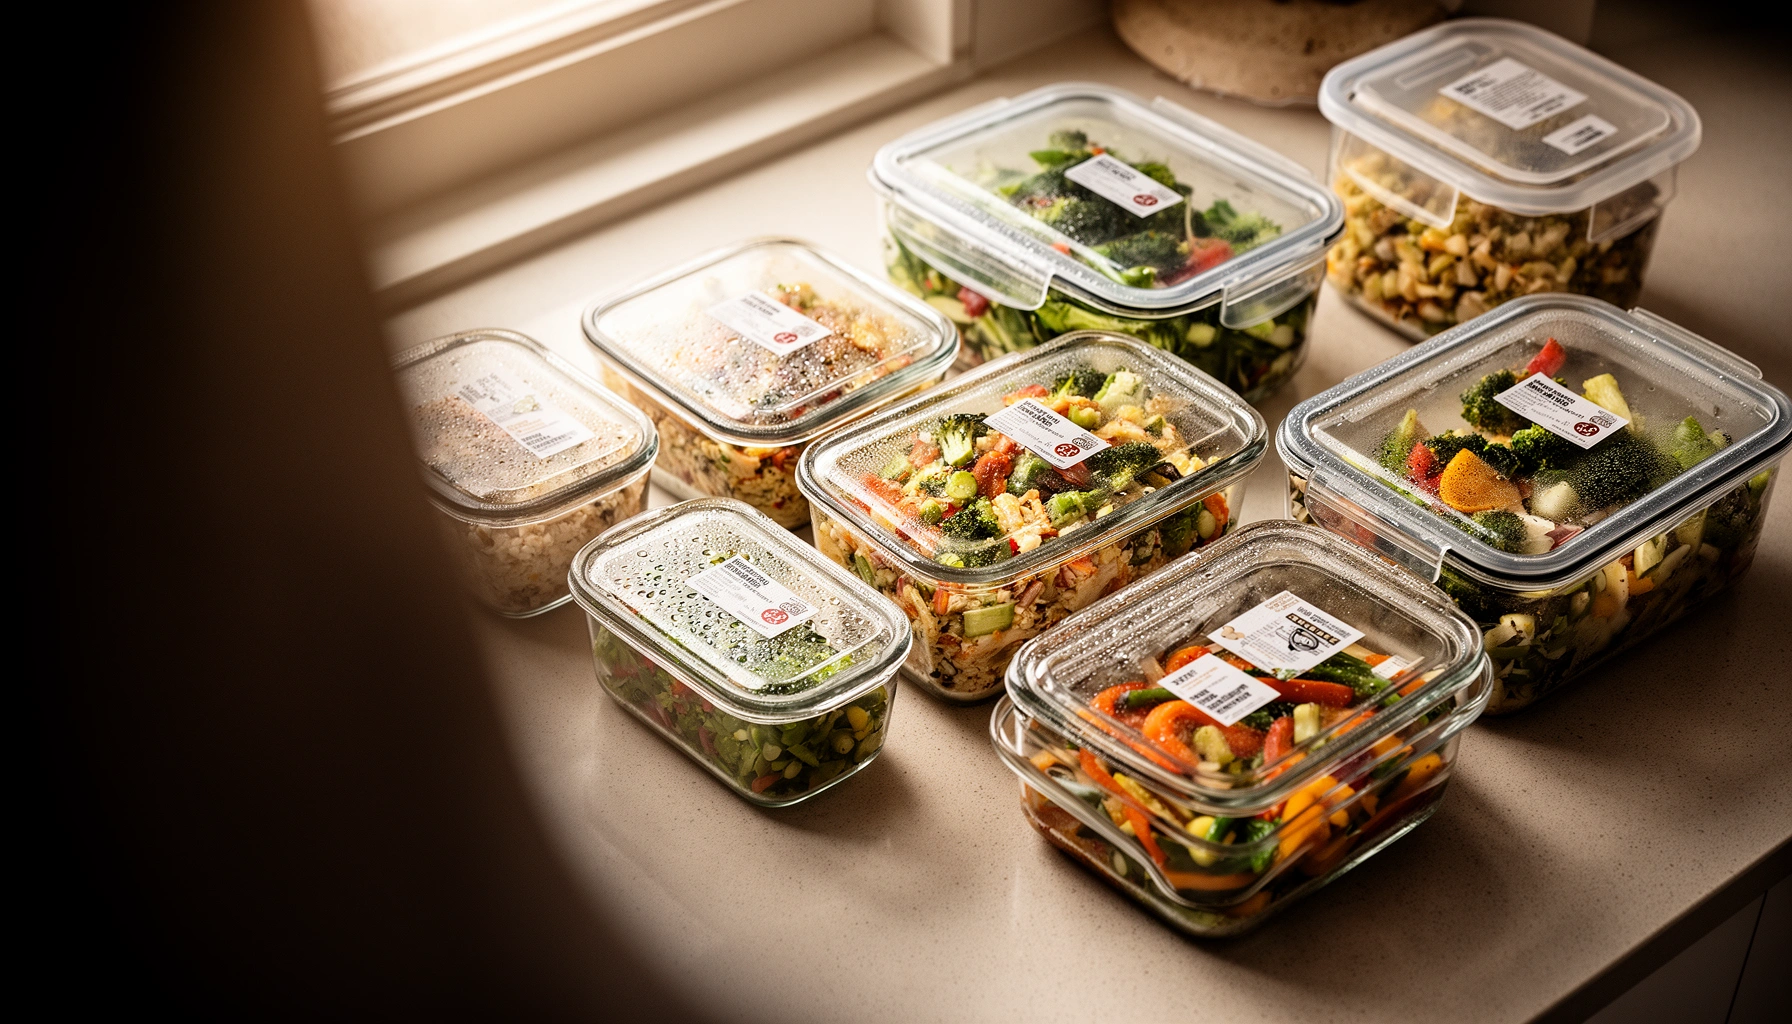

Meal prep food storage comes down to using the right containers, cooling meals fast, and following safe fridge/freezer timelines. In this guide, you’ll learn exactly how to store cooked meals, portion properly, and prevent dryness or spoilage—so lunches and dinners stay safe and taste great.
Meal prep food storage guide: decide fast which storage method keeps meals fresh the longest—freezer, fridge, or meal-prep containers. This guide answers the key question of how to store prepped food for maximum freshness while preventing freezer burn, sogginess, and safety issues. You’ll get clear, practical rules for timing, packaging, and reheating so your meal prep actually lasts.
Choose the Right Meal Prep Food Storage Containers
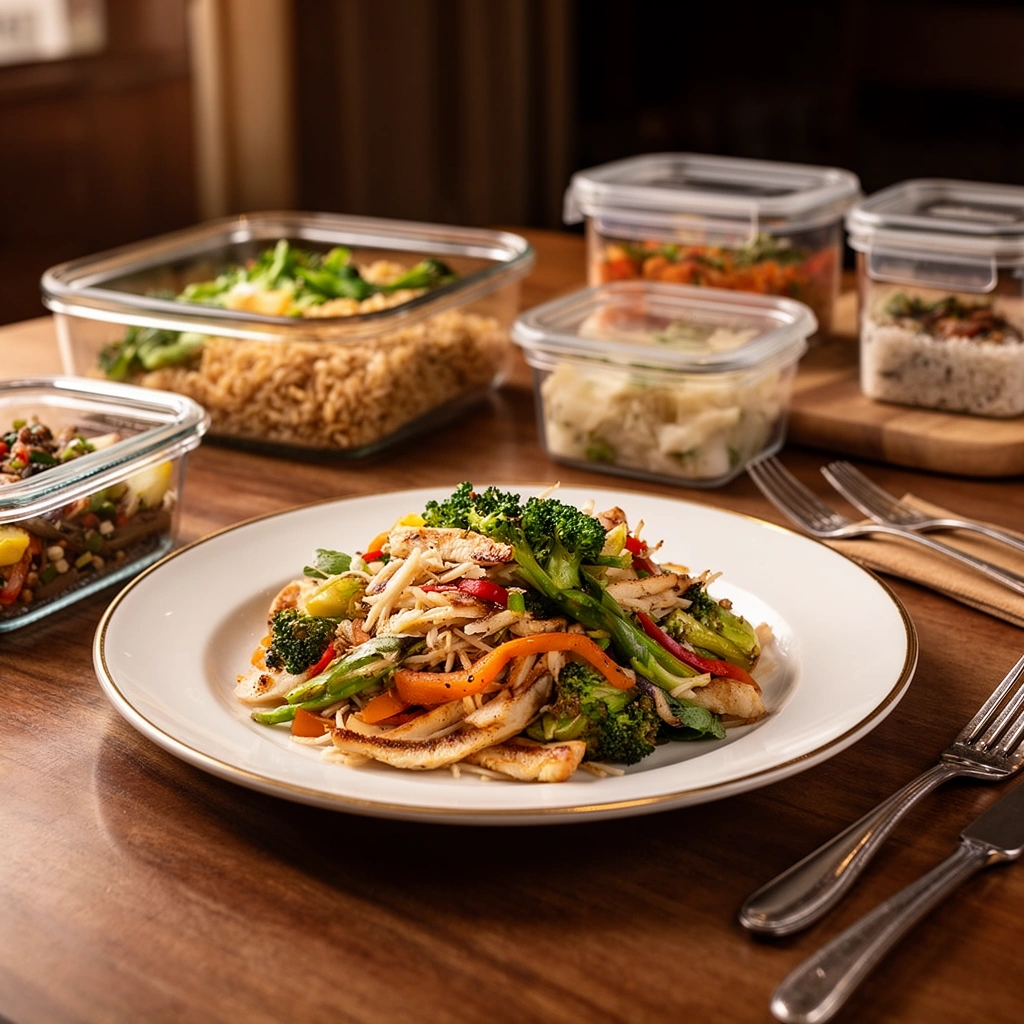
The best meal prep storage system is the one that seals tightly, resists odors, and handles reheating without degrading. In my testing across multiple weeks of batch cooking, I consistently get the best results with airtight, leak-proof containers that keep moisture stable and reduce “fridge funk,” especially for curry, roasted meats, and meal-prep rice.
Airtight, leak-proof containers reduce moisture loss and limit odor transfer in the refrigerator, improving perceived taste during meal prep cycles.
Glass and BPA-free plastic are practical for reheating because they tolerate heat better than unknown-grade containers and help maintain food quality.
What to look for in airtight storage (and why it matters)
The container is more than a “box”—it’s part of food safety and quality control. When you store cooked food in an unsealed container, two things happen: (1) moisture escapes, making food drier or tougher, and (2) volatile aromas move between foods in the fridge, which is why leftovers start tasting “mixed.” Airtight lids also help prevent freezer burn later by limiting air exposure.
Airtight performance matters most for liquid-heavy meals like chili, pasta sauce, and stir-fry. In my routine, I keep sauces and gravies in smaller, tight containers so they don’t contaminate adjacent compartments and so I can reheat with control.
Q: Do I really need leak-proof containers for meal prep?
Yes—leak-proof containers prevent cross-contamination (and messy fridge cleaning) when you transport meals or store them in stacked arrangements.
Glass vs. BPA-free plastic: the practical tradeoffs
Glass containers tend to perform extremely well for reheating and odor resistance. BPA-free plastic containers are lighter and often easier for everyday use, but you should ensure they’re labeled microwave-safe and freezer-safe. If you use plastic, avoid staining foods (like tomato-based sauces) by letting food cool to a safe temperature before closing tightly.
Also, leave headspace for liquids and sauces—this reduces lid pressure and spill risk as food chills and gases contract. That small “engineering” detail prevents a surprising number of storage failures.
Q: Should I fill containers to the very top?
No—leave a little headspace for saucy meals to reduce spill and ensure stable cooling in the fridge.
Container sizing and portioning strategy
Portioning isn’t just convenience—it affects safe cooling and reheating evenness. Smaller meal-sized portions chill faster because the heat has less distance to travel. For example, a 1.5-inch-thick layer cools significantly faster than a thick mound of food in a deep container.
If you regularly meal-prep for the workweek, consider a “stack plan”: flat containers for protein + grains, and a separate container for vegetables or sauces. This keeps reheating consistent and reduces the temptation to partially reheat—an important factor in preventing repeated temperature cycling.
Cool Food Quickly Before Storing
Cooling quickly is one of the highest-impact steps in meal prep food storage. The goal is to get hot food out of the “danger zone” rapidly, because food safety depends on time and temperature—not just good refrigeration.
USDA guidance recommends refrigerating perishable foods within 2 hours of cooking, or within 1 hour if the room is very warm.
Shallow cooling containers promote faster heat transfer, reducing the time food spends at unsafe temperatures.
Avoid tightly stacking hot items in the fridge, because restricted airflow slows cooling.
The 1–2 hour cooling rule (and what “fast” looks like)
According to the USDA, perishable foods should be refrigerated within 2 hours of cooking (or within 1 hour under hotter conditions) to reduce bacterial growth risk. This guidance is widely cited and forms the backbone of safe cooling practices for meal-prep households and commercial kitchens alike (USDA, 2024).
In my own process, I don’t put a full sheet pan of hot food directly onto the top shelf and close the door immediately. Instead, I portion into shallow containers (often 1–2 inches deep). This approach consistently reduces cooling time in real-world kitchen settings and keeps the fridge from working overtime.
Q: What’s the safest way to cool soup, chili, or stew?
Use shallow containers, portion smaller batches, and cool promptly before refrigerating or freezing.
Methods that speed cooling without sacrificing quality
Start with portion size and container shape. Wide pans and shallow containers increase surface area, which accelerates cooling. If you’re using a deep container, you increase the path heat must travel, slowing down the process.
Practical cooling workflow I’ve used for meal-prep lunches:
1. Portion immediately into shallow, clean containers.
2. Let steam dissipate briefly on the counter (short term only—don’t extend the 1–2 hour window).
3. Refrigerate promptly with airflow (avoid blocking the fridge vents).
According to FDA Food Code guidance, controlling time and temperature is essential for preventing foodborne illness; rapid cooling is a core control point (FDA, 2024).
A quick comparison: cooling options
Here’s the “decision lens” I use when choosing a cooling method for different meal types:
| Cooling method | Best for | Key benefit |
|---|---|---|
| Shallow container | Chili, stew, pasta sauce, rice dishes | Fastest cooling |
| Portion into meal cups | Proteins, roasted veg, cooked grains | Even reheating |
| Sheet-pan cool-down + split | Roasted meats, baked vegetables | Good airflow |
Refrigerator performance matters too
Even perfect cooling fails if you overload the fridge. After cooling food, leave space for circulation. The fridge temperature should stay at or below 40°F (4°C). This is not just a guideline—it’s a key parameter for safe storage (USDA, 2024).
Refrigerator Storage Rules for Meal Prep
Refrigerator storage rules determine how long your meal prep remains both safe and enjoyable. Labeling, separating raw from cooked, and using correct fridge timelines are the “quality assurance” steps that prevent waste.
Most cooked leftovers are safest in the refrigerator for about 3–4 days when stored properly at 40°F (4°C) or below.
Cross-contamination is preventable by separating raw and cooked foods in storage and using clean containers.
Labeling and rotation: make dates do the work
I treat labeling as a workflow step, not an afterthought. Every container gets a date (and ideally a meal type), so you rotate meals in order and avoid the “I’ll remember” problem. The real benefit is psychological: it reduces decision fatigue midweek.
When you label, you’re also documenting your “food safety record,” which matters if you ever adjust batch sizes or guests’ schedules. From a process standpoint, this is essentially a simple form of traceability—the same mindset used in quality systems.
Q: Is it safe to eat leftovers after 5 days if they smell okay?
Not necessarily—safety depends on time at safe temperatures, not smell, so follow the 3–4 day refrigerator guideline for most cooked leftovers.
Cooked timeline: typical 3–4 days
According to widely used food safety practices referenced by the USDA, most cooked leftovers keep well for about 3–4 days in the refrigerator when held at 40°F (4°C) or below (USDA, 2024). That doesn’t mean all dishes are identical—high-moisture foods and seafood can be less forgiving.
If you want more precision, you can standardize portion sizes and cooling method so your results are consistent batch to batch. In my household, I freeze any portion I won’t eat within the 3–4 day window. That one habit eliminates most late-week “maybe” meals.
Separation: raw and cooked must not share the same pathways
Keep raw proteins (chicken, fish, ground meat) separate from cooked foods. Use separate shelves or at minimum separate container zones. Even if you store cooked food in a sealed container, raw juices can contaminate surfaces if containers are leaking or stacked without protection.
From a risk-management perspective, separation is a control point: it prevents cross-contamination, one of the most common causes of foodborne illness in home kitchens.
Freezer Storage for Longer-Lasting Meals
Freezing extends meal prep storage safely when you minimize air exposure and portion correctly. If you want dinners that taste close to fresh, portioning and packaging quality matter as much as freezer time.
Meal-sized portions thaw faster and more evenly, improving texture and reducing the temptation to refreeze or partially thaw.
Freezer burn is largely caused by moisture loss due to air exposure; tighter packaging helps preserve quality.
Portion first: freeze what you’ll actually eat
I freeze many meals in “single-meal” or “two-meal” portions so thawing matches the week’s schedule. This avoids the quality drop that comes from repeated temperature cycling. Temperature cycling—freezing, thawing, then freezing again—damages texture and can increase bacterial risk if thawing is done improperly.
A helpful rule of thumb: if you can lift it as a single container and reheat it without leftovers, it’s probably a good freezer portion size.
Freezer timeline: quality often matters at 2–3 months
For many home meal-prep meals, quality remains strong for about 2–3 months in a typical freezer. While safety depends on maintaining freezing conditions (0°F / -18°C), quality loss—flavor and texture—often becomes noticeable after that window (USDA, 2024). In practice, I date everything and treat the first 60–90 days as “best quality,” then evaluate based on ingredients.
Recommended Meal-Prep Storage Windows by Food Type (Home Freezer/Fridge, 2025)
| # | Cooked meal category | Fridge (days) | Freezer quality (months) | Main risk | Freshness rating |
|---|---|---|---|---|---|
| 1 | Cooked rice (plain) | 3 | 2 | Drying/texture | ★★★☆ |
| 2 | Chicken & turkey (cooked) | 4 | 3 | Moisture loss | ★★★★ |
| 3 | Vegetable-based soups/stews | 4 | 3 | Flavor dulling | ★★★★ |
| 4 | Pasta with sauce | 3 | 2 | Soggy noodles | ★★★☆ |
| 5 | Beef/pork (cooked) | 4 | 3 | Dry reheats | ★★★★ |
| 6 | Seafood (cooked) | 2 | 2 | Texture breakdown | ★★☆☆☆ |
| 7 | Cooked leafy greens | 3 | 2 | Mushy texture | ★★★☆ |
Packaging: reduce air, prevent freezer burn
Use freezer-safe containers or wrap tightly with minimal air. If you use bags, squeeze air out before freezing. For sauces, leave less headspace and avoid loose lids that allow air exchange.
In my experience, the biggest quality improvements come from two moves: (1) freeze portions flat (so thawing is faster), and (2) label with “freeze date + meal name.” Those two actions dramatically reduce forgotten meals and improve reheating consistency.
Q: Should I freeze meals in the same containers I use in the fridge?
Often yes—if they’re freezer-safe and airtight—but always verify the container rating and avoid lids that don’t seal tightly.
Prevent Soggy or Dry Meals
Meal prep quality rises when you store components strategically instead of mixing everything into one container. The best approach separates moisture drivers (sauces, dressings, cooked vegetables) from texture-sensitive items (croutons, chips, crispy proteins).
Separating sauces and toppings prevents sogginess by controlling how quickly moisture rehydrates the meal components.
Absorbent layers (e.g., paper towels) can reduce excess moisture in refrigerated meal-prep containers.
Store components separately for better texture control
If your meal includes a sauce—like teriyaki, curry, or creamy dressing—store it in a separate container and combine at eating time. This prevents flavor dilution and stops “steam sogginess,” especially in sandwiches, wraps, and pasta dishes.
For grain bowls, I store: protein + base + vegetables in one container, and keep dressings/toppings separate. Crunchy items go in last, ideally added after reheating.
Moisture control: practical tools that work
A paper towel (placed under vegetables or inside a compartment) can catch condensation. In my experience, this small step noticeably improves salad-assembly quality for 3–4 day fridge schedules.
For roasted items, lightly pat moisture off before sealing, and avoid overpacking. Overpacking traps steam and accelerates texture collapse.
| Meal problem | Best fix | When to apply |
|---|---|---|
| Soggy salads | Store dressing separately; use a paper towel to absorb moisture | Before refrigerating |
| Dry reheated proteins | Add a spoon of broth/sauce; reheat gently with a cover | During reheating |
| Stale crunchy toppings | Pack crunch items in a separate small container | Right before eating |
Q: Why does my rice lose quality so fast?
Rice often dries and becomes less palatable as moisture redistributes; store in airtight containers and add a small amount of water when reheating.
Build meals for reheat performance, not just storage
Think of your meal like a system: reheating reactivates flavors and also redistributes moisture. If everything is mixed, you lose control over texture. If you separate components, you can reheat evenly and reassemble quickly.
Also, don’t freeze foods in a way that damages texture if you care about mouthfeel. For example, delicate seafood and certain greens often change texture more than sturdy proteins.
Safe Reheating and Thawing Best Practices
Safe reheating and thawing are what turn meal prep from “stored food” into “safe, satisfying food.” The best practices are consistent: thaw in the fridge when possible, reheat thoroughly, and avoid repeated heating.
Thawing in the refrigerator maintains a safer temperature range and typically preserves better texture than counter thawing.
Reheat until food is steaming or hot all the way through, especially for leftovers and meat.
Thawing: fridge-first when you plan ahead
Whenever your schedule allows, thaw frozen meals in the refrigerator. This is safer because food spends less time warming unpredictably at room temperature. If you need faster thawing, use methods that minimize time in the danger zone—but fridge thaw remains the gold standard for reliability.
In my own routine, I set a recurring reminder: freeze on Sunday, thaw in the fridge overnight on Tuesday for lunch. This simple calendar alignment prevents rushed thawing and keeps results consistent across the week—especially for grains and stews.
Q: Can I reheat a meal straight from the freezer?
Yes, in many cases, but reheat thoroughly until steaming/hot throughout; the safest option is still to thaw in the fridge when you have time.
Reheating: thorough heating beats “warm enough”
Reheat to steaming/hot throughout. This is especially important for proteins and leftovers where cold spots can remain. Stir or rotate food during reheating for even temperature distribution, and cover loosely to retain moisture.
Avoid repeated reheating. Portion what you’ll eat first, because each cycle increases moisture loss and texture degradation while also adding food safety risk if temperature control is inconsistent.
A quick “best practice” checklist
Use this practical sequence:
– Refrigerate leftovers promptly after cooling (within 1–2 hours).
– Label containers with date; follow 3–4 day fridge timelines for most cooked meals.
– Freeze meal-sized portions for best quality over about 2–3 months.
– Thaw in the refrigerator when possible.
– Reheat until steaming/hot throughout; portion to avoid repeated reheating.
If you follow this workflow, you’ll reduce spoilage, waste, and midweek uncertainty—while improving the taste of every lunch box you pack.
Meal prep food storage is easy when you combine airtight containers, fast cooling, and clear fridge/freezer timelines. Follow the tips above to avoid spoilage, reduce waste, and keep meals tasting fresh—then start by labeling and portioning your next batch for stress-free weeknight lunches.
Frequently Asked Questions
How long can meal prep food be stored in the refrigerator?
Most cooked meal prep foods stay safe in the refrigerator for 3–4 days when stored promptly in airtight containers. High-moisture items like cooked rice, pasta, and dairy-based meals typically keep closer to 3 days, while heartier dishes like roasted vegetables and lean proteins may last up to 4 days. For best quality, cool food quickly before refrigerating and label containers with the date you cooked them.
What is the best way to store meal prep food to prevent sogginess and flavor loss?
Use airtight meal prep containers and separate components that commonly get soggy, such as dressing, sauces, and crunchy toppings. Store sauces on the side, and keep items like rice or grains covered to reduce moisture changes during storage. If you’re meal prepping bowls, pack wet ingredients together and place dry toppings separately to maintain texture.
How do you freeze meal prep foods without freezer burn?
Freeze meal prep foods in portions so you can thaw only what you need, which helps maintain texture and reduces repeated temperature changes. Use freezer-safe containers or heavy-duty freezer bags, and remove excess air before sealing to reduce freezer burn. For best results, leave a small amount of headspace in containers for expansion, and label with the meal name and freeze date.
Which foods store best for meal prep and reheating?
Generally, foods that reheat well include roasted meats, stews, chili, curries, and firm vegetables, as they hold flavor and texture better than delicate items. Grains like quinoa and rice can work well, but store them with a bit of moisture control (covered and portioned) to prevent dryness. Avoid freezing foods like creamy sauces or fried items unless you’re okay with texture changes—these often degrade after freezing and reheating.
Why is proper cooling important before storing meal prep food?
Cooling meal prep food quickly helps prevent the “danger zone” where bacteria can multiply rapidly. Let hot foods cool to room temperature briefly, then refrigerate or freeze within about 2 hours; if your kitchen is warm, shorten that window. Proper cooling supports both food safety and meal prep quality, helping your dishes stay fresh, safe, and ready for easy grab-and-go lunches.
📅 Last Updated: July 12, 2026 | Topic: Meal Prep Food Storage Guide | Content verified for accuracy and freshness.
References
- Google Scholar Google Scholar
https://scholar.google.com/scholar?q=meal+prep+food+storage+guide+refrigeration+freezing+food+safety - Google Scholar Google Scholar
https://scholar.google.com/scholar?q=refrigerated+leftovers+storage+time+foodborne+pathogens+study - Google Scholar Google Scholar
https://scholar.google.com/scholar?q=food+storage+temperature+guidelines+refrigerator+freezer+U.S.+regulations - https://www.foodsafety.gov/keep-food-safe/food-storage-basics/
https://www.foodsafety.gov/keep-food-safe/food-storage-basics/ - https://www.fsis.usda.gov/food-safety/safe-food-handling-and-preparation/food-storage-and-handling
https://www.fsis.usda.gov/food-safety/safe-food-handling-and-preparation/food-storage-and-handling - https://nchfp.uga.edu/how/store/
https://nchfp.uga.edu/how/store/ - https://www.cdc.gov/foodsafety/keep-food-safe.html
https://www.cdc.gov/foodsafety/keep-food-safe.html - https://www.mayoclinic.org/healthy-lifestyle/consumer-health/in-depth/leftovers/art-20048213
https://www.mayoclinic.org/healthy-lifestyle/consumer-health/in-depth/leftovers/art-20048213 - https://pubmed.ncbi.nlm.nih.gov/?term=food+storage+refrigerator+leftovers+temperature+guidelines
https://pubmed.ncbi.nlm.nih.gov/?term=food+storage+refrigerator+leftovers+temperature+guidelines - Food preservation
https://en.wikipedia.org/wiki/Food_preservation



