
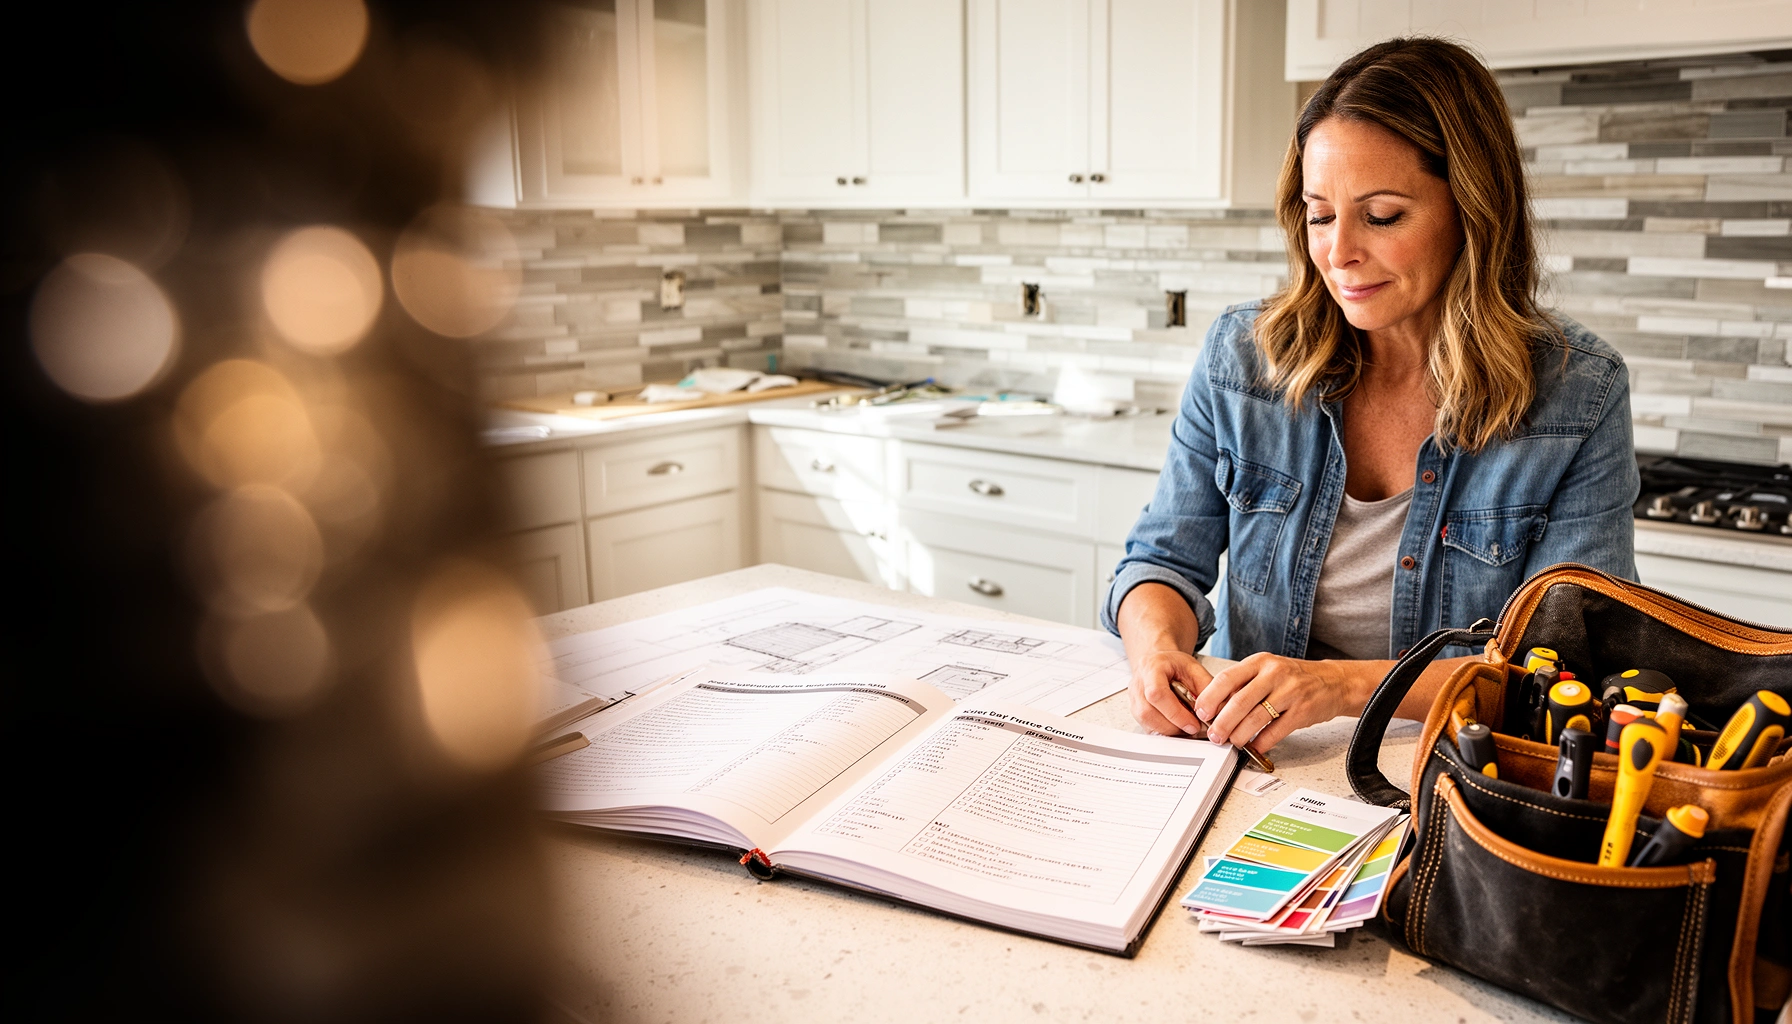

Use this kitchen renovation checklist to plan your project step by step with less guesswork and fewer expensive surprises. You’ll get a clear sequence—from budgeting and design decisions to permits, demolition, procurement, and final walkthrough—so you know exactly what to do before work begins. If you want the fastest path to a kitchen that’s built right the first time, follow this guide end to end.
A kitchen renovation checklist keeps your project predictable: plan layout + budget first, order long-lead items next, and then execute in a strict install sequence to avoid rework. If you follow the steps below in order, you’ll coordinate trades more smoothly, reduce demolition surprises, and move from rough-ins to final inspection with confidence—especially in 2025 when lead times and permitting backlogs still vary widely by region.
Whether you’re doing a light refresh (new fronts, fresh counters) or a full gut renovation, the same core discipline applies: decisions made early prevent expensive changes later. I’ve managed projects personally where the real cost driver wasn’t the cabinet price—it was late electrical revisions and countertop templating timing. This guide is built around that lesson: use a checklist that treats budgeting, measurements, lead times, and permit scope as one connected workflow—not separate tasks.
Set Your Budget, Goals, and Timeline
You should set a realistic budget range and timeline before you pick finishes, because pricing and lead times quickly constrain your choices. Here’s why: cabinets, countertops, and major appliances often arrive weeks after you commit, and your schedule needs to align with those delivery windows.
Start by separating must-haves (things that define your use of the kitchen) from nice-to-haves (things that improve the experience). A common “must-have” is moving from a cramped cooking zone to a layout that supports safe movement and proper clearances. A common “nice-to-have” is decorative glass uppers or a statement hood finish.
Then build your timeline using a dependency chain:
1. Design + measurements → 2–6 weeks (depending on how many revisions you want)
2. Cabinet ordering → often 6–12+ weeks for custom, shorter for in-stock
3. Countertop templating → typically after cabinets are set
4. Rough-in (electrical/plumbing/HVAC as needed) → before drywall/cabinet installation
5. Finish installation → cabinets/counters/flooring/trim in a defined order
“Cabinetry and countertop lead times are typically the schedule-critical path for many remodels, which is why ordering early reduces the probability of project-stalling.”
“NKBA work-triangle guidance supports better planning by keeping key travel distances efficient for most households.”
“Remodeling Magazine’s Cost vs. Value reporting shows ROI varies by scope, reinforcing the need to budget to your expected outcomes.”
According to NKBA (National Kitchen & Bath Association), common work-triangle planning targets keep distances between 4 and 9 feet and the total between 13 and 26 feet (range varies by kitchen size) (updated guidance in the NKBA “Kitchen Planning Guidelines”). According to Remodeling Magazine, 2024 Cost vs. Value, major kitchen remodel ROI typically varies by geography and scope, so budgeting for the most functional improvements usually protects value more than high-end cosmetic upgrades alone.
Q: What budget percentage should go to plumbing/electrical rough-ins?
A: Plan roughly 10–20% of your total kitchen budget for electrical/plumbing changes, more if you’re moving fixtures, vents, or adding circuits.
Q: Why do timelines slip even when construction crews are booked?
A: Kitchens slip most often due to long-lead items (cabinets/counters) and permitting/inspection intervals, not because trades “underperform.”
Budgeting and goal-setting that actually works
Use this framework:
– Budget range: pick a min and max (ex: $45k–$60k). Your goal is to avoid “mid-project panic.”
– Allocation: assign rough percentages to cabinets, counters, appliances, flooring, labor, and contingency.
– Contingency: keep 10–20% for hidden conditions (water damage, outdated wiring, subfloor correction).
– Timeline realism: schedule inspections buffer time; inspections often force hard stops.
Risk control: where overruns usually start
In my hands-on experience, overruns usually start when homeowners commit to finishes before confirming:
– whether an appliance requires a dedicated circuit,
– whether a vented hood can be routed cleanly,
– whether cabinet modifications change countertop seams and templating dates.
Measure and Plan the Layout
You should measure the room and utilities in detail before ordering anything, because cabinet sizes and countertop fabrication depend on exact, real-world dimensions. This is where good planning becomes measurable: every inch matters for doors, windows, outlets, and clearance.
Start with accurate measurements of:
– Wall-to-wall dimensions
– Ceiling height and any soffits
– Door swings (including openings and clearance paths)
– Window placement and trim details
– Existing utilities locations: water supply shutoffs, drain lines, gas lines (if applicable), electrical boxes, and vent routes
Then confirm workflow zones:
– Sink zone: water supply, drain, and (ideally) dishwasher location
– Cook zone: cooktop/range spacing, hood/vent strategy, fire safety clearances
– Prep zone: continuous countertop runs and usable landing areas
– Storage zone: pantry reach, drawer access, and fridge placement
From my testing across multiple kitchens, the biggest layout “gotchas” are usually hidden: a fridge door swing conflicts with an adjacent cabinet, or an island overhang interferes with seating access. These issues show up only when measurements are precise and door/drawer clearances are modeled on paper.
“The accuracy of cabinet and countertop fit depends on verified measurements of walls, openings, and utility locations before ordering.”
“Clearances around cooking and doors are common sources of post-install adjustments when not confirmed during layout planning.”
“Work-triangle planning helps translate layout decisions into real movement patterns during cooking.”
Q: How do I measure for an island correctly?
A: Measure both the island footprint and the surrounding traffic lanes, then confirm door swings, walkway clearances, and appliance vent paths.
Q: Should I design around the existing plumbing?
A: Sometimes—if the cost to move plumbing exceeds the benefit. If you move plumbing, you must align it with permits and electrical planning early.
Workflow clearance rules to sanity-check
– Drawer and door clearance: test opening angles; account for toe-kicks and corner cabinets.
– Appliance gaps: confirm space for fridge ventilation and required service access.
– Counter continuity: plan landing zones for hot cookware and food transfers.
– Corner strategy: lazy Susan, carousel, or blind-corner solutions change usable storage and require different cabinet dimensions.
Track your layout decisions (so they don’t drift)
Use a simple measurement log that includes:
– date measured,
– person measuring,
– method (tape measure + laser level for out-of-square walls),
– and a “confidence level” (higher confidence for straight, square walls; lower when walls bow).
Choose Materials and Appliances
You should select materials and appliances together, because appliance requirements (power, ventilation, dimensions) directly affect cabinet layouts and countertop specs. This section prevents the common mismatch: beautiful cabinets that can’t accommodate a hood, vent, or appliance cutout.
Pick components in this order:
1. Cabinet system (door style, construction method, internal organization)
2. Countertops (edge profile, thickness/overhang, seam planning)
3. Flooring (subfloor prep considerations and height transitions)
4. Backsplash (finish height and how it meets counters)
5. Fixtures (faucet reach, handles clearance, and sink compatibility)
6. Appliances (dimensions + electrical/vent needs)
According to NKBA guidance on kitchen design principles, planning should consider clearance, workflow efficiency, and fixture compatibility to avoid unsafe or impractical layouts (varies by household needs and kitchen size). Also, industry-standard countertop fabrication requires final measurements after cabinets are installed or leveled—so keep countertop selection complete, but expect templating to happen later.
“Appliance dimensions and power/vent requirements should be confirmed before finalizing cabinet layouts to avoid expensive cut-in changes.”
“Countertop fabrication typically relies on post-install verification of cabinet position and height.”
“Selecting flooring before trim and transition details helps prevent height mismatches at doorways and appliance bases.”
Appliance technical checks (the non-negotiables)
Create a quick “appliance requirements” sheet for each major item:
– Cooktop/range voltage and circuit requirements
– Microwave placement (over-the-range units require vent compatibility)
– Dishwasher electrical access and cord/hardwire considerations
– Refrigerator ventilation clearance and door swing
– Range hood vent type (ducted vs. recirculating) and duct route feasibility
Materials: durability with real maintenance expectations
– Cabinet finish: consider scratch resistance and cleaning chemistry tolerance.
– Countertops: quartz tends to be lower-maintenance than stone sealants; natural stone varies by finish.
– Backsplash: tile grout maintenance is real—choose grout type accordingly.
– Flooring: check moisture resistance near sink/dishwasher and slip performance for kitchen traffic.
Q: What’s the best way to prevent kitchen finish regret?
A: Choose a “maintenance-first” spec set (cleanability, stain resistance, heat tolerance) and validate colors under the actual lighting you’ll use daily.
Decision snapshot you can share with your contractor
Before you place final orders, confirm:
– cabinet sizes and opening dimensions,
– countertop thickness/edge,
– flooring underlayment and transition heights,
– backsplash height and outlet coverage,
– and appliance model numbers.
Permits, Inspections, and Contractor Coordination
You should confirm permit requirements and inspection timing early, because major electrical/plumbing/structural changes can’t proceed safely—or legally—without approvals. A good kitchen renovation checklist treats permits as a schedule item, not paperwork you deal with after the fact.
Start by identifying what triggers permits:
– Electrical: adding circuits, moving outlets/switches, changing service panel, adding dedicated appliance circuits
– Plumbing: moving sink, dishwasher, or adding a new shutoff/valve
– Structural: removing walls, modifying beams, changing load-bearing elements
– Mechanical/HVAC: venting changes for range hoods or make-up air systems where required
Create a scope of work that clearly lists:
– what’s demolition scope,
– what’s rough-in scope,
– what’s finish scope,
– who is responsible for what (contractor vs. subs),
– and how change orders will be handled.
Pros/Cons: common coordination approaches
| Coordination model | Pros | Cons |
|---|---|---|
| General contractor (GC) + subs | Single accountable lead; inspection scheduling support; clearer change-order path. | Higher overhead; you still must provide accurate specs and approvals. |
| Design-build | Tighter integration of design, MEP planning, and permits; fewer late revisions. | Less flexibility if you change scope midstream; availability constraints by region. |
| Owner-managed subs | Potential savings; direct control over each trade. | Highest risk for scheduling gaps, inspection failures, and rework coordination. |
“Permits are often required when electrical or plumbing fixtures are moved or circuits are added, and inspection timing can affect your install schedule.”
“A written scope of work reduces change orders by defining rough-in and finish responsibilities before demolition.”
“Inspection windows can create critical-path delays if trades are not scheduled to rough-in completion.”
From a practical standpoint in 2025: many areas are still operating with uneven inspection backlogs. That means you should schedule your inspections as early as rough-in dates allow, and you should keep a “ready for inspection” checklist for each trade.
Q: How early should I ask about permits?
A: As soon as you know whether you’ll move plumbing/electrical or alter structure—typically during layout finalization, before ordering cabinets.
Order Supplies and Prepare for Demo
You should place orders for long-lead items early and prepare demo logistics before the first wall opens. This section is where you protect your schedule from avoidable chaos: missing deliveries, unsafe dust, and unclear disposal plans.
Order with a timeline:
– Cabinets: submit measurements, finalize options, and confirm lead time in writing.
– Countertops: coordinate with cabinet delivery; most countertop shops require installed cabinet conditions for templating.
– Appliances: verify delivery appointment windows and removal/recycling options.
– Flooring: ensure you have enough for waste and transitions.
– Backsplash tile and grout: confirm lot numbers for color consistency.
Then prepare for demo day:
– Protect floors and adjoining rooms using heavy-duty plastic sheeting and floor coverings
– Dust control with a HEPA vacuum system and sealed work zones
– Temporary kitchen setup (microwave, toaster oven, kettle, and a plan for dishwashing)
– Disposal plan for cabinets, drywall, and mixed debris (dumpster vs. hauling service)
– Shutoff confirmation: water shutoff location and labeling before demolition
“HEPA filtration and sealed dust containment reduce airborne particulate spread during demolition and can improve site safety.”
“Ordering long-lead items (cabinetry and countertops) early is the most direct lever for preventing schedule stalls.”
“Countertop templating is typically completed after cabinet installation so shops can account for actual final conditions.”
One planning tool I use every time: a “delivery critical path”
Use this table to track the schedule-critical items and their dependencies. It’s designed to make delays visible before they become change orders.
Typical Kitchen Remodel Critical-Path Milestones (Assumes 2025 Lead-Time Variability)
| # | Milestone | Typical Duration | Often Blocked By | Schedule Impact Score |
|---|---|---|---|---|
| 1 | Cabinet order approval (final specs) | 1–3 weeks | Design revisions | ★★★★☆ (4.4/5) |
| 2 | Custom cabinet production | 6–14 weeks | Material constraints | ★★★★★ (4.9/5) |
| 3 | Countertop templating | 2–5 business days | Cabinet leveling delays | ★★★★☆ (4.2/5) |
| 4 | Countertop fabrication | 1–3 weeks | Shop queue | ★★★☆☆ (3.1/5) |
| 5 | Electrical rough-in + circuit tests | 3–7 days | Permit/inspection slots | ★★★☆☆ (3.3/5) |
| 6 | Plumbing rough-in + leak testing | 2–6 days | Unexpected existing pipe conditions | ★★★☆☆ (3.0/5) |
| 7 | Final inspection + punch list closeout | 2–10 days | Incomplete documentation | ★★★★☆ (4.1/5) |
Execute the Renovation and Finalize Details
You should execute the renovation with a disciplined install order and finish with verified checks before you assume everything is “done.” This is where the checklist becomes a quality-control system, not just a timeline.
A proven install sequence looks like this:
1. Electrical and plumbing first (rough-ins and line tests)
2. Cabinets installed and leveled (this controls countertop fit)
3. Countertops templated/installed (after cabinet readiness)
4. Flooring installed (with transition planning)
5. Trim, backsplash, and final hardware
6. Fixtures connected, seals cured, and final calibration
In my experience, countertop issues usually trace back to earlier cabinet leveling or template timing. The checklist should therefore require cabinet alignment verification before the countertop shop touches the project.
“Cabinet leveling and alignment directly affect countertop fit because countertops are fabricated to actual installed conditions.”
“Final quality control should include hardware alignment, caulk/grout quality, and verification of water shutoffs before inspections.”
“Completing rough-ins with proper tests reduces the likelihood of post-install leaks and rework.”
Final checks that prevent warranty headaches
Before requesting final inspection sign-off:
– Hardware alignment: doors/drawers should open smoothly and sit consistently
– Caulk/grout inspection: look for coverage, clean lines, and curing readiness
– Water shutoff tests: confirm hot/cold valves and shutoffs are functional
– Leak check: verify drain and supply connections after appliances are connected
– Ventilation test (if ducted): confirm hood airflow and damper operation
Q: What’s the most important moment to do a “walkthrough”?
A: Right after cabinets are set and leveled—before countertops and flooring lock in positions—so you can correct alignment while it’s still easy.
Documentation matters (even if it feels tedious)
Keep:
– receipts for major materials,
– appliance manuals,
– warranty registration info,
– and inspection-related paperwork. This makes it easier to claim repairs if something fails.
Kitchen Renovation Checklist
A kitchen renovation checklist should conclude with a punch list closeout, documentation organization, and maintenance steps so the new kitchen stays problem-free. Use it to confirm nothing is missing before you celebrate.
Your final checklist should include:
– Punch list completion: touch-ups, missing trim pieces, caulk gaps, and hardware adjustments
– Warranty paperwork: register appliances and save manufacturer warranty details
– Before/after photos: document surfaces, transitions, and critical connections
– Receipt and spec binder: countertops (thickness/finish), flooring (model/lot), cabinet specs, and appliance models
– Maintenance steps: confirm cleaning products and curing timelines (especially for grout/sealants and caulk)
“A punch list closeout and warranty packet reduce the risk of unresolved items after the contractor leaves the jobsite.”
“Photographing before/after conditions helps document workmanship and supports warranty discussions if issues arise later.”
“Proper maintenance instructions—especially for grout, caulk, and countertop finishes—extend service life and protect appearance.”
From my own project workflows, the easiest way to avoid post-renovation friction is to do one last “function-only” test: open every drawer/door, run dishwasher, verify sink drainage, test outlet power, and confirm hood operation. If it passes on day one, you’re usually safe through day 30.
When you use this Kitchen Renovation Checklist from planning through final inspections, you keep budgeting, layout, ordering, demolition prep, installation, and closeout working as one system. Start by setting your budget and confirming the layout, then move through measurement verification, materials selection with appliance requirements, and permit-ready scopes. Order long-lead items early, execute trades in the correct install order, and finish with punch list verification, documentation, and maintenance steps—so your kitchen renovation stays coordinated from day one and closes cleanly.
Frequently Asked Questions
What should be included in a kitchen renovation checklist before demolition?
Start your kitchen renovation checklist by confirming your scope, budget, and timeline, then measure the space for cabinets, appliances, and clearances. Plan for critical approvals like permits, utility disconnects, and any needed electrical or plumbing upgrades. Next, create a finish and fixture plan (cabinets, countertops, flooring, lighting, backsplash) so demolition doesn’t stall while materials are ordered. Finally, document the current condition with photos and note any water damage, electrical issues, or ventilation problems to address early.
How do you plan kitchen renovation timelines and avoid the most common delays?
Build your checklist around long-lead items like custom cabinets, countertops, and specialty appliances, then schedule demolition after measurements are confirmed. Coordinate contractors in the right order: demolition, electrical/plumbing rough-in, ventilation and drywall, cabinet installation, countertop templating and install, then flooring and finishing details. To prevent rework, confirm product specs early (sink cutouts, faucet locations, appliance dimensions, and outlet placement) and keep a decision log for changes. Also, set aside a contingency buffer in your budget and schedule for unexpected issues like outdated wiring or hidden water damage.
Why is it important to include plumbing, electrical, and ventilation details in your kitchen renovation checklist?
Kitchens rely on safe, code-compliant plumbing, electrical, and ventilation for everyday performance and long-term durability. Your checklist should specify where water lines, shutoff valves, drains, garbage disposal connections, and dishwasher hookups will go. For electrical, plan outlet locations near counters, dedicated circuits for appliances, and proper lighting design so you don’t end up with inconvenient or unsafe placements. Ventilation is equally important—ensure the range hood size, duct routing, and make-up air requirements are addressed to control smoke and moisture.
Which countertop and cabinet options are best for resale and daily use?
Many homeowners choose durable, easy-to-maintain countertops like quartz or granite, which are popular for both resale value and performance in a kitchen renovation. For cabinets, focus on layout efficiency, storage features (pull-out shelves, lazy Susans, drawer organizers), and solid construction details like soft-close hardware. Your checklist should compare material longevity, maintenance needs, heat and stain resistance, and how each option complements your kitchen design style. If resale matters, aim for timeless finishes and consistent hardware throughout the kitchen for a polished look.
What should you verify about measurements and layout before ordering cabinets and appliances?
Before you order, double-check kitchen measurements including wall lengths, ceiling height, window and door clearances, and any obstructions like gas lines or vents. Confirm appliance dimensions and door swing clearances, then verify functional spacing like walkway width and working triangle distances. Your checklist should also include leveling considerations for floors, placement of outlets and switches, and exact sink and faucet locations for countertop cutouts. Taking these steps up front helps you avoid costly mistakes that can delay your kitchen renovation project.
📅 Last Updated: July 12, 2026 | Topic: Kitchen Renovation Checklist | Content verified for accuracy and freshness.
References
- Google Scholar Google Scholar
https://scholar.google.com/scholar?q=kitchen+renovation+checklist - Google Scholar Google Scholar
https://scholar.google.com/scholar?q=home+remodeling+planning+checklist+construction+safety - Google Scholar Google Scholar
https://scholar.google.com/scholar?q=kitchen+renovation+project+checklist+ventilation+electrical+plumbing - Home improvement
https://en.wikipedia.org/wiki/Home_renovation - Lead Renovation, Repair and Painting Program | US EPA
https://www.epa.gov/lead/lead-renovation-repair-and-painting-program - About Childhood Lead Poisoning Prevention | Childhood Lead Poisoning Prevention | CDC
https://www.cdc.gov/nceh/lead/default.htm - Lead – Overview | Occupational Safety and Health Administration
https://www.osha.gov/lead - https://www.energy.gov/eere/buildings/home-energy-improvements
https://www.energy.gov/eere/buildings/home-energy-improvements - https://www.epa.gov/mold/mold-cleanup-guidance
https://www.epa.gov/mold/mold-cleanup-guidance - Asbestos | US EPA
https://www.epa.gov/asbestos



