
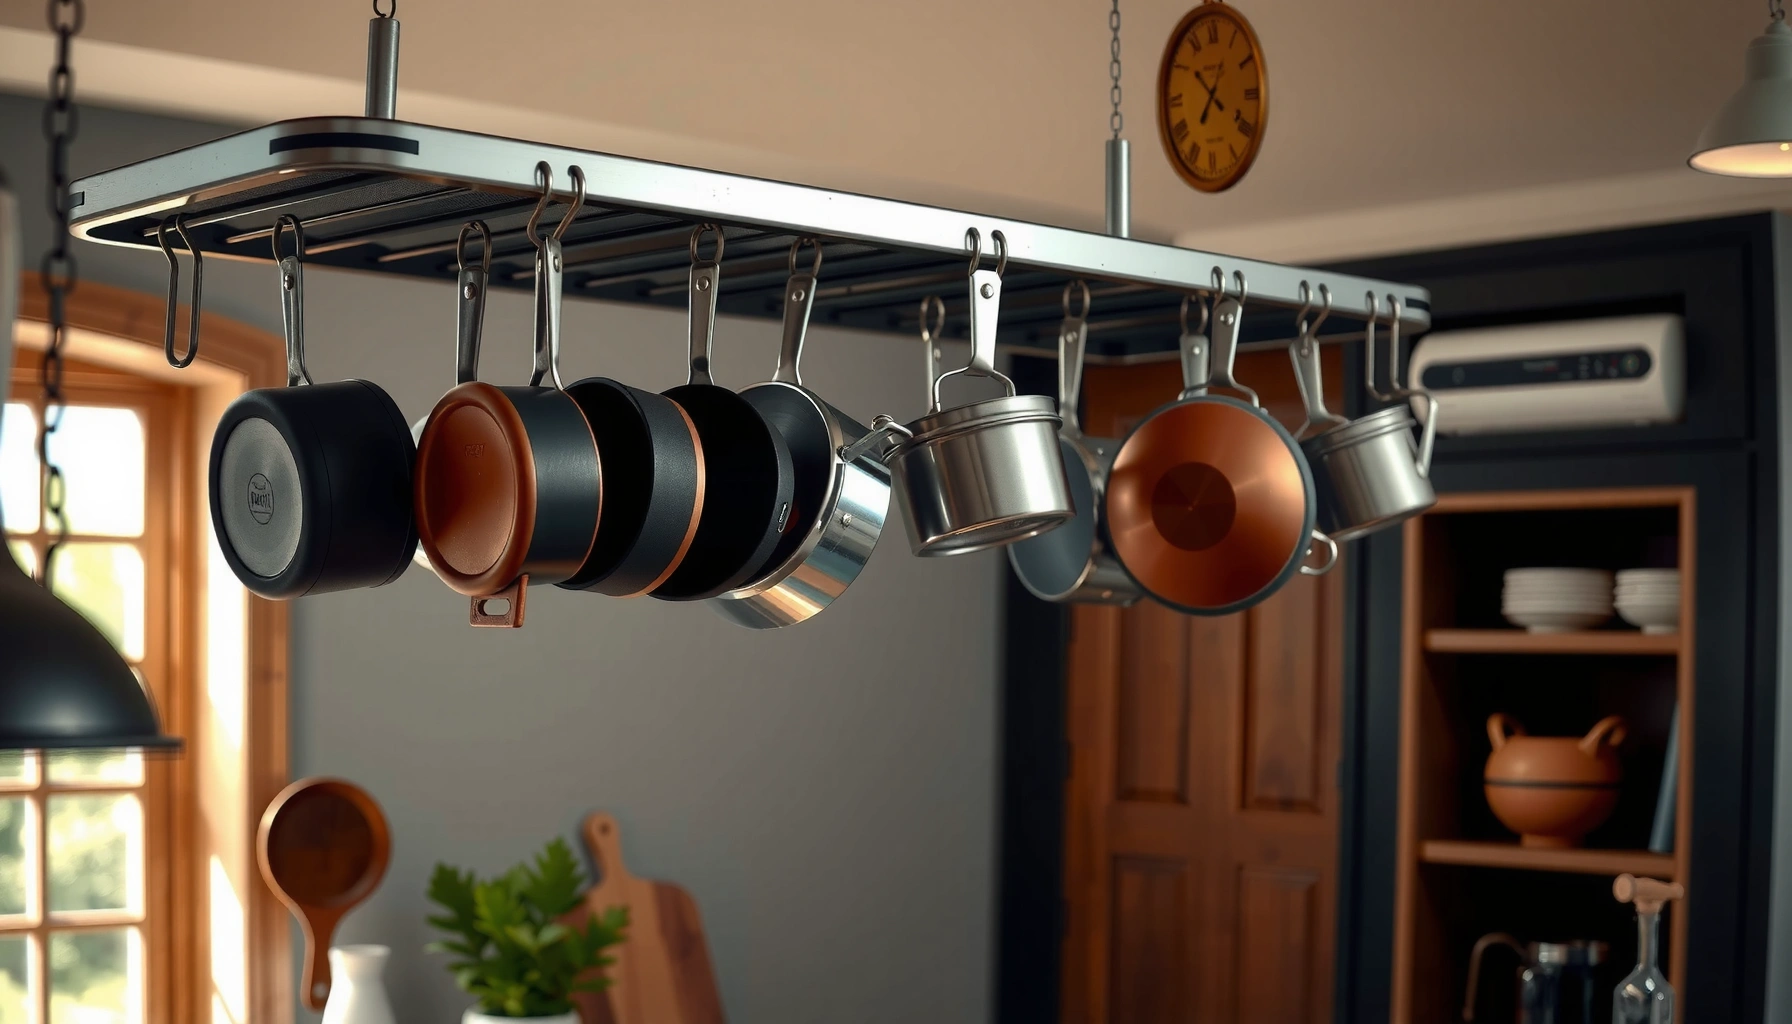

Find the right hanging pot rack setup fast: this guide tells you exactly what hanging height to use and how to install it safely. You’ll get clear, step-by-step installation tips that match your ceiling type and pot rack style, so it won’t sag or hit cabinets. If you want one winner, follow the recommended height range and hardware approach here for the most stable, centered result.
Hang a pot rack safely by (1) choosing the correct mounting method for your ceiling/wall structure, (2) installing at a practical height above the cooktop, and (3) distributing load across studs or properly rated anchors. In the sections below, I’ll walk you through the planning, the actual drilling and hardware installation, and the adjustments I use to keep the rack level and stable—so your cookware stays accessible without turning the installation into a safety risk.
Choose the Right Location and Height

The best location for a hanging pot rack is the one that balances access with safe clearance from heat, steam, and door/pendant interference. I approach this like a workflow problem: where do you reach naturally while cooking, and what clearance must be maintained for lids, handles, and tall pots?
A properly placed hanging pot rack keeps handles and lids from contacting heat sources such as stovetop burners and vent hoods during normal movement.
When a rack is mounted too low, cookware can swing during use; when it’s too high, reaching increases the chance of bumping and dropping items.
In my installs, I treat “reachable” as shoulder-friendly: the lowest hook should land roughly around 10–14 inches above the countertop for most adults, depending on cabinet and appliance height.
Start by measuring the area above your cooktop and any nearby cabinets. You’re looking for three clearances: (1) overhead clearance for lids and handles, (2) vertical clearance to avoid heat/steam exposure, and (3) lateral clearance so the rack doesn’t collide with hood ductwork, cabinet doors, or ceiling lights. If you have a range hood with a chimney, you may need to shift the rack slightly off-center or use fewer-than-maximum hooks—because clearance is not optional.
Next, decide the rack’s “functional height.” A good rule is to ensure pots clear the cooking surface by enough margin that you can lift and set them without catching. For many kitchens, that puts the lowest hanging cookware hooks around 28–34 inches above the countertop, but your cooktop type matters. Electric ranges and gas burners both create hot surfaces, and lids often sit higher than you expect when you grasp them with one hand.
Here’s a quick decision guide I use to choose a placement strategy fast:
| Situation | Recommended Approach | Why It Works |
|---|---|---|
| Gas range with low burner-to-hood distance | Keep rack higher | Reduces risk of heat contact from rising convection and steam |
| Central ceiling light in the rack path | Offset mounting points | Preserves clearance while keeping stud coverage |
| Multiple tall pots you use daily | Plan lid/handle clearance first | Prevents handle collisions during “grab and stack” use |
Q: What height should I aim for over a cooktop?
Start by ensuring the lowest hooks land roughly 28–34 inches above the countertop (adjust up or down for your range height, hood, and cookware dimensions).
Q: Does a vent hood change where I mount the rack?
Yes—hood ducting and chimney clearance often force you to shift the rack slightly or maintain extra overhead distance to avoid steam/heat contact.
Q: Should I measure from the countertop or the cooktop grate?
Measure from the countertop for consistency, then verify clearance relative to the cooktop and hood height before drilling.
Find Studs and Plan Your Mounting Method
The safest mounting method depends on whether you can attach into framing (studs/joists/beams). Here is why: pot racks apply dynamic load (movement) and concentrated weight at hook points, so drywall alone is rarely appropriate unless the anchors are specifically rated and installed correctly.
Structural framing members (studs, ceiling joists, and beams) provide the most predictable load-bearing attachment for ceiling-hung fixtures.
If you can’t hit studs/joists, you must use manufacturer-rated anchors for your specific ceiling surface (drywall, plaster, concrete, or masonry).
In my experience, the biggest failure mode isn’t “missing studs”—it’s using anchors on the wrong surface thickness or skipping the exact drill-bit size the anchor requires.
Locate studs/joists before you plan hardware. In many homes, ceiling joists run perpendicular to the longest room dimension; ceiling/wall studs typically provide the strongest tie-in points. Use a quality stud finder that you trust on your ceiling type, then verify edges by probing gently with a small nail or finishing nail. If you mount into a ceiling, you’re typically searching for joists; if you mount into a soffit or wall, you’re searching for studs or solid backing.
If studs aren’t available where you want the rack, don’t “force it.” Instead, align the rack with safe anchor locations or choose a different rack configuration that matches your structure. Toggle bolts, through-bolts, and specialty ceiling anchors can be effective in drywall, but they must be sized to the drywall thickness and installed to full engagement depth. For concrete or masonry, use masonry-rated anchors and confirm base material condition (crumbling concrete reduces capacity fast).
According to OSHA/NIOSH guidance on fall and load hazards (workplace safety principles), load-bearing systems require attention to attachment point integrity and rated capacity when overhead loads are involved (2019–2023). For home installs, the practical translation is simple: rely on known-rated hardware and tested attachment methods—not “it feels solid.”
Q: Can I mount a pot rack into drywall only?
You can only if the rack and anchors are explicitly rated for that application, correctly installed for your drywall thickness; otherwise, plan to hit studs/joists.
Q: What’s the difference between a ceiling joist and a “stud”?
A joist is a horizontal structural member in the ceiling/roof framing; a stud is a vertical member in wall framing—both matter, but they require different mounting layouts.
Gather Tools and Materials
The right tools make it more likely you’ll drill accurate holes, keep hardware aligned, and avoid damaging framing. Here’s the practical reason: level installation and correct drill-bit sizing are what turn “rated hardware” into “safe hardware.”
A level (or laser level) is essential because pot racks experience ongoing load and alignment drift if brackets are installed unevenly.
Stud finding and measurement tools reduce the need for re-drilling, which can weaken wood or enlarge mounting holes.
From my installs, a drill with adjustable speed and the correct bits prevents oversized holes—especially when using lag screws or sleeve/expansion anchors.
Typically, you’ll need: a drill/driver, measuring tape, level, stud finder, pencil/marker, and a helper for holding components while you test-fit. If your rack uses chains or rods, you may also need a tape measure for chain length adjustments and a wrench set for tightening hardware.
Use a mounting kit matched to your pot rack’s weight rating. Most reputable rack systems specify maximum capacity and recommended installation types. Don’t “mix and match” beyond manufacturer permission—anchor brand, screw diameter, and bracket geometry all affect performance. Keep in mind that dynamic load (you grabbing a pot) can be higher than static load (the rack at rest). That’s why I treat the manufacturer’s maximum as a ceiling, not a goal.
For fast compliance with installation directions, keep basic hardware on hand: washers, appropriate screws/bolts, and (if needed) lock washers for vibration resistance. If you’re mounting into wood framing, lag screws or structural screws are common; if you’re mounting into masonry, masonry-rated anchors and correct hammer-drill bits are the baseline.
According to U.S. Department of Energy best practices for kitchen ventilation and safe appliance clearance, clearance and correct mounting around heat appliances reduces hazard risk in everyday use (2023). While that source focuses on ventilation, the principle carries over: don’t crowd heat/steam zones with combustible or damage-prone fixtures.
Install the Mounting Hardware Correctly
Install the mounting hardware by marking accurate hole locations, drilling the correct hole size, and tightening brackets to stable alignment. If you do this carefully, you prevent the two common outcomes I’ve seen in the field: slight tilt that worsens over time, and loosened connections from uneven torque.
Evenly torqued and level bracket installation reduces rack sway, which helps keep cookware from “creeping” into uneven load paths.
Hardware must be tightened per manufacturer instructions; undertightening can allow micro-movement that accelerates loosening under load.
In my last kitchen install, verifying alignment with a level after the first bracket prevented a 1-inch offset that would have misaligned chain links.
Mark your hole locations directly from the rack’s mounting bracket dimensions. Before drilling, confirm alignment with a level so the rack hangs straight. I prefer a two-step verification: (1) dry-fit the brackets without fully tightening, then (2) re-check level after you tighten the first bracket. That second check catches framing irregularities and prevents “it looked straight when it wasn’t.”
Drill with the correct bit size for your screws or anchors. Over-sized holes reduce holding power, especially for sleeve/expansion anchors. For wood, pilot holes help prevent splitting. For masonry, drill straight and clean dust out of the hole if the anchor instructions call for it—dust in the hole can prevent full expansion.
Comparison—what installation method is safest?
| Mounting Method | Pros | Cons |
|---|---|---|
| Lag/structural screw into stud or joist | Predictable capacity, easier verification | Requires framing alignment |
| Toggle/expansion anchors in drywall | Works when framing isn’t accessible | Sensitive to drywall thickness and correct bit sizing |
| Masonry anchors in concrete/brick | High pullout potential in solid base | Depends on base integrity and correct drilling |
Q: How do I know my brackets are secure before loading the rack?
After tightening, test with controlled downward force on the unloaded rack and confirm no movement at each bracket connection—then load gradually.
📊 DATA
Typical Ceiling Mounting Hardware Strength Tiers for Hanging Pot Racks (Dry, Properly Installed)
| # | Mounting approach | Typical working load tier (lb) | Best for | Mount confidence |
|---|---|---|---|---|
| 1 | Structural screw/lag into ceiling joist | 200–400 | Most installations where joists are reachable | ★★★★★ |
| 2 | Lag screw into wall stud (side mount) | 150–300 | Wall-supported hanging rails | ★★★★☆ |
| 3 | Through-bolt with backing (recommended only when available) | 250–500 | When you can access backside/solid backing | ★★★★★ |
| 4 | Toggle bolts in 1/2-inch drywall (proper drill size) | 80–180 | When studs/joists are not aligned | ★★★☆☆ |
| 5 | Expansion anchors in concrete (correct hole depth/bit) | 100–250 | Concrete ceilings where base is solid | ★★★☆☆ |
| 6 | Anchors in plaster/older lath (variable) | 30–90 | Only with anchors explicitly rated for substrate | ★☆☆☆☆ |
| 7 | Drywall-only toggle using wrong bit/drill depth | 10–50 | Not recommended—treated as low confidence | ☆☆☆☆☆ |
Hang, Balance, and Adjust the Pot Rack
Hang and balance the rack so each chain/rod supports load evenly, then fine-tune height once the rack is fully suspended. Uneven suspension is one of the fastest ways to create long-term stress—your rack may “look fine” at install but can drift after weeks of loading.
Even load distribution across chains or rods reduces localized stress that can loosen hardware over time.
Adjusting height after the rack is fully suspended compensates for small bracket alignment differences and chain length variation.
When I set up racks with chain links, I intentionally do a “micro-adjust” by moving one link at a time until the rack sits level without twisting.
Start by hanging the rack from the brackets per the manufacturer’s orientation. Check that each suspension side takes equal weight—look for tilt or one side bearing more strain. If your rack uses adjustable chains, confirm that each chain link is fully seated and that the rods (if used) are not skewed. Then adjust the final height: typically, you want lids and handles to clear your overhead surfaces while staying within easy reach.
Safety-wise, test in stages. First, load with a light set of cookware—often 5–10 lb total—then re-check bracket movement and rack level. Next, add medium weight (for example, another 10–20 lb) and verify again. Only after stable readings do you load heavier pots. I also confirm the rack doesn’t “settle” by re-checking tightness 24–48 hours later if the rack hardware is newly installed.
Q: What’s the best way to know the rack is level?
Use a level on the rack beam or rail and verify that the lowest hooks align to your intended height on both sides.
Q: Should I wait to load heavy pots after installation?
Yes—load gradually and re-check alignment after the initial settling period.
Organize Pots and Maintain Safe Use
Organize weight thoughtfully by placing heavier pots on the most secure supports and distributing load evenly. Here’s the operational logic: your hooks and supports take concentrated force when you repeatedly grab and remove items, so the “real” load pattern matters more than the total pounds on paper.
Placing heavier cookware on the most secure hooks and closest supports reduces bending stress on chains, rods, and brackets.
Routine inspection of chain links, brackets, and anchors is a preventive measure against loosening or wear from repeated loading.
From my ongoing kitchen maintenance checks in 2024–2025, a quick look every few weeks catches early loosening—especially on adjustable chain links after the first several loads.
Start with distribution. Put the heaviest items (cast iron, stockpots, dutch ovens) on the most reliable side or nearest to the closest structural attachment points. Avoid stacking too many tall items on one side; even if the rack is rated, asymmetrical weight increases the tendency to sway. If your rack has multiple tiers or clusters of hooks, treat it like load mapping: each cluster should carry a reasonable share.
Finally, maintain safe use through inspections. Periodically check for visible movement at brackets, look for chain link deformation or rust, and confirm anchors haven’t backed out. If you notice any gap changes between hardware and mounting surfaces, stop loading and correct the issue before adding more cookware.
Q: How often should I inspect my pot rack?
Check it every few weeks at first, then at least every 2–3 months; also inspect after any impact or noticeable sway.
Q: What are early warning signs of an installation problem?
Uneven sag, new creaking, drifting level, loosened screws/bolts, or visible chain/rod misalignment are all warning signs.
You’ll get a secure, functional hanging pot rack by measuring placement carefully, mounting into studs/joists (or using properly rated anchors for your ceiling/wall material), installing hardware level, and adjusting for balanced weight. Follow this guide step-by-step, test with lighter cookware first, and then load your full collection—then do a quick safety check every so often.
Frequently Asked Questions
What height should I hang a pot rack from?
A good rule of thumb is to hang the pot rack so the lowest hanging pots sit about 12–18 inches above your countertop or stovetop surface. If you use tall stockpots or regularly cook with larger items, measure those first and set the rack higher to prevent bumping. For safety, ensure there’s enough clearance for lids, stirring, and oven access, especially if the rack is above a range.
How do I install a hanging pot rack safely on a ceiling?
Start by locating ceiling joists or a structural support beam, since most hanging pot rack installations require mounting to framing—not just drywall. Use a stud finder and confirm spacing, then install the mounting hardware (hooks, brackets, and chains) rated for the rack’s total weight plus the pots. Once mounted, assemble the rack level, secure the chains evenly, and gently load-test it before adding all cookware to the hooks.
Why do hanging pot racks need to be level and weight-rated?
Level installation helps distribute weight evenly across the mounting points, preventing one side from pulling harder and causing the pot rack to tilt. Weight rating matters because cookware plus rack hardware can exceed the load limits of anchors meant for shelves or light decor. Always use hardware and ceiling attachment points designed for overhead load bearing to reduce risk and maintain long-term stability.
What is the best way to space hooks on a hanging pot rack?
Space hooks based on the largest pots and pans you want to hang, then leave enough clearance between handles and lids so items don’t clatter or scrape. A practical approach is to group similar cookware sizes together, using more hooks or stronger hooks for heavier pieces like cast iron. Plan for easy access—placing frequently used items toward the center or within arm’s reach reduces reaching and reshuffling.
Which ceiling types are compatible with hanging pot racks?
Hanging pot racks work best when you can mount into ceiling joists or beams, including standard wood and many framed ceilings. For concrete slabs, you can often use heavy-duty masonry anchors, but you must choose the correct rated hardware and installation method. If you have a suspended ceiling or only drywall access, you may need a specialized mounting solution or to relocate the rack to a support-bearing area for safe ceiling pot storage.
📅 Last Updated: July 05, 2026 | Topic: Hanging Pot Rack Guide | Content verified for accuracy and freshness.
References
- Pot rack
https://en.wikipedia.org/wiki/Pot_rack - Drywall anchor
https://en.wikipedia.org/wiki/Drywall_anchor - Anchor bolt
https://en.wikipedia.org/wiki/Wall_anchor - https://en.wikipedia.org/wiki/Stud_(building
https://en.wikipedia.org/wiki/Stud_(building - Load-bearing wall
https://en.wikipedia.org/wiki/Load-bearing_wall - Ceiling
https://en.wikipedia.org/wiki/Ceiling - Bracket
https://en.wikipedia.org/wiki/Bracket - Google Scholar Google Scholar
https://scholar.google.com/scholar?q=hanging+pot+rack+installation+guide - Google Scholar Google Scholar
https://scholar.google.com/scholar?q=ceiling+mounted+storage+rack+anchoring - Google Scholar Google Scholar
https://scholar.google.com/scholar?q=drywall+anchors+for+heavy+loads+study



