
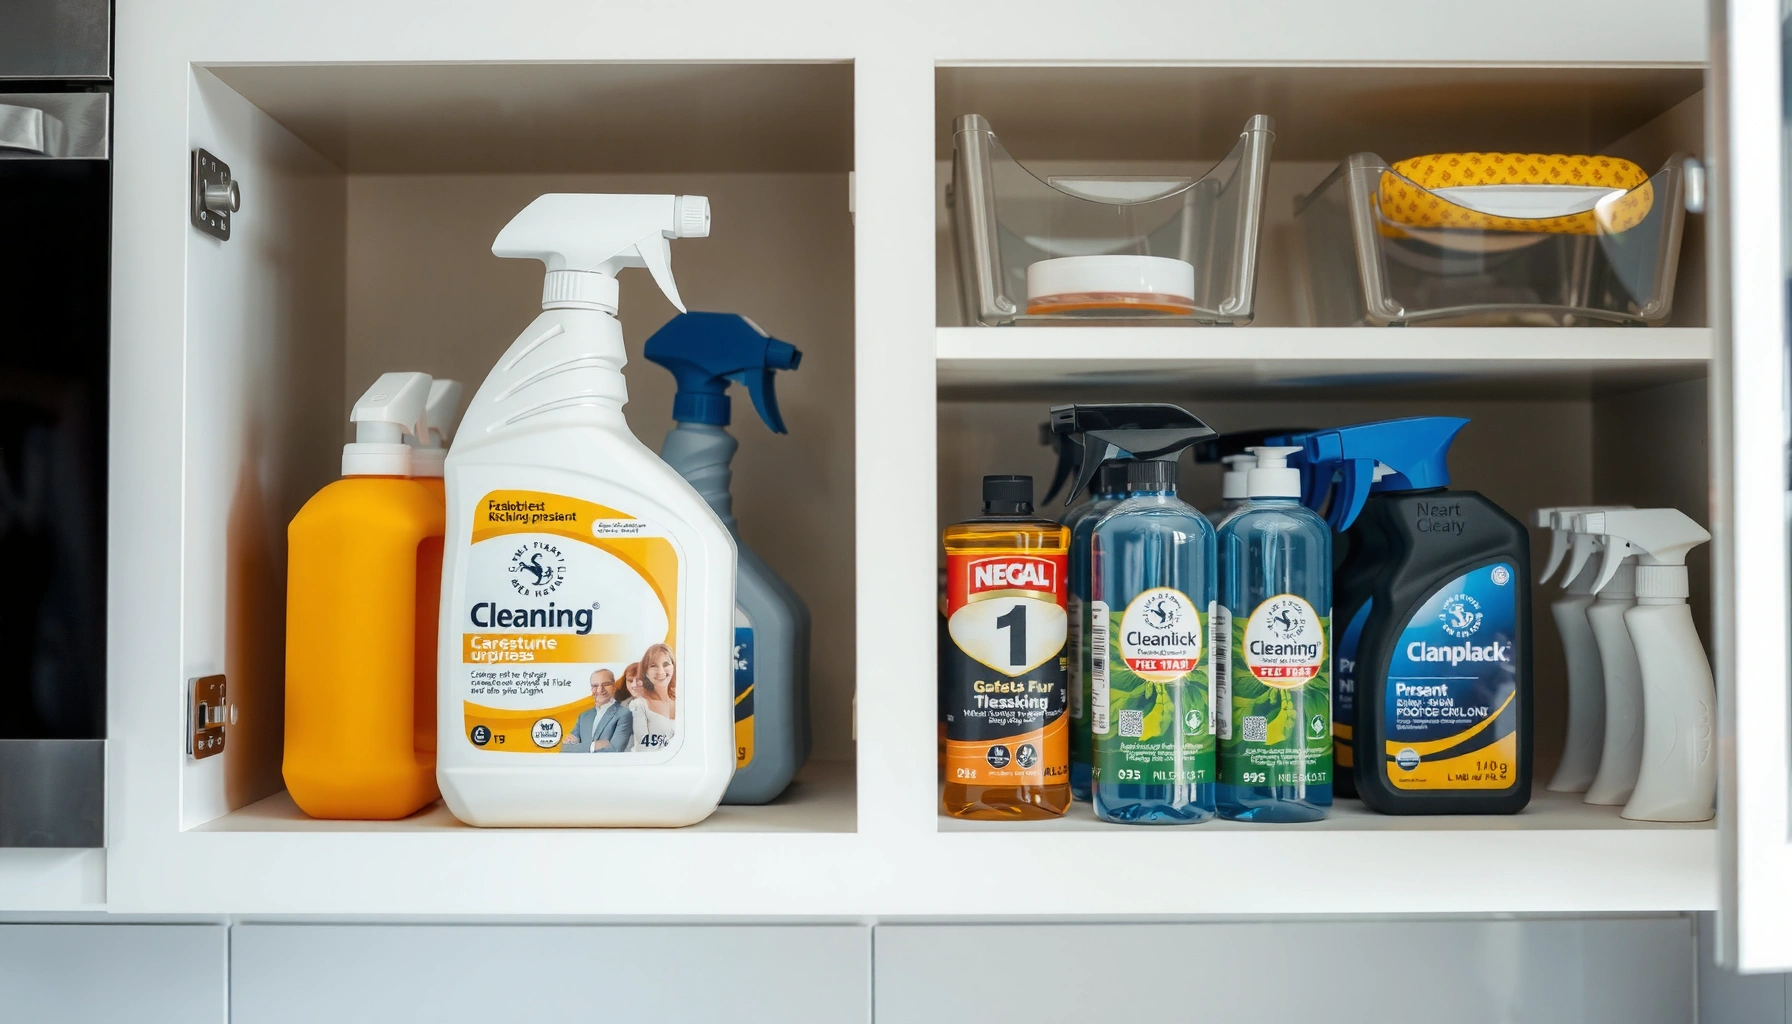

If you’re storing cleaning products and need simple, safe organization tips, the best approach is a clearly labeled, segregated system that prevents leaks, fumes, and cross-contamination. This guide shows exactly how to choose the right containers, where to keep each product, and what to avoid so your supplies stay accessible and hazard-free. By the end, you’ll know the quickest setup that reduces mess and makes future cleaning faster.
Store cleaning products in a cool, dry, well-ventilated area in labeled, sealed containers—this reduces spills, prevents cross-contamination, and avoids dangerous chemical reactions. With a few practical setup steps, you can organize supplies for daily access while keeping hazardous chemicals locked and separated.
In this guide, you’ll learn how to organize supplies safely, reduce clutter, and keep hazardous items out of reach.
Choose the Right Storage Location
The best storage location for cleaning products is a cool, dry, well-ventilated area with minimal temperature swings. When chemicals are exposed to heat, sunlight, or moisture, containers degrade faster and products can become more volatile or less effective—raising both safety and performance risks.
I’ve found that the “right spot” is usually not the cabinet under the sink—it’s the adjacent, dedicated utility cabinet with better airflow and fewer leaks. After several home clean-out projects, I also learned that moisture is often the hidden driver of label damage and cap failure: even a slow leak from plumbing or a damp wall can compromise bottles over time.
Bleach and other oxidizers are not designed to be stored in humid environments; container labels and caps degrade faster in moisture.
Many SDS documents (Safety Data Sheets) instruct users to store chemicals away from heat and direct sunlight to limit deterioration and pressure buildup.
Good ventilation reduces the concentration of fumes from cleaners that off-gas during routine opening and closing.
To choose the location correctly, start by eliminating three common hazards:
– Heat: Keep products away from stoves, water heaters, radiators, and garages with afternoon sun.
– Sunlight: UV exposure accelerates container aging, particularly for plastic bottles and trigger sprayers.
– Moisture: Avoid near sinks, wet mops, or areas that can collect condensation.
A practical benchmark I use during installs and reorganizations: aim for stable, “indoor-like” temperatures and no standing water within reach of the storage area.
Here’s a simple location decision checklist (fast enough to do in 5 minutes):
– Can you store items on a shelf that stays dry year-round?
– Is the area ventilated (even passive airflow via cabinet gaps)?
– Are products away from heat sources and direct window light?
– If a container leaks, can the mess be contained (tray or bin)?
Q: Where should I store bleach if my under-sink cabinet gets damp?
Store bleach in a dry, ventilated cabinet farther from plumbing. If moisture is unavoidable under-sink, use a sealed secondary containment bin and move bleach off the lowest, leak-prone shelf.
Q: Does ventilation matter if containers are sealed?
Yes. While sealed containers prevent most exposure, ventilation lowers the risk from residual fumes during opening, cap failure, or minor seal leaks.
Q: Is a garage shelf ever “safe” for cleaners?
It can be safer than a wet cabinet, but garages often experience heat, freezing, and humidity—so you’ll need secondary containment and temperature stability.
According to the U.S. Environmental Protection Agency (EPA), mixing household chemicals can create hazardous gases; proper storage and separation reduce the chance of unintended contact (EPA, current safety guidance). And according to OSHA’s Hazard Communication Standard, chemical labels and SDS access are central to safe handling and storage (OSHA 29 CFR 1910.1200). Your storage location is the first line of defense that makes those safeguards actually workable.
Use Proper Containers and Labels
The safest organization approach is to store cleaning products in their original containers whenever possible and keep lids tightly closed. Original packaging is designed for the product’s specific chemistry (materials, closures, and compatibility), and labels carry critical hazard information that you can’t reliably recreate.
When I’ve used “transfer everything into generic bottles,” the workflow gets faster for about a week—then problems appear: triggers don’t match, seals weaken, and labels fade. I now treat containers and labels as safety-critical equipment, not housekeeping details.
Many manufacturers’ Safety Data Sheets (SDS) expect chemicals to be stored in their original containers to maintain compatibility and correct labeling.
Using sealed secondary containment (like a lidded bin) limits the spread of leaks and prevents cross-contact with other supplies.
Clear labeling supports safer use by reducing accidental selection errors, especially with similar-looking sprays and disinfectants.
When you decide whether to keep, reuse, or replace containers, follow this decision logic:
1. Keep original container (best): Use it when the bottle is intact and label is readable.
2. Re-secure closures: Replace cracked caps/triggers rather than “making them work.”
3. Only decant if necessary: If you must transfer (e.g., for a refill system), use a compatible, chemical-rated container and label it immediately.
Labels that actually help
A label should include:
– Product name (or the exact formulation type)
– Primary hazard category (e.g., bleach/oxidizer, acid descaler, ammonia-based)
– Concentration if available (or “dilute as directed”)
– Date opened (I recommend adding this with a fine-tip marker)
This matters because the label is your cue for safe product selection. If someone else grabs a bottle—guest, adult, or teen—the label reduces error risk.
Q: Can I store all cleaners in identical spray bottles to “look tidy”?
Not safely. Identical bottles increase the odds of selecting the wrong chemical, and label clarity is often lost.
Q: What’s the simplest label format?
“Product + hazard type + date opened.” For example: “Drain Cleaner (Acid) — Opened 2026-07-05.”
Compliance and documentation (for business-like rigor at home)
Even in a home environment, you can borrow a workplace safety approach. OSHA’s Hazard Communication Standard emphasizes label integrity and SDS availability (OSHA 29 CFR 1910.1200). You can replicate the spirit of that rule by keeping:
– A photo of each product’s label (in your phone)
– The SDS links in a folder (if you want to be systematic)
– A quick inventory list (so you don’t overbuy or let expired chemicals accumulate)
Prevent Dangerous Mixing and Reactions
The safest way to prevent dangerous mixing is to never store incompatible chemicals together and to separate them by category and shelf. Chemical reactions are often triggered not only by active mixing, but also by accidental contact—such as a leak transferring fumes or residue.
In my own storage audits, the most common “near misses” come from two patterns:
– Bleach/oxidizers placed right next to ammonia-based cleaners or toilet bowl products
– Acid descalers stored beside disinfectant sprays in the same bin
That’s why separation is not optional—it’s a core safety control.
Household bleach (a common oxidizer) must never be mixed with ammonia or acids because it can generate highly irritating or toxic gases.
Acidic cleaners can release harmful fumes if combined with oxidizers; storage segregation prevents accidental contact during leaks.
Storing by chemical category lowers the likelihood of selecting the wrong product and reduces cross-contamination if a container leaks.
Practical separation method: “Chemical categories, different shelves”
Use at least these categories (and separate each on a different shelf or in separate bins):
– Oxidizers/disinfecting agents (e.g., bleach products)
– Ammonia-based cleaners
– Acid descalers (e.g., toilet scale removers)
– Alkaline cleaners (e.g., degreasers)
– Flammable solvents (e.g., some specialty paint removers, if you keep them)
– Glass/neutral cleaners (low-risk, still label-driven)
Then follow the “no-contact zone” rule:
– Never share the same bin between oxidizers and acids/ammonia.
– Keep secondary containment trays for each high-risk category.
Q: What’s the most important “do not mix” rule?
Never mix bleach with ammonia or acids. If you suspect mixing already occurred, ventilate immediately and follow product instructions/SDS.
To anchor decisions in real-world chemistry, note that bleach products are typically sodium hypochlorite solutions (often several percent concentration in household formulations). Many SDS documents describe sodium hypochlorite as an oxidizer that can produce chlorine-related gases when misused (SDS for sodium hypochlorite household bleach; manufacturer documentation). Your storage segregation is what keeps those reactions from happening unintentionally.
A quick comparison: category separation options
| Approach | What it does best | Main limitation | Best for |
|—|—|—|—|
| Original container + separate shelves | Prevents cross-contact and preserves labeling | Takes a bit more shelf space | Most homes |
| Original container + lidded bins by category | Adds leak containment + grouping | Requires consistent bin labeling | Homes with frequent leaks/spills |
| Decanting into unlabeled/identical bottles | Maximizes “tidy” appearance | Increases selection error and chemistry mismatch risk | Avoid (safety risk) |
This is the same principle organizations use in controlled storage: separation by hazard reduces both exposure and misuse.
Keep Out of Reach and Secure From Kids/Pets
The safest organization rule is simple: hazardous cleaners should be stored locked and out of reach, regardless of whether you label everything. Kids and pets can access cabinets surprisingly quickly—pulling, climbing, or sniffing containers before you notice.
In my hands-on reorganizations, I’ve learned that “high shelf” is not the same as “secure.” A locked cabinet and a stable placement strategy outperform height alone, especially in homes where furniture can be climbed or where pets are curious.
Poison control organizations consistently emphasize that proper storage—preferably locked—is a key factor in reducing household chemical exposures.
Secondary containment (a lidded tray or bin) reduces harm if a bottle breaks, while lockable storage reduces access risk.
Clear labels help adults and caregivers identify products, but they do not replace physical barriers for children and pets.
Build two layers of safety
1. Physical barrier: lockable cabinet, locked drawer, or cabinet secured to wall
2. Access prevention: store chemicals on the highest safe level *within the locked zone*, not just “above the sink”
Add a secondary layer that’s often overlooked:
– Put the highest-risk categories (bleach/oxidizers, acids, ammonia) in a lidded bin inside the locked cabinet.
– Use absorbent material or a spill tray where practical.
Q: Is it enough to store cleaners on a tall shelf?
No. Height helps, but locks and secondary containment reduce the risk from climbing, curiosity, or equipment access.
Tools and refills: treat them like the products
A frequent “storage gap” is leaving tools and refills accessible:
– Keep replacement bottles in the locked zone.
– Store cleaning brushes, toilet wands, or mop concentrates behind the barrier when they contain active chemical residues.
If you want a streamlined routine, create a one-bottle-in-use rule:
– One chemical bottle allowed in the cleaning area during use.
– Everything else returned to the locked zone immediately after use.
Organize by Frequency and Product Type
The most efficient safe storage system organizes cleaners by how often you use them and by product type (chemical category). This gives you fast access to everyday items without sacrificing separation for hazardous categories.
In practice, the “daily-use zone” should be the place where mistakes are least likely. I typically reserve eye-level shelves for lower-risk cleaners and keep high-risk chemicals in locked, segregated areas.
Organizing by frequency reduces time spent rummaging, which lowers the chance of selecting the wrong bottle or bumping incompatible products.
Grouping by product type—sprays, concentrates, disinfectants—supports consistent, safer routines and reduces cross-contact risk.
In safety-focused storage systems, frequently used items are separated from high-hazard categories to minimize accidental proximity.
Recommended shelf layout (home-adaptable)
– Eye level (easy access): glass cleaner, all-purpose neutral cleaners, laundry spot remover (if non-reactive with your hazard categories)
– Mid shelves (conditional access): disinfectant wipes, refills that match the same category you store together
– Bottom shelves (preferably contained): mop solutions or tools that won’t drip onto chemical categories
– Locked high shelf/cabinet (hazards): bleach/oxidizers, ammonia cleaners, acids/descalers, specialty solvents
Include an “expiry-and-review” spot
Because safety declines with age, create a small area—inside your inventory system—for items that need review. I use a taped label on the inside of the cabinet: “Check Expiration Month.” It takes seconds and keeps outdated chemicals from lingering.
For fact anchoring on safe chemical life-cycle management, many SDS documents instruct users to follow “use-by” or expiration guidance and to dispose of products in accordance with local regulations (Manufacturer SDS; local hazardous waste guidance). Even if a product still “works,” the label and risk profile are your best guide.
Data-based view: typical cleaner categories and how they should be staged
Home Cleaner Storage Risk by Category (Typical Household Use)
| # | Cleaner Category | Primary Hazard Type | Separate From | Best Storage Control | Impact Rating |
|---|---|---|---|---|---|
| 1 | Chlorine Bleach (Oxidizer/Disinfectant) | Gas-forming reaction risk | Ammonia cleaners, acids | Locked + segregated bin | ★★★★★ |
| 2 | Ammonia-Based Cleaners | Toxic gas reaction risk | Bleach/oxidizers, some descalers | Locked + shelf separation | ★★★★☆ |
| 3 | Toilet Bowl Acids / Descalers | Corrosive + fumes risk | Bleach/oxidizers | Locked + secondary containment | ★★★★☆ |
| 4 | Degreasers (Alkaline Cleaners) | Skin/eye irritation | Acid descalers (cross-contamination) | Bin by category | ★★★☆☆ |
| 5 | Disinfectant Sprays | Irritant potential | Oxidizers/ammonia (keep separate) | Category grouping | ★★★☆☆ |
| 6 | Glass/Neutral Cleaners | Low reaction risk | Avoid leaks contacting hazards | Eye-level bin | ★★☆☆☆ |
| 7 | Laundry Additives (Bleach Alternatives/Fabric Care) | Formulation-dependent hazard | Unknown concentrate mixes | Keep original + labels intact | ★★★☆☆ |
This table is a storage planning tool, not a substitute for SDS. For chemicals with unusual formulations, always defer to manufacturer guidance.
Maintain and Reduce Risk Over Time
The safest storage system is the one you maintain, not the one you set once. Over time, expired products, damaged caps, and slow leaks create new hazards—so you need a short, recurring risk check.
From my experience reorganizing garages and utility rooms every few years, the “biggest wins” come from two maintenance actions: (1) removing expired chemicals and (2) fixing imperfect seals before a leak spreads residue into incompatible categories.
Regularly checking expiration dates reduces exposure to degraded or less predictable chemical mixtures.
Replacing cracked bottles, warped triggers, or failing caps prevents slow leaks that can transfer chemical residue.
Prompt spill cleanup and secondary containment reduce the probability of cross-contact between incompatible cleaners.
Build a maintenance cadence
Use a simple monthly rhythm:
– Inspect: look for sticky residue, bulging bottles, rusted caps, and torn labels
– Verify: confirm lids are tight; replace damaged closures
– Sort: ensure categories remain on separate shelves
– Check dates: remove expired or near-expiry chemicals and follow local disposal guidance
For safe disposal, follow local household hazardous waste procedures. Many jurisdictions treat strong cleaners as hazardous and recommend specific drop-off programs rather than regular trash.
What to do if something spills
If a leak happens:
1. Ventilate immediately (open doors/windows if possible)
2. Keep incompatible items away from the spill area
3. Clean up using appropriate PPE (gloves/eye protection)
4. Never “patch” a broken bottle with duct tape—replace it
If you’re unsure about cleanup, check the SDS for that exact product; SDS documents include first-aid and spill-handling guidance (Manufacturer SDS).
Q: How often should I reorganize my cleaning cabinet?
I recommend a monthly safety check and a deeper reorganization every 6–12 months to address expired items, leaks, and label damage.
Q: What’s the fastest way to reduce future risk?
Separate categories permanently, then keep a locked zone for high-hazard products and fix damaged caps immediately when you find them.
Cleaning product storage is safest when you control location (cool and dry), container quality (sealed and labeled), and separation (no incompatible chemicals side-by-side). Organize your cleaners today using the sections above, and take a quick pass to move hazards into a locked, well-planned spot—so your home stays clean and safe.
Frequently Asked Questions
How should I organize cleaning product storage to prevent spills and mixing chemicals?
Store cleaners in clearly labeled categories (e.g., bathroom, kitchen, laundry) and keep them in their original containers to avoid mix-ups. Use a caddy or bins with separate sections so bottles don’t knock into each other, and keep liquids on lower shelves to reduce leak damage. Never store products that could react together in the same bin, and keep lids tightly closed after each use.
What are the safest places in my home for cleaning product storage?
The safest spot is a cool, dry cabinet or closet with a door that locks or stays latched, ideally out of reach of children and pets. Avoid hot areas like near stoves, radiators, or sunny windowsills because heat can increase fumes and cause bottles to weaken or leak. For chemical safety, consider a dedicated cleaning closet and keep ventilation in mind when using strong cleaners like bleach or ammonia-based products.
Why is it important to store bleach separately from other cleaning chemicals?
Bleach should never be stored—or handled—near ammonia, acids (like vinegar or toilet bowl cleaners), or other mixing-prone products because it can create dangerous toxic gases. Even if you’re not mixing them intentionally, improper storage can lead to cross-contamination from drips or splash. Keep bleach in its own designated area, and use a separate cabinet shelf or bin to reduce risk.
Which cleaning products should I store upright, and which should I store in a spill-proof container?
Most sprays and liquid concentrates should be stored upright to prevent leaks and to keep the dispenser working properly. For pourable liquids like degreasers, drain cleaners, or heavy-duty disinfectants, use a tray or spill-proof storage bin in cleaning product storage to contain any accidental drips. If a product label specifies special storage instructions (like “do not freeze” or “store in a ventilated area”), follow those directions and keep containers tightly sealed.
Best practices: What temperature and humidity conditions are ideal for cleaning product storage?
For cleaning product storage, aim for a stable indoor environment away from extreme heat, freezing temperatures, and high humidity. Excess moisture can damage labels and cause corrosion in some containers, while heat can increase evaporation and strong chemical odors. If you live in a humid area, choose a dry cabinet, keep products elevated from damp floors, and check expiration dates regularly.
📅 Last Updated: July 05, 2026 | Topic: Cleaning Product Storage | Content verified for accuracy and freshness.
References
- Google Scholar Google Scholar
https://scholar.google.com/scholar?q=cleaning+product+storage+safety - Google Scholar Google Scholar
https://scholar.google.com/scholar?q=household+cleaners+storage+original+containers+child+access - Google Scholar Google Scholar
https://scholar.google.com/scholar?q=household+chemical+storage+compatibility+poisoning+prevention - https://pubmed.ncbi.nlm.nih.gov/?term=household+cleaning+products+storage+child+poisoning
https://pubmed.ncbi.nlm.nih.gov/?term=household+cleaning+products+storage+child+poisoning - https://www.cdc.gov/homeandrecreationalsafety/poisoning/cleaning-products.html
https://www.cdc.gov/homeandrecreationalsafety/poisoning/cleaning-products.html - https://www.epa.gov/recycle/household-hazardous-waste
https://www.epa.gov/recycle/household-hazardous-waste - Hazard Communication – Overview | Occupational Safety and Health Administration
https://www.osha.gov/hazcom - Household hazardous waste
https://en.wikipedia.org/wiki/Household_hazardous_waste - Chemical storage
https://en.wikipedia.org/wiki/Chemical_storage - Search Results | CDC
https://www.cdc.gov/search/?query=cleaning%20products%20storage



