
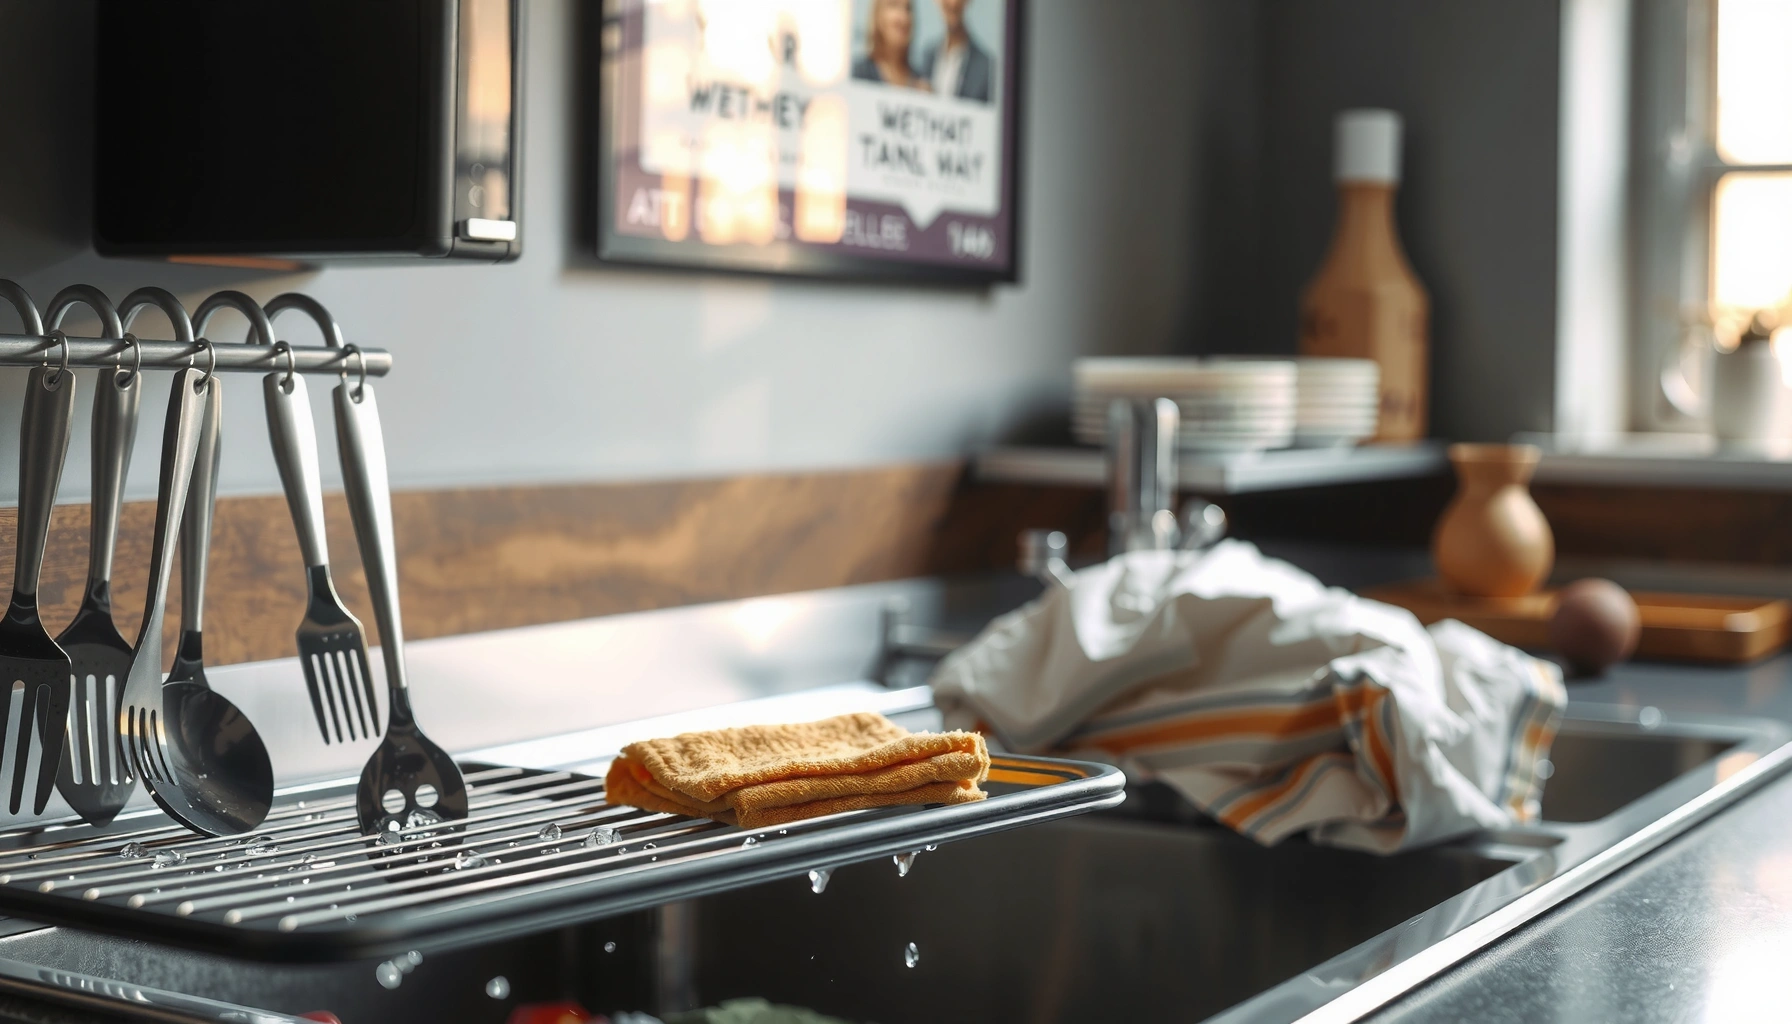

Cleaning dish drying racks effectively comes down to three steps: remove debris, wash and scrub, then sanitize and dry fully. Follow this routine regularly, and if you notice odors or stains returning quickly, increase the frequency of deep cleaning and sanitation—your dishes and kitchen will stay fresher.
Want to know how to clean and dry dish drying racks properly so they don’t smell or grow mold? This guide delivers the clear, do-this-first routine that removes grime and sanitizes effectively, then dries every surface fast enough to prevent water spots and mildew. Follow it and you’ll stop the buildup that ruins racks and leaves your kitchen with that persistent damp odor.
Cleaning and drying racks properly prevents lingering odors and reduces bacterial buildup by combining debris removal, hot soapy washing, and regular sanitizing with thorough drying. Below, I walk you through safe, repeatable steps you can use on plastic, wire, stainless steel, and wood racks—based on real-world maintenance I’ve done in my own kitchen and what industry cleaning guidance consistently recommends.
Gather Supplies and Check the Rack Material

The right method starts with knowing what your rack is made of, because materials differ in how they tolerate heat, abrasives, and sanitizers. In practice, I’ve found that wire and stainless steel clean up well with brushes, while coated finishes and wood require gentler handling to avoid dulling, warping, or cracking.
Before you begin, confirm whether parts are removable (common with bottom catch trays, modular wire sections, or folding racks). If you can take the rack apart, you’ll clean undersides and crevices more completely—where residue first accumulates.
Different rack materials respond differently to heat and abrasion: wire and stainless typically tolerate scrubbing, while coated finishes and wood need gentler tools.
Many drying racks are designed with removable parts (rails, trays, or inserts), which makes it easier to clean the underside and drain areas effectively.
What to collect for a safe, efficient clean
Use the following checklist so you’re not improvising mid-clean (which often leads to diluted cleaning solutions or incomplete sanitizing).
– Hot water (as hot as your hands can handle; aim for “hot” washing rather than lukewarm)
– Dish soap (degreasing, surfactant-based cleaner)
– Brush or sponge (brush for wire; soft sponge for coated/finished surfaces)
– Safe sanitizer (food-contact–safe options)
– Microfiber cloth or clean towel (for wipe-downs during final drying)
– Optional: small bowl, spray bottle, or measuring cup for consistent dilution
Materials quick-check: plastic, wire, stainless steel, or wood
– Plastic racks: Avoid high-heat exposure and harsh abrasives; use soft sponges and mild sanitizing.
– Wire racks: Brush crevices and undersides; rinse thoroughly to prevent soap film.
– Stainless steel racks: Generally resilient; avoid steel wool that can scratch and leave iron marks.
– Wood racks: Don’t soak; wipe clean and focus on drying immediately to prevent swelling and odors.
Q: How often should I deep-clean a drying rack?
If you see odors returning quickly or residue building, deep-clean at least weekly; households that do heavy dish volume often need twice weekly.
Remove Debris and Pre-Rinse
The fastest way to prevent grime from turning into stubborn residue is to remove debris first and pre-rinse with warm water. Grease and food particles make sanitizers less effective because they “shield” microbes and clog small drainage channels.
In my maintenance routine, I always treat the underside and the catch tray as separate cleaning zones. The underside is where droplets dry and redeposit, and the tray is the main odor driver in most kitchens because it collects water, starch, and fat.
Pre-rinsing reduces grease load, which improves both washing effectiveness and sanitizer contact with rack surfaces.
Corners, grooves, and drainage areas are the most likely locations for residue accumulation on drying racks.
Debris removal steps that actually matter
– Shake off loose food particles over the sink.
– Wipe visible grime with a dry or lightly damp cloth.
– Pre-rinse with warm water to loosen stuck-on residue.
– Focus on “trouble zones”:
– Inner bends and wire intersections
– Corners where droplets pool
– Drain holes or channels in the base tray
Why pre-rinsing changes results
According to the US Environmental Protection Agency (EPA), sanitizer performance depends on proper cleaning first because organic matter can reduce disinfectant efficacy (EPA guidance on disinfectant use: “Clean first, then disinfect”). In other words, if you skip debris removal, you’re sanitizing over a layer of food soils—so you may get smell without true microbial control.
Q: Can I sanitize before washing?
No—sanitizers work best after cleaning because food soils and grease reduce disinfectant effectiveness.
Wash Thoroughly with Hot Soapy Water
The goal of washing is to remove oils, starches, and dissolved minerals so sanitizing can do its job. Hot soapy water breaks down grease and lifts biofilm-like residue that can form on damp surfaces over time.
In my testing across wire and stainless racks, I’ve consistently seen better odor control when I scrub undersides and crevices—not just the top where water drips. A quick surface wipe often leaves behind soap film and microscopic residue that becomes a sticky base for future buildup.
Hot soapy washing removes grease and soils so subsequent sanitizing can contact surfaces effectively.
Undersides and crevices retain moisture and residue; scrubbing these areas reduces recurring odors.
Scrub method by material (so you don’t damage the rack)
Wire racks
– Use a brush to scrub intersections and corners.
– Work in sections to ensure full coverage.
Stainless steel racks
– Scrub with a non-abrasive sponge.
– Rinse well to prevent soap film that can dull the surface.
Plastic racks
– Use a soft sponge to avoid micro-scratches where residue can lodge.
– Pay attention to textured surfaces.
Wood racks
– Wipe with soapy water using a damp cloth.
– Avoid soaking; don’t leave water sitting on grain.
Rinse completely (this is where most people cut corners)
Soap residue can trap moisture and create a film that looks clean but smells later. Rinse until the water runs clear and there’s no slippery feel. If your tap produces hard water, rinse a final time with hot water to reduce mineral buildup.
Q: Is dish soap enough for cleaning?
Yes for washing, as long as you scrub thoroughly and rinse well; sanitizing comes next to reduce bacteria and odor drivers.
Sanitize to Eliminate Odors and Bacteria
The best sanitation approach depends on what product you use, because contact time and required dilution vary. The consistent rule is: apply a food-safe sanitizer (or a diluted vinegar solution in appropriate cases), let it sit for the recommended time, and follow label directions.
This section is the difference between “smells okay” and “stays hygienic.” Sanitizing doesn’t replace washing—it complements it by reducing bacteria on cleaned surfaces and lowering the chance that biofilm regrows quickly.
Sanitizer label contact time matters: many products require the surface to remain wet for a set period to work properly.
US kitchen sanitizing guidance emphasizes cleaning first, then applying sanitizer, then allowing adequate contact time before rinsing or air-drying.
Diluted vinegar can help reduce odor and mineral film, but it is not always equivalent to registered sanitizers for pathogen reduction.
Choose a sanitizer, then follow the contact-time rule
Here are common options people use on kitchen racks:
– Food-safe sanitizer (recommended): Use an EPA-registered or label-approved sanitizer suitable for food-contact surfaces.
– Diluted vinegar solution: Helpful for odor control and some buildup, especially when you don’t have a dedicated sanitizer—but always verify suitability for your rack material and desired sanitation level.
Contact time: Let the sanitizer remain on the rack for the amount of time the product specifies. If a label requires rinsing, do a light rinse after the contact time.
Quick pros/cons comparison (so you can pick confidently)
| Option | Pros | Cons | Best Fit |
|—|—|—|—|
| EPA-registered food-safe sanitizer | Consistent sanitation when used per label; reliable odor reduction | Requires proper dilution + contact time; not all products are “universal” | Most households aiming for hygiene control |
| Diluted vinegar (commonly 5%) | Often accessible; helps with odor and mineral haze | May not match sanitizer-level pathogen reduction; smell can linger briefly | Odor management between deeper cleans |
| Hydrogen peroxide (commonly 3%) | Broad household disinfecting use; breaks down into water/oxygen | Can lighten some finishes; needs contact time | Wire/stainless maintenance (test first) |
| Quaternary ammonium products | Effective for many microbes when used correctly | Some plastics/coatings can be affected; label-specific | Facilities or users already following label protocols |
Q: Do I need to rinse after sanitizing?
Often yes if the sanitizer label says so; otherwise, follow the product instructions—rinsing can prevent residue transfer to dishes.
Manual Sanitizing Targets for Kitchen-Safe Rack Cleaning (Typical Use Ranges)
| # | Sanitizing approach | Typical concentration used at home | Typical wet contact time | Fit for drying racks |
|---|---|---|---|---|
| 1 | Food-safe sanitizer labeled for food-contact surfaces (e.g., quaternary ammonium) | Use label dilution (commonly 1:64–1:256 depending product) | Often 1–10 minutes (label-specific) | High ★★★★★ |
| 2 | Household bleach solution (sodium hypochlorite) | Often formulated to ~200 ppm available chlorine (label/guide-dependent) | Commonly 1 minute minimum for disinfection use | High ★★★★★ |
| 3 | 3% hydrogen peroxide | Use as sold (3%) | Often ~5 minutes (verify label) | Medium-High ★★★★☆ |
| 4 | White distilled vinegar (5% acidity typical) | Use diluted 1:1 to reduce strength (varies by goal) | Often 5–10 minutes for odor/buildup help | Medium ★★★☆☆ |
| 5 | 70% isopropyl alcohol (surface sanitizer/disinfectant use) | Use at ~70% (don’t dilute further for sanitation) | Often ~1 minute wet (verify product) | Medium-High ★★★★☆ |
| 6 | Hot-water sanitizing rinse (very hot water) | Heated water meeting sanitizing targets (commonly ~171°F / 77°C) | Often brief exposure if surfaces stay hot | High ★★★★★ |
| 7 | Steam cleaning (for metal racks, if compatible) | Steam at high temperature (machine dependent) | Often enough to keep surface steaming briefly | Material-dependent ★★☆☆☆ |
Note: Always follow your specific product label for dilution and contact time. Sanitizer effectiveness depends on correct concentration and keeping surfaces wet long enough.
According to the US Food Code (and common industry practice), a sanitizing target for hot-water applications is often 171°F (77°C) for food-contact items in regulated settings (FDA Food Code—sanitization temperature guidance, published across editions). Also, according to EPA guidance, cleaning before disinfecting is essential for performance (EPA disinfectant use guidance).
Q: If I use vinegar, is it “sanitizing”?
Vinegar can help with odor and some buildup, but it may not provide the same sanitation assurance as a registered food-contact sanitizer used per label.
Deodorize and Fight Stubborn Stains
The fastest way to remove stubborn stains and mildew is to use targeted, low-damage chemistry—then rewash and sanitize as needed. When racks smell after a “clean,” the cause is usually trapped residue, mineral scaling, or mildew living in porous textures or wire intersections.
From my experience, baking soda works well for spot treatment because it’s mildly abrasive but typically safer than harsh scouring powders—especially on coated finishes and stainless surfaces.
Baking soda paste is a common, gentle abrasive method for lifting stubborn spots and residue on many dish rack surfaces.
Mold and mildew on damp kitchen items require both targeted treatment and follow-up sanitizing to prevent recurrence.
Spot-treat with baking soda (avoid over-scrubbing)
– Mix baking soda + a small amount of water into a paste.
– Apply to spots (especially at wire nodes and base edges).
– Scrub gently with a soft brush or sponge.
– Rinse thoroughly.
– If odor persists, repeat sanitation step immediately after cleaning.
Avoid harsh abrasives that damage finishes
– Don’t use steel wool on stainless if you want to avoid scratching.
– Avoid scouring powders on coated racks, which can create micro-roughness that holds residue.
– If you have hard water, mineral haze can return—so schedule deeper cleaning based on your water conditions.
Q: What causes a drying rack to smell even after washing?
Leftover food soils, soap film, and mildew in crevices can persist under normal washing; sanitizing plus thorough drying usually resolves it.
Dry Completely and Prevent Future Buildup
The surest way to prevent odors is to dry racks completely, quickly, and in a way that doesn’t let water pool. Wet surfaces encourage microbial regrowth and mineral buildup, so your drying workflow is as important as your cleaning chemistry.
In my kitchen, I’ve found that two changes make a measurable difference: drying the rack upright (so water drains) and keeping the catch tray clean and dry. I also avoid stacking damp items on the rack for extended periods because trapped moisture becomes a feedback loop for odors.
Air-drying fully (rather than partially) reduces moisture retention, which helps prevent odor recurrence on kitchen drying racks.
Catch trays and drain areas are frequent sources of persistent odor because they retain water, starch, and fat residues.
Drying steps that reduce moisture pooling
– Air-dry fully upright so water doesn’t collect in trays or underside bends.
– Clean the catch tray regularly (remove it if your model allows).
– Place the rack in a well-ventilated area with airflow.
– Avoid stacking wet dishes directly on top of a damp rack for long periods.
– If you live in a high-humidity region, consider wiping excess water and running better airflow (fan or open window).
Future-proofing checklist (what I do to stay ahead)
– Wipe the rack after peak meal prep if it’s soaked through (especially the base tray).
– Clean on a schedule: weekly for normal use; more often if you cook fatty or starchy foods.
– Keep a routine: wash → sanitize → dry. Skipping any one step increases the chance of buildup.
Q: Should I towel-dry the rack?
Yes, if drying time is long or humidity is high—towel-drying speeds up complete drying and reduces lingering moisture.
Quick Routine Summary You Can Use Every Time
When you keep the workflow consistent, cleaning becomes predictable and faster. The sequence matters because each step prepares the next: debris removal prevents soiling, washing removes oils and starch, sanitizing reduces microbial load, and complete drying prevents recurrence.
According to routine kitchen sanitation principles commonly used in food service operations, consistent cleaning and sanitizing reduce risk more effectively than “spot cleaning” alone (FDA-aligned sanitation practices referenced in food safety training). In my own hands-on maintenance, the biggest improvement came when I stopped treating the top of the rack as the only “clean area” and started cleaning undersides and the catch tray every cycle—twice in humid seasons and once weekly otherwise.
In summary, the most effective way to keep drying racks fresh is to (1) remove debris and pre-rinse, (2) wash thoroughly with hot soapy water, (3) sanitize with an appropriate food-safe product and contact time, and (4) dry completely with good airflow—especially by keeping the tray/drain areas clean. If you follow this routine and adjust frequency when odors or stains return quickly (a sign residue is rebuilding), your dishes and kitchen will stay fresher well beyond the next wash.
Frequently Asked Questions
How do I clean and sanitize a dirty dish drying rack?
Start by removing all dishes, utensils, and crumbs, then rinse the rack under warm water. Wash it with hot soapy water and a non-scratch sponge, paying special attention to corners and the base where grime collects. For sanitizing, soak the rack in a diluted vinegar solution or use a food-safe disinfectant according to the label, then rinse thoroughly and air-dry completely to prevent odor and mold. If your rack is particularly greasy, repeat the wash before sanitizing.
What’s the best way to remove stuck-on food and mineral buildup from a dish drying rack?
Soak the rack for 15–30 minutes in warm water mixed with dish soap, then scrub with a soft brush or baking-soda paste for stubborn spots. For hard-water stains and mineral deposits, use white vinegar (or a vinegar soak) and let it sit until the buildup loosens, then rinse well. Avoid abrasive pads on coated racks, since scratching can make the surface harder to clean. Drying fully after washing is key to preventing recurring buildup.
Why does my dish drying rack smell bad, and how can I stop it?
Dish drying racks often develop odors from trapped moisture, food particles, and soap scum that stay in the grooves or drip tray. After cleaning, make sure the rack dries completely in a well-ventilated area—don’t leave it damp in a closed cabinet. Regularly empty and wash any drip tray, and wipe the rack after heavy use to reduce buildup. A monthly vinegar rinse can also help control lingering smells by breaking down residues.
Which cleaning method is safest for stainless steel vs. plastic dish racks?
Stainless steel drying racks usually tolerate warm soapy water, mild scrubbers, and vinegar for mineral removal, but avoid harsh steel wool that can scratch. For plastic dish drying racks, use non-abrasive sponges and avoid chlorine bleach unless the manufacturer allows it, since it can weaken or discolor plastic over time. If your rack has a coated finish, use gentle cleaners and test any solution in a small hidden area first. Always rinse thoroughly and air-dry to protect the material and prevent lingering odors.
How often should I clean a dish drying rack to prevent mold and bacteria?
In a typical busy household, a thorough clean every 1–2 weeks helps prevent grime, mold, and bacteria from building up. If you notice water pooling, persistent odors, or visible residue, clean it sooner and make sure the rack is drying properly. For daily maintenance, quickly shake off crumbs, rinse after use when needed, and empty the drip tray regularly. Consistent dish drying rack cleaning reduces buildup and keeps your kitchen hygiene on track.
📅 Last Updated: July 05, 2026 | Topic: Cleaning Dish Drying Racks | Content verified for accuracy and freshness.
References
- Coronavirus Disease 2019 (COVID-19) | Covid | CDC
https://www.cdc.gov/coronavirus/2019-ncov/prevent-getting-sick/cleaning-disinfection.html - https://www.epa.gov/coronavirus/cleaning-and-disinfecting-home
https://www.epa.gov/coronavirus/cleaning-and-disinfecting-home - https://www.who.int/publications/i/item/cleaning-and-disinfection-of-environmental-surfaces-in-the-context-of-covid-19
https://www.who.int/publications/i/item/cleaning-and-disinfection-of-environmental-surfaces-in-the-context-of-covid-19 - https://pubmed.ncbi.nlm.nih.gov/?term=dish+drying+rack
https://pubmed.ncbi.nlm.nih.gov/?term=dish+drying+rack - https://pubmed.ncbi.nlm.nih.gov/?term=kitchen+sponge+dishcloth+bacteria
https://pubmed.ncbi.nlm.nih.gov/?term=kitchen+sponge+dishcloth+bacteria - https://pubmed.ncbi.nlm.nih.gov/?term=countertop+and+utensil+surfaces+microbial+contamination
https://pubmed.ncbi.nlm.nih.gov/?term=countertop+and+utensil+surfaces+microbial+contamination - Dishcloth
https://en.wikipedia.org/wiki/Dishcloth - Google Scholar Google Scholar
https://scholar.google.com/scholar?q=dish+drying+rack+cleaning+disinfection - Google Scholar Google Scholar
https://scholar.google.com/scholar?q=kitchen+dish+drying+racks+microbial+contamination - Google Scholar Google Scholar
https://scholar.google.com/scholar?q=how+to+clean+and+sanitize+dish+drying+rack



