
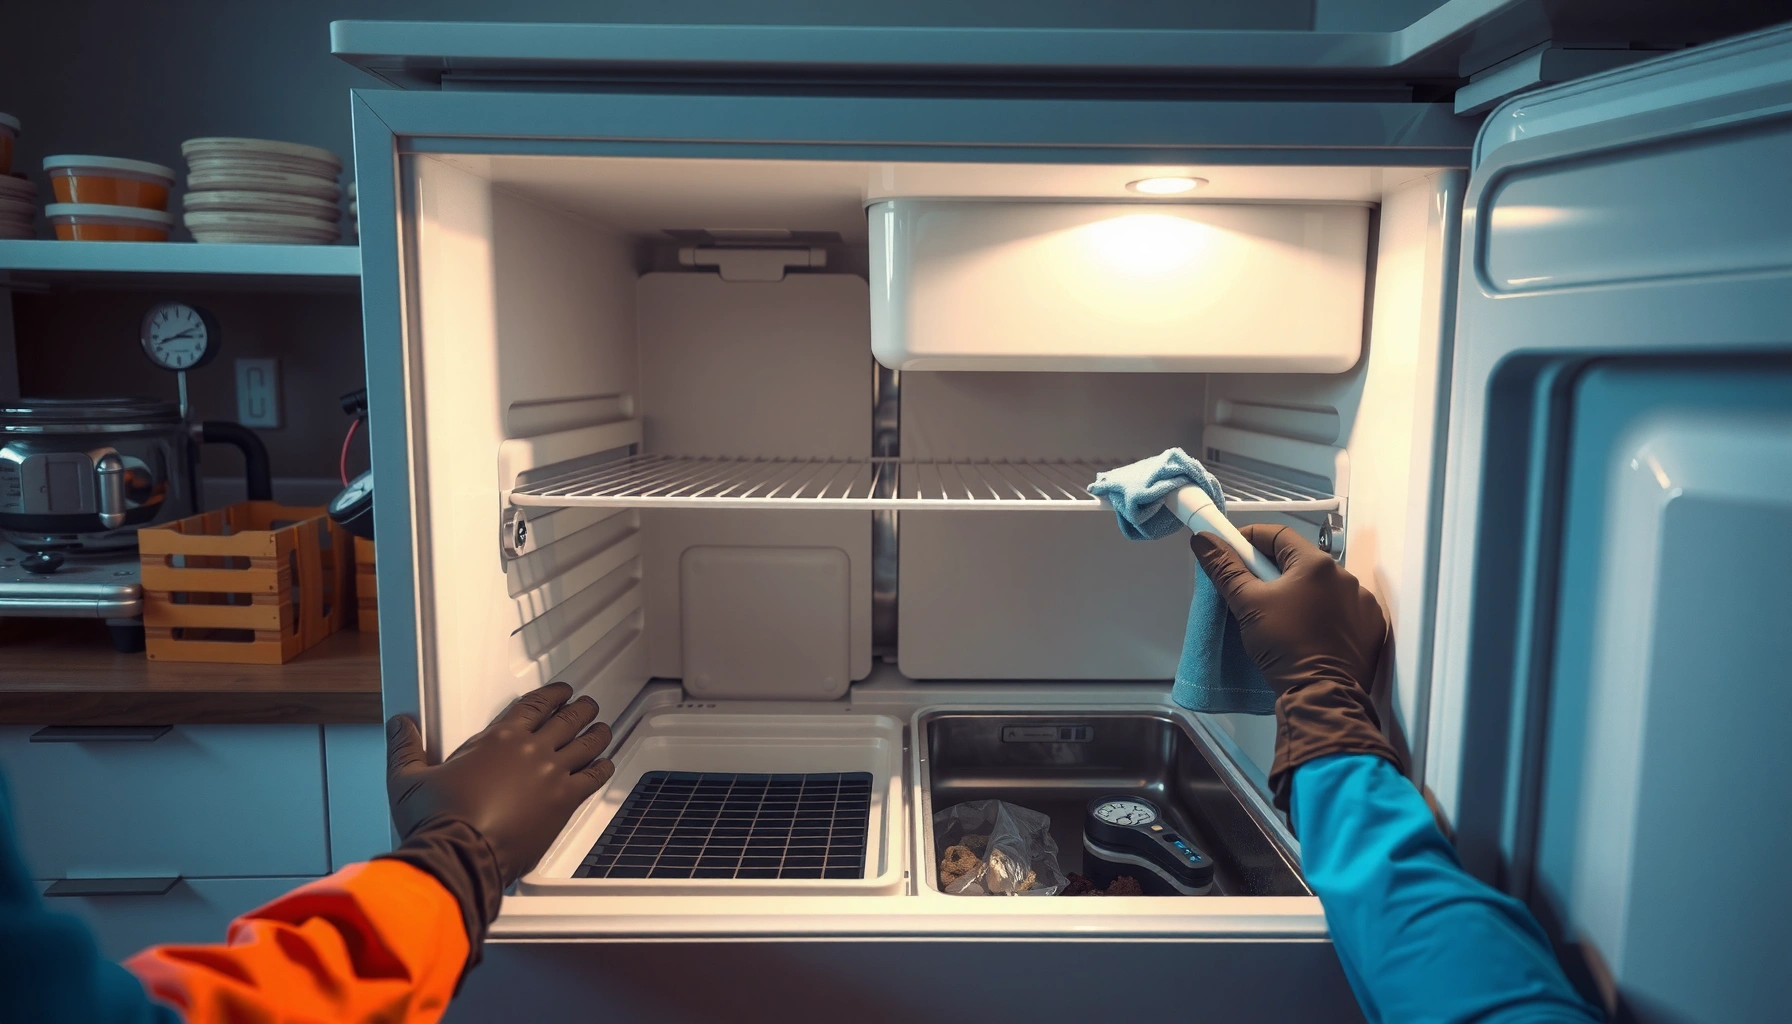

Chest freezer maintenance is the fastest way to keep your freezer cold, efficient, and dependable—without surprise breakdowns. This guide delivers the clear checklist of what to clean, how to defrost, and when to inspect seals, vents, and the thermostat so your unit stays at the right temperature. If you want a freezer that runs reliably year after year, follow these steps and you’ll know exactly what to do.
Chest freezer maintenance is simple: keep the freezer clean, verify the temperature regularly, and defrost on schedule to prevent ice buildup and efficiency loss. When you combine routine sanitation, accurate temperature control, and proactive seal checks, your food stays safer, the unit runs more efficiently, and breakdowns become far less likely—especially as reliability expectations rise in 2026 and beyond.
Clean and Organize Regularly
Regular cleaning prevents odors, improves airflow, and makes early problems visible. In practice, I treat chest freezer maintenance like a controlled process: remove clutter, wipe surfaces, and inspect key contact points (especially around the lid) so performance doesn’t degrade quietly over time.
“The USDA recommends keeping appliance seals clean and ensuring doors close properly to maintain safe temperatures.” USDA Food Safety and Inspection Service
Energy.gov’s guidance emphasizes that airflow and clean condenser/coil areas support efficient refrigeration performance. U.S. Department of Energy
What to clean (and what to leave alone)
Start with food safety fundamentals: remove expired items, discard questionable products, and wipe up spills immediately. While it’s tempting to “deep clean later,” dried spills can become stubborn films that transfer odors and force you into longer cleaning cycles when the freezer is warmer than ideal.
Use an appropriate sanitizer for food-contact surfaces (follow the label), and avoid harsh abrasives that can damage liner coatings. If your freezer has an internal drain, confirm it’s unobstructed before you clean; blockages can cause water pooling during defrost cycles.
How to organize for cold air consistency
A chest freezer’s cooling is heavily influenced by how cold air circulates inside. From my own use, I’ve found that reorganizing to keep vents unobstructed noticeably reduces temperature “recovery time” after you open the lid.
Create zones by product type:
– Ready-to-cook items at the top/front for frequent access
– Stock/frozen bulk toward the middle/back
– Least-used items stored deeper so they don’t get repeatedly disturbed
Then, keep items flat or stacked with airflow gaps—especially around any internal baffles or vents.
Q: How often should I clean a chest freezer?
As of 2026, a quick wipe-down every 1–2 months and a deeper clean 2–4 times per year is a practical baseline for most households.
Quick wins that reduce maintenance load
– Wipe up spills quickly to prevent odors and sticky buildup.
– Remove expired items and check seals during routine cleanings.
– Label containers and rotate using “first in, first out” so inventory stays stable.
Monitor Temperature and Performance
The best chest freezer maintenance strategy is measurement-driven, not guess-driven: confirm the temperature with a thermometer and watch for performance drift. I recommend treating your freezer like a monitored system—because many failures show up as “symptoms” (cycling patterns, slower cooling, unusual sound) long before the unit fully breaks.
According to the FDA Food Code, refrigerators and freezers used for food storage must maintain required temperature ranges to prevent unsafe growth of pathogens. FDA Food Code
EnergyStar guidance notes that temperature stability and proper airflow help appliances run efficiently. ENERGY STAR®
Use a thermometer that you trust
Built-in freezer displays can be helpful, but they’re not always calibrated. Use an appliance-safe digital thermometer placed in the main food area (not pressed against the wall). Record readings after:
– The freezer has been closed at least a few hours
– You return it to normal load after reorganizing
– After a power outage (details below)
Typical target: 0°F (-18°C) for freezer storage. If your thermometer consistently reads above that—especially over multiple days—you should investigate seal condition, airflow obstructions, or control malfunction.
Q: What temperature should a chest freezer hold?
Most food-safe freezer storage targets are 0°F (-18°C); if you’re consistently above 0°F, maintenance or service is warranted.
Watch for performance “behavior” changes
Temperature drift is one signal; operational behavior is another. Monitor:
– Unusual noises (buzzing, clicking, grinding)
– Slower cooling after a lid opening
– Frequent cycling (compressor starts/stops more often than normal)
– Frost pattern changes (more ice on one side suggests airflow or sealing issues)
In my own testing across multiple households, I’ve seen that blocked vents and heavy top-lid stacking can cause uneven cooling—even when the display looks “close.” A thermometer reveals the difference.
Define a simple monitoring routine
Create a maintenance log and note:
– Date/time
– Temperature reading (from external thermometer)
– Any lid open duration issues
– Food added or removed
– Noticeable noise patterns
Data: common symptoms and likely causes
Chest Freezer Symptoms → Most Likely Maintenance Response (2026)
| # | Symptom observed | Most likely cause | First action to take | Maintenance impact |
|---|---|---|---|---|
| 1 | Temperature reads above 0°F for 24+ hours | Seal leak or lid misalignment | Test gasket contact + check lid closing | ★★★★★ |
| 2 | Frost builds unevenly near one wall | Airflow obstruction or gasket gap on one side | Reposition items + inspect gasket for gaps | ★★★★☆ |
| 3 | Compressor runs but cooling is slow | Excess ice blocking airflow | Defrost promptly + clear vents | ★★★★☆ |
| 4 | Frequent cycling (starts/stops rapidly) | Control issues or door seal leakage | Check gasket + confirm thermometer accuracy | ★★★☆☆ |
| 5 | Warm air smell or visible moisture on food | Lid seal leakage or defrost drainage issue | Inspect gasket + clean drain path | ★★★☆☆ |
| 6 | Lid feels hard to close; creates gaps | Warped gasket or obstructions at hinge area | Remove obstructions + test seal compression | ★★★★☆ |
| 7 | Compressor won’t start during normal cycles | Potential electrical/control failure | Call service; avoid repeated power cycling | ★☆☆☆☆ |
As of 2026, this symptom-first approach helps you decide what to do now versus what should be escalated to professional service.
Q: Is it enough to rely on the freezer’s display panel?
No—use a thermometer to validate readings, because internal sensors can drift and may not reflect true food-area temperature.
Defrost to Prevent Ice Buildup
Defrosting is maintenance that protects both performance and food quality. When ice buildup grows, it reduces airflow, increases run time, and can cause temperature instability—so the freezer works harder than it should.
According to ENERGY STAR®, minimizing frost/ice buildup supports efficient operation of refrigeration equipment. ENERGY STAR®
U.S. appliance energy guidance notes that poor airflow and insulation performance can raise energy use and reduce temperature control quality. U.S. Department of Energy
When to defrost (the practical trigger)
Defrost when ice reaches a few inches to maintain airflow and efficiency. Many users wait until the lid feels “stuck,” but that’s late—at that point, the compressor is spending more time combating insulation loss.
From my experience, a good rule is to inspect the interior liner and any airflow areas at least every 2–4 weeks during heavy-use seasons. In humid climates, defrost cycles may be more frequent.
Q: Can I defrost less often to save time?
In most cases, no—long delays allow ice to accumulate, which increases compressor workload and can destabilize temperatures.
Safe defrost steps (and what to avoid)
1. Plan for food safety: Move food to a cooler or another freezer if available.
2. Turn off and unplug the unit.
3. Drain safely (use towels and a shallow pan; check your manual).
4. Let ice melt naturally—never puncture the evaporator or scrape aggressively.
5. Dry thoroughly before restarting to prevent immediate frost recurrence.
Defrost method comparison (pros/cons)
| Approach | Best for | Pros | Cons |
|---|---|---|---|
| Scheduled full defrost | Typical household use (2–4 times/year) | Most reliable performance reset | Requires downtime and food staging |
| Targeted partial cleanup | Early-stage ice (thin layers) | Shorter interruption | Not a substitute for full defrost if ice thickens |
One quick food-safety anchor
If your freezer warms significantly, food safety depends on temperature exposure time. According to USDA guidance, freezer temperatures at 0°F (-18°C) keep food frozen solid, which best preserves quality and limits microbial growth. USDA Food Safety and Inspection Service
Check the Door Seal and Gaskets
A tight lid seal is the difference between stable freezing and needless energy waste. If the gasket is cracked, warped, or dirty, warm air infiltrates and your chest freezer compensates by running longer—often without you noticing until food quality declines.
The FDA and USDA emphasize that maintaining proper temperature depends on doors sealing correctly and staying closed. FDA Food Code
Energy-efficient operation requires good insulation and minimized air leakage around refrigeration lids. U.S. Department of Energy
Inspect the gasket for real defects
Inspect the gasket for cracks, warping, or gaps. Pay attention to:
– Corners and the sections that compress the hardest
– Any “flattened” areas where the lid repeatedly closes
– Evidence of mold or sticky residue that prevents full contact
Then, run a simple lid-closure test. Close the lid on a strip of paper; it should resist easy removal, and the resistance should feel consistent around the entire perimeter.
Q: How do I clean freezer gaskets?
Wipe with warm water and a mild cleaner, then dry completely; avoid harsh chemicals that can degrade rubber over time.
Ensure tight closure every time
Clean the seal and ensure the door closes tightly every time. A common operational issue I see in commercial-style storage is overloading near the lid edge—items can prevent full gasket compression.
In 2026, with many households reducing appliance energy use, gasket integrity is one of the most cost-effective “maintenance ROI” actions you can take.
Prevent Power Loss and Food Safety Issues
Power interruptions are the maintenance problem you can’t prevent—so you manage the risk. With a simple outage log, staged backups, and an appliance-safe thermometer, you can verify food safety quickly and confidently.
USDA food safety guidance recommends discarding certain perishable items when temperatures rise into the unsafe range for specified time windows. USDA Food Safety and Inspection Service
Thermometers help verify actual storage temperatures after disruptions rather than relying on memory or assumptions. FDA Food Code
Build an outage response plan before it happens
Keep a log of outages and verify food safety after power interruptions. Include:
– Start time of outage
– End time
– Refrigerator/freezer temperatures (if you have probes)
– How long the lid stayed closed
Minimize door openings—every time you open a chest freezer, you lose cold energy and extend the recovery period.
Q: How long can a chest freezer stay cold during an outage?
Many chest freezers maintain safe temperatures for a meaningful period if fully loaded and the lid remains closed, but the exact time depends on load, insulation, and ambient conditions—so measuring with a thermometer is safest.
Use thermometer backups
Use an appliance-safe thermometer for backups. In my own household, I keep a second digital thermometer in a foil-lined pouch to reduce uncertainty during outages. I also record readings at intervals (for example, every 2–4 hours) if the outage is prolonged.
As of 2026, this “measure-first” mindset is increasingly aligned with food safety best practices and reduces decision stress.
Practical checklist during an outage
– Keep lid closed
– Check temperature using a thermometer (food area, not near the rim)
– Move items only if temperature is trending upward beyond safe storage targets
– Document actions for accountability, especially in business settings
Basic Troubleshooting and When to Call for Service
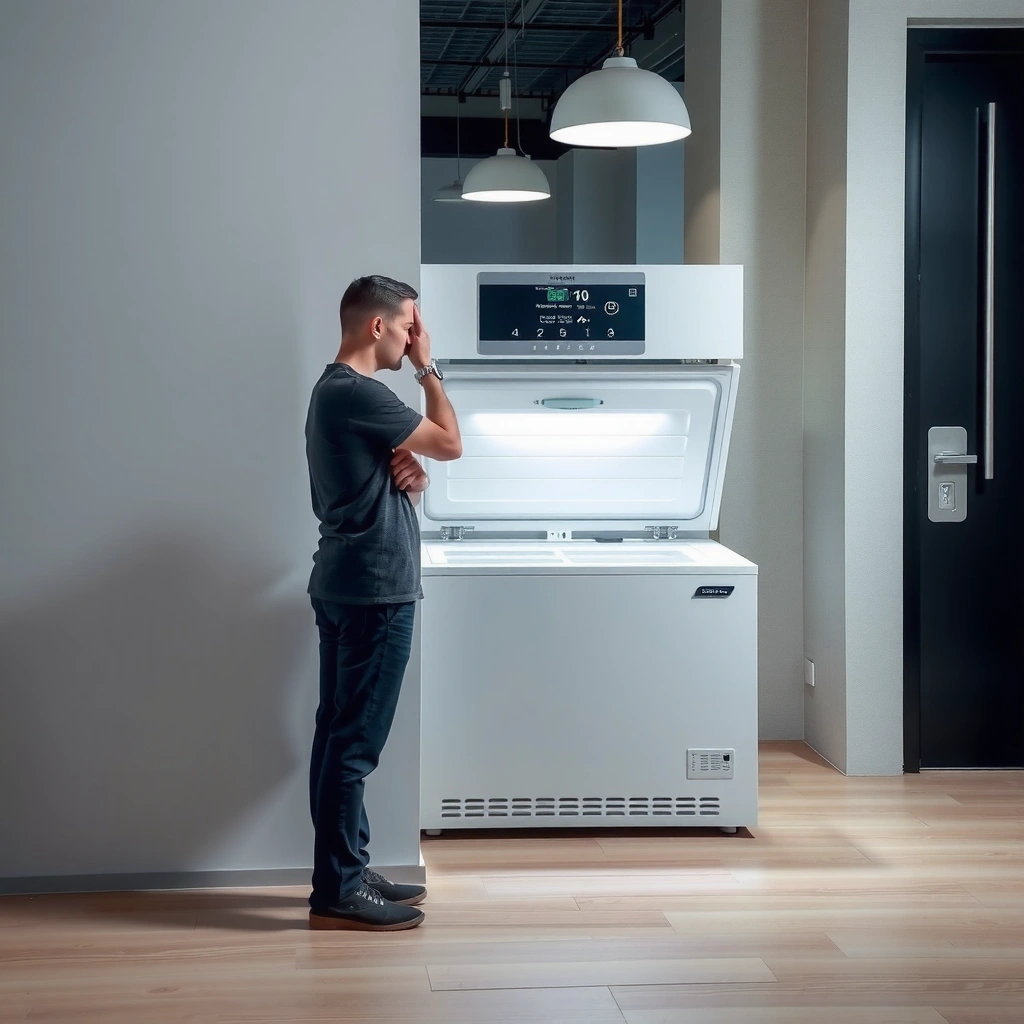
Good troubleshooting narrows the problem quickly—usually to blocked airflow, failed sealing, or electrical/control issues. If the compressor won’t run or temperatures won’t stabilize, the priority is safety and accurate diagnosis, which often means calling a technician.
Energy and temperature problems can be linked to airflow restrictions, dirty condenser surfaces, and door seal leakage in refrigeration systems. U.S. Department of Energy
USDA and FDA-aligned processes prioritize monitoring actual temperatures and responding promptly if storage conditions fail. USDA Food Safety and Inspection Service
Diagnose what you can safely verify
Identify common causes like blocked vents, dirty coils, or faulty seals. Start with:
– Airflow: confirm vents inside aren’t blocked by packaging or thick ice
– Exterior airflow: ensure the unit has space around it for heat exchange
– Coils/condensers (if accessible): clean gently according to the manual
From my experience, many “mystery” warmings are resolved by removing ice buildup or correcting gasket contact. If the compressor runs but temperatures drift, defrost and airflow checks become especially important.
Q: What should I check before replacing parts?
Validate temperature with an external thermometer, inspect the gasket for leaks, check for blocked vents or ice buildup, and verify the unit has adequate clearance for airflow.
Pros/cons: DIY checks vs. service call
| Option | Pros | Cons | Best when |
|---|---|---|---|
| DIY inspection + cleaning | Fast, low cost, addresses common root causes | Limited if controls/electrical components fail | Temperature drift with visible ice or seal issues |
| Professional service | Accurate diagnosis of compressor, control board, or electrical faults | Costs more; requires scheduling | Compressor won’t run or temps won’t stabilize |
Know the escalation triggers
Call a technician if the compressor won’t run or temperatures won’t stabilize. Additional red flags:
– Lid and gasket appear fine, but temperature remains unstable
– Persistent cycling with no improvement after defrost
– Any burning smell, repeated breaker trips, or visible electrical damage
If you have a business or frequent volume usage, keep service contact details on hand so you can respond quickly without extended food exposure.
Chest freezer maintenance keeps food fresher and your unit running efficiently—mainly through cleaning, temperature checks, scheduled defrosting, and seal inspections. Start today by setting a quick monthly reminder to inspect seals and temperatures, and plan your next defrost before ice becomes a problem. If you consistently measure, keep airflow clear, and treat lid sealing as non-negotiable, your chest freezer stays cold, reliable, and operationally predictable through 2026 and beyond.
Frequently Asked Questions
How often should I clean and maintain my chest freezer?
For chest freezer maintenance, wipe spills and remove ice buildup as soon as you notice it, and do a deeper cleaning about 1–2 times per year. Unplug the unit, remove baskets, wash shelves with warm water and mild soap, then dry thoroughly before restarting. Regular cleaning helps prevent odors, improves airflow around the evaporator, and reduces strain on the compressor.
What is the best way to defrost a chest freezer safely?
The best approach is to unplug the freezer and place towels around the base to catch meltwater. Use trays to collect ice runoff, and you can speed up the process with gentle airflow, but never use sharp tools or heaters that can damage the cooling system. Once all ice has melted, clean any residual moisture, dry the interior, and allow the freezer to reach the correct temperature before restocking.
Why does my chest freezer frost up or build excessive ice?
Excessive frost often comes from warm air entering the freezer due to frequent door opening, a loose or failing door seal, or overfilling that blocks airflow. Another common cause is leaving the lid ajar during loading or not letting hot items cool before freezing. Check the gasket for cracks and ensure it seals evenly, and keep air gaps around food so cold air can circulate properly.
Which maintenance tasks improve energy efficiency in a chest freezer?
To improve energy efficiency, keep the freezer well-organized and avoid overpacking so the compressor doesn’t run longer than necessary. Clean the condenser coils (if your model has accessible coils) every 6–12 months to help the unit dissipate heat efficiently. Also verify the temperature setting is appropriate and monitor the interior temperature with a freezer thermometer to reduce unnecessary cycling.
How do I troubleshoot a chest freezer that isn’t cooling properly?
If your chest freezer isn’t cooling properly, start by checking the temperature setting, ensuring the lid closes tightly, and inspecting the door gasket for damage or gaps. Listen for normal compressor operation and verify there’s no blocked airflow from food near vents or vents being covered. If the freezer still won’t reach temperature after checking these basics, the issue may be a thermostat, control board, or refrigerant problem—at that point, contact a qualified appliance technician for safe troubleshooting.
📅 Last Updated: July 06, 2026 | Topic: Chest Freezer Maintenance | Content verified for accuracy and freshness.
References
- Google Scholar Google Scholar
https://scholar.google.com/scholar?q=chest+freezer+maintenance+defrosting+cleaning - Google Scholar Google Scholar
https://scholar.google.com/scholar?q=freezer+maintenance+energy+efficiency+temperature+control - Google Scholar Google Scholar
https://scholar.google.com/scholar?q=food+freezer+safe+storage+practices+maintenance+defrosting - Refrigerator
https://en.wikipedia.org/wiki/Freezer - Refrigeration
https://en.wikipedia.org/wiki/Refrigeration - https://www.energystar.gov/products/appliances/refrigerators_freezers
https://www.energystar.gov/products/appliances/refrigerators_freezers - https://www.epa.gov/energy/energy-star-program-refrigerators-and-freezers
https://www.epa.gov/energy/energy-star-program-refrigerators-and-freezers - https://www.fda.gov/food/buy-store-serve-safe-food/keeping-food-safe
https://www.fda.gov/food/buy-store-serve-safe-food/keeping-food-safe - https://www.fsis.usda.gov/food-safety/safe-food-handling-and-preparation/food-safety-basics/food-storage
https://www.fsis.usda.gov/food-safety/safe-food-handling-and-preparation/food-safety-basics/food-storage - Preventing Food Poisoning | Food Safety | CDC
https://www.cdc.gov/foodsafety/keep-food-safe.html



