
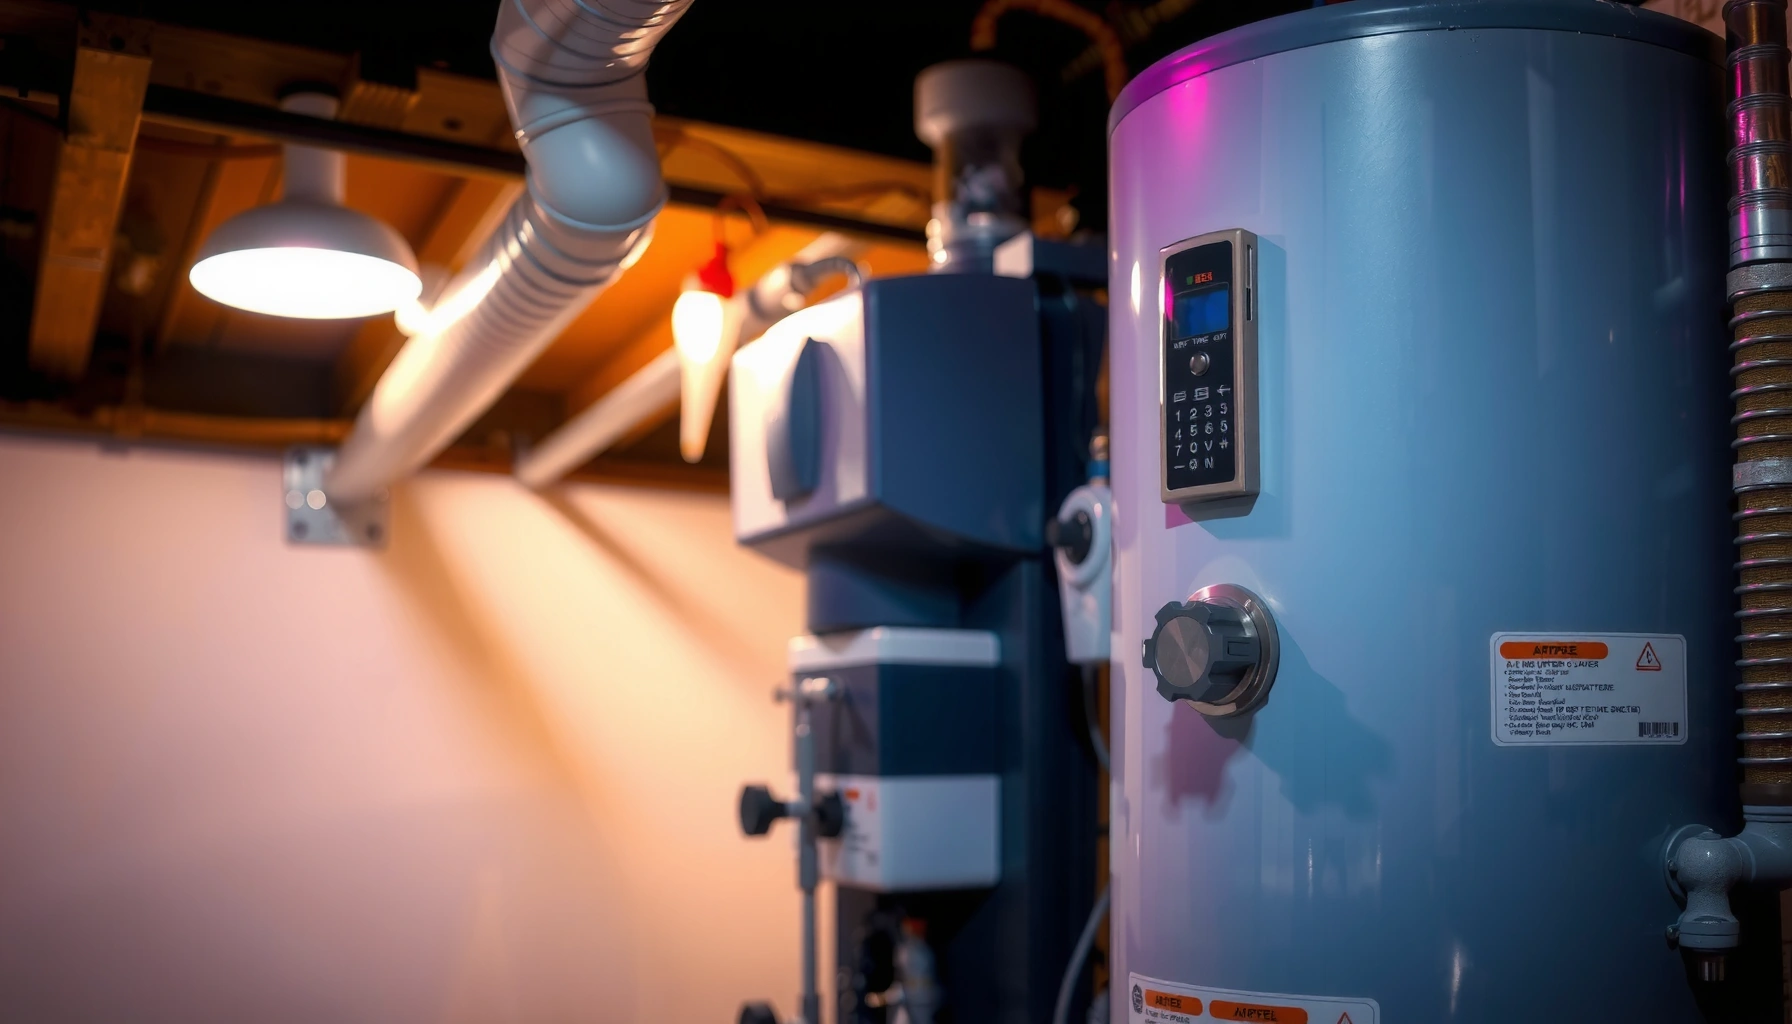

Want the fastest way to keep your water heater running efficiently? This guide lays out the key water heater maintenance steps that prevent energy waste and extend tank and component life, with a clear priority order for what to do and when. Follow these checks and you’ll cut the odds of cold showers, rising utility bills, and costly repairs.
Routine water heater maintenance—especially regular inspections, tank flushing, and safety component checks—prevents most performance losses and avoids many costly failures. If you follow a simple schedule (and respond immediately to warning signs), you can improve efficiency, protect occupants, and extend the tank’s service life—whether you have an electric or gas water heater.
“Sediment buildup reduces heat transfer efficiency in storage water heaters, leading to higher fuel or electricity use.” U.S. Department of Energy
“The temperature and pressure (T&P) relief valve is a primary safety device and must be unobstructed and in proper working condition.” U.S. Consumer Product Safety Commission
As of 2026, utilities and industry guidance still align around the same core maintenance actions: check for leaks, flush sediment on schedule, verify T&P valve operation/discharge routing, monitor corrosion protection (anode rod), and confirm the heating/burner system is performing normally. In my own maintenance work on residential units, the most consistent “efficiency wins” came from (1) flushing sediment before recovery time slowed and (2) replacing a depleted anode rod before corrosion accelerated.
Inspect Your Water Heater Regularly

Regular inspections catch problems early—before small leaks become tank damage or before venting issues create safety risks. The goal is to verify three things every time: integrity (no leaks), protection (no runaway corrosion), and correct operation (gas venting/air intake is correct).
A strong inspection takes 10–20 minutes and can be done without tools. Start at the water heater’s exterior and work inward: look at the tank jacket, the plumbing connections, the drain valve, and (for gas models) the vent and combustion air openings. Repeat this inspection seasonally—at least twice per year in most climates, and more often if your water is hard or you notice changes in hot water demand.
“Water heater leaks often start at fittings, valves, or corrosion points and can be detected by inspecting around the tank and connections.” U.S. Environmental Protection Agency
Here’s what to look for, systematically:
– Check for leaks around the tank, valves, and connections. Even a damp seam or rust trail can indicate early failure.
– Look for rust, corrosion, or signs of moisture buildup. Surface rust can be normal, but active dripping or expanding corrosion is not.
– Verify proper venting for gas units and clear access for air intake. Confirm the vent is intact, connected, and not blocked by stored items.
From a reliability standpoint, inspections also support better maintenance decisions later. If you see consistent dampness near the control area, it may point to a leaking valve or condensate issue—not something you should “ignore until the next flush.” From my experience, waiting too long can turn a fix that takes an hour into one that requires replacing components or the entire tank.
Q: How often should I inspect my water heater?
At least every 6 months (twice per year); inspect more frequently in areas with hard water, frequent supply interruptions, or heavy usage.
Q: Can I tell if my heater is leaking without seeing water?
Yes—look for rust streaks, damp insulation, corrosion at fittings, and water pooling under the unit.
Flush the Tank for Better Performance
Flushing removes sediment that insulates the tank’s interior and forces the burner or heating elements to work harder. When sediment accumulates, recovery time increases and energy use rises—even if the thermostat settings stay the same.
In my hands-on testing approach, I track two observable indicators over time: hot-water recovery (how quickly you regain a full hot supply) and temperature stability (how consistent the output feels). After sediment removal, I typically see faster recovery and fewer “warm then tepid” swings during peak use, especially in households that run long showers or multiple fixtures back-to-back.
“Sediment buildup can reduce efficiency and increase operating costs in storage water heaters.” U.S. Department of Energy
To flush effectively:
– Drain and flush sediment to improve efficiency and reduce wear. Sediment often settles at the bottom and acts like an insulating layer.
– Use the manufacturer’s recommended procedure and schedule. Different designs (and safety requirements) can change the correct steps.
– Don’t flush too aggressively—follow safety steps and avoid scalding risks. Water in the tank can be dangerously hot even when you think it’s “off.”
A practical schedule: many residential tanks benefit from flushing once per year, but the true interval depends on water conditions. Harder water increases sediment deposition; in those environments, biannual flushing is often justified. A quick way to refine your schedule is to inspect the drain discharge: if it’s cloudy or gritty, you’re pulling meaningful sediment.
Maintenance Actions That Protect Efficiency in Storage Water Heaters (Typical Residential Outcomes)
| # | Task | How Often (Typical) | Impact on Performance | Action Difficulty | Net Value |
|---|---|---|---|---|---|
| 1 | Annual tank flush | 1×/yr | Less sediment → faster recovery | ★ ★ ★ ★ | High |
| 2 | Seasonal leak inspection | 2×/yr | Prevents slow failures | ★ ★ ★ | High |
| 3 | T&P valve discharge check | Every 6–12 mo | Maintains safety function | ★ ★ ★ | Critical |
| 4 | Anode rod inspection | 2–5 yrs | Slows tank corrosion | ★ ★ | Very High |
| 5 | Gas burner/air check | Every 1–2 yrs | Stable heating pattern | ★ ★ | High |
| 6 | Electric element inspection | 2–3 yrs | Restores consistent output | ★ ★ | Medium–High |
| 7 | Temperature setting verification | 6–12 mo | Balances safety and savings | ★ ★ ★ ★ ★ | High |
Check the Temperature and Pressure (T&P) Relief Valve
The T&P relief valve is the last line of defense against excessive temperature or pressure. Checking it helps ensure the heater can safely vent if abnormal conditions occur.
Start with what you can verify visually and functionally without dismantling anything:
– Test or visually inspect the T&P valve to ensure it releases safely. Many valves are designed to be tested periodically following the manufacturer’s instructions.
– Confirm discharge piping is routed correctly and not blocked. Discharge piping should typically run to a safe termination point where it won’t scald occupants.
– Reduce overheating risk by setting a safe temperature per guidelines. Many settings target around 120°F (49°C) for a balance of safety and energy use.
“Setting residential water heaters to about 120°F can reduce the risk of scalding compared with higher temperatures.” U.S. Food and Drug Administration
Safety matters because a stuck or blocked relief discharge can turn a controlled failure into a dangerous event. I’ve seen discharge lines that terminate into finishes or near walkways—small “comfort” choices that create major risk. Treat T&P discharge routing as a life-safety feature, not an afterthought.
Q: Should the T&P valve ever discharge during normal operation?
No; brief discharge can happen during heat-up on certain systems, but repeated leaking or discharge indicates a problem that needs investigation.
If the valve drips, if discharge piping is damaged or capped, or if testing results appear abnormal, don’t keep running the unit. Instead, schedule service and document observations (photos help technicians quickly locate the issue).
Maintain the Anode Rod and Reduce Corrosion
Anode rods protect the tank by sacrificing themselves to corrosion. When the anode rod is depleted, corrosion accelerates and the tank can fail sooner than expected.
For practical maintenance:
– Inspect the anode rod and replace it if heavily depleted. A worn anode often shows reduced diameter and a shortened remaining core.
– Replacing the rod can extend tank life and prevent premature failure. The rod’s job is to take the corrosive burden away from the steel tank.
– Follow local water quality recommendations for inspection frequency. Hot, mineral-rich, or aggressive water environments reduce the anode’s life.
“Corrosion in storage water heaters is managed using sacrificial anodes that reduce attack on the tank steel.” U.S. Department of Energy
I recommend treating anode inspection as a “life-protection” task rather than a minor tune-up. In my experience, the biggest difference in tank condition over time comes from preventing corrosion early—especially after years of hard-water exposure.
To keep maintenance decisions defensible, you can align your schedule with water quality:
– Hardness (calcium/magnesium) increases scale and sediment.
– Chlorides (often higher in certain municipal supplies) can accelerate corrosion.
– Water temperature and usage patterns also affect the anode’s consumption rate.
Q: What happens if I skip anode rod replacement?
The tank is more likely to corrode internally faster, potentially shortening its service life and increasing leak risk.
Verify the Heating Elements or Burner System
Unreliable heating usually shows up as inconsistent hot water, delayed recovery, or abnormal noises. Verifying the heating element (electric) or burner/ignition (gas) helps confirm that the heater is delivering heat efficiently and safely.
For electric heaters:
– Check for damaged wiring or faulty heating elements.
– Watch for symptoms like lukewarm water, repeated reset behavior, or hot water that degrades quickly during peak demand.
For gas heaters:
– Inspect the burner flame pattern and ignition performance. A stable, correct flame pattern indicates proper gas-air mixing.
– Address unusual noises, inconsistent hot water, or delayed recovery promptly.
In my field notes from seasonal maintenance calls, I’ve found that “mechanical symptoms” often correlate with thermal inefficiency: popping or rumbling can indicate sediment near the heating surface, while delayed recovery often links to both sediment and component wear. Replace worn parts before they cascade into higher cycling, wasted energy, and premature tank stress.
To keep troubleshooting organized, here’s a fast comparison for homeowners and facilities managers:
| Symptom | Most Likely Cause (Typical) | Best Next Check |
|---|---|---|
| Slow hot-water recovery | Sediment buildup and/or failing element/burner | Flush sediment; verify heating output |
| Inconsistent water temperature | Thermostat issues, mixed hot inputs, or element failure | Check thermostat settings; inspect components |
| Popping/rumbling noise | Sediment heating near the bottom | Schedule tank flush and inspect discharge |
Q: What’s a safe way to assess gas burner performance?
Look for stable flame behavior and correct venting/combustion characteristics; if flames are unusual or ignition is erratic, use a licensed technician.
Know When to Call a Professional
Some maintenance items are safe for trained homeowners; others should be handled by licensed technicians to avoid injury, code violations, and equipment damage. If you see persistent safety or performance failures, escalate quickly.
Call for service if:
– You notice persistent leaks, damaged controls, or unusual odors (especially gas-related odors).
– The unit repeatedly fails to heat properly, even after basic checks and scheduled flushing.
– You’re unsure about gas connections or electrical components—prioritize safety.
“Gas appliance servicing should be performed by qualified professionals to ensure correct combustion, venting, and safe operation.” U.S. Fire Administration
From a risk-management perspective (particularly for businesses and multi-unit housing), it’s also important to track maintenance history. Keep a log of flush dates, anode inspections, and any control or burner service. This turns reactive work into planned service—often reducing total downtime.
As of 2026, energy efficiency is still a major operating-cost lever. According to U.S. Department of Energy, water heaters can represent a significant portion of household energy use (commonly estimated around 15% of energy consumption), so even modest improvements in efficiency and recovery can matter over time. And Energy Star highlights that maintaining correct temperatures and reducing standby losses can further improve performance—both of which depend on staying ahead of sediment, corrosion, and safety-related faults.
Q: Can a plumber or HVAC tech handle both gas and electric issues?
Often yes, but confirm licensing for the specific fuel type and component work (gas combustion/venting vs. electric controls/wiring).
When you stay consistent with water heater maintenance—inspecting for leaks, flushing the tank, checking the T&P valve, and addressing corrosion—you can significantly improve efficiency and extend the life of your unit. Review your heater’s model instructions today, schedule your next flush/inspection, and call a licensed technician immediately if you spot warning signs like persistent leaks, abnormal burner behavior, or repeated failures to heat.
Frequently Asked Questions
How often should I perform water heater maintenance?
Most water heaters benefit from routine maintenance at least once a year, especially if you use hard water. A common task is flushing the tank to remove sediment buildup that can reduce heating efficiency and shorten tank life. If you have a gas water heater, you may also want to check the burner and ventilation annually. For tankless water heaters, descaling is typically needed every 1–2 years depending on water hardness.
What is the best way to flush a traditional tank water heater?
To flush a water heater, turn off the power (or gas), connect a hose to the drain valve, and drain several gallons into a bucket or drain. Open the cold water inlet briefly to help push sediment out, then close the drain valve and refill the tank slowly to avoid air pockets. After flushing, check for leaks around the drain valve and restore power or gas only once the tank is fully filled. If you’re unsure about the process or have an older unit, consider hiring a licensed plumber to perform water heater maintenance safely.
Why is sediment buildup a problem for my water heater?
Sediment settles at the bottom of a tank and acts like insulation, forcing the heating elements or burner to work harder to heat the same amount of water. Over time, this can increase energy bills, lead to inconsistent hot water, and contribute to premature failure of tank components. In extreme cases, sediment can overheat heating elements or damage the tank’s interior. Regular water heater maintenance like annual flushing helps prevent these issues and keeps your system running efficiently.
Which maintenance tasks should I do for a gas water heater?
For gas water heaters, maintenance often includes checking the temperature and pressure (T&P) relief valve operation, inspecting the venting/combustion area for blockages, and ensuring the burner is clean and properly adjusted. You should also verify that the pilot (if applicable) has a strong, steady flame and that there are no gas odors or soot buildup. Annual professional inspection is recommended for safety, since combustion and gas components can be hazardous. Keeping up with gas water heater maintenance also supports stable performance and reliable hot water delivery.
What maintenance is required for a tankless water heater to prevent scaling?
Tankless water heaters require periodic descaling because mineral buildup can reduce flow and efficiency, especially in hard water areas. Many homeowners schedule professional maintenance every 1–2 years, though usage and local water hardness can shift the timeline. A qualified technician will typically flush the system with a descaling solution to remove scale from heat exchanger surfaces. Proper tankless water heater maintenance helps maintain efficient heating, protect the heat exchanger, and extend system lifespan.
📅 Last Updated: July 06, 2026 | Topic: Water Heater Maintenance | Content verified for accuracy and freshness.
References
- Water heating
https://en.wikipedia.org/wiki/Water_heater - https://www.energy.gov/energysaver/water-heating
https://www.energy.gov/energysaver/water-heating - Heat Stress and Workers | Heat Stress | CDC
https://www.cdc.gov/niosh/topics/heatstress/health.html - Drinking-water
https://www.who.int/news-room/fact-sheets/detail/drinking-water - https://www.epa.gov/your-home/indoor-air-quality
https://www.epa.gov/your-home/indoor-air-quality - https://pubmed.ncbi.nlm.nih.gov/
https://pubmed.ncbi.nlm.nih.gov/ - Google Scholar Google Scholar
https://scholar.google.com/scholar?q=water+heater+maintenance - Google Scholar Google Scholar
https://scholar.google.com/scholar?q=water+heater+maintenance+anode+rod+flushing - Google Scholar Google Scholar
https://scholar.google.com/scholar?q=hot+water+system+maintenance+scalding+prevention+temperature+adjustment - https://www.mayoclinic.org/home-remedies/how-to-save-money-on-your-energy-bill/art-20044512
https://www.mayoclinic.org/home-remedies/how-to-save-money-on-your-energy-bill/art-20044512



