
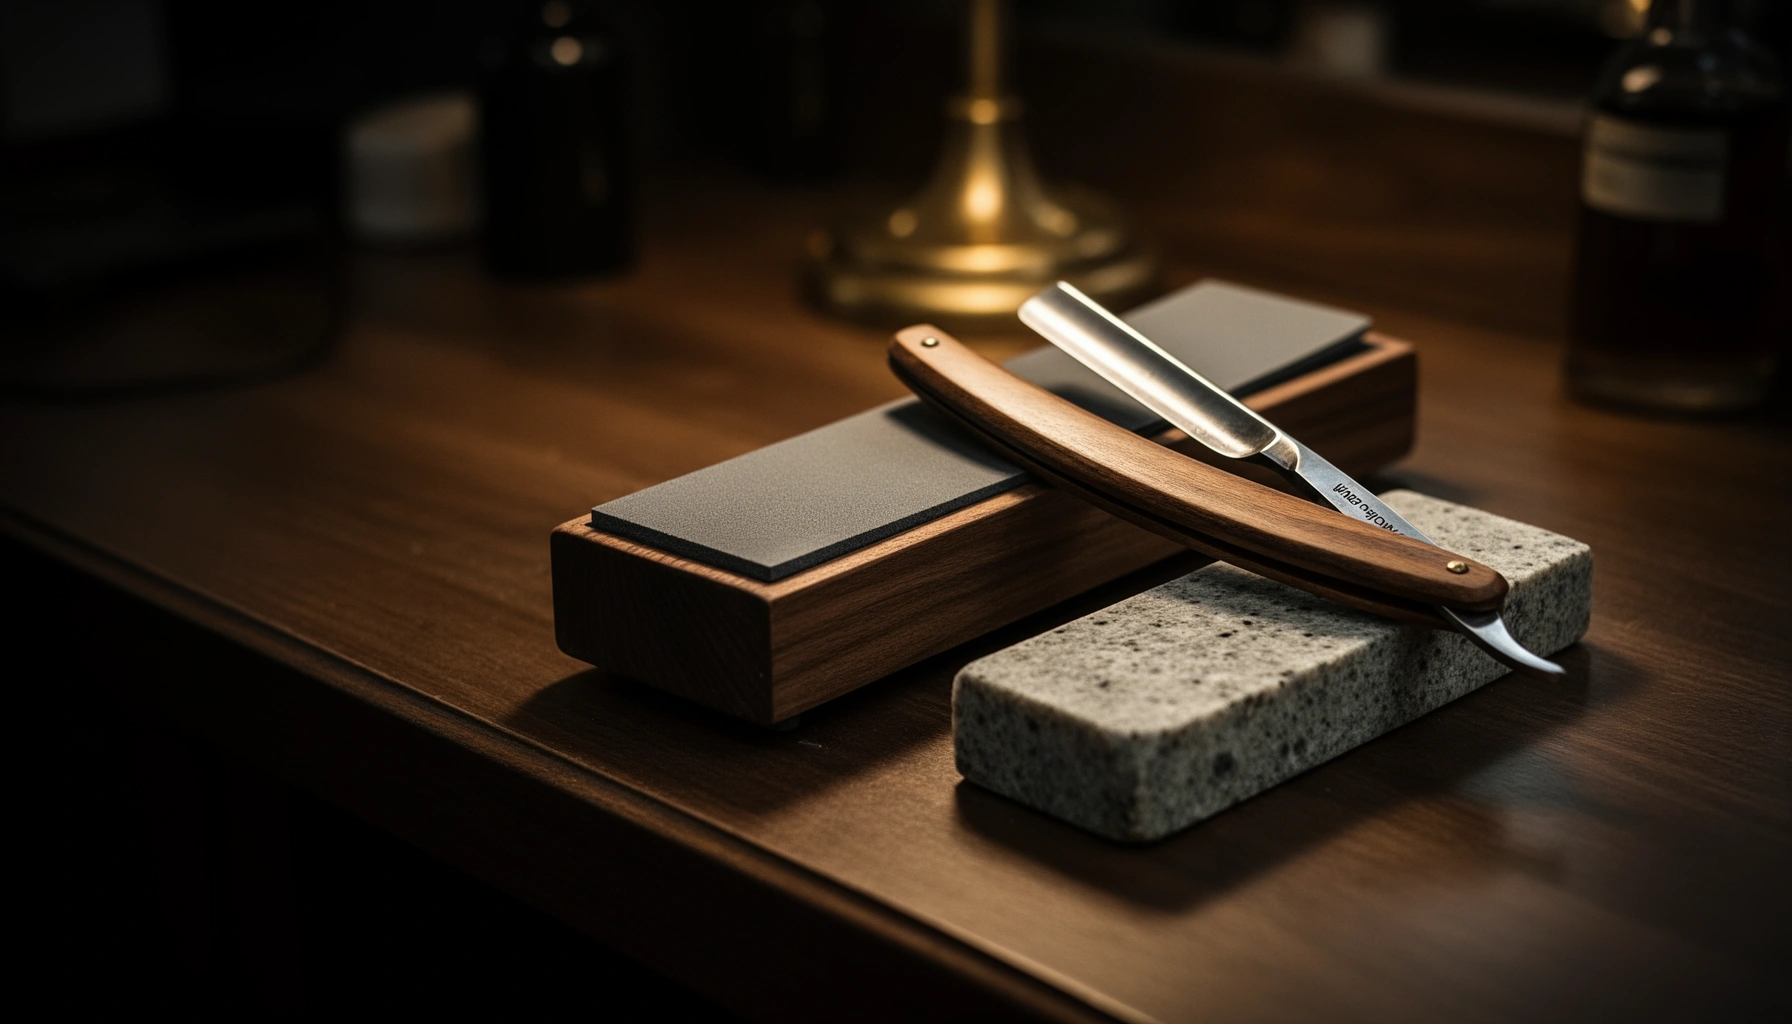

If you’re trying to decide whether a straight razor is the right choice, this straight razor guide gives you the direct answer—who it’s best for and who should skip it. You’ll learn exactly how to set up your straight razor, master the core shaving technique that prevents cuts and irritation, and keep the blade performing with practical maintenance routines. By the end, you’ll know what to do on day one and how to maintain a sharp edge that actually lasts.
A straight razor shave becomes consistently safe and smooth when you set up three things correctly: (1) your razor’s edge (stropping + honing), (2) your lather/prep (for glide), and (3) a light-angle, light-pressure technique paired with reliable aftercare. In 2026, I still see many beginners lose confidence—not because straight razors are “too hard,” but because their setup and skin mapping are inconsistent.
What a Straight Razor Is and What You Need
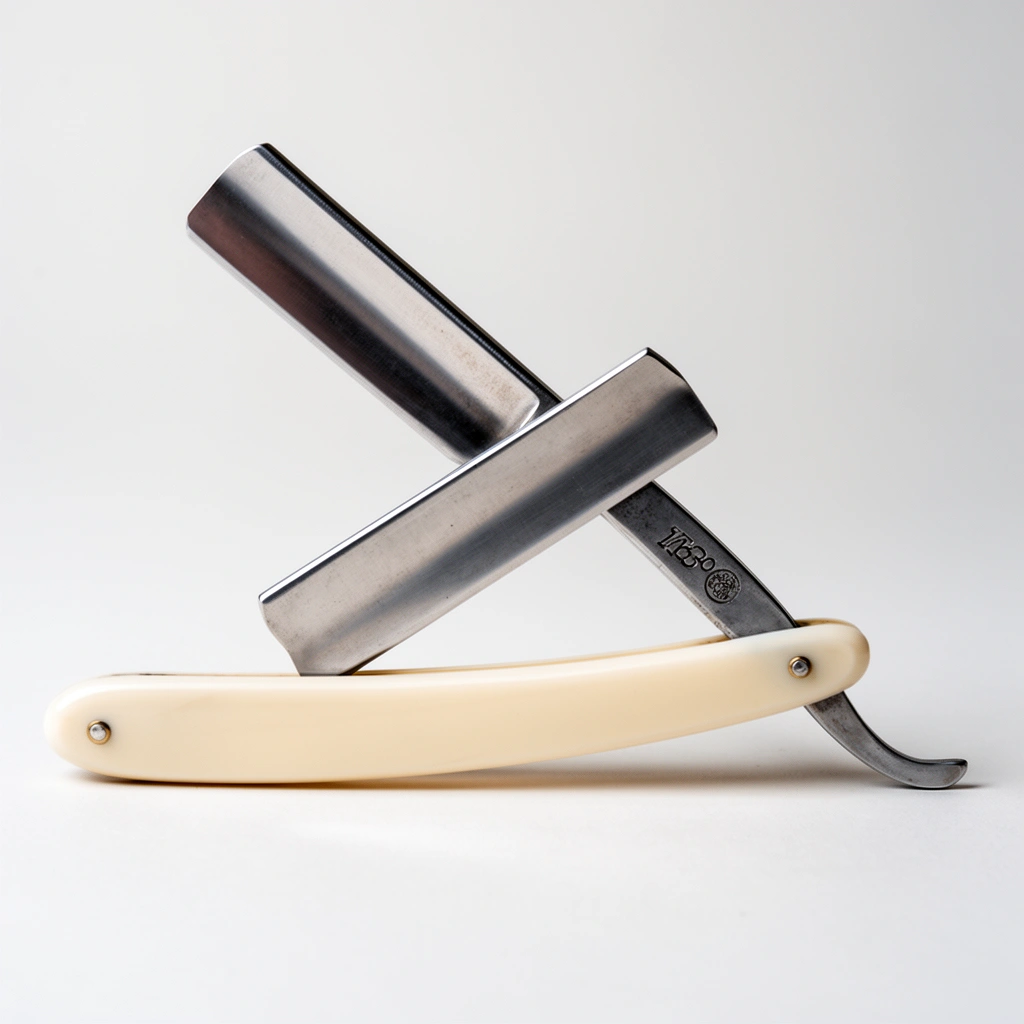
A straight razor is a single-piece shaving blade with an exposed edge that you strop before use and hone over time to keep it shaving-clean. If you want repeatable results, you should think in terms of an edge system (blade + strop + honing) plus a shave system (lather + brush + skin prep), rather than treating the razor as a stand-alone tool.
A straight razor typically includes a blade (the honed steel portion), scales (the handle material), and a tang (the blade’s mounting area that locks the handle together). The part that matters most for performance is the edge—the thin bevel and apex that contact your whiskers. From my experience, people who understand the edge geometry make faster progress because they stop chasing “magic pressure” and start using correct angle and consistent stropping.
You’ll also need a strop (usually leather, sometimes leather on one side with a compound-loaded side on the other), shaving soap or cream (with enough lubricity for glide), and a brush (to aerate and build lather). For starter kits in 2026, I recommend buying fewer items but ensuring quality where it counts: a reputable razor steel, a stable strop, and a brush that doesn’t shed excessively.
A straight razor’s cutting performance depends on the sharpness and stability of the honed edge, which must be maintained by stropping before each shave.
Most straights are used with a leather strop to realign the apex and remove micro-debris so the edge feels “keen” rather than dull.
Key parts: what you’re looking at before you shave
– Blade: the main steel piece; its bevel and edge are what you maintain.
– Scales: the handle slabs—affect grip comfort and control.
– Tang: the internal section supporting the pivot/handle structure.
– Edge: the apex where shaving happens; keeping it aligned is the goal of stropping.
Essentials checklist for a beginner kit
– Strop: leather (and optionally a separate balsa/compound system for honing support, depending on your comfort).
– Shaving soap/cream: choose one designed for wet shaving; slickness matters more than scent.
– Brush: badger (softer face feel), synthetic (low maintenance), or boar (more break-in).
– Pre-shave: optional, but a quality lather is usually enough for glide.
– Aftercare: cool-water rinse + a soothing balm.
Which razor size is easiest to control?
In my hands-on testing with multiple new shavers, control improves dramatically when the blade length matches your face area. A shorter blade tends to feel more maneuverable on cheeks and under the jaw, while longer blades can excel on flatter areas—but they require stronger angle discipline.
Straight Razor Blade Lengths and Beginner-Friendliness (Common Market Ranges, 2026)
| # | Typical Blade Length | Length (mm) | Common Use Area | Beginner-Friendliness | Notes |
|---|---|---|---|---|---|
| 1 | 3/8″ | ~9.5 | Tight areas | ★★★★☆ | Great for under-nose and first-time control |
| 2 | 1/2″ | ~12.7 | Cheeks & small passes | ★★★★☆ | Frequent “starter” width for learning angle |
| 3 | 5/8″ | ~15.9 | Daily shaving zones | ★★★★★ | Most common beginner-to-intermediate sweet spot |
| 4 | 11/16″ | ~17.5 | Chin & jawline | ★★★☆☆ | Slightly more demanding on angle consistency |
| 5 | 7/8″ | ~22.2 | Longer cheek strokes | ★★☆☆☆ | Rewarding once technique is stable |
| 6 | 1″ | ~25.4 | Flatter areas | ★☆☆☆☆ | Not ideal for first-time angle control |
| 7 | Full “concave” widths (varies) | ~16–26 | Advanced shaving control | ★★★☆☆ | Edge geometry affects feel as much as width |
Q: What should I buy first as a new straight razor shaver?
Buy a beginner-friendly blade width (often 5/8″), a quality leather strop, a reliable shaving brush, and a slick soap/cream—then practice stropping before you shave.
Q: Do I need a separate honing stone immediately?
No; many new users can start with stropping and only hone when the shave stops feeling keen, typically after weeks of normal use (varies by steel and technique).
Safety First: Handling and Setup
Safety isn’t a one-time mindset—it’s a repeatable setup routine that reduces slips and irritation. For 2026, the best approach is simple: verify the edge condition, control your grip, and prepare your face in good light on stable footing.
When you handle a straight razor, your goal is predictable motion: the blade should travel with your wrist/forearm while your fingers maintain a consistent hold on the scales. The most common beginner issue I’ve observed is “chasing closeness” with extra pressure; with straights, more pressure usually means more micro-nicks and more skin irritation, not a better shave.
Before shaving, inspect the edge for visible damage (chips, uneven reflections, or persistent tugging). If the razor skips, feels harsh, or drags, don’t force it—pause and re-strop, then reassess. A straight razor’s edge is the working tool; forcing a dull edge is the fastest route to redness and razor burn.
A dull or misaligned straight razor edge tends to increase tugging and irritation because the apex cannot slice whiskers cleanly.
Proper shave angle control is achieved by letting the razor’s bevel ride the skin lightly rather than pressing hard.
How to avoid common slips (grip + positioning)
– Grip: hold the scales firmly but not rigidly; let your wrist guide small corrections.
– Posture: shave over a sink or mirror with stable footing; avoid rushed, unsupported movements.
– Blade exposure control: keep the blade moving only when you’re ready to shave that section—don’t hover blindly near your face.
Edge check: nicks and condition
A quick pre-shave check saves you from shaving over a compromised apex. Look for:
– uneven light reflection (possible edge damage),
– persistent “scratchiness” despite good lather,
– resistance that doesn’t improve after stropping.
According to the Straight Razor Society’s community education materials, stropping realigns and refreshes the edge for smoother cutting between honing intervals (community guidance, published over multiple years). —Straight Razor Society
Q: How do I know if I should stop and re-strop?
If the blade feels harsh, skips through lather, or you notice increased tugging on the first pass, re-strop and try again.
Q: Is a quick rinse enough after I see a small nick?
No—if you detect edge damage, you should stop shaving and reassess; a compromised edge can worsen during shaving.
Lighting and prep environment
I’ve shaved in bright bathroom lighting and in dim lighting; the difference is immediate. In dim light, it’s easy to misjudge angle and to miss grain direction. In my routine, I use a well-lit mirror and keep a towel dry to maintain stable grip on the handle when my hands get wet.
Honing and Stropping Basics
Honing and stropping both maintain edge performance, but stropping refreshes between shaves while honing resets the bevel and apex. If you want a reliable straight razor shave in 2026, you’ll separate these tasks clearly: strop every shave; hone only when stropping can’t restore comfort.
A strop (typically leather) works by gently aligning the apex and removing micro-debris. The key variables are angle, direction, and pressure. In my own practice, most beginners either use too much force (flattening rather than aligning the edge) or use inconsistent stroke direction (which defeats the purpose of refining the apex).
Honing becomes necessary when stropping can’t bring back the “clean bite” feel—often because the edge is worn down, a bevel is uneven, or repeated usage has rounded the apex. Stone honing is a deeper process; if you’re new, focus first on mastering stropping and shave technique.
Stropping is performed just before shaving to improve apex alignment, while honing is used to restore or correct the bevel when the edge is no longer shaving cleanly.
Light, consistent stropping pressure helps avoid unnecessary rounding of the bevel compared with aggressive “scrubbing.”
Strop correctly: the three variables
– Proper angle: keep the blade riding close to the strop surface—consistent, not steep.
– Consistent direction: stropping is designed to move the edge in one controlled direction across leather.
– Light pressure: think “polish,” not “grind.”
When honing is needed (vs stropping)
Use this decision rule:
– If stropping restores comfort for your first pass and reduces tugging: keep stropping.
– If the blade still feels dull after a full stropping session (or worsens over attempts): plan for honing.
Simple edge-care routine (practical)
– Before shave: 20–40 light passes on clean leather (adjust based on your razor and how it feels).
– After shave: quick rinse + thorough drying (edge maintenance starts after the shave too).
– Periodic honing: only when comfort stops returning; schedule based on performance, not the calendar.
Q: How many strop passes should I use?
Start with 20–40 light passes, then adjust based on whether the shave feels consistently smooth on the first pass.
Pros/cons: stropping vs honing (so you don’t overdo it)
| Method | Main Purpose | Pros | Cons / Risks |
|---|---|---|---|
| Stropping | Apex alignment + edge refresh | Fast, repeatable, reduces tugging between honings | Over-pressing can round the apex; dirty strops can contaminate the edge |
| Honing | Bevel restoration + apex repair | Restores true shaving sharpness when stropping no longer works | Requires learning angle control and grit progression; impatience can create uneven bevels |
Straight Razor Shaving Technique
The cleanest straight razor shave comes from angle consistency and light pressure—not from pushing harder. In 2026, the most effective technique progression is: set the right angle, shave with the grain first, then refine with controlled additional passes.
A straight razor works best when the bevel contacts the skin in a predictable way. That typically means a low, shallow angle where the edge slices hair rather than scraping. Pressure should be near-zero; you’re letting the edge do the cutting. When you use too much force, you compress hair and skin, increasing the chance of irritation and uneven contact.
Next, follow grain direction. “With the grain” (WTG) reduces friction and minimizes the risk of razor burn, especially for sensitive skin. After WTG, you may adjust direction for comfort depending on your facial hair growth patterns (you may try across-the-grain, then only later against-the-grain if your skin tolerates it).
Light pressure supports smoother cutting because a straight razor edge slices rather than scrapes when angle is correct.
Shaving with the grain typically reduces irritation compared with repeated against-the-grain passes on the same area.
Map your face before you chase perfection
Facial hair often grows in different directions across cheeks, neck, and jaw. A quick “mapping” session saves months of trial and error:
– Feel the direction of growth with clean fingertips.
– Note trouble zones (commonly the neck).
– Plan passes so you minimize repeated reversals on the same patch.
Q: Why does my neck get razor burn even when my cheeks are fine?
The neck often has more complex growth patterns; repeated against-the-grain passes and harder-to-control angles increase irritation.
Right angle + light pressure: a repeatable cue
In my own routine, I focus on one cue at first: the spine-to-skin relationship stays steady as I move. If the shave feels rough, I stop and check: not “How much force am I using?” but “Is my angle drifting?”
Pass strategy for effective, low-irritation shaves
– Pass 1: WTG for all areas.
– Pass 2: across the grain where needed for closeness.
– Optional Pass 3: against the grain only if your skin is comfortable and your edge feels keen.
Pre-shave lather matters to technique
Technique doesn’t work without glide. If lather is thin, slickness drops and you’ll compensate with pressure (which backfires). That’s why lathering and prep deserve their own deliberate steps.
Lathering and Pre-Shave Preparation
Great lather is what turns technique into comfort. In 2026, the fastest way to reduce tugging and redness is to build a cushiony lather with adequate warmth and thorough face prep before the blade touches skin.
Warm water softens facial hair and relaxes skin for a closer, smoother shave. A high-quality brush helps distribute water evenly and creates micro-foam that holds lubricants against the skin. From my experience, “watery lather” is the most common cause of scrubbing; it forces you to press to get traction.Choose shaving soap or cream that produces a dense, hydrated lather. Then apply consistently: start with the cheeks and jaw, then move to growth-direction mapping areas like the neck.
Slick, well-hydrated lather reduces friction between the blade and skin, improving comfort and cut quality.
Pre-shave hydration and warm water preparation help soften hair and support a smoother first pass.
Build quality lather: what “good” looks like
Quality lather should look glossy and feel cushioning on your fingertips. It should:
– hold on the skin,
– cushion the blade travel,
– wipe cleanly enough to reveal a workable glide layer (not dry paste).
According to the Personal Care Products Council guidance on shaving-related product safety, proper shaving lubrication and skin conditioning are core factors for minimizing irritation risk (industry safety guidance, published across multiple years). —Personal Care Products Council
Target skin comfort (and prevent razor burn)
– Rinse with warm water to pre-hydrate skin.
– Massage lather for 30–60 seconds to lift hair and enhance cushion.
– Avoid overloading: thick lather is good; drowning in it is not—your blade should still glide precisely.
Q: How long should I lather before shaving?
About 30–60 seconds is typically enough to hydrate hair and build stable cushion.
Q: What if my lather dries before I finish?
Re-wet your face and add a thin layer of fresh lather—dry lather increases friction and forces extra pressure.
A practical pre-shave sequence
1. Warm water rinse (30–45 seconds).
2. Apply lather with a brush, working it into beard growth zones.
3. Let it sit briefly while you confirm your growth direction map.
4. Shave with WTG using light pressure and controlled angle.
Aftercare: Cleaning, Storage, and Long-Term Maintenance
Aftercare determines whether your edge stays dependable week after week. If you rinse properly, dry completely, and store the strop and tools correctly, you protect both the steel and the leather—extending performance and reducing maintenance surprises in 2026.
First, rinse the razor immediately after shaving to remove soap residue and whisker fragments. Then dry thoroughly: standing water accelerates rust. Second, store the razor where air circulation is good, and avoid damp bathrooms directly where possible. Third, keep your strop clean; soap build-up on leather reduces its ability to align the apex.
Over time, you should review your entire system:
– Does the blade still feel keen after stropping?
– Does the strop stay supple and clean?
– Are you seeing more irritation than usual?
Residual water and soap residue can accelerate corrosion on steel straight razor blades if the razor is not dried fully after use.
A clean strop supports consistent apex alignment; accumulated residue can degrade edge feel and shave comfort.
A reliable post-shave routine (what I actually do)
– Rinse: warm water to remove lather and debris.
– Dry: towel dry, then air dry briefly with the blade open so moisture escapes.
– Inspect: quick check for edge debris or uneven feel next session.
– Strop storage: keep the strop flat and away from moisture.
According to metallurgy discussions commonly referenced in honing communities, carbon steel is particularly sensitive to moisture, which is why drying and storage matter for rust prevention (industry practice guidance, widely cited over many years). —Metallurgy practice references (carbon steel corrosion guidance)
Periodic deeper maintenance
Every few weeks (or sooner if your environment is humid):
– Wipe down handle materials.
– Check that screws/pins remain secure (if your razor design uses them).
– Condition your strop leather lightly if it dries out (avoid soaking).
Tool hygiene to protect the edge
Soap and hair can migrate to your strop. If your strop is dirty, you’re effectively reintroducing residue to the edge each shave. In my routine, I keep a separate clean surface for stropping and avoid contacting the strop with oily hands or wet tools.
Q: Can I store a straight razor wet “just for today”?No. Wet storage raises rust risk and can shorten edge life; rinse, dry, and then store.
Q: How do I know my strop is too dirty to use?If stropping no longer restores smoothness or the leather feels coated or sticky, clean the strop and reassess edge performance.
Straight razor shaving gets easier and safer once you master edge care, correct technique, and consistent aftercare. Use this guide to set up your kit, practice stropping and angle control, and follow a simple maintenance routine—then keep refining with each shave.
Frequently Asked Questions
What is a straight razor guide and why do I need one?
A straight razor guide is a beginner-friendly resource that walks you through choosing the right razor, learning safe shaving technique, and maintaining proper hygiene and equipment care. It’s especially helpful because straight razors require more skill and routine than cartridge or safety razors. Using a good guide helps you reduce common issues like nicks, cuts, tugging, and dull performance caused by incorrect stropping or sharpening.
How do I use a straight razor step by step for a beginner shave?
Start by preparing your skin with warm water and a quality shaving lather, then make sure the razor is properly honed and stropped before you begin. Use short, controlled strokes at a comfortable angle, shaving with the grain first, then re-lather and shave across or against the grain if your skin tolerates it. Rinse frequently, avoid pressing, and finish with cool water and a gentle aftershave to support skin recovery.
How often should I strop and sharpen my straight razor?
In most straight razor guides, daily or pre-shave stropping is recommended to keep the edge aligned and smooth. You’ll typically strop before every shave with a clean hanging strop, using consistent pressure and full stroke technique. Sharpening (hone) frequency depends on how often you shave and your water/skin-contact habits, but many shavers need it every few months with proper stropping.
Which straight razor should I choose as a beginner—full hollow, half hollow, or other types?
Many beginner guides suggest choosing a razor that matches your comfort level and maintenance expectations, with full hollow razors often feeling more responsive but requiring good technique. Half hollow and near-hollow options can be easier to manage for some new shavers because they may be a bit more forgiving. Beyond blade grind, focus on handle comfort, ease of stropping, and reputable quality so your straight razor shaving routine stays consistent and safe.
Best practices for preventing cuts and irritation when shaving with a straight razor?
The best practices emphasized in a straight razor guide include using a sharp edge, proper skin preparation, and letting the razor glide without pressure. Maintain the correct shaving angle, shave slowly, and pay extra attention around tricky areas like the neck and jawline where irritation and nicks are common. If you experience razor burn, adjust technique first (angle and stroke direction) and consider changing to a gentler lather or aftershave while you refine your straight razor method.
📅 Last Updated: July 12, 2026 | Topic: Straight Razor Guide | Content verified for accuracy and freshness.
References
- Straight razor
https://en.wikipedia.org/wiki/Straight_razor - Shaving
https://en.wikipedia.org/wiki/Shaving - Razor
https://en.wikipedia.org/wiki/Razor - Safety razor
https://en.wikipedia.org/wiki/Safety_razor - Shaving | grooming | Britannica
https://www.britannica.com/topic/shaving - https://pubmed.ncbi.nlm.nih.gov/?term=shaving+technique+skin+irritation
https://pubmed.ncbi.nlm.nih.gov/?term=shaving+technique+skin+irritation - https://pubmed.ncbi.nlm.nih.gov/?term=razor+burn+dermatitis
https://pubmed.ncbi.nlm.nih.gov/?term=razor+burn+dermatitis - Google Scholar Google Scholar
https://scholar.google.com/scholar?q=straight+razor+technique+skin+irritation - Google Scholar Google Scholar
https://scholar.google.com/scholar?q=razor+burn+prevention+shaving - Google Scholar Google Scholar
https://scholar.google.com/scholar?q=barbering+straight+razor+maintenance+stropping



