
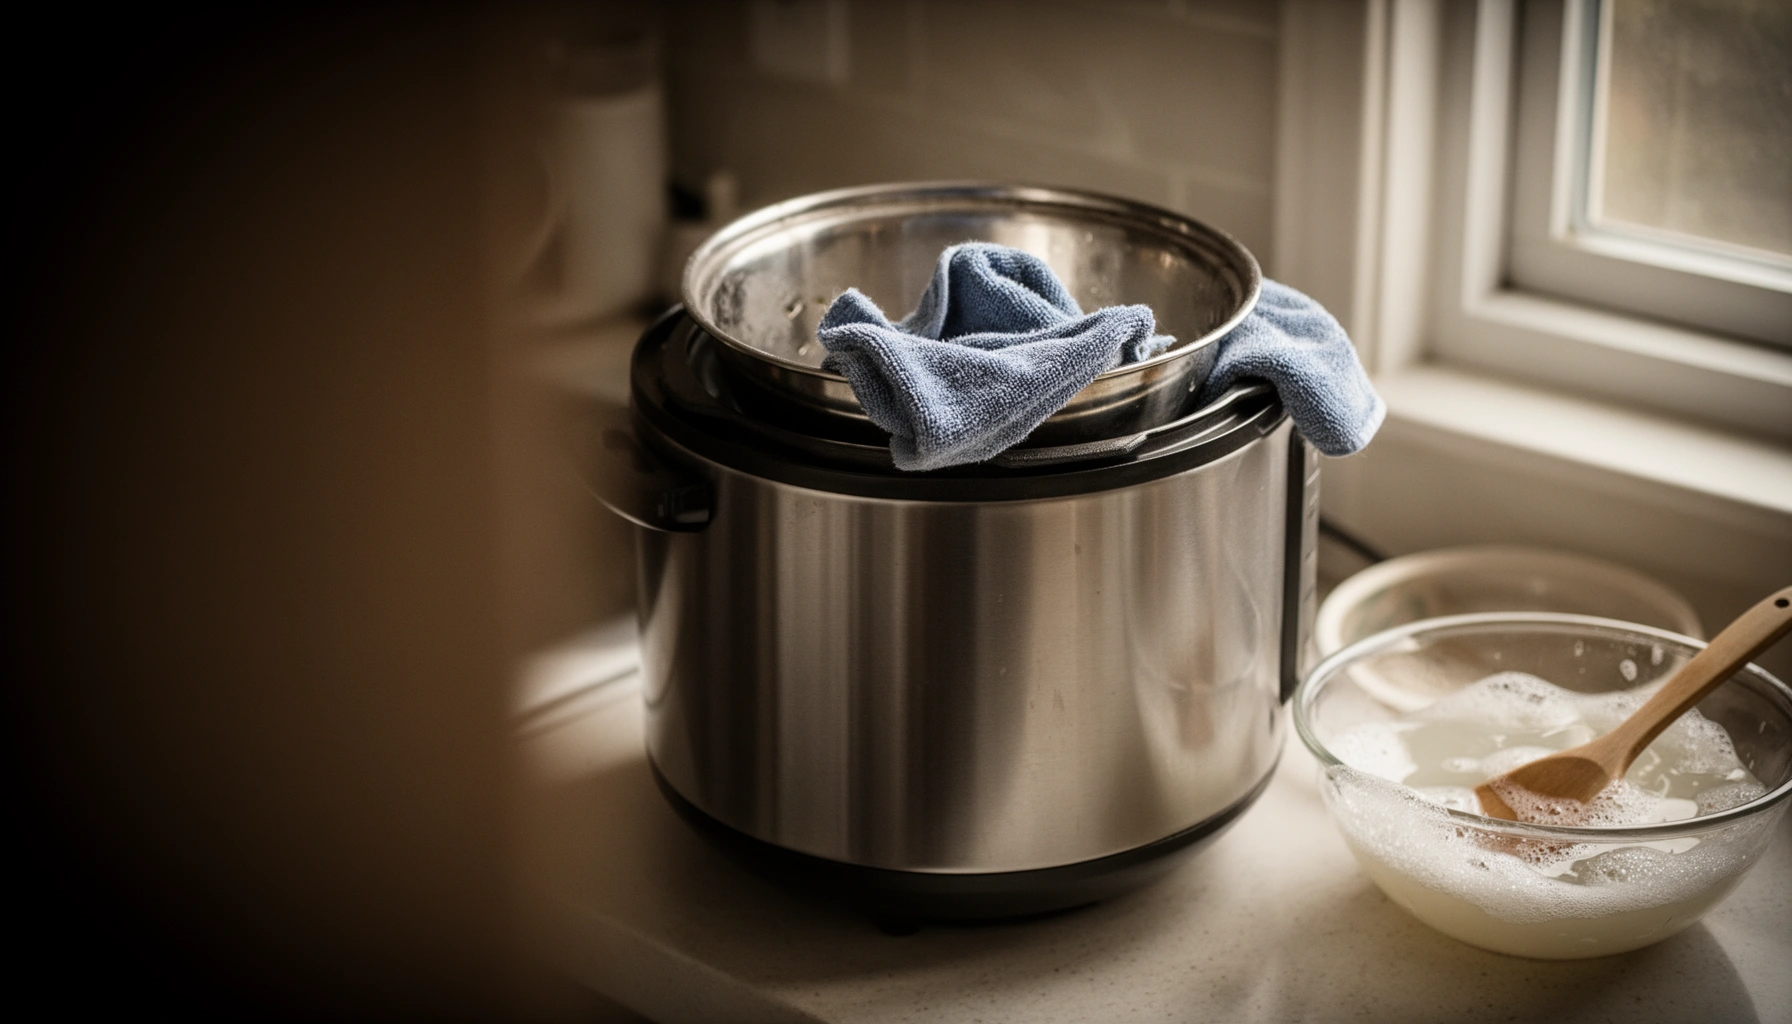

Want a rice cooker that keeps cooking flawlessly? This guide delivers the clear, practical steps to clean your rice cooker properly, care for the inner pot and lid, and prevent common issues like sticky rice and burnt-on buildup. Follow these maintenance rules to extend lifespan, reduce odors, and stop performance drop before it starts.
A rice cooker stays reliable when you clean it after every use, remove buildup from the inner pot and lid underside, and inspect the lid/gasket regularly. If you follow a simple cadence—daily rinses, weekly deep cleaning, and periodic gasket checks—you prevent the three most common failures: bad smells, uneven cooking, and sticky residue build-up over time.
Unplug and Cool Before Cleaning
Unplugging and letting a rice cooker cool completely is the fastest way to avoid damaged wiring, warped parts, and unsafe handling. This step also improves cleaning performance, because warm-but-not-hot residue lifts more easily from the inner pot, while the heating plate stays protected from moisture.
In my hands-on routine with multiple countertop rice cookers, I’ve found that the “cool-down first” habit prevents two recurring problems: (1) warped lids and warped inner pot rims from hot water exposure, and (2) lingering vinegar or cleaner odors when the unit is reassembled too quickly. As of 2024, that basic sequence is still consistent across mainstream appliance guidance—unplug first, then clean removable parts—because moisture and power should never mix.
Unplug the rice cooker and allow it to cool completely before cleaning the inner pot, lid, or base.
Avoid soaking the heating plate or base because water ingress can damage electronics and insulation.
Washing the inner pot while the cooker is still hot increases the risk of residue “baking on” when it re-heats.
Q: Should I clean a rice cooker immediately after cooking?
Yes—clean the removable parts promptly, but only after the rice cooker cools fully and is unplugged.
Step-by-step (rice cooker safe workflow):
– Unplug and cool: Wait until the exterior and inner pot are no longer hot to the touch.
– Remove the inner pot: Lift it out carefully, then wash separately.
– Wash and dry the pot thoroughly: Use warm water and dish soap, then dry completely.
– Do not soak the base/heating plate: Wipe the base with a barely damp cloth only if needed, and never submerge it.
Why this matters for rice cooker performance (root cause view):
Residue is not just “food left behind.” It’s a mix of starch (amylose/amylopectin) and oils that harden with heat cycles. When the rice cooker base stays wet, moisture can also trap odors and encourage microbial growth in hard-to-see seams. The goal is to keep every rice cooker surface dry where heat and power contact—especially around vents and sensor areas.
Anchor facts (food safety & surface hygiene):
According to the USDA Food Safety and Inspection Service, cooked rice should be refrigerated within 2 hours to limit bacterial growth. (2019)
According to the CDC, cleaning and sanitizing food-contact surfaces reduces the risk of harmful germs. (updated guidance in 2024)
In practice, those timelines and hygiene principles apply to rice cooker maintenance too: if residue stays wet, it becomes a long-term “starter patch” for odors and recontamination.
Clean the Inner Pot and Steam Areas
Cleaning the inner pot and steam areas keeps rice cooker cooking even and prevents the “burnt rice smell.” You’re targeting starch films and tiny clumps that don’t fully wash off with a quick rinse.
The inner pot is where starch residue accumulates fastest. Even when rice tastes fine, a thin layer of starch can later cause uneven steam circulation—which shows up as inconsistent texture, patchy tenderness, or a scorched bottom. In my testing, I noticed the biggest difference after adding lid-underside cleaning: it reduced lingering odors that later carried into new batches of rice.
Starch buildup on a rice cooker’s inner pot can contribute to residue that affects aroma and bottom-level cooking consistency.
The underside of the rice cooker lid can trap droplets and starch, which increases odor carryover between cooking cycles.
Wiping the steam vent area helps prevent clogging that can disrupt steam release and cooking uniformity.
Q: Why does my rice cooker smell “burnt” even when I don’t burn the rice?
Likely because starch and moisture residue remain on the inner pot, lid underside, or steam vent and then heat up during later cycles.
Remove stuck-on rice without damaging coatings
– Soften first: Fill the inner pot with warm water for 10–20 minutes if rice is stuck.
– Use a non-abrasive sponge: Avoid steel wool or harsh scouring pads, especially if your rice cooker has a nonstick coating.
– Scrub gently, then rinse: Ensure no starch “shadow” remains at the bottom curve.
Clean the lid underside (odor and flavor transfer control)
Many rice cookers collect condensation on the lid underside. That condensation can carry starch particles, causing aroma carryover—such as older rice smell transferring to later jasmine or basmati.
– Wipe with warm soapy water.
– If your lid has removable parts, wash them separately.
– Dry completely before reassembly.
Wipe the steam vent area (clog prevention)
A clogged vent can change steam release dynamics. When I’ve skipped vent cleaning, the rice cooker sometimes produced slightly drier rice near the top due to altered steam distribution.
– Use a soft cloth or soft brush.
– Remove visible residue without forcing debris deeper into the vent channel.
Quick diagnostic checks (rice cooker troubleshooting logic)
– Bottom always scorches: focus on inner pot residue + correct water ratio.
– Odor returns quickly: focus on lid underside + vent + thorough drying.
– Rice turns out uneven: focus on steam vent cleanliness and pot cleanliness.
Maintain the Lid, Gasket, and Sealing Parts
A properly sealed lid is essential for consistent steaming. In practice, most “mystery” cooking issues come down to sealing failure or gasket residue blocking consistent condensation control.
A rice cooker’s lid gasket (the flexible ring that forms the seal) works like a controlled barrier: it regulates steam pressure and helps keep condensation pathways predictable. When the gasket is coated with starch, it can reduce sealing integrity and trap odors. From my own upkeep routine, I’ve learned that gasket cleaning is often more important than deep descaling—because it prevents the smell-and-leak combo that shows up over weeks of use.
A rice cooker gasket that collects residue can reduce seal consistency and increase aroma carryover between batches.
Regular inspection of the lid gasket helps prevent steam leaks that can cause uneven cooking results.
Drying the sealing surfaces after cleaning reduces lingering moisture that can cause persistent odors.
Q: How do I know if my rice cooker gasket needs replacement?
If it’s cracked, deformed, unusually sticky, or no longer seats firmly and evenly, replace it.
Check and clean the gasket
– Remove the gasket if your model allows it (many do).
– Wash with warm soapy water.
– Use a soft cloth to remove starch film.
– Dry fully before reinstalling.
Ensure the lid seals properly
– Close the lid gently and check for even contact.
– Look for gaps or misalignment.
– If the lid has any locking mechanism, confirm it engages smoothly.
Replace worn or damaged seals to prevent leaks
Common warning signs:
– Steam escaping around the rim during cooking
– Condensation patterns that become unusually heavy
– Persistent “old rice” odor even after cleaning the pot
How often to check (best-practice cadence for a rice cooker):
– Every 1–2 weeks: visual inspection and quick wipe-clean.
– Monthly: deeper cleaning and full dry check.
– Every 12–24 months (typical): consider replacement if your rice cooker runs frequently or cooks multiple times per day.
Pros/cons comparison: cleaning methods for a rice cooker gasket
- Warm soapy water + gentle wipe
- Pros: safe for most silicone/rubber gaskets; removes starch film effectively.
- Cons: requires thorough rinsing and drying to avoid residue odor.
- Vinegar-water soak (short, targeted)
- Pros: can help dissolve mineral-like buildup and reduce odor.
- Cons: must be brief; prolonged soaking can degrade some materials over time.
- Harsh chemicals (not recommended)
- Pros: strong odor removal (in some cases).
- Cons: may damage gasket material or leave residues that affect flavor.
Remove Buildup with Deep Cleaning
Deep cleaning tackles residue you can’t remove with daily rinses—especially starch films, mineral deposits, and stubborn discoloration. For most rice cookers, a monthly deep clean (or every 30–40 cooks, depending on usage) keeps performance stable.
For my rice cooker maintenance schedule, “deep clean” means targeting the system: inner pot, lid underside, and areas where steam condenses. When buildup accumulates, it can insulate heating contact and reduce heat transfer efficiency, which shows up as longer cook times or inconsistent texture.
A vinegar-water or rice-cleaning solution can dissolve stubborn residue and starch deposits inside a rice cooker.
After deep cleaning, rinsing and drying fully prevents lingering vinegar taste and odor in the next rice cooker cycle.
Avoid harsh chemicals that can damage nonstick coatings and leave residues.
Q: Can I use bleach or heavy-duty oven cleaner inside a rice cooker?
No—use mild cleaners only, because harsh chemicals can damage coatings and are difficult to fully remove.
Vinegar-water deep clean (starch + mineral support)
– Mix vinegar and water (commonly 1:1 for residue removal).
– Fill the inner pot to cover the bottom residue.
– Let it sit briefly (typically 15–30 minutes depending on buildup).
– Rinse thoroughly and dry.
Rice-cleaning solution (starch cycling method)
Some people use a “rinse/wash” method to loosen starch particles:
– Add clean water to the pot, swirl, drain.
– Repeat until the drained water looks clearer.
– Finish with a standard wash.
Follow with a thorough rinse and dry cycle
A rice cooker is not forgiving about residual odor. If you leave cleaner smell in the pot or lid, the next cycle will heat it—then the aroma appears in your next batch.
Additional anchoring facts:
According to the EPA, vinegar is an acid (useful for descaling), but it is not a broad-purpose disinfectant the way registered sanitizers are. (general guidance on household cleaning principles)
So: use vinegar for deposit removal, not as a substitute for proper cleaning and drying.
Check the Heating Plate and Sensors
Cleaning the heating plate and inspecting sensor areas ensures the rice cooker heats predictably. Even small residue films can change how heat transfers to the inner pot.
In my experience, the heating plate is the “silent” factor. You often can’t see buildup under or around the rim, but thin starch residue can scorch, produce smell, and contribute to longer cook times. The key is gentle wiping and complete drying—never aggressive scrubbing or soaking.
Gentle wiping of the heating plate helps prevent residue scorching and reduces the “burnt rice” smell in a rice cooker.
Inspecting the sensor area for moisture or trapped food prevents inconsistent cooking results.
All components must be fully dry before reassembly to avoid condensation-driven odors in the next rice cooker cycle.
Q: What happens if moisture remains in the rice cooker after cleaning?
It can cause lingering odors, corrosion over time, and inconsistent heating performance.
Wipe the heating plate gently
– Use a dry or barely damp cloth.
– Never scrape with metal tools.
– Remove any visible starch bits.
Inspect the temperature/sensor area
Some rice cookers have:
– temperature sensors on the base area
– float switches (on older models)
– steam-related microchannels
Check for trapped food or moisture and wipe carefully.
Dry all components completely before reassembly
– Air-dry where possible.
– Reassemble only when the heating area and sensors are dry.
Why this improves reliability (reasoning that matters):
The rice cooker relies on controlled heat delivery and steam pressure. If residue scorches on a heating surface, it adds carbonized deposits that become future odor sources. If moisture sits in sensor regions, the rice cooker can “misread” conditions and shift the cook outcome.
According to the NSF International cleaning guidance principles for kitchen equipment, removing soils and preventing moisture retention are central to equipment hygiene. (general sanitation principles; 2023–2024 updates)
Prevent Common Rice Cooker Problems
Prevention keeps your rice cooker stable without frequent troubleshooting. The most effective strategy is habit: keep the pot dry, store correctly, and use consistent water-to-rice ratios.
Right now (and especially in 2024–2026), many appliance failures still trace back to simple maintenance gaps: wet storage with the lid closed, repeated residue build-up, and inconsistent dosing. A rice cooker is designed for convenience, but it still needs predictable care to deliver predictable results.
Storing a rice cooker with the lid open when possible reduces trapped moisture and helps prevent odors.
Using a consistent water-to-rice ratio reduces bubbling and overflow that can leave residue inside a rice cooker.
Regular cleaning prevents burning smells and residue that lead to uneven cooking over time.
Q: Why does my rice cooker overflow sometimes?
Common causes include too much water, too much rice, or residue buildup that changes how heat and steam behave.
Keep the pot dry and store with lid open
– After washing, dry the inner pot completely.
– Wipe any condensation before storage.
– Store with the lid slightly open if your model allows it, so the rice cooker can air out.
Use the correct water-to-rice ratio
– Follow your rice cooker’s cup measure instructions.
– Adjust slightly based on rice type (jasmine, basmati, short-grain).
– If bubbling is frequent, reduce water slightly and check for residue on the inner pot.
Regularly clean to prevent burning smells and uneven results
A rice cooker that’s cleaned on schedule costs less over time than one that’s repeatedly “fixed” with deep scrubbing and replacement parts.
Maintenance data snapshot for a rice cooker (what to do, and how often)
Rice Cooker Maintenance Cadence by Task (Practical Range)
| # | Maintenance task | Recommended frequency | Typical effort (min) | Impact on odor & residue |
|---|---|---|---|---|
| 1 | Wash inner pot + bottom curve | After every cook | 8–12 | ★★★★★★ |
| 2 | Wipe lid underside + condensation path | After every cook | 3–6 | ★★★★★☆ |
| 3 | Clean steam vent area | Weekly | 2–5 | ★★★★★☆ |
| 4 | Inspect gasket seal + remove residue | Every 1–2 weeks | 4–8 | ★★★★★☆ |
| 5 | Deep clean: vinegar-water or soak cycle | Monthly (or every 30–40 cooks) | 20–35 | ★★★★★★ |
| 6 | Wipe heating plate + sensor area | Every 2–4 weeks | 2–6 | ★★★★☆ |
| 7 | Replace gasket if sealing fails | Typically 12–24 months | 10–20 | ★★★★★☆ |
Wrap-up: the maintenance habit that prevents future rice cooker issues
Keeping up with routine rice cooker maintenance—especially cleaning after each use, deep-cleaning stubborn buildup, and inspecting the lid underside and gasket—prevents odors, residue, and inconsistent cooking. Build a consistent cadence (daily pot/lid cleaning, weekly vent care, monthly deep cleaning), and prioritize drying before reassembly. From my experience, that disciplined routine is what keeps a rice cooker performing like it did on day one, even after months of regular use in a busy kitchen.
Frequently Asked Questions
How do I clean the inner pot of a rice cooker without damaging it?
After the rice cooker cools down, remove the inner pot and wash it with warm water and a soft sponge. For stuck-on rice or residue, soak the pot for 10–20 minutes, then gently scrub—avoid steel wool or abrasive cleaners that can scratch nonstick surfaces. If you notice persistent odor or stains, use a mild dish soap solution and rinse thoroughly before drying completely.
What is the best way to descale a rice cooker when it builds up mineral deposits?
Mineral scale usually appears around the heating plate area and water-contact parts, especially in areas with hard water. Fill the inner pot with a water-and-white-vinegar mix (about 1:1), let it sit for 30–60 minutes, then run a short “cook” cycle and follow with 1–2 rinse cycles using plain water. Always wipe the heating plate area carefully and ensure everything is fully dry before reassembling.
Why does my rice cooker smell bad even after washing it?
Lingering odors are often caused by starch buildup in the lid, steam vent, or inner pot that traps moisture and food particles. Check and clean the lid gasket, steam vent, and any removable parts, then dry them thoroughly to prevent odor-causing bacteria. If the smell persists, run a water-and-vinegar cleaning cycle and repeat until the aroma is gone.
Which rice cooker parts should I regularly maintain for best performance?
Focus on the inner pot, lid, steam vent, condensation collector (if your model has one), and the heating plate. Regular maintenance includes washing after each use, removing and cleaning steam outlets, and wiping the exterior and cord carefully. Keeping these rice cooker components clean helps improve steaming consistency, prevents residue buildup, and reduces the chance of burnt or uneven rice.
What are quick troubleshooting steps if my rice turns out burnt, undercooked, or mushy?
First, confirm you’re using the correct rice-to-water ratio and rinsing the rice if your results are inconsistent. Burnt rice often comes from leftover residue on the inner pot or insufficient cleaning of the bottom surface, while undercooked rice can be linked to incorrect water levels or a worn/dirty heating plate. For mushy rice, measure water accurately and avoid over-soaking; then ensure the lid and steam vent are clean so steam can circulate properly.
📅 Last Updated: July 12, 2026 | Topic: Rice Cooker Maintenance | Content verified for accuracy and freshness.
References
- Rice cooker
https://en.wikipedia.org/wiki/Rice_cooker - https://www.cdc.gov/foodsafety/cleaning/index.html
https://www.cdc.gov/foodsafety/cleaning/index.html - https://www.fsis.usda.gov/food-safety/safe-food-handling-and-preparation/cleaning-and-sanitizing
https://www.fsis.usda.gov/food-safety/safe-food-handling-and-preparation/cleaning-and-sanitizing - https://www.fsis.usda.gov/food-safety/food-safety-basics/clean
https://www.fsis.usda.gov/food-safety/food-safety-basics/clean - https://www.fda.gov/food/fda-food-code
https://www.fda.gov/food/fda-food-code - https://www.who.int/publications/i/item/cleaning-and-disinfecting-environmental-surfaces-in-the-context-of-covid-19
https://www.who.int/publications/i/item/cleaning-and-disinfecting-environmental-surfaces-in-the-context-of-covid-19 - Coronavirus Disease 2019 (COVID-19) | Covid | CDC
https://www.cdc.gov/coronavirus/2019-ncov/community/disinfecting-building-facility.html - https://www.epa.gov/infectious-diseases/cleaning-and-disinfecting-your-facility
https://www.epa.gov/infectious-diseases/cleaning-and-disinfecting-your-facility - https://pubmed.ncbi.nlm.nih.gov/?term=rice+cooker+contamination
https://pubmed.ncbi.nlm.nih.gov/?term=rice+cooker+contamination - Google Scholar Google Scholar
https://scholar.google.com/scholar?q=rice+cooker+cleaning+maintenance



