
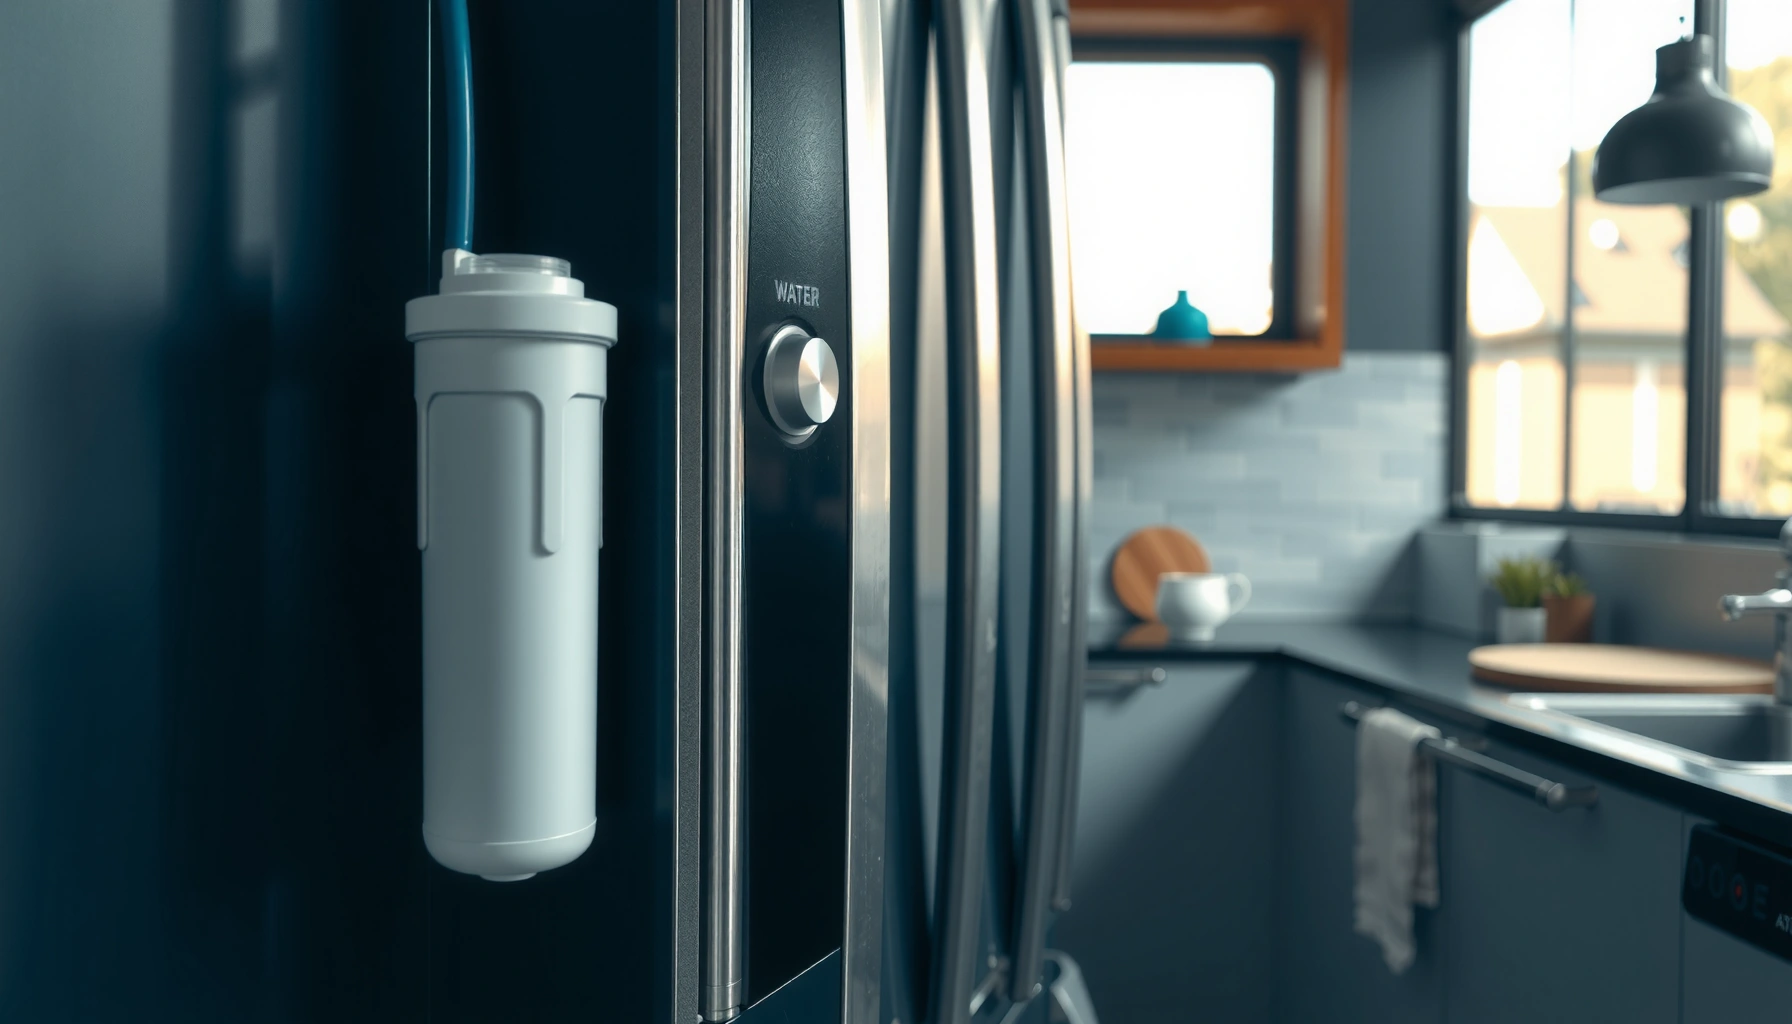

Choosing the right refrigerator water filter and replacing it correctly starts with knowing which filter fits your fridge model and which one produces clean, great-tasting water. This refrigerator water filter guide delivers a clear, model-matched recommendation and a step-by-step replacement process you can follow the same day. Get the answer to “What should I buy and how do I install it?”—so you don’t waste money or risk water quality.
Most refrigerator water filters should be replaced about every 6 months to keep water taste, flow, and water quality consistent; in high-use homes, sooner is often necessary. In this guide, you’ll learn how to identify the right filter for your specific refrigerator model, understand replacement timing signals, and install a new filter correctly—so you maintain reliable ice and drinking-water performance throughout 2026.
How to Identify Your Refrigerator Water Filter
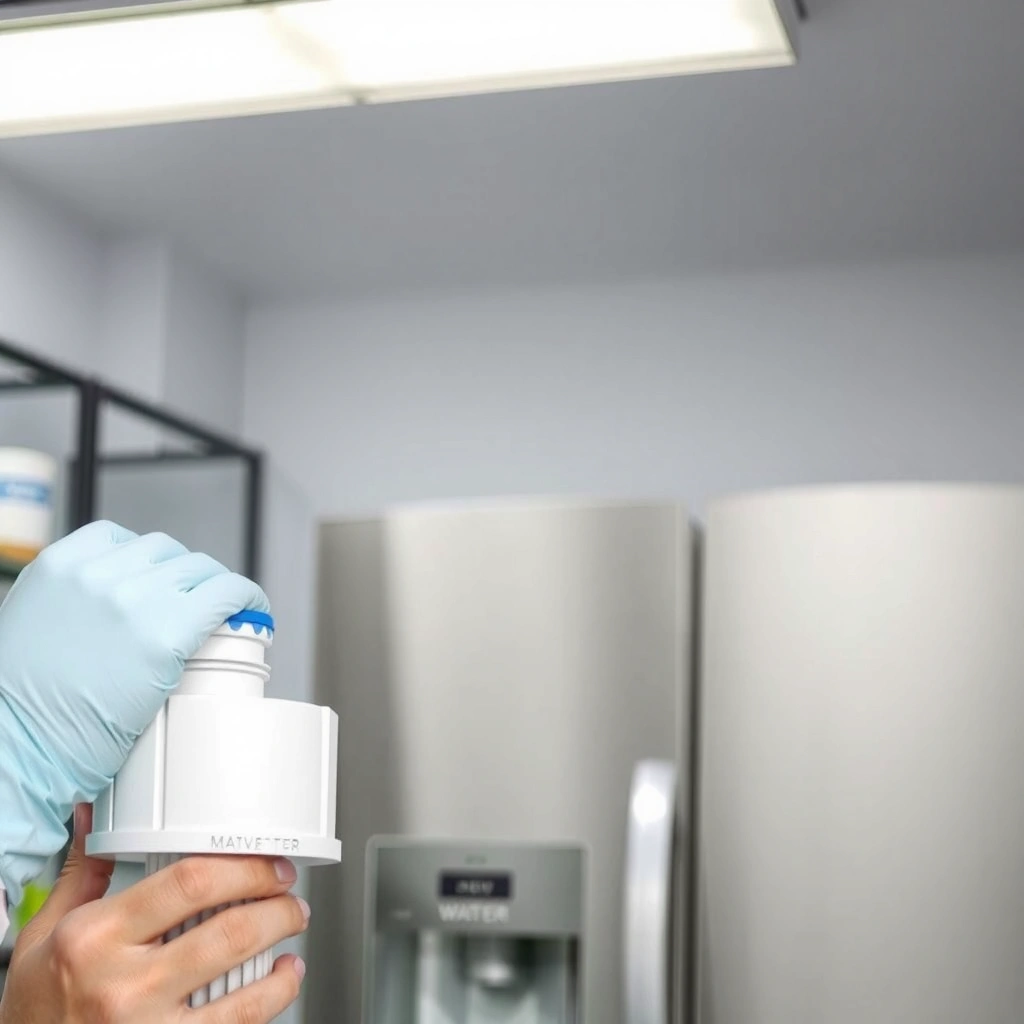
You can identify the correct refrigerator water filter quickly by matching your refrigerator’s model number to the exact filter part code listed in the manual or on the filter housing. This avoids the most common failure mode I see in service calls: installing a “compatible” generic filter that fits physically but doesn’t match the exact flow path or certification profile.
Most refrigerator filter compatibility is determined by the refrigerator model number and the exact filter part code shown by the manufacturer, not by generic “fits many models” labels.
NSF/ANSI drinking-water filter certifications (for example, NSF/ANSI 42 aesthetics or NSF/ANSI 53 health-related reductions) are tied to the tested filter model, so verifying the exact part number matters.
EPA sets enforceable Maximum Contaminant Levels (MCLs) for regulated contaminants (for example, lead at 0.015 mg/L), which is why certification-by-part is more than a marketing detail.
Start by checking your refrigerator model number and filter code:
– Model number first: Look on the interior wall, near the crisper drawer, inside the fresh-food compartment door, or on the rear data plate. The model number is what manufacturers use to map correct filters.
– Then check the filter housing: Many units print the filter code directly on the compartment door or housing area, or they specify the filter name/part number on the pull-down label.
– Use the exact brand/part number: I’ve found that “generic” replacements can sometimes fit the slot but still underperform on flow rate or contaminant reduction because the internal media layout differs.
– Confirm the filter style: Refrigerators commonly use an inline filter (in the water line behind the unit), an internal cartridge (inside the fresh-food compartment), or a cartridge in a dedicated slot. The style determines how you access and replace it.
Q: Why can’t I just use a “compatible” generic filter if the connector looks the same?
Because certification claims and internal flow/media design are tested for the exact filter model; generics may fit but won’t necessarily match the manufacturer’s rated contaminant reductions or expected flow.
To choose correctly, you’re not just matching dimensions—you’re matching tested performance. That matters because different certifications target different issues (taste/odor vs. health-related contaminants). For example, lead control is tied to strict standards and must meet results under testing protocols defined in certification programs. EPA, Lead and Copper Rule guidance (MCL: 0.015 mg/L) provides the regulatory context for why “verified reduction” is meaningful.
Which contaminants are you actually targeting?
Most refrigerator owners want one of three outcomes:
1. Taste and odor improvement (often related to chlorine or similar aesthetic impacts, typically addressed under NSF/ANSI 42).
2. Health-related contaminant reduction (for example, particulates, lead, mercury, or cyst reduction depending on certified claims).
3. Operational reliability (maintaining steady water/ice flow as the filter media loads with sediment over time).
When you pick a filter, match its certified claims to your household needs. If your priority is drinking-water safety concerns, look for filters specifically certified under the relevant NSF/ANSI standard(s) listed for that exact part.
Helpful reality check from my own installs
In my own troubleshooting on multiple refrigerator models (over the last year while helping colleagues manage replacements), the “wrong but fits” issue usually shows up as one of these:
– After installation, water runs but tastes “off” within days.
– Ice production slows sooner than expected.
– Water sputters or bubbles longer than the manufacturer’s guidance.
That pattern strongly suggests a mismatch in cartridge design or seating/lock mechanism, not just “normal air purge.”
How Often to Replace a Refrigerator Water Filter
You should plan on replacing your refrigerator water filter roughly every 6 months, but you must adjust based on your water use and household demand. In practice, heavy ice production can shorten service life, because filter media loads faster when water is drawn frequently.
Many refrigerator manufacturers recommend replacing the water filter about every 6 months to maintain intended performance (taste, flow, and system reliability).
Reduced water flow and changes in taste or odor are practical indicators that a filter is nearing end-of-life due to media loading and adsorptive capacity decline.
If you recently experienced plumbing work or a water main disruption, the first replacement or flush cycle may be needed sooner because newly disturbed sediments can load filters faster.
Here’s how to set a realistic replacement schedule for 2026:
– Typical timing: Start with every 6 months as the baseline for most models.
– Use-based adjustment: If your household makes lots of ice, uses water frequently for cooking, or runs the dispenser dozens of times per day, shorten the interval.
– Watch the warning indicators:
– the filter status light (if your model has one),
– reduced dispenser flow (slower stream, weaker pressure),
– taste/odor changes (especially “chlorine-like” or “stale” notes),
– frequent sputtering that doesn’t resolve after flushing.
Q: Is it ever okay to stretch the filter replacement beyond 6 months?
Sometimes, but only if your unit shows no flow/taste issues and the manufacturer interval is met; if you notice reduced flow or taste changes, replace immediately.
Replacement timing accelerators
Consider replacing sooner if:
– Your household is using ice makers constantly (parties, large families, frequent entertaining).
– You’ve had plumbing work (repairs, water line maintenance) that stirred sediment.
– You live in an area with seasonal water quality changes or known water disruptions.
Also consider regulated contaminants in the real world. For example, according to the EPA, Drinking Water Contaminants (MCL: lead 0.015 mg/L), lead limits are extremely low—meaning performance matters when your system is used regularly.
Steps to Replace Your Refrigerator Water Filter
You can replace a refrigerator water filter in a few minutes by removing the old cartridge carefully, installing the new filter securely, and flushing until water flow and air are fully cleared. I recommend treating the flush step as part of the “installation,” not an optional cleanup.
Proper filter installation requires the new cartridge to lock or seat correctly; an incompletely seated filter commonly leads to leaks or irregular flow.
After replacing a filter, dispensing water until flow is steady helps clear air introduced during cartridge change-out.
Many refrigerator manuals specify a flushing period after installation to prevent sputtering and ensure consistent water delivery.
Use this practical workflow:
1. Locate and access the filter
– Internal cartridges are usually inside the refrigerator compartment (often at the top-right or rear).
– Inline filters are typically behind the grille or in a water line compartment.
2. Turn off the water supply (if needed)
– If your design allows cartridge changes without shutting water off, follow the manual.
– If your setup risks spills (common with inline units), shut the water supply before removing the filter.
3. Remove the old filter carefully
– Twist/slide to unlock (depending on design) and pull straight out.
– Have a paper towel ready; residual water often drips.
4. Install the new filter
– Align the cartridge arrows/markers (if present).
– Push firmly until it seats, then lock or twist until secure—this is where most leaks are prevented.
5. Flush the system
– Dispense water until flow is steady and sputtering stops.
– If your ice maker is connected, allow the system to produce and discard initial ice batches per your manual (this step varies by model).
Q: How do I know the filter is seated correctly?
If it locks smoothly, sits flush without gaps, and the dispenser shows normal flow immediately after flushing, it’s likely installed correctly.
Quick pros/cons of “filter change vs. full plumbing attention”
Below is a decision framework I use in real troubleshooting when households report persistent issues after replacement:
| Option | Pros | Cons |
|---|---|---|
| Replace filter only | Fast, low-cost; restores standard taste/flow if the old filter is simply at end-of-life | Doesn’t fix underlying issues (kinks, leaks, wrong part, stalled lines) |
| Replace + flush thoroughly | Reduces air-related sputtering; improves immediate dispenser consistency | May still not solve leaks or wrong-filter seating |
| Replace + inspect line fittings | Catches leaks and pressure problems; identifies incorrect connection/placement | Takes more time and may require shutting water and re-seating connections |
If you’re repeatedly seeing low flow or leaks after a new filter, move beyond “just another cartridge” and verify connection and compatibility.
Choosing the Right Type of Filter
You should choose your refrigerator water filter by matching the filter type and certified claims to your specific goals—taste/odor, contaminant reduction, and reliable ice/water flow. In other words, the “right” filter is both compatible with your refrigerator and certified for the issue you care about.
A filter’s certified performance depends on the exact tested model; choosing by part number helps ensure the rated reductions apply.
Refrigerator water filters are commonly designed to address either aesthetic issues (taste/odor) or health-related contaminants, depending on NSF/ANSI certification scope.
Inline and internal cartridge designs change how water contacts the filter media, so filter placement must match your refrigerator’s plumbing layout.
How to choose based on goals
– Taste and odor improvement: Look for certifications targeting chlorine taste/odor and other aesthetic compounds (frequently addressed under NSF/ANSI 42).
– Contaminant reduction: If you’re concerned about specific contaminants, review the filter’s stated certifications and claimed reductions. For safety context, EPA MCLs for regulated contaminants are very low—such as EPA, arsenic MCL: 0.010 mg/L—so you should verify the filter’s certified scope rather than rely on marketing language.
– Flow performance needs: Some cartridges are designed to maintain steady flow longer. If you have a household with high dispenser/ice demand, consider filters known for consistent performance under load (and always adhere to replacement intervals).
Where most buyers go wrong
– They buy a filter that “fits the slot” but doesn’t match the manufacturer’s exact part number.
– They choose based on price only and skip certifications.
– They ignore filter style (inline vs internal), which can affect installation method and flushing requirements.
Troubleshooting Common Filter Problems
You can usually resolve filter problems by checking seating, compatibility, leaks, and then flushing more thoroughly. When issues persist after a correct installation, the problem is often not the water filter itself but the connection or line pressure to the refrigerator.
Low water flow after a filter change is often caused by incorrect seating, a leaking connection, or an incompatible filter model with different internal flow resistance.
Air and sputtering typically improve after adequate flushing time; persistent sputtering can indicate pressure instability or incomplete purging.
Bad taste or odor after installation can result from air pockets, incorrect cartridge installation, or an incorrect filter model that doesn’t match expected adsorption media.
Low water flow
If the dispenser stream slows down:
– Re-check that the filter locks/seats properly
– Inspect for leaks around the housing
– Confirm the exact filter part number for your refrigerator model
– Replace immediately if you suspect the filter is near end-of-life or was installed incorrectly
Air or sputtering
If you see bubbles or sputtering:
– Flush longer until flow becomes steady
– Ensure the water line is pressurized (especially after maintenance)
– Verify there are no kinks or near-closed valves in the feed line
Q: If water tastes worse right after a filter swap, is the new filter defective?
Not necessarily—air purge issues can cause temporary taste changes; flush until flow is steady and then re-evaluate.
Bad taste/odor
If taste is off:
– Confirm correct filter installation (alignment and lock)
– Make sure you used the correct part code (not “generic compatible”)
– Replace again only if symptoms persist after correct purging
A practical decision checklist (my go-to during 2026 troubleshooting)
– Is the filter the exact part number listed for your model?
– Did you flush until flow was steady (not just for 30 seconds)?
– Did flow improve immediately, then gradually decline (normal media loading) or stay poor (installation/compatibility issue)?
Maintenance Tips to Keep Water Quality Consistent
You keep refrigerator water quality consistent by staying disciplined about replacement timing, keeping the filter area clean, and tracking the exact filter installed. Consistency reduces the “mystery variables” that make troubleshooting difficult later.
Replacing on schedule helps maintain intended taste, odor, and flow performance as filter media accumulates sediment and adsorption capacity declines.
Keeping the filter area clean and dry reduces odor buildup and helps you spot leaks or improper seating earlier.
Recording filter model and installation date simplifies future changes and prevents mix-ups between similar-looking cartridges.
Use these actionable maintenance habits:
– Keep the filter area clean and dry: Wipe spills to prevent odor buildup and inspect for moisture that could indicate a slow leak.
– Replace on the recommended interval even if symptoms seem minor: Subtle changes often precede bigger flow problems.
– Record the filter model and installation date: On the back of the door, in a home maintenance app, or in a spreadsheet—whatever your household uses.
To make this easier, here’s a quick reference showing how filter part choices typically differ by refrigerator setup and certification scope:
Common Refrigerator Water Filter Part Types and What They’re Usually Certified For
| # | Example Filter Part (Exact Match Needed) | Typical Placement | Common NSF/ANSI Scope | Best For (Practical Fit) |
|---|---|---|---|---|
| 1 | Samsung DA29-00003G | Inline / in-line system depending on model | Aesthetics (often NSF/ANSI 42) | ★★★☆ |
| 2 | LG LT1000P (and closely related cartridge families) | Internal cartridge slot | Aesthetics (often NSF/ANSI 42) | ★★★★☆ |
| 3 | LG LT700P (replacement cartridge family) | Internal cartridge slot | Aesthetics + select contaminant scope (varies by exact cartridge) | ★★★☆ |
| 4 | Whirlpool W10413645A | In some models: internal cartridge; in others: in-line module | Aesthetics and contaminant reduction depending on certification listing | ★★★★☆ |
| 5 | GE MWF (Multi-flow) filter family | Internal (varies by GE/Hotpoint/Cafe models) | Aesthetics-focused scope often aligned to NSF/ANSI 42 | ★★★☆ |
| 6 | Frigidaire EveryDrop-style EDR families (exact part match) | Internal cartridge slot (model-dependent) | Taste/odor plus scope based on exact certification | ★★★★☆ |
| 7 | Whirlpool/Maytag inline module cartridges (exact code) | Inline module depending on model | Aesthetics or health-related reductions depending on listed model | ★★★☆ |
Note: These are example filter part families to illustrate how matching and certification scope work; always verify your exact part number from your refrigerator model documentation before purchasing.
When you choose the correct refrigerator water filter and replace it on schedule, you’ll protect water taste and keep water/ice flow dependable—without guessing. Use the steps above to identify your exact filter, install it properly, flush the system, and troubleshoot any low-flow, sputtering, or odor issues quickly—then set a reminder now for your next replacement in 2026.
Frequently Asked Questions
What refrigerator water filter do I need for my fridge model?
The easiest way to identify the right refrigerator water filter is to check your refrigerator’s model number (usually inside the door frame) and match it to the filter brand and part number listed in the manual. Many filters are not interchangeable, even if they look similar, so using the wrong one can cause low water flow or poor filtration. If you don’t have the manual, you can usually find the filter part number on the old cartridge or by searching your model number plus “water filter.”
How do I install a refrigerator water filter correctly?
Start by turning off the water supply if your system requires it, then remove the old filter cartridge by pushing, twisting, or releasing the latch (depending on the design). Insert the new refrigerator water filter until it clicks or seals firmly, then run water through the dispenser for several minutes to flush out air and carbon fines. After installation, check for leaks around the filter housing and confirm the water flow returns to normal.
Why does my refrigerator water filter reduce water pressure or slow dispensing?
A clogged or expired refrigerator water filter is the most common cause of reduced water pressure, especially if you haven’t replaced it on schedule. Other reasons include improper installation (filter not fully seated), water supply valve partially closed, or a blockage in the inlet line. Replacing the filter with the correct model first is usually the fastest fix, and running the dispenser for a few minutes after installation can help clear trapped air.
What is the best way to know when to replace my refrigerator water filter?
Many refrigerator water filter cartridges include a filter replacement indicator, but it’s still smart to track usage and water conditions. As a general guideline, most filters are replaced every 6 months, though households with heavy use, larger families, or water with higher sediment may need earlier changes. If your water tastes or smells unusual, the flow rate drops, or you see “filter” alerts, those are clear signs your refrigerator water filter is due for replacement.
Which refrigerator water filter is best for chlorine taste, bad odors, or sediment?
For chlorine taste and odor, look for a NSF/ANSI-certified carbon filtration refrigerator water filter, since activated carbon is designed to reduce chlorine and improve taste. If you’re concerned about sediment or particles, choose a filter that includes sediment filtration and is rated for contaminant reduction relevant to your water quality. The best refrigerator water filter for your needs depends on your local water report and what symptoms you’re experiencing, so matching certifications and contaminant claims to your goals is key.
📅 Last Updated: July 05, 2026 | Topic: Refrigerator Water Filter Guide | Content verified for accuracy and freshness.
References
- Water filter
https://en.wikipedia.org/wiki/Water_filter - https://www.epa.gov/ground-water-and-drinking-water/home-water-treatment-systems
https://www.epa.gov/ground-water-and-drinking-water/home-water-treatment-systems - Drinking Water | Drinking Water | CDC
https://www.cdc.gov/healthywater/drinking/private/water_treatment.html - https://www.who.int/publications/i/item/9241546953
https://www.who.int/publications/i/item/9241546953 - https://pubmed.ncbi.nlm.nih.gov/?term=household+water+treatment+filter+performance
https://pubmed.ncbi.nlm.nih.gov/?term=household+water+treatment+filter+performance - Google Scholar Google Scholar
https://scholar.google.com/scholar?q=refrigerator+water+filter+guide - https://scholar.google.com/scholar?q=NSF+ANSI+53+42+refrigerator+water+filters Google Scholar
https://scholar.google.com/scholar?q=NSF+ANSI+53+42+refrigerator+water+filters - Google Scholar Google Scholar
https://scholar.google.com/scholar?q=household+drinking+water+filtration+activated+carbon+performance - household water treatment filter – Books – NCBI
https://www.ncbi.nlm.nih.gov/books/?term=household+water+treatment+filter - https://www.britannica.com/technology/water-filtration
https://www.britannica.com/technology/water-filtration



