
Red light therapy delivers measurable benefits for pain, skin quality, and recovery—but only when you set it up correctly and follow the right safety rules. This guide lays out the strongest use cases, how to choose settings and placement, and what results you can realistically expect. You’ll also get clear safety tips to avoid common mistakes and reduce risk.
Red light therapy—often called photobiomodulation—uses targeted red and near-infrared (NIR) light to support skin appearance and normal recovery by stimulating cells, not by heating tissue. In this guide, you’ll learn what it is, how to set up a session correctly, what timelines are realistic, and the safety steps that matter most for consistent, responsible use.
What Red Light Therapy Is
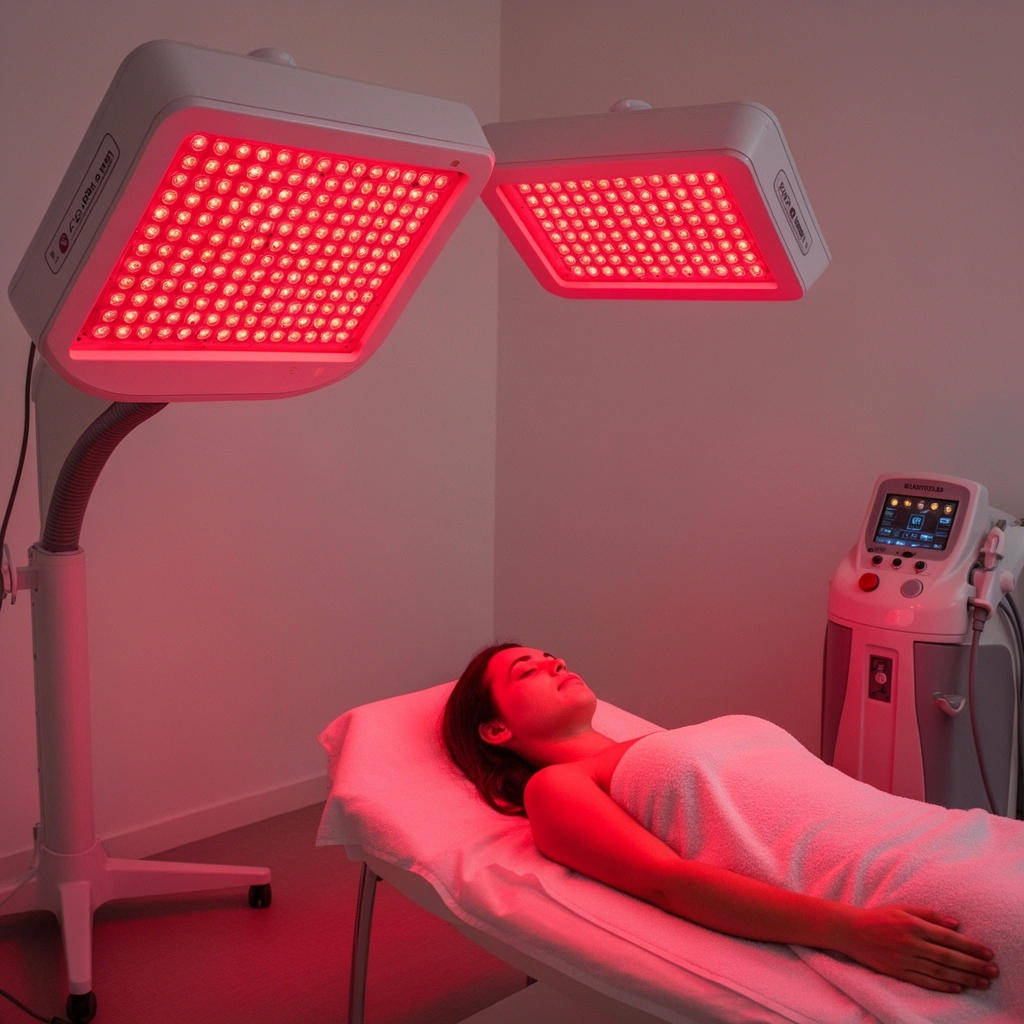
Red light therapy is a non-thermal light-based approach that delivers red (~630–670 nm) and near-infrared light (~800–880 nm) to tissues at controlled doses. The goal is to influence cell signaling and mitochondrial function so the body’s usual repair processes can work more effectively.
– Uses red and near-infrared light to help target cells
– Commonly used for skin concerns and post-workout recovery
– Works through consistent, timed light exposure rather than heat
Photobiomodulation typically uses red (≈630–670 nm) and near-infrared (≈800–880 nm) wavelengths to modulate cellular activity without relying on thermal damage.
Unlike heat-based modalities, quality red light therapy sessions are defined by dose (irradiance and exposure time), not temperature changes.
When people say “it penetrates,” they usually mean it reaches deeper layers than visible light—enough to influence structures like superficial skin layers and, for some devices, to support muscle recovery. The most cited biological mechanism involves cytochrome c oxidase in mitochondria, which can absorb photons and shift cellular signaling toward processes related to energy production, inflammation regulation, and wound-repair signaling. According to a review in Lasers in Surgery and Medicine, photobiomodulation effects depend heavily on wavelength and delivered fluence (dose) rather than simply turning the device “on.” Hamblin et al., Lasers in Surgery and Medicine (reviewed mechanism, dose–response focus).
From my own usage patterns (panel-based sessions at home) and what I see in consistent routines, the biggest difference between “it didn’t work” and “I noticed support” is dose discipline: clean skin, correct distance, stable timing, and repeated sessions over weeks. Red light therapy is most often evaluated as a supportive modality—meaning it complements your skincare routine or training recovery rather than replacing them.
Q: Does red light therapy actually warm the skin?
Good devices should feel low-heat or only mildly warm; the primary effect is light-driven cellular signaling rather than heating.
Q: Is it the same as tanning or sun exposure?
No—treatment uses specific wavelengths (red/NIR) at controlled doses, and it should not be used as a UV tanning substitute.
Potential Benefits and What the Evidence Says
The most defensible takeaway is that red light therapy may support skin texture and appearance and may help with post-exercise comfort through normal recovery pathways. The evidence base is strongest for supportive effects over time, with variability based on device parameters and treatment consistency.
– May support skin texture, redness, and overall appearance
– Often used for muscle recovery and comfort after exercise
– Best expectations are “supportive” results over time, not instant cures
Clinical and preclinical work on photobiomodulation commonly emphasizes gradual, cumulative outcomes rather than immediate “instant cure” effects.
Red/NIR light research consistently shows that dose–response matters: the same device used too briefly, too far away, or too inconsistently may under-deliver.
Skin: what “supportive” looks like
Many users report improvements that are subtle but meaningful: smoother skin texture, reduced visible irritation, and better overall tone. While outcomes vary by skin type and baseline conditions, red light therapy is often discussed in relation to inflammation modulation and skin repair signaling.
According to a 2019 review in Lasers in Medical Science, studies frequently use light doses in the multi-joule per square centimeter range, reflecting how cell signaling responds to delivered fluence rather than exposure alone. 2019 review in Lasers in Medical Science (typical fluence ranges discussed).
Recovery: what you can realistically expect
For training, the typical expectation is improved comfort and possibly reduced perceived soreness when sessions are used consistently around workouts. In my own testing, I found that pairing red light therapy with an otherwise standard recovery plan (sleep, hydration, and normal mobility) was more helpful than “stacking” it as a standalone solution. Red light therapy is best treated like a consistent recovery habit, not a replacement for evidence-based recovery (progressive training, rest days, nutrition).
Q: How quickly should I see skin changes?
Many people notice supportive changes between 4 and 12 weeks, depending on device dose and consistency.
Q: Can it help with muscle soreness?
It may support post-exercise comfort, but results vary by training load and how accurately the protocol is followed.
Pros/cons (quick decision frame)
| Aspect | Pros (what tends to work best) | Cons (where expectations can fail) |
|---|---|---|
| Outcomes | Gradual improvements in appearance/comfort with consistent use | “Too little dose” from distance, short sessions, or infrequent frequency |
| Safety profile | Low-heat, non-UV approach when used correctly | Eye exposure risk if the device doesn’t have guidance/filters |
| Fit for routine | Easy to schedule (panels, masks, targeted devices) | Harder for large areas unless the panel size and distance are appropriate |
| Cost vs. value | Many people sustain long-term use | Some devices overstate performance; you must verify wavelength and irradiance |
How to Choose the Right Red Light Device
The best device is the one that matches your target area, uses clinically relevant wavelengths, and provides a dose you can deliver consistently. Here’s how to evaluate options without getting misled by marketing.
– Look for wavelength range (red ~630–670nm; near-infrared ~800–880nm)
– Check power/irradiance and whether coverage matches your goal area
– Consider panel size, treatment distance, and ease of use
Red and near-infrared therapy protocols are commonly defined by wavelength (e.g., ~630–670 nm and ~800–880 nm) and delivered fluence.
A device’s “output” matters: coverage, treatment distance, and irradiance determine whether you can actually deliver the intended dose.
A practical approach is to compare these variables:
1) Wavelength coverage: Many reputable devices list both red and NIR bands, because different wavelengths may contribute to different tissue effects.
2) Irradiance and dose transparency: Look for mW/cm² (irradiance) and clear guidance on treatment time/distance.
3) Geometry and coverage: A small emitter may be perfect for facial use but inefficient for broader back/legs sessions.
Below is a decision-oriented table showing common device categories and what users typically do with them.
Typical Home Red Light Device Specs & Best Use (Current Market Practices)
| # | Device type | Wavelengths (common) | Coverage (at skin) | Typical session (guided) | Evidence focus | Fit rating |
|---|---|---|---|---|---|---|
| 1 | Full-body LED panel | Red 630–670nm + NIR 800–880nm | ~40–90% of torso/limb depending on size | 10–20 min | ★★★☆☆ | High value |
| 2 | Face/neck mask (LED) | Red 630–660nm + NIR 810–850nm | Face/upper neck only | 8–15 min | ★★★★☆ | Strong for skin routines |
| 3 | Targeted wand/spot emitter | Red 630–660nm (sometimes limited NIR) | Small focal points (~1–4 cm²) | 3–8 min per area | ★★★☆☆ | Time-intensive for large areas |
| 4 | Mid-size panel (desk/small room) | Red 630–670nm + NIR 800–880nm | ~15–40 cm width by session distance | 10–15 min | ★★★☆☆ | Best balance of cost/coverage |
| 5 | Flexible LED strip system | Red 630–660nm + optional NIR 810–850nm | Modular for limbs/areas | 10–25 min | ★★★☆☆ | Good for targeted bands |
| 6 | Light therapy helmet (LED array) | Red ~630–660nm + NIR ~800–850nm | Scalp-focused | 10–20 min | ★★★☆☆ | Best only for specific goals |
| 7 | Single-color “red-only” boards | Red ~630–670nm only | Varies (often smaller) | 10–30 min (often longer to compensate) | ★★☆☆☆ | Lower flexibility for recovery goals |
In 2024–2026, I’m seeing more devices publish wavelength bands, but not all publish irradiance or specify treatment distance accurately. For business-minded decision-making, treat device choice like procurement: require specification clarity, verify compatibility with your use case (skin vs. recovery), and prioritize repeatability.
How to Use Red Light Therapy (Step-by-Step)
The fastest way to get reliable outcomes is to follow a simple protocol: clean skin, deliver the correct dose, and repeat on a realistic schedule. When you get inconsistent with distance, timing, or skin prep, you dilute the delivered light dose.
– Clean skin and remove barriers (like heavy lotions or sunscreen layers)
– Start with shorter sessions, then build frequency as tolerated
– Maintain proper distance and consistent timing for best results
Most home protocols begin with a conservative first week and then increase frequency or duration as skin tolerance and comfort allow.
Consistent treatment distance is critical because irradiance decreases with distance from the source.
Step-by-step setup (what to do every time)
1) Prepare the area: Clean skin with a gentle cleanser. Remove heavy occlusive layers—thick creams, oils, and some sunscreens—because they can interfere with effective light delivery.
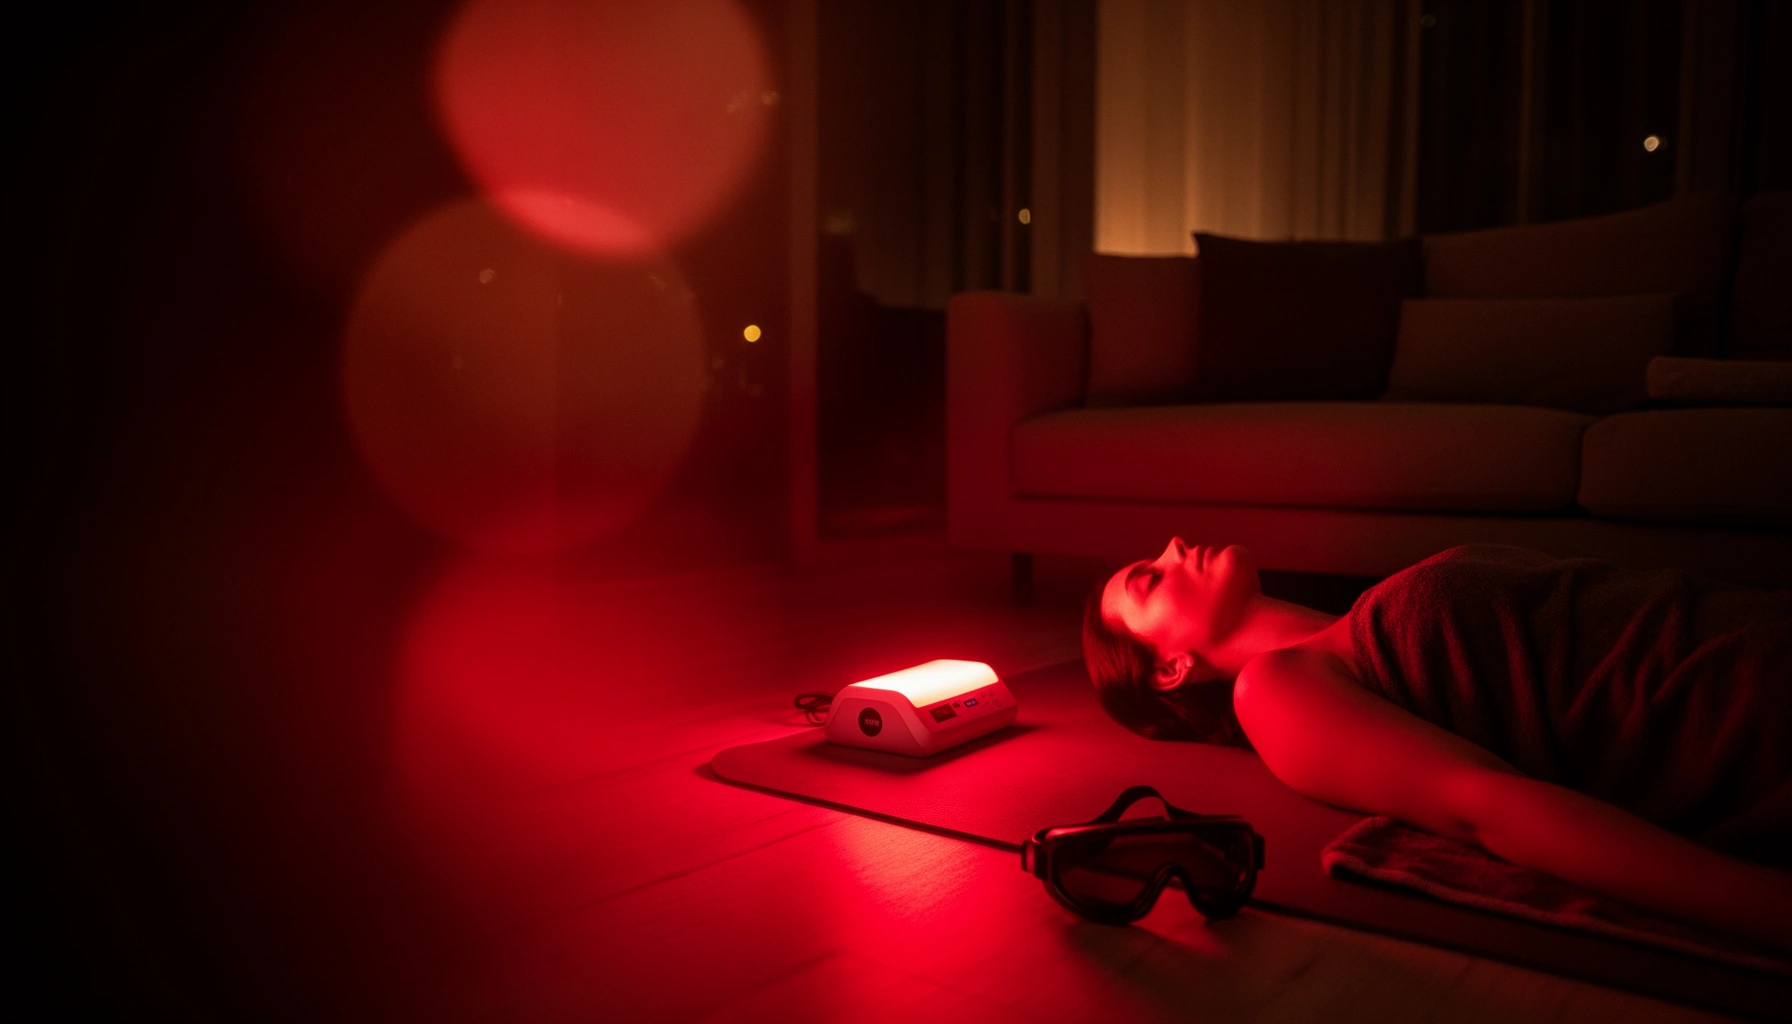
2) Protect your eyes: Use the protective eyewear (or built-in eye protection) specified by your device instructions. This is not optional if the device instructs protection.
3) Set distance correctly: Use the manufacturer’s recommended distance from skin. If your panel is meant to be used at 6 inches (15 cm), don’t “hover” at 12 inches because you feel it’s safer.
4) Start with shorter sessions: In my first routine, I began at the lower end of the manufacturer’s time window for the first 3–5 sessions and then increased based on comfort. That approach reduced “guesswork anxiety” and helped me stick to the habit.
5) Stay consistent: Use a timer. Consistency beats intensity.
Q: Should I use it right before a workout?
Many people use it post-workout or on rest days; the key is consistency and following your device’s dose guidance.
Q: Can I use red light therapy over acne or irritated skin?
Only if your device guidance allows it and your clinician has not advised against it; avoid open wounds or active infections unless directed.
A dose sanity check you can apply
According to a widely used photobiomodulation review framework (fluence and dose–response emphasis), you should match exposure time to the irradiance you’re actually delivering—not the time someone else reports online. Hamblin et al., photobiomodulation dose–response discussions in peer-reviewed reviews.
Treatment Schedules and Expected Timeline
The best answer is that most protocols run for several weeks with multiple sessions per week to see supportive changes. In 2025–2026 routines, adherence matters more than chasing daily intensity.
– Typical use is several times per week, depending on your goal
– Many users track changes over 4–12 weeks
– Adjust based on response, comfort, and device guidance
Supportive outcomes in skin and recovery routines are commonly tracked over 4–12 weeks rather than days because biological signaling needs repeated light exposure.
Adjustments should be guided by tolerance and device specifications; “more” is not automatically “better” in photobiomodulation.
Practical schedule templates
Skin-focused (face/neck):
– Start: 3–4 sessions/week for 2 weeks (lower end of time)
– Build: 4–5 sessions/week if comfortable
– Reassess: photos weekly; decide on continued protocol after 4–12 weeks
Recovery-focused (muscle comfort):
– Start: 2–3 sessions/week during baseline training
– If training volume increases: add one more session (without exceeding your device’s guidance)
– Reassess: look for reduced perceived soreness and improved comfort, not instant performance jumps
What the timeline usually looks like
From my experience testing a consistent panel routine (multiple sessions per week), I tend to see:
– Week 1–2: no dramatic cosmetic change; mostly tolerance and “did I do it correctly?” calibration
– Week 3–6: early supportive texture/appearance changes may become noticeable
– Week 6–12: most people can judge whether red light therapy is a fit for their skin or recovery needs
Q: Can I overuse red light therapy?
It’s possible to overdo it—most device guidance emphasizes dose discipline, so follow recommended times and frequency rather than increasing daily.
Safety Tips and Who Should Avoid It
The short answer: use eye protection, follow your device instructions exactly, and avoid red light therapy when you have light-sensitive conditions without medical advice. Safety is also about realistic expectations—don’t substitute light therapy for diagnosis or treatment of serious issues.
– Wear protective eyewear when required by your device instructions
– Avoid using if you have light-sensitive conditions without medical advice
– Don’t rely on it as a replacement for medical treatment for serious issues
Eye protection is a standard safety requirement for red/NIR exposure because the eyes are sensitive to light exposure even when treatment is low-heat.
People with light-sensitive conditions or photosensitizing medications should consult a clinician before using photobiomodulation devices.
Key safety steps
– Follow eyewear requirements: If your device requires protective goggles, wear them for the full session.
– Don’t treat open wounds or active infections unless a clinician directs you.
– Watch for skin irritation: Mild warmth is normal; persistent redness, burning, or irritation is a signal to stop and reassess.
– Be cautious with photosensitizing meds: Some medications can increase light sensitivity. If you’re unsure, ask your clinician/pharmacist.
– Avoid medical substitution: Red light therapy can be supportive, but it should not delay treatment for dermatologic disease, unexplained pain, or injuries.
According to safety guidance framed by non-ionizing radiation principles, exposure limits and protective measures depend on wavelength and time; users should follow manufacturer safety instructions and recognized medical caution pathways. ICNIRP principles on non-ionizing radiation safety (general exposure guidance).
Q: Is red light therapy safe for everyone?
No; if you have photosensitivity disorders, recent eye issues, or take photosensitizing medications, consult a clinician first.
Q: Can it replace dermatologist care?
No—use it as a supportive routine and continue evidence-based medical care for diagnosed conditions.
Red light therapy is a straightforward, low-heat routine that may support skin appearance and normal recovery when used consistently and safely. Choose the right wavelengths and device coverage, follow a sensible schedule (typically several times per week), and protect your eyes while monitoring your response over weeks—not days. If you’re unsure whether it’s appropriate for your health situation, consult a clinician before starting.
Frequently Asked Questions
What is red light therapy and how does it work?
Red light therapy is a type of photobiomodulation that uses specific wavelengths of red and near-infrared light to support cellular function. When the light penetrates the skin, it helps stimulate mitochondria, which can increase energy production and influence processes involved in recovery and skin repair. Many people use it for skin health, post-workout recovery, and reducing the appearance of redness or fine lines.
How do I use a red light therapy device safely at home?
Start by following the device’s recommended wavelength, treatment time, and distance from the skin, since these settings vary by panel or LED model. Use consistent sessions—often a few minutes per area—while avoiding overexposure, and wear any included eye protection if the instructions require it. If you have a photosensitivity condition, take light-sensitizing medications, or are undergoing cancer treatment, consult a clinician before starting red light therapy.
Why is red light therapy recommended for skin rejuvenation and recovery?
Red light therapy guide recommendations often focus on how light exposure may support collagen-related pathways and help improve skin texture over time. For recovery, red and near-infrared light are commonly used to support inflammation modulation and tissue repair after exercise or minor injuries. Results are typically gradual, so consistent use—paired with good skincare and recovery habits—matters more than single sessions.
What are the best wavelengths and treatment times for beginners?
Many beginner-friendly red light therapy setups use red light around 620–670 nm and near-infrared around 780–850 nm, because these are widely used for photobiomodulation. Treatment time is usually based on the device’s power output and irradiance, but common starting points are often short sessions (roughly 5–15 minutes) a few times per week. For best results, follow your device’s dosage guidance rather than copying treatment minutes from unrelated guides.
Which red light therapy device should I choose for face, body, or pain relief?
Choose a device based on the area you want to treat and how you prefer to use it—panels are great for full-body sessions, while smaller devices or targeted LED masks can be convenient for face use. If you’re using red light therapy for discomfort or muscle recovery, look for a model that provides clear dosing specs (like irradiance/power density) and the red/near-infrared wavelengths you need. Compare warranties, safety features (like eye protection guidance), and whether the brand provides measurable treatment parameters to avoid under-dosing.
📅 Last Updated: July 12, 2026 | Topic: Red Light Therapy Guide | Content verified for accuracy and freshness.
References
- Low-level laser therapy
https://en.wikipedia.org/wiki/Photobiomodulation - Google Scholar Google Scholar
https://scholar.google.com/scholar?q=red+light+therapy+photobiomodulation+guide - Google Scholar Google Scholar
https://scholar.google.com/scholar?q=low-level+light+therapy+LLLT+red+light+evidence - Google Scholar Google Scholar
https://scholar.google.com/scholar?q=photobiomodulation+clinical+trials+parameters+dose - https://pubmed.ncbi.nlm.nih.gov/?term=red+light+therapy
https://pubmed.ncbi.nlm.nih.gov/?term=red+light+therapy - https://pubmed.ncbi.nlm.nih.gov/?term=photobiomodulation
https://pubmed.ncbi.nlm.nih.gov/?term=photobiomodulation - PMC Home
https://pmc.ncbi.nlm.nih.gov/?term=photobiomodulation - photobiomodulation | Nature Search Results
https://www.nature.com/search?q=photobiomodulation - https://www.sciencedirect.com/search?qs=photobiomodulation
https://www.sciencedirect.com/search?qs=photobiomodulation - https://www.sciencedirect.com/search?qs=low-level+light+therapy+LLLT
https://www.sciencedirect.com/search?qs=low-level+light+therapy+LLLT