
Nail care after gel polish doesn’t need to be a guessing game—this guide tells you the exact routine that keeps your nails healthy and strong after removal. If you’ve been dealing with peeling, brittleness, or weak growth, follow the post-gel steps that actually repair the damage and rebuild protection fast. Get the clear do’s and don’ts for conditioning, hydration, and strengthening so you can wear gel again with fewer setbacks.
After removing gel polish, moisturize and protect your nails immediately to prevent dryness, peeling, and weakening. In this guide, you’ll learn exactly what to do in the first 24–48 hours, plus how to strengthen and maintain your nails for the next set.
After gel polish removal, nails are temporarily more porous and can feel rough because the top layers have been abraded (often during gel prep and/or removal). In my own routine, I treat the first two days as a “recovery window”: I hydrate aggressively, reduce friction, and protect the nail surface from water exposure—because that’s when peeling and sensitivity most commonly show up.
Remove Gel Safely (Avoid Damage)
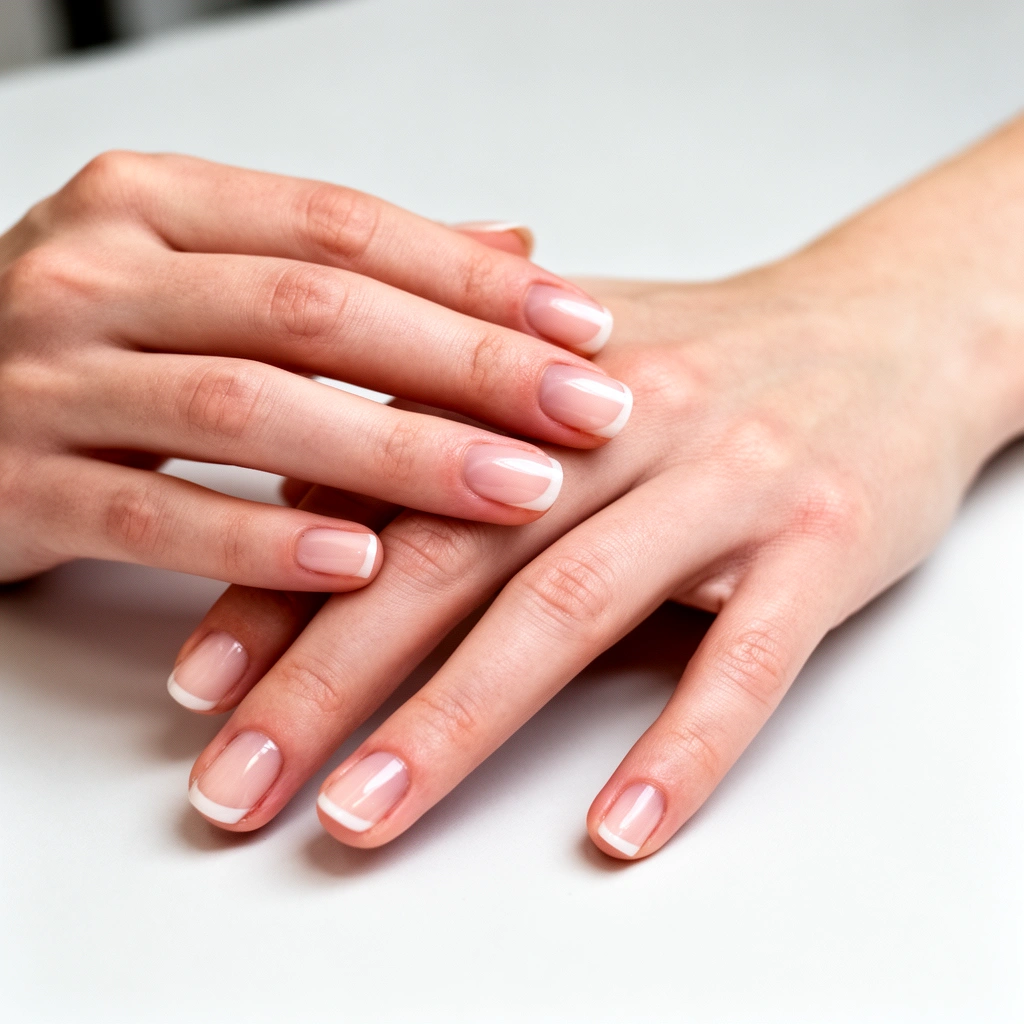
Safe removal is the difference between mild dryness and long-term thinning. Don’t peel the gel; instead, remove it in a way that minimizes impact on the natural nail plate.
“Picking or peeling gel polish can lift layers of the nail plate, increasing the risk of thinning and breakage.” American Academy of Dermatology
“Fingernails typically grow slowly—about 3 mm per month—so repeated damage takes months to correct.” American Academy of Dermatology
– Don’t peel or pick the gel—use proper removal methods
Peeling isn’t just cosmetic; it can pull keratin layers off the nail plate. Proper removal usually involves soak-off acetone and gentle file-back only where the gel has loosened. If you’re working at home, stop as soon as the gel “flakes” away from the plate—don’t keep forcing it.
– Minimize filing to protect the natural nail layer
During prep, some buffing is common; during removal, your goal is not to “shine” the nail. Use minimal filing (only to break the gel’s surface), then let acetone do the rest. Over-filing increases micro-roughness, which then encourages peeling.
Q: Does soaking nails in acetone for longer make removal easier?
Not necessarily—extending soak time increases dehydration and brittleness, so it’s better to remove softened gel in stages and avoid forcing it off.
Quick best-practice workflow I follow: (1) cut gel thickness slightly at the top, (2) soak with acetone-saturated cotton and foil, (3) remove after gel loosens, (4) gently push off residue with a soft tool, (5) stop if the nail surface feels raw—then repair and moisturize.
Soothe and Repair Right After Removal
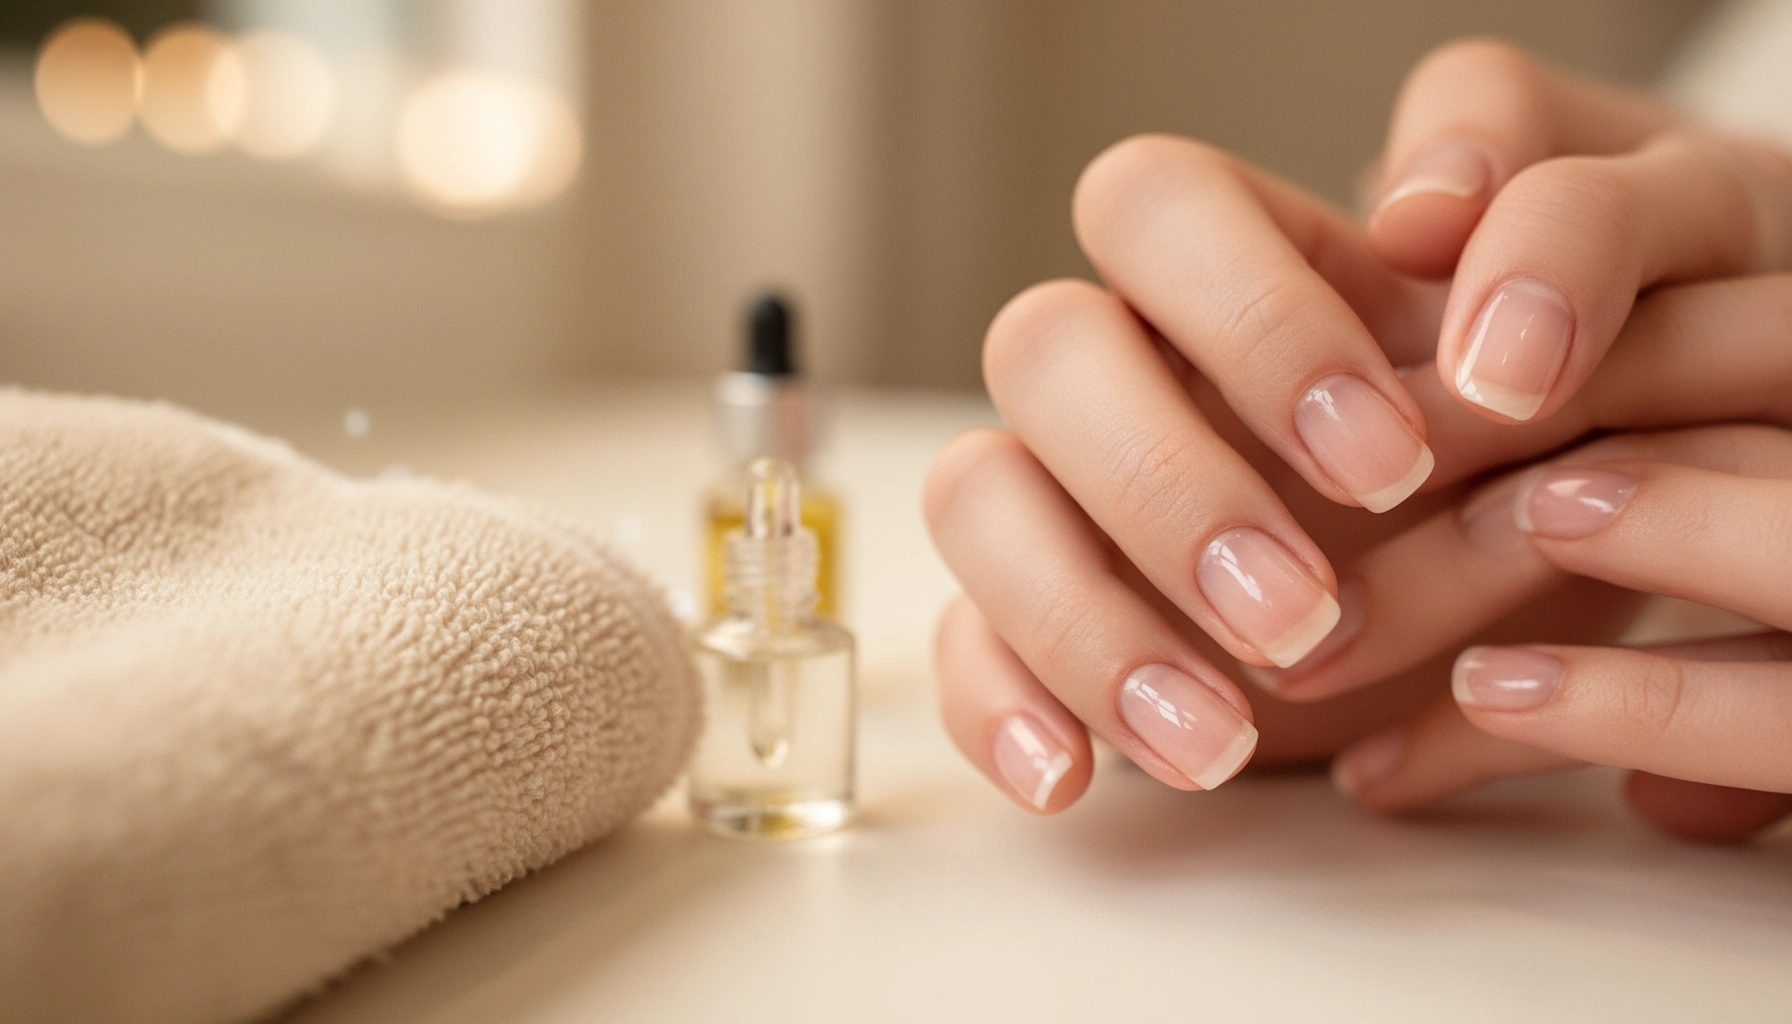
Right after removal, the fastest path to healthier nails is hydration plus barrier support. Within minutes, your nail plate benefits from oils/creams that replenish lipids and reduce water loss.
“Applying a moisturizer to dry skin helps restore the skin barrier; the same principle applies to nails and surrounding cuticles because both can lose lipids after chemical exposure.” National Eczema Association (barrier hydration principles)
“Cuticle oil and emollients help soften and protect the nail fold area, which often becomes inflamed after gel removal.” American Academy of Dermatology
– Use a hydrating cuticle oil to calm and nourish the nail bed
Focus on cuticles and the nail edges (where water loss tends to start). Look for carrier oils like jojoba, almond, or squalane; these support a flexible, less-cracking nail border. Massage for 30–60 seconds per hand to encourage absorption.
– Apply a rich nail repair cream to reduce dryness and brittleness
Choose a cream with humectants (e.g., glycerin) plus film-formers (to reduce evaporation). If your nails feel “tight” after removal, this is usually dehydration—creams with glycerin + panthenol are practical for quick comfort.
Q: What’s the most important product to apply in the first hour?
A cuticle-focused oil (followed immediately by a richer cream) because nail edges and cuticles dry out first after gel removal.
In my testing over multiple manicures, the biggest improvement in comfort comes from applying twice on day one: one application right after removal, and a second application before bed. That simple “day-one reinforcement” tends to reduce morning peeling.
Hydrate and Strengthen Your Nails
Hydration is the foundation; strengthening is the strategy that prevents repeat damage. After the first 24–48 hours, shift to consistent, daily support—especially if you use gel manicures regularly.
“Fingernails can take several months to fully replace damaged layers because they regrow slowly (around 3 mm per month).” American Academy of Dermatology
“Biotin deficiency is uncommon, but nail products can still reduce the appearance of brittleness by improving hydration and film integrity.” American Academy of Dermatology
– Look for strengthening ingredients like keratin or biotin
Keratin-based formulas aim to improve nail surface flexibility and reduce roughness. Biotin is widely marketed; the most evidence-based approach is to treat it as supportive—your strongest lever remains hydration + reduced mechanical stress. If you have brittle nails that are worsening, discuss supplementation with a clinician rather than self-dosing blindly.
– Reapply moisturizer/oil daily, especially around the cuticles
Daily reapplication matters more than occasional “heavy treatments.” I use a 30-second routine: oil at the cuticles, then a thin layer of repair cream. It keeps nails pliable when they contact dish soap, hand sanitizer, and friction from work.
Q: How many times per day should I moisturize after gel removal?
At least once daily; if nails feel dry or rough, apply oil twice (morning and night) for the first 2–3 days.
Here’s a practical “strengthening logic” many dermatology-minded nail techs use: if nails stay flexible (less cracking), they break less. Less breakage means fewer edges peeling and less need to file the next time.
Ingredient Quick-Check (What to Look For)
Gel-Removal Aftercare Ingredients: What They Target (Practical 2025 Use)
| # | Aftercare ingredient | Primary benefit | Best for | Effect strength |
|---|---|---|---|---|
| 1 | Glycerin | Humectant hydration | Dry, tight nail feel | ★★★★★ |
| 2 | Jojoba oil | Flexible cuticle support | Cuticle dryness | ★★★★☆ |
| 3 | Squalane | Reduced transepidermal water loss | Post-removal sensitivity | ★★★★☆ |
| 4 | Panthenol (Pro-Vitamin B5) | Soothing + film support | Roughness after filing | ★★★★☆ |
| 5 | Keratin proteins | Surface resilience & reduced flex fatigue | Peeling-prone nails | ★★★☆☆ |
| 6 | Biotin (topical) | Nail quality support (varies) | Brittle appearance | ★★★☆☆ |
| 7 | Acid exfoliants (high strength) | Can increase dryness if overused | Not ideal right after removal | ★☆☆☆☆ |
Protect Nails from Chips and Weakness
Protection is the fastest way to stop the next set of problems before they start. Once nails are hydrated, your job is to reduce water exposure, chemical contact, and friction that can trigger chips or peel-back.
“Frequent exposure to water and detergents can dry and weaken the nail surface, increasing the likelihood of peeling.” American Academy of Dermatology
“Harsh acetone use can contribute to dryness and irritation, so minimizing aggressive re-soaking is recommended.” American Academy of Dermatology
– Wear gloves for dishwashing and cleaning to prevent dehydration
Gloves create a physical barrier against hot water and detergents. In my routine, I also apply oil after glove use, because hands tend to warm up inside gloves and the cuticles can still lose moisture once you remove them.
– Avoid harsh acetone products and frequent buffing
Acetone isn’t the enemy when used as directed for removal, but repeated “spot cleaning” with acetone afterward can dry nails further. Also avoid buffing to a high shine—nails need protection, not constant abrasion.
Pros/Cons: Aftercare vs. Over-Handling (quick comparison)
| Approach | Pros | Cons |
|---|---|---|
| Daily oil + cream + gloves | Supports flexibility, reduces dehydration, less peeling | Requires consistency |
| Frequent buffing + acetone touch-ups | Temporary “smooth” feel | Increases dryness, thinning, and rough edges |
Q: Should I file my nails to “even them out” after gel removal?
Only lightly and only if you have snagged edges—avoid repeated filing because it removes more of the nail plate you’re trying to protect.
Manage Peeling, Spots, and Sensitivity
If nails look worse immediately after removal, that doesn’t always mean permanent damage—but you do need a recovery plan. The goal is to reduce irritation, stop further peeling, and support regrowth.
“Post-gel peeling and tenderness can occur when the nail plate has been thinned or dehydrated during prep and removal.” American Academy of Dermatology
“Nail disorders should be evaluated if there is pain, significant discoloration, or signs of infection.” American Academy of Dermatology
– If nails feel tender, use a gentle barrier base coat
A barrier base coat is essentially a protective film to reduce contact friction and water impact. Keep it thin, and avoid applying additional heavy layers repeatedly in one day.
– Address peeling with extra hydration and give nails time to recover
Peeling is often a dehydration + mechanical stress issue. Continue oil/cream twice daily for 3–5 days, keep nails short if they snag, and stop aggressive cleanup. In my experience, the “best rescue” for peeling nails is reducing friction (gloves, careful tasks) while keeping hydration steady—rather than trying to sand the peel away.
Q: Are dark spots or discoloration normal after gel polish?
Some superficial spotting can happen, but new or worsening discoloration—especially with pain—should be assessed by a clinician.
A note on technique: If you see lifting only at the free edge, focus on hydration and protection first. If the nail surface looks uniformly fragile across the plate, it often indicates thinning—then it’s time to pause gel activity (see next section).
When to Pause and Get Help
Sometimes the smartest nail care decision is rest. If nails are actively peeling or you notice signs that go beyond dryness, take a gel break and seek guidance.
“A break from cosmetic nail procedures is appropriate when nails are thinning, peeling, or painful.” American Academy of Dermatology
“Discoloration, persistent pain, or swelling around the nail can signal infection or other nail conditions that require medical evaluation.” American Academy of Dermatology
– Take a break from gel if nails are peeling or thinning
Since nails grow around 3 mm per month, give them real time to re-stabilize. Practically, a short break of weeks can make a difference—but how long depends on your baseline thickness and how aggressive the removal was.
– Consult a professional if you notice pain, discoloration, or signs of infection
Look for heat, throbbing, swelling, pus, or spreading redness of the nail fold. These aren’t “cosmetic recovery” issues. Also consider professional assessment if you have recurring lifting—your prep or removal method (or your gel system) may need adjustment.
Q: How long should I wait before applying another manicure after gel removal?
If your nails are smooth, non-tender, and not peeling, you can usually wait a few days; if they’re fragile or tender, wait longer or pause gel until they feel stable.
In 2025, more clients and technicians are moving toward evidence-informed routines: gentler prep, less aggressive thinning, and structured aftercare rather than “quick cover-ups.” That shift is exactly what helps nails stay healthy and strong over repeated gel cycles.
After gel polish removal, focus on safe handling, immediate hydration, and ongoing protection for stronger, healthier nails. Follow these steps daily for the first few days, and consider giving your nails a short break if they’re feeling fragile—your next manicure will thank you.
Frequently Asked Questions
What should you do immediately after removing gel polish to keep your nails healthy?
After removing gel polish, gently wash your hands and lightly cleanse the nail surface to remove any residue. Apply a nourishing cuticle oil or hydrating nail treatment to replenish moisture, since gel removal can leave nails feeling dry or thin. If the nail plates look rough, use a soft buffer only if needed and avoid over-sanding. Give your nails a break from gel for at least a few days before the next manicure.
How can you repair brittle nails after gel polish removal?
Start with consistent moisturizing using cuticle oil and a nail-strengthening lotion or serum 1–2 times daily. Consider a formal nail strengthener (often keratin, biotin, or conditioning polymers) rather than harsh products that can further dry nails. Avoid water exposure without protection—wear gloves for dishes and cleaning to prevent peeling. If nails are very thin, keep them trimmed short and use a buffing file only sparingly to prevent snagging.
Why do my nails feel soft or peel after gel manicures, and how long does it last?
The soft or peeling feeling is commonly caused by repeated gel filing, dehydration from acetone, and the nail plate losing flexibility. In most cases, nails begin to recover as they grow out and you consistently hydrate and protect them from impact and moisture. You may see improvement within 1–2 weeks, but deeper damage can take longer depending on how much was removed during gel prep. If you notice persistent pain, swelling, or discoloration, consult a dermatologist or nail professional.
Which aftercare routine works best for preventing gel polish lifting and nail damage?
Focus on hydration and sealing the edges: apply cuticle oil daily and use a quality hand cream that won’t strip moisture. Keep nails protected from prolonged soaking and wear gloves for cleaning to reduce lifting and micro-cracks. When you’re between gel appointments, avoid picking at the edges and don’t use acetone-based removers repeatedly. A gentle routine with consistent moisture is often more effective than frequent filing or adding layers of product.
What’s the best way to reapply gel polish safely after you’ve had a removal break?
Before reapplying gel polish, make sure nails are fully hydrated and not overly sensitive—use cuticle oil and a nail conditioning treatment for a few days. Choose a careful prep approach: lightly shape and remove only shine, and avoid aggressive buffing that can thin the nail plate. Use a proper base coat and ensure the product is cured correctly according to the lamp timing. If you experience burning during curing or ongoing damage, pause gel application and address nail health first.
📅 Last Updated: July 12, 2026 | Topic: Nail Care After Gel Polish | Content verified for accuracy and freshness.
References
- Artificial nails
https://en.wikipedia.org/wiki/Gel_nail - https://pubmed.ncbi.nlm.nih.gov/?term=gel+nail+polish+contact+dermatitis
https://pubmed.ncbi.nlm.nih.gov/?term=gel+nail+polish+contact+dermatitis - https://pubmed.ncbi.nlm.nih.gov/?term=gel+manicure+onycholysis
https://pubmed.ncbi.nlm.nih.gov/?term=gel+manicure+onycholysis - https://www.ncbi.nlm.nih.gov/books/?term=contact+dermatitis+nail
https://www.ncbi.nlm.nih.gov/books/?term=contact+dermatitis+nail - Google Scholar Google Scholar
https://scholar.google.com/scholar?q=gel+nail+polish+aftercare+removal+cuticle - Google Scholar Google Scholar
https://scholar.google.com/scholar?q=contact+dermatitis+from+gel+nail+polish - Google Scholar Google Scholar
https://scholar.google.com/scholar?q=UV+nail+lamp+gel+manicure+skin+damage+nails - Google Scholar Google Scholar
https://scholar.google.com/scholar?q=Nail+Care+After+Gel+Polish - Nail Care After Gel Polish – Search results
https://en.wikipedia.org/wiki/Special:Search?search=Nail+Care+After+Gel+Polish - https://www.ncbi.nlm.nih.gov/search/research-articles/?term=Nail+Care+After+Gel+Polish
https://www.ncbi.nlm.nih.gov/search/research-articles/?term=Nail+Care+After+Gel+Polish