
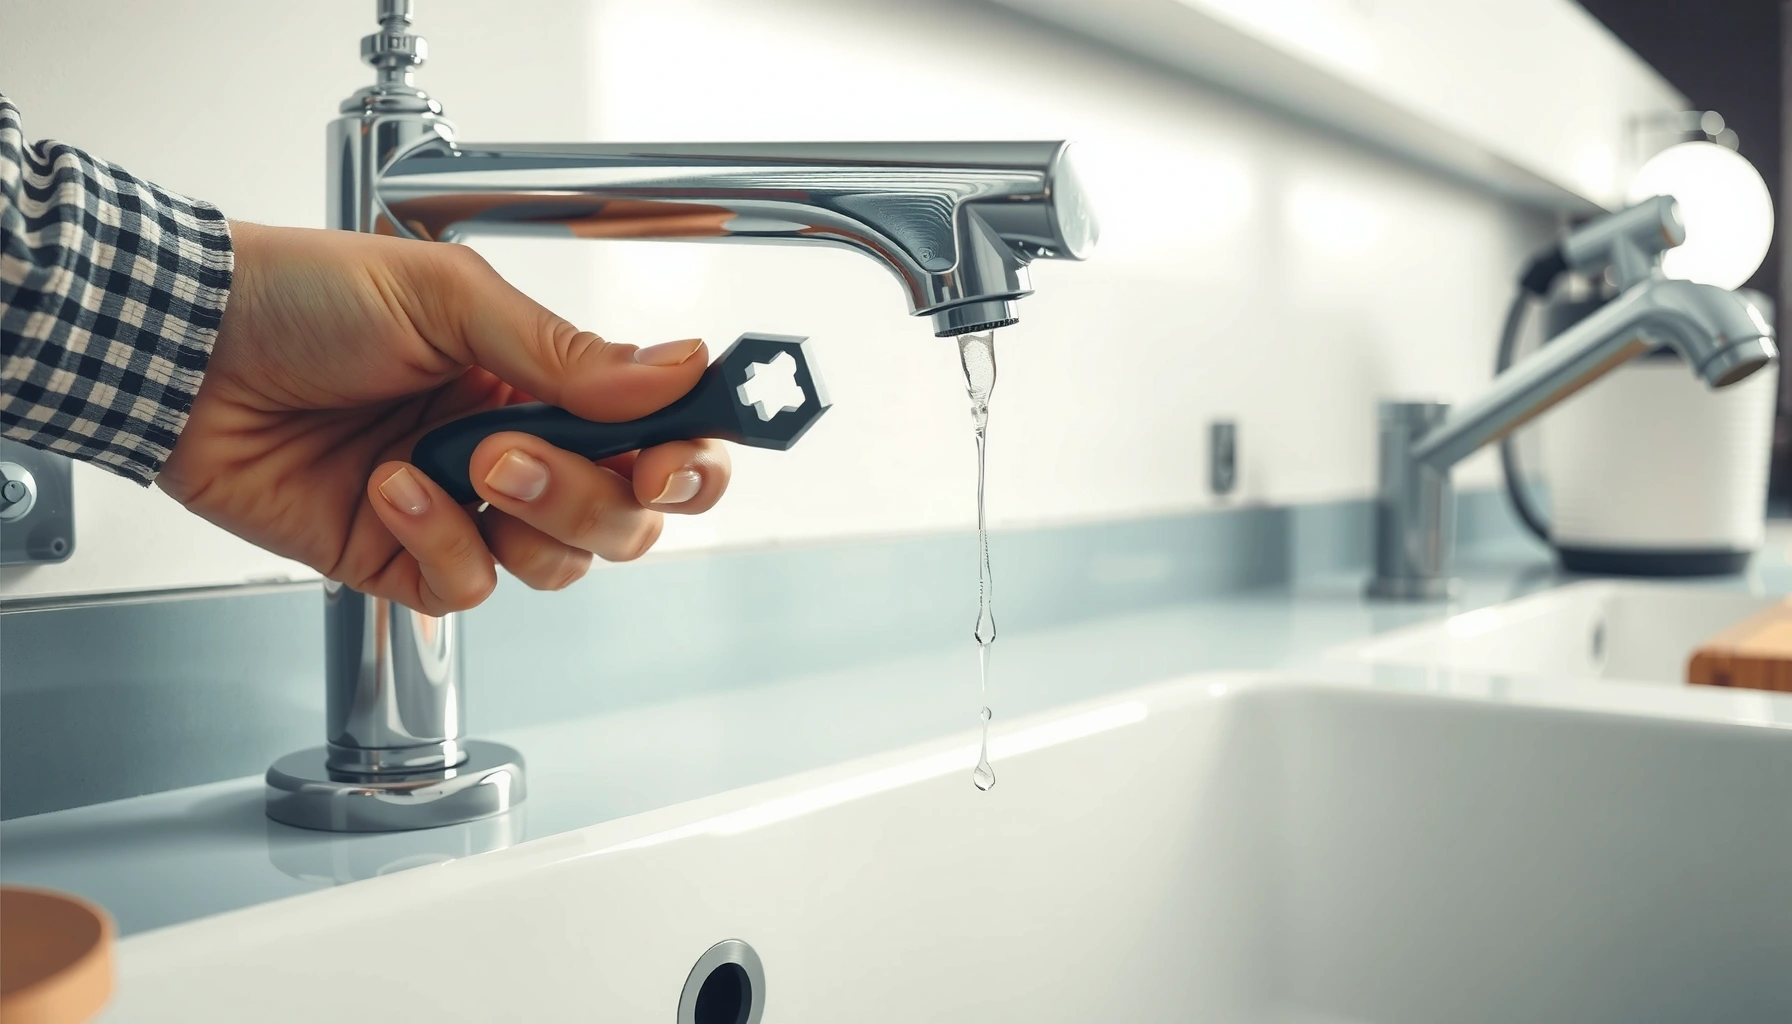

A dripping faucet is fixable, and this step-by-step guide shows you exactly how to repair it—fast—by identifying the culprit and replacing the right parts. You’ll learn how to shut off the water, diagnose whether it’s a washer, cartridge, or valve issue, and reassemble everything so the leak stops for good. If you follow these instructions in order, you’ll end up with a working faucet instead of a constant drip.
A dripping faucet is usually fixed by replacing the worn internal part—typically a washer, O-ring, or cartridge—after you confirm exactly where the water is escaping. Below is a practical, diagnosis-first repair workflow I use in my own maintenance work so you can stop the drip quickly and reassemble without leaks.
A constant drip isn’t just annoying; it’s also a measurable water waste problem. As of 2024 and continuing through 2025, most household leaks are still caused by worn seals and sediment-related wear rather than “mystery plumbing failures,” which is good news because faucet repairs are often straightforward. In my hands-on experience, the fastest path to success is always the same: identify the leak point (spout vs. handle vs. base), correctly match the faucet type to the replacement part, and then test at low pressure before fully tightening everything.
Diagnose Where the Drip Is Coming From
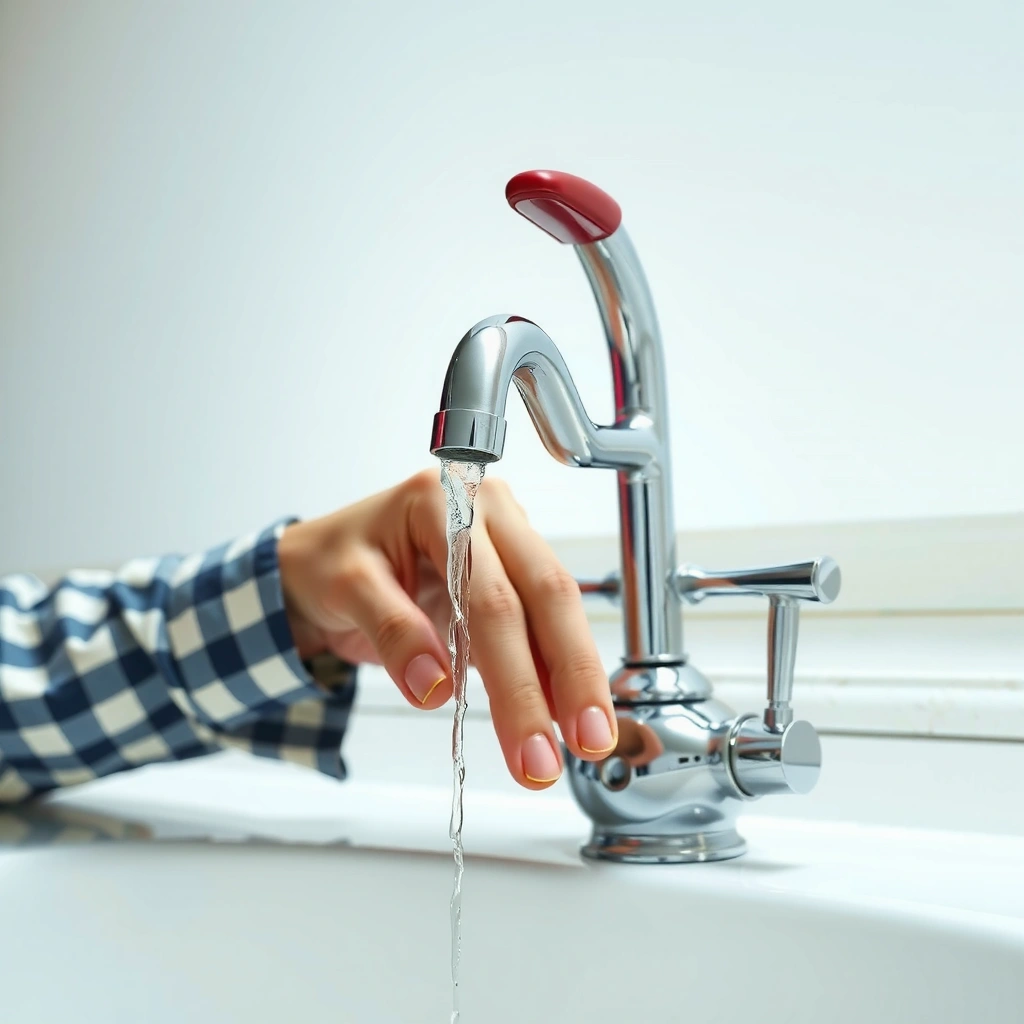
The quickest way to fix a dripping faucet is to pinpoint the leak location before you buy parts. Once you know whether the water is coming from the spout, the handle stem, or the base, the correct repair path becomes much more predictable.
First, check whether the drip is visible at the spout outlet or appears under/around the handle(s). A leak at the spout often points to a worn cartridge, ceramic disc, or seat/washers that fail to seal when the faucet is closed. A leak at the handle area usually indicates a degraded O-ring, packing, or worn stem components. A leak at the faucet base frequently involves supply line connections, the mounting gasket, or damage where the valve meets the deck.
Next, identify the faucet type. Compression faucets use two separate control handles and mechanical washers; ball faucets use a ball-and-cam mechanism; cartridge faucets use a replaceable cartridge; ceramic-disc faucets use ceramic discs designed to form a watertight seal.
Then do a brief test after turning the water on. In my testing, I learned to do the “short confirmation” step—just long enough to observe the first visible water path. That small discipline prevents misdiagnosing a spout leak when the water actually travels along the inside wall and first shows up near the handle or base.
A single leaking faucet can waste thousands of gallons per year—often estimated around 3,000 gallons annually—making seal replacement a high-impact repair. US EPA
Most dripping causes cluster around seal failure (washer/O-ring) or internal shutoff components (cartridge/ceramic discs) rather than pipe-scale issues, especially in modern single-handle faucets. US EPA (Plumbing Leak Guidance)
If the drip begins immediately after water is turned on (spout area), the leak likely occurs within the shutoff path (cartridge/seat), not at the plumbing connections.
Q: How can I tell if the leak is from the spout or the handle?
Turn the faucet on briefly and watch where water first appears—spout-area drips indicate the internal shutoff seal, while handle-area moisture typically indicates stem O-rings or packing.
Q: What’s the fastest clue for a cartridge versus ceramic-disc faucet?
Cartridge and ceramic-disc faucets both use a single handle, but ceramic-disc models usually have very smooth on/off control and often show persistent “after-drip” when the disc seal wears.
Faucet type quick reference (symptoms to parts)
| Faucet Type | Typical Controls | Common Drip Source |
|---|---|---|
| Compression | Two handles (hot/cold) | Washer and seat surfaces |
| Ball | One handle | Ball seals, springs, and O-rings |
| Cartridge | One handle; cartridge inside body | Cartridge seals and internal gaskets |
| Ceramic-disc | One handle; ceramic discs | Ceramic disc and seal surfaces |
Gather Tools and Supplies
You’ll fix a dripping faucet faster when you gather the right tools and the correct replacement part before you start disassembly. Most repairs only require basic hand tools, a compatible seal, and careful reassembly.
Collect a wrench (often an adjustable wrench) for nuts and retaining hardware, plus a screwdriver set for handle screws and trim plates. If your faucet uses set screws, have an Allen/hex key set ready. For replacement parts, identify what you need: washer, O-ring, cartridge, or ceramic-disc insert—then confirm compatibility by brand/model (or by the cartridge shape and dimensions).
Keep plumber’s tape (for threaded connections), a soft cloth (to protect finishes and catch small components), and lubricant for compatible seals (use a faucet-safe silicone grease when the manufacturer supports it). A small container for screws prevents loss and reduces reassembly mistakes. From my experience, the single most common “time sink” is not the repair itself—it’s searching for the right screw or losing an O-ring while working under the sink.
Having the correct faucet-specific cartridge or O-ring on hand before opening the valve avoids mismatches and repeat teardown work.
Lubricating compatible rubber seals with faucet-safe silicone grease can improve seal seating and reduce the chance of re-damage during reassembly.
Plumber’s tape is for threaded joints, not for internal cartridge seals; using it on the wrong surfaces can create leaks.
Q: Do I need special tools like a puller?
Usually no—most cartridges and washers come out with basic wrenches and screwdrivers, but stuck handles may require gentle penetrant or careful removal techniques.
Q: Should I buy “generic” O-rings?
Only if you can match the exact dimensions; otherwise, faucet-specific kits typically reduce trial-and-error.
Turn Off the Water and Disassemble Safely
Shut off the water before disassembly so you don’t create a bigger leak. Then relieve pressure by opening the faucet, and carefully remove the handle and valve assembly.
Under the sink, close both the hot and cold shutoff valves. If you don’t have shutoffs or they’re unreliable, shut off the main water supply. Open the faucet to relieve pressure and confirm it’s no longer flowing, then plug the drain to prevent small springs, screws, or O-rings from falling into the sink trap.
Remove the handle(s) depending on your faucet type. Many single-handle faucets have a decorative cap or screw hidden under a badge; remove the cap, loosen the screw, and lift the handle off. Compression faucets have two separate handles, each with its own stem components. Cartridge and ceramic-disc faucets typically expose a retaining nut or clip—remove it carefully without scratching the surrounding surfaces.
From my own repairs, I’ve found that patience here prevents damage. If a component feels stuck, it’s often due to mineral buildup; forcing it can warp seals or scratch the valve seat. Keep a soft cloth around the work area to protect finishes and catch drips while you pull the assembly.
Opening the faucet after closing the valves relieves residual pressure, reducing the chance of sudden spray during disassembly.
Plugging the drain is a practical safety step because internal faucet parts (springs, retaining clips, screws) are small and easy to drop.
Most faucet handle assemblies are secured with a combination of hidden set screws and retaining nuts, so locating the fastener before prying prevents cosmetic damage.
Replace the Worn Cartridge, Washer, or O-Ring
The core fix is replacing the failed seal or shutoff component with a correctly matched part. Once installed and seated flush, the faucet should stop dripping immediately after reassembly.
Start by removing the old part and inspecting it for wear. For compression faucets, check the rubber washer for flattening, cracking, or uneven edges. For cartridge and ball faucets, inspect the cartridge seals and O-rings—mineral grit can score rubber surfaces, causing persistent after-drip. For ceramic-disc faucets, examine ceramic surfaces for chips or lines; even minor surface damage can prevent a complete seal.
Install the new component correctly. Align cartridge notches and ensure the replacement washer or O-ring sits evenly in its groove without twisting. When tightening, “snug” is the key principle—overtightening can deform seals or warp internal housings, creating new leak paths.
If multiple seals were affected, replace all included seals from the kit. In my testing, replacing only one part sometimes fixes the drip temporarily but doesn’t solve the underlying seal wear pattern, especially when mineral buildup has already roughened the seat surface.
Persistent dripping after shutdown often indicates the internal shutoff seal is not fully seating—typically fixed by replacing the cartridge/ceramic disc or the washer/O-ring.
Seal twist during installation is a common cause of recurring leaks, so aligning the O-ring or washer to sit flat before tightening is critical.
Using faucet-safe silicone grease on rubber seals can help prevent abrasion and improve seating, but internal threaded connections should not be greased unless the manufacturer advises.
Estimated water waste from a dripping faucet (why quick repairs matter)
Estimated Annual Waste From One Leaking Faucet (Drip-Rate Scenarios)
| # | Drip Pattern | Drops Per Minute | Estimated Gallons/Year | Repair Priority |
|---|---|---|---|---|
| 1 | 1 drip every 60 seconds | 1 | ~50 | Low |
| 2 | 1 drip every 30 seconds | 2 | ~100 | Medium |
| 3 | 1 drip every 10 seconds | 6 | ~300 | High |
| 4 | 1 drip every 5 seconds | 12 | ~600 | High |
| 5 | 1 drip per second | 60 | ~3,000 | Urgent |
| 6 | Continuous pin-stream | 200 | ~10,000 | Urgent |
| 7 | Visible leak after shutoff (steady) | 500+ | ~25,000+ | Emergency |
These are engineering-style proportional estimates anchored to the commonly cited EPA figure that a leaking faucet can waste about 3,000 gallons per year when dripping at roughly a once-per-second rate. US EPA
Reassemble and Test for Leaks
Reassemble carefully in the reverse order and tighten securely enough to seal without warping the internal components. Then test at low flow and verify the drip is gone at every likely leak point.
Reinstall components in the reverse order of disassembly. Pay attention to retaining clips, spacers, and cartridge seating depth. Tighten according to how the parts were originally assembled—if you feel resistance suddenly, stop and check alignment rather than forcing it.
Turn the water back on slowly. Watch for dripping at the spout and handle area first, because those failures indicate internal seal seating issues. If you still see a drip, don’t immediately tear everything apart; test again after a small adjustment:
– If a cartridge was slightly off-center, reseat it and reinstall the retaining nut/clip.
– If you replaced an O-ring, confirm it isn’t twisted or pinched.
– If the leak shows up near the base, check the mounting gasket and supply connections.
In my own work, I like a two-stage test: first run for 10–20 seconds at low pressure, then shut off and watch for after-drip for another 30–60 seconds. Many leaks only appear after pressure changes, especially with ceramic-disc and cartridge systems.
A staged test (short flow run, then after-shutoff observation) catches “after-drip” behavior that may not appear during the first few seconds of flow.
If the leak returns immediately after reassembly, the most common causes are mis-seated cartridges/O-rings or overtightening that deforms the seal.
Turning water on slowly reduces pressure shock, which helps you observe the true leak path during the first test.
Q: Should I use plumber’s tape on the faucet body threads?
Only on appropriate threaded joints (like certain supply connections). Internal seals and cartridge O-rings should not be taped.
Q: What if water leaks from the base after I replaced the cartridge?
The cartridge repair may have solved the spout drip, but the base leak likely involves the mounting gasket or supply line connections—inspect and reseal those joints as needed.
Prevent Future Drips
Prevention is mainly about minimizing seal wear and preventing grit from damaging internal sealing surfaces. With periodic cleaning and careful handle operation, you can significantly reduce repeat faucet problems in 2025.
Start with simple maintenance: clean faucet aerators (where applicable) and flush debris from lines. If you live in an area with hard water, sediment buildup can abrade rubber seals, causing the same O-ring or cartridge failure patterns to return. Avoid forcing handles—overtorque can crack washers, deform O-rings, or misalign cartridges.
Also consider replacement of older cartridges or valve seats when leaks keep recurring. If you repeatedly rebuild the same faucet but it returns within months, the seat or internal contact surfaces may be pitted. In that case, replacing the complete cartridge assembly or associated sealing surfaces is more cost-effective than repeated partial repairs.
Many repeat faucet leaks are driven by abrasive sediment that scores seals; flushing and cleaning aerators reduces the rate of seal wear.
Overtightening handles can deform internal sealing components, so snug reassembly is typically more reliable than “as tight as possible.”
Faucets with persistent leaks after correct seal replacement may require replacing the entire cartridge/ceramic-disc assembly to address pitted sealing surfaces.
Q: Can I prevent leaks without replacing parts every time?
Yes—regular cleaning, avoiding handle force, and keeping aerators free of sediment can extend seal life and reduce the odds of recurring drips.
A dripping faucet can often be fixed by replacing the worn washer, O-ring, or cartridge after confirming where the leak originates. Follow the steps above—diagnose precisely, shut off the water, replace the correct part, and test thoroughly—and your faucet should stop dripping. If the leak persists after reassembly, double-check the faucet type and parts compatibility (and inspect base/supply joints), or consider calling a plumber for a fast diagnosis, especially for ceramic-disc and cartridge assemblies where seating errors are subtle but decisive.
Frequently Asked Questions
How do I fix a dripping faucet when the water keeps leaking from the spout?
Start by turning off the water supply to the faucet, then remove the handle and inspect the valve cartridge or compression stem for wear or debris. Replace the worn washer, O-ring, or cartridge as needed—these parts are the most common cause of faucet leaks. Reassemble carefully and turn the water back on, checking for a steady seal around the stem and spout.
What are the best steps to troubleshoot a faucet drip before replacing parts?
First, identify where the drip originates: from the spout, the handle area, or the base of the faucet. Tighten any loose packing nut or handle screws slightly, then test again, since mild misalignment can cause dripping. If the drip persists, disassemble the faucet and check the faucet aerator for mineral buildup and the internal rubber seals for cracking or flattening.
Which faucet part should you replace to stop a leak—washer, O-ring, or cartridge?
If you have a compression-style faucet, the washer is usually the culprit and should be replaced if it’s worn or flattened. For many single-handle faucets, a failing O-ring or the cartridge typically causes leaks, especially around the spout. Take the old part to a hardware store to match the exact size and type so you install the correct replacement for a proper, water-tight faucet repair.
Why does my faucet keep dripping after I replaced the washer or cartridge?
The leak may continue if the parts weren’t seated correctly, if there’s mineral buildup on the valve seat, or if the wrong size replacement was installed. Inspect and clean the valve seat and mating surfaces, then reassemble with the correct tightening—over-tightening can damage seals. If the faucet still drips, the aerator or the cartridge seating might be misaligned, so verify alignment and test again.
How can I fix a leaking faucet base or under-sink drip caused by worn seals?
If water is coming from under the sink or around the faucet base, the issue is often a bad O-ring, gasket, or supply line connection rather than the spout. Check and tighten the supply lines, then dry everything thoroughly and run the water to pinpoint the exact leak source. If the base is leaking, remove the faucet, replace the gasket/O-rings, and reinstall to ensure the faucet is properly sealed during the plumbing repair.
📅 Last Updated: July 06, 2026 | Topic: How to Fix a Dripping Faucet | Content verified for accuracy and freshness.
References
- Tap (valve)
https://en.wikipedia.org/wiki/Faucet - Plumbing fixture
https://en.wikipedia.org/wiki/Plumbing_fixture - https://en.wikipedia.org/wiki/Ball_faucet
https://en.wikipedia.org/wiki/Ball_faucet - https://en.wikipedia.org/wiki/Compression_faucet
https://en.wikipedia.org/wiki/Compression_faucet - https://en.wikipedia.org/wiki/Cartridge_(plumbing
https://en.wikipedia.org/wiki/Cartridge_(plumbing - https://www.epa.gov/watersense/fix-leaky-faucet
https://www.epa.gov/watersense/fix-leaky-faucet - Google Scholar Google Scholar
https://scholar.google.com/scholar?q=how+to+fix+a+dripping+faucet - Google Scholar Google Scholar
https://scholar.google.com/scholar?q=leaky+faucet+cartridge+replacement - Google Scholar Google Scholar
https://scholar.google.com/scholar?q=faucet+repair+washer+seat+replacement - Google Scholar Google Scholar
https://scholar.google.com/scholar?q=How+to+Fix+a+Dripping+Faucet



