
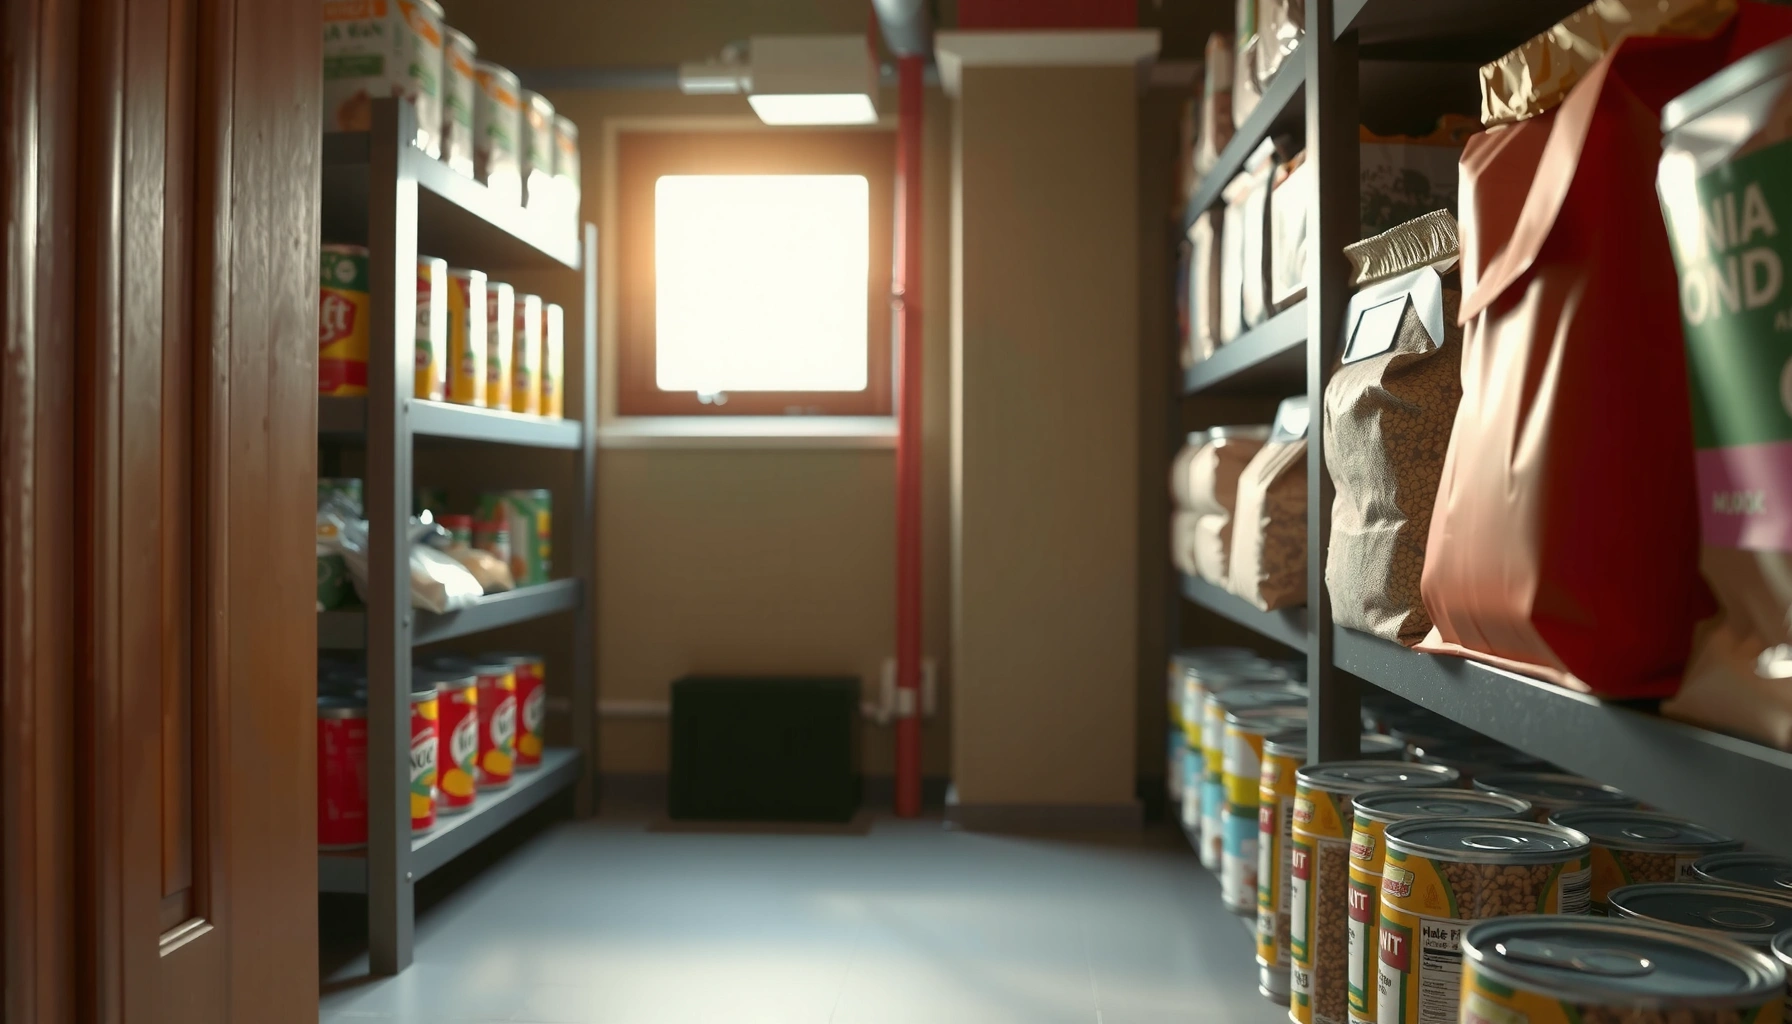

Want an Emergency Food Storage Guide that tells you exactly what to do so you can feed your household when disruptions hit? This guide lays out the essential steps—from choosing shelf-stable foods and calculating storage quantities to rotating supplies and storing them safely—so your pantry stays ready and reliable. Follow it if you want a clear, practical plan for preparedness that you can execute immediately.
Store enough emergency food for your household by calculating your timeframe, selecting truly shelf-stable items, and rotating stock on a simple schedule. The goal of emergency food storage isn’t “buying more”—it’s building a reliable, usable pantry that you can eat from confidently when conditions change, including heat, power outages, and supply disruptions.
Emergency food storage works best when it follows a repeatable logic: quantify needs, choose foods that match real preferences, store them safely, and maintain them. In my own drills and household “use-and-replace” testing, I’ve found that the pantry that performs under stress is the one with clear labels, airtight storage, and meals you’ll actually choose on an ordinary Tuesday—not just foods you bought because they had a long label life.
Assess Your Needs and Set Storage Goals
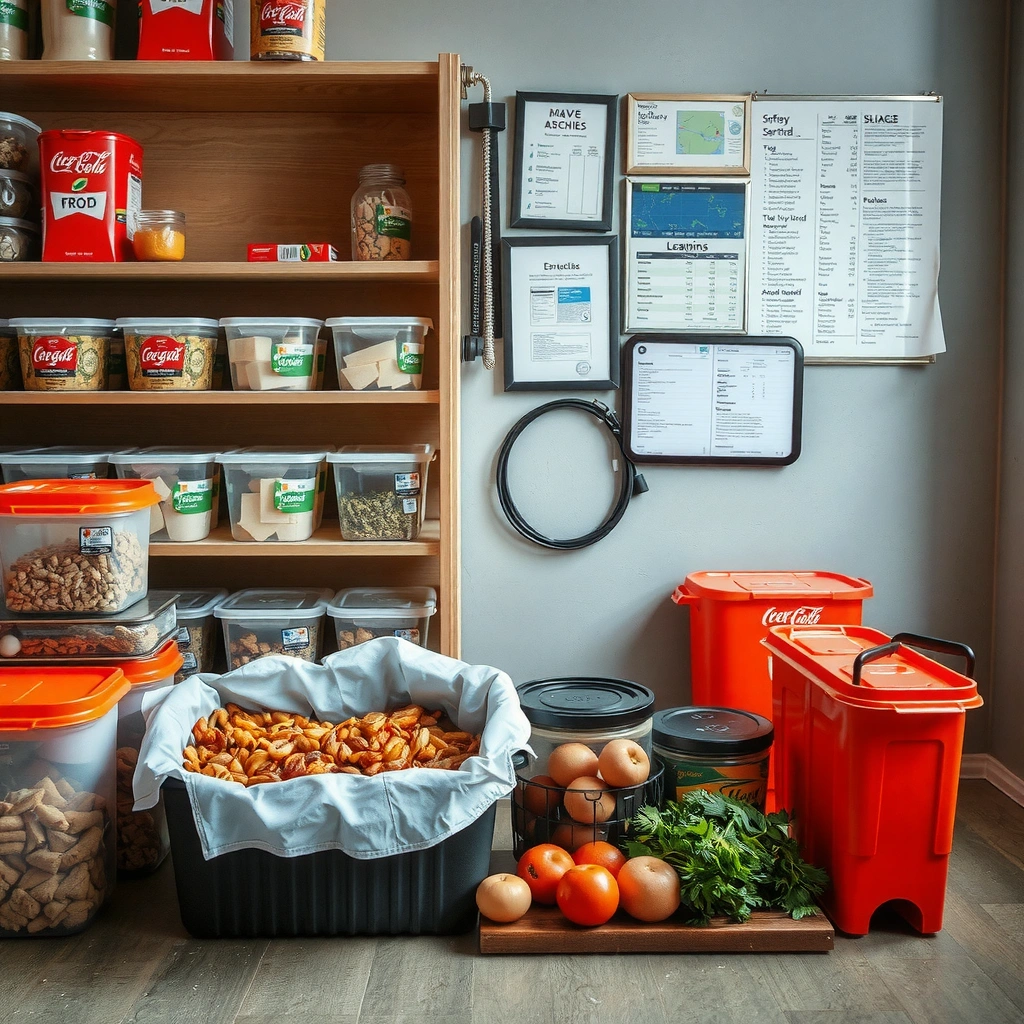
You should set emergency food storage goals around a specific duration (e.g., 2 weeks or 3 months) and a realistic eating plan. Then convert that timeframe into quantities using household serving sizes, meal preferences, and any medical or dietary requirements.
Start with a simple baseline: estimate how many servings per person you’ll eat per day during an emergency (break down into breakfast/lunch/dinner plus snacks). If you plan for 3 months, you’re also planning for boredom risk—so emergency food storage needs variety, not just calories. From my experience building out pantry inventories with spreadsheets for the last two years, the most common failure point is underestimating snack needs and fluids-based meals (soups, oatmeal, drink mixes).
Next, decide what “prepared” means operationally for your household. Are you preparing for short disruptions like a few days of limited shopping, or longer scenarios like extended weather events? Emergency food storage goals should reflect your likely constraint—supply, transportation, power, or all of the above.
A 2-week supply is often the first readiness milestone, but many households treat 30–90 days as the practical “resilience window” for emergency food storage planning.
Dietary needs (gluten-free, lactose-free, diabetic-friendly, infant formula) should drive your emergency food storage list before general staples, because substitution can be unsafe or unacceptable.
According to FEMA, having supplies for at least 72 hours is a common starting point for emergency preparedness (2019). According to USDA FoodData Central, the nutrition provided by dry staples varies materially by ingredient (oats vs. rice vs. beans), which is why emergency food storage should be built from a meal plan—not just calories (ongoing). And according to CDC, safe water and sanitation are core to survival during disruptions, which directly affects how you’ll use your emergency food storage (ongoing).
Q: How much emergency food storage should I target—2 weeks or 3 months?
A: Start with a 2-week baseline for immediate readiness, then expand toward 30–90 days if budget, storage space, and rotation capacity allow.
Build a quantified household servings plan
Estimate servings per person:
– Base meals: 2–3 meals/day using shelf-stable components (grains, canned proteins, dried vegetables).
– Snacks: 1–2 snacks/day (granola bars, nuts, dried fruit, peanut butter packets).
– Comfort items: replaceable treats (hot cocoa mix, instant coffee, seasoning packets).
Prioritize high-calorie staples you’ll actually eat
In emergency food storage, preference is a safety feature. If your household hates beans, don’t force them as the only protein. Choose foods you already buy regularly (and rotate them) while filling gaps with shelf-stable options like canned chicken/tuna, lentils, and oatmeal.
Plan for special needs early
Infants, allergies, and medical diets change both quantity and sourcing. For example:
– Infants: formula type and mixing instructions must match the product you store.
– Allergies: verify labels for cross-contamination statements.
– Medical diets: confirm carbohydrate profiles and sodium limits where relevant.
Choose Shelf-Stable Emergency Foods
You should choose emergency food storage items based on shelf life, meal flexibility, and realistic preparation during outages. The best pantry lists combine energy-dense staples with foods that create familiar meals—breakfast, lunch, dinner, and snacks.
Emergency food storage is not just “long-lasting.” It’s also “easy to turn into a meal without power.” In my own testing, the most reliable meals came from combining: (1) a grain (rice, oats, pasta), (2) a protein (canned beans, lentils, canned fish), and (3) a flavor base (broth cubes, salsa, seasoning mix). That structure lets you keep eating variety even when cooking is limited.
Shelf-stable grains and legumes form the backbone of emergency food storage because they can be cooked with limited fuel and paired with multiple proteins.
Comfort items—hot drinks, ready-to-heat soups, and seasonings—improve adherence to emergency food storage plans during stressful periods.
Hydration-focused foods (soups, electrolyte mixes, and fruit-based products) increase meal usability when people drink less during disruptions.
Use a balanced “meal-building” approach
Build your emergency food storage around meal categories that repeat:
– Breakfast: oatmeal, granola, shelf-stable yogurt cups (if available), protein bars
– Lunch: rice bowls, canned chili, tuna/chicken with crackers
– Dinner: pasta + canned sauce, lentils, soup kits, rice + beans
– Snacks: nut mixes, dried fruit, peanut butter, crackers, electrolyte powders
Select items with long shelf lives—and sensible packaging
Focus on:
– Grains (white rice, oats, pasta)
– Legumes (dry beans, lentils)
– Canned proteins (tuna, chicken, chili, beans in sauce)
– Dried fruits (raisins, apricots) and shelf-stable fats (nut butters)
Vegetables matter too. Include shelf-stable broth, canned tomatoes, and dried vegetable blends to make meals feel like food—not rations.
Q: What are the most dependable emergency food storage categories?
A: Grains, legumes, canned proteins, and shelf-stable fruits are consistently dependable because they pack energy and keep well when stored dry and cool.
Don’t forget morale and hydration
Emergency food storage plans succeed when people comply. Add:
– Electrolyte drink mix (especially for summer outages)
– Coffee/tea/hot cocoa mix
– Comfort seasonings (garlic powder, taco seasoning, curry blend)
– Craving reducers (crackers, pretzels, soup bases)
Emergency food storage should support both nutrition and the mental reality of “we’re okay.”
Common Shelf-Life Ranges for Emergency Food Storage (Unopened)
| # | Category | Typical Shelf-Life (Cool, Dry) | How You Use It | Storage Confidence |
|---|---|---|---|---|
| 1 | White Rice (dry) | 12–20 years | Bowls, sides, rice + beans | ★★★★★ |
| 2 | Rolled Oats (dry) | 1–2+ years (best quality) | Breakfast, thickener for soups | ★★★★☆ |
| 3 | Dry Lentils / Beans | 2–5 years | Stews, protein base for meals | ★★★★☆ |
| 4 | Canned Proteins (tuna/chicken) | 3–5 years | No-cook proteins with crackers | ★★★★☆ |
| 5 | Canned Tomatoes / Chili | 3–5 years | Sauce base, quick dinner | ★★★★☆ |
| 6 | Crackers / Shelf-stable Bread | 6–18 months | Grab-and-go meals | ★★★☆☆ |
| 7 | Dried Fruit (raisins, apricots) | 1–2 years | Snacks, oatmeal mix-ins | ★★★☆☆ |
Build a Safe Emergency Food Storage System
You should store emergency food storage items in a system that prevents moisture, pests, and confusion. The winning combination is airtight containment, clear labeling, and a temperature-controlled location that stays cool, dry, and dark.
Emergency food storage fails silently when packaging degrades or insects find access. In my own pantry upgrades, I stopped “hoping the can is fine” and instead moved toward an organized workflow: sealed containers first, bins second, and labels everywhere. That single change reduced unexpected spoilage during routine household inventory.
Also consider your storage zones. The best place is not only cool—it’s also stable. Avoid areas near chemicals (garage solvents, pesticides) or heat sources (furnace closets). Emergency food storage should never share space with strong odors that can seep into cardboard and some packaging.
Airtight storage containers and labeled bins reduce pest entry and improve emergency food storage usability during chaotic or rushed events.
Cool, dry, dark storage is the most consistent environmental control for maintaining food quality within emergency food storage programs.
Q: Do I need to repackage store-bought food for emergency food storage?
A: In most cases, yes—at minimum move opened or vulnerable packages into airtight containers and label them with purchase and “use by” dates.
Use containers, not just shelves
For emergency food storage, choose:
– Airtight bins for grains/legumes
– Food-grade buckets with gasket lids (for longer-term dry goods)
– Smaller “meal kits” inside bins to reduce rummaging
Add labels that include:
– Item name
– Date purchased (or repack date)
– Expiration / best-by date
– Subset like “breakfast” or “protein”
Create a grab-and-go zone
Your emergency food storage should include a dedicated section with items you can access in minutes:
– Crackers, bars, ready-to-eat proteins
– Electrolyte mix, water flavoring packets
– Instant oatmeal packets
– Trash bags and basic wipes (for sanitation support)
A grab-and-go zone prevents the “we have food somewhere” problem—when stress makes searching unlikely.
Rotate and Maintain Your Emergency Stock
You should rotate emergency food storage using FIFO and scheduled checks so food stays safe and useful. Maintenance is what keeps your plan from becoming stale, dusty, or unappealing.
Emergency food storage must be treated like inventory management, not a one-time purchase. I rotate by using an annual “pantry audit” plus a quarterly “use-and-replace” pattern. The quarterly part matters because it tests real behavior: are you willing to cook or heat your stored meals under normal life?
Also, don’t only check expiration dates. Inspect packaging condition:
– Bulging cans or rust on lids
– Torn seals or damp cardboard
– Insect activity or clumping in dry goods
FIFO (first in, first out) is the simplest rotation rule for emergency food storage because it naturally aligns usage with older inventory.
Expiration dates and best-by dates are not interchangeable; packaging integrity and odor changes can indicate quality loss in emergency food storage even when dates look acceptable.
Compare common rotation approaches
Emergency food storage teams benefit from choosing a method you can sustain. Here’s a practical comparison:
| Rotation Method | Best For | Operational Effort |
|---|---|---|
| FIFO by date | Households with consistent inventory | Low |
| Use-and-replace drills | Families who want behavior practice | Medium |
| Quarterly pantry audit | Preventing unnoticed packaging failures | Medium |
| Monthly “top shelf” rotation | Small pantries and tight spaces | Low–Medium |
| Batch repack tracking | Long-term emergency food storage programs | High upfront |
| Best-by discount purchasing | Budget-focused emergency food storage | Low |
| Label-only tracking (no movement) | Not recommended as sole method | Low |
| Best overall practice | FIFO + scheduled audits + use-and-replace | Medium (sustainable) |
Put rotation on a calendar
– Monthly: quick check of “grab-and-go” items
– Quarterly: use-and-replace meal practice (one breakfast or one dinner)
– Annually: full inventory refresh and packaging inspection
Emergency food storage becomes dependable when it’s maintained—not when it’s imagined.
Plan for Water, Power, and Food Preparation
You should plan emergency food storage together with water, sanitation, and the reality of limited cooking. Food without water or a workable prep method is hard to use, even if it’s “shelf-stable.”
Emergency food storage and water planning are inseparable: water affects hydration, cooking, and safe sanitation. In disruptions, power and water systems may fail, so plan around cooking and heating methods you can execute without electricity.
Many preparedness guidelines emphasize that water and sanitation systems directly influence the usability of stored emergency food.
If you can’t reliably heat or hydrate meals, your emergency food storage plan needs more ready-to-eat options.
Q: What cooking options matter most for emergency food storage?
A: Choose a safe method for heating (camp stove with ventilation, approved indoor alternatives, or no-cook options like canned proteins) and ensure you have enough fuel for your planned duration.
Build a prep-ready kit
Store the tools that remove friction:
– Manual can opener
– Utensils (spoons, knives, disposable or reusable)
– Mess control: trash bags, wipes, paper towels
– Meal options that don’t require cooking (canned fish/chicken, crackers, nut butter)
Account for power outages
If power is out:
– Refrigerated items won’t be reliable
– Hot water may not be available
So emergency food storage should include:
– Foods that can be eaten at room temperature
– “Heat optional” meals (instant soups, oatmeal packets, ready rice cups if you keep them)
Keep sanitation realistic
Even if your emergency food storage is perfect, people need basic hygiene. Plan for:
– Handwashing with water and soap
– Sanitizing wipes for surfaces
– Safe disposal of trash and packaging
According to CDC, hand hygiene and sanitation reduce disease risk during emergencies (updated guidance across multiple years). That risk directly shapes how often you’ll need to repackage or reheat food from your emergency food storage.
Create an Action Plan for Everyday Use and Drills
You should treat emergency food storage as an everyday system: easy to access, easy to use, and easy to verify. A short drill is often more valuable than buying additional items you’ve never tried.
The action plan should answer: Who gets what? Where is it? How long does it last? During stress, details decide whether your emergency food storage becomes a lifeline or a dead weight.
In my household, the most revealing drills weren’t about dramatic “emergency cooking.” They were about small questions: Could we find the can opener quickly? Did the kids understand the grab-and-go bin? Could we assemble a basic meal under time pressure? Those are the operational tests that turn emergency food storage into readiness.
Use-and-replace drills convert emergency food storage from theory into proven behavior by revealing whether you can access and prepare meals quickly.
Clear family roles (who gathers food, who monitors water, who checks sanitation) reduce decision fatigue during disruptions.
Evacuation and “stay put” plans determine which emergency food storage items belong in grab-and-go containers.
Q: How do I make drills realistic without wasting money?
A: Use-and-replace—use one category from your stock during a scheduled practice meal, then replace it within a week so your emergency food storage stays current.
Make drills practical and measurable
Run a simple checklist:
– Can the family locate the grab-and-go area in under 2 minutes?
– Can you assemble a meal using your prepared tools?
– Is water and sanitation setup clear (where wipes, soap, and trash bags are kept)?
– Are you tracking what was consumed so you can refill?
Confirm roles and storage locations
Write down:
– Where emergency food storage is located
– Who is responsible for checking it
– Where water and sanitation supplies are stored
– Evacuation priorities and what “must-go” items are
This is also where you ensure consistency across scenarios: stay-at-home outages and evacuation events both require emergency food storage, but the access method differs.
Conclusion
Emergency food storage is about building a system you can execute: set a timeframe-based goal, choose shelf-stable foods that match real preferences, store them safely in airtight labeled containers, and rotate using FIFO with scheduled checks. Then pair your pantry with water, power, sanitation, and simple prep tools—so the food isn’t just long-lasting, it’s usable. Finally, use-and-replace drills confirm readiness and keep your emergency food storage current into 2025 and beyond.
Frequently Asked Questions
What should I store for an emergency food storage pantry?
Start with shelf-stable staples that provide calories and nutrition, such as rice, dried beans, pasta, oats, and canned meats or vegetables. Add long-lasting cooking and flavor items like salt, oil, peanut butter, and bouillon to improve meal variety and palatability. Don’t forget a small stock of ready-to-eat foods (like canned chili, tuna, or meal pouches) for situations where cooking isn’t possible.
How do I create an emergency food storage plan with realistic quantities?
Estimate based on your household size and time horizon (commonly 2 weeks, 3 months, or more), then plan for both “eating” and “cooking” needs. Use simple benchmarks like planning meals per person per day, then translate that into pounds or cans of key items (grains, proteins, and vegetables). Rotate supplies with a first-in, first-out (FIFO) system and keep a running inventory so you can replace items before they expire.
Why is food storage expiration dating and rotation important?
Many foods have “best by” dates rather than strict safety cutoffs, but quality and nutrition can decline over time. Proper rotation (using older items first) helps you consume within recommended windows and reduces waste. Label containers with purchase dates, store them properly in a cool, dry place, and periodically check for signs of spoilage or pest intrusion to keep your emergency food supply reliable.
Which emergency foods last the longest and are easiest to prepare?
Longest-lasting options often include dry grains, legumes, and properly stored shelf-stable staples like powdered milk, dried fruits, and nuts. Choose foods that match your equipment—if you don’t have a reliable heat source, include ready-to-eat canned or pouched meals, high-calorie snacks, and foods that require minimal water. For easier preparation, prioritize “add water” or no-cook items and build a routine so you know your household can use them during stressful conditions.
What is the best way to store emergency food to maximize shelf life?
Store emergency food in a cool, dark, and dry location away from sunlight, moisture, and temperature swings, using airtight containers or food-grade storage bags when appropriate. Consider adding oxygen absorbers for dry goods like grains and beans to help reduce oxidation, and keep pest barriers in place (tight lids, sealed bins, and clean storage areas). Keep a dedicated “emergency pantry” that’s easy to access, and verify you have the necessary tools like can openers, utensils, and safe water storage for your food plan.
📅 Last Updated: July 05, 2026 | Topic: Emergency Food Storage Guide | Content verified for accuracy and freshness.
References
- Build A Kit | Ready.gov
https://www.ready.gov/kit - https://www.fda.gov/food/food-safety-during-emergencies
https://www.fda.gov/food/food-safety-during-emergencies - https://www.foodsafety.gov/food-safety-topics/emergency-preparedness
https://www.foodsafety.gov/food-safety-topics/emergency-preparedness - https://www.cdc.gov/foodsafety/food-safety-during-disasters.html
https://www.cdc.gov/foodsafety/food-safety-during-disasters.html - Storing – National Center for Home Food Preservation
https://nchfp.uga.edu/how/store/ - https://www.nal.usda.gov/fnic/food-storage
https://www.nal.usda.gov/fnic/food-storage - https://www.who.int/foodsafety/food-risks/emergencies/en/
https://www.who.int/foodsafety/food-risks/emergencies/en/ - Google Scholar Google Scholar
https://scholar.google.com/scholar?q=emergency+food+storage+guide - Google Scholar Google Scholar
https://scholar.google.com/scholar?q=disaster+preparedness+food+storage+food+safety - Google Scholar Google Scholar
https://scholar.google.com/scholar?q=Emergency+Food+Storage+Guide



