
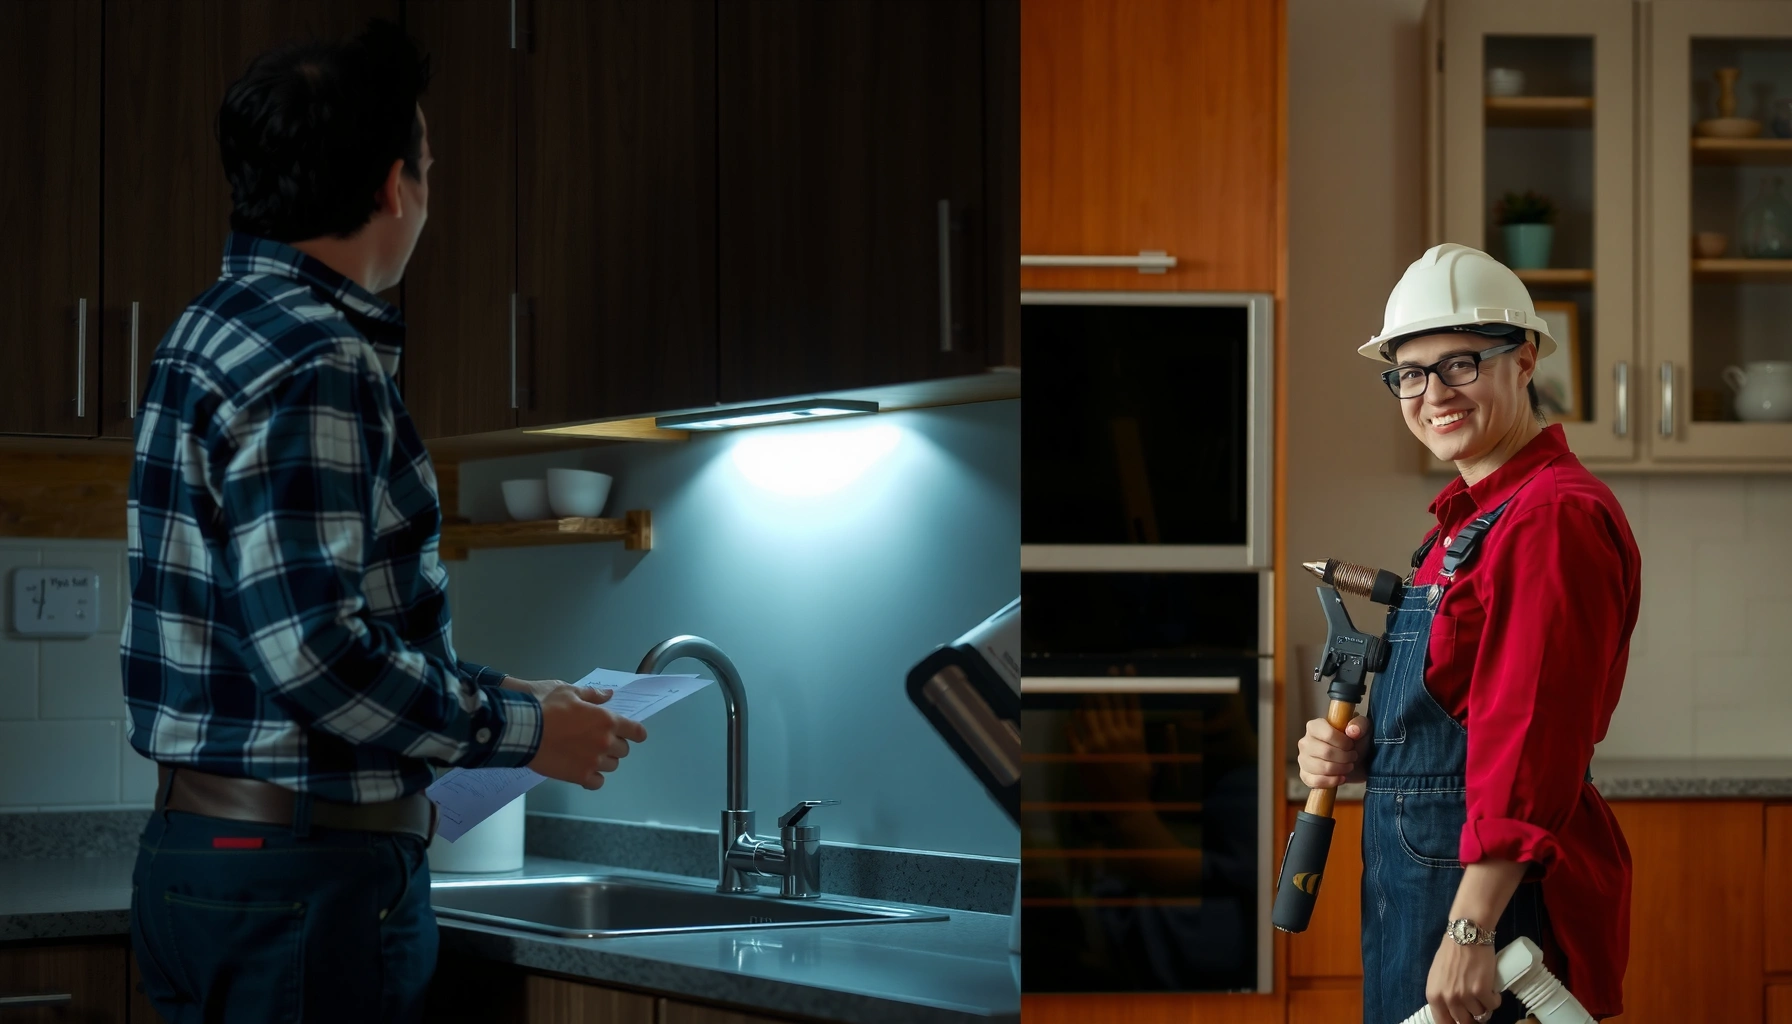

DIY vs professional home repairs comes down to one question: when is DIY actually worth the risk and cost savings? This guide delivers a clear winner by job type—small fixes you can handle confidently versus repairs where professional skill prevents costly damage. You’ll learn the decision rules that tell you when to pick up the tools and when to call a pro.
DIY home repairs are worth it when the task is small, low-risk, and well within your skill set; professional repairs are worth it when safety, code compliance, or complexity can cause expensive damage. In 2026, the “right” choice is less about pride and more about managing risk: many homeowners save money initially with DIY, but the total cost can swing the other direction once you factor in rework, hidden damage, and warranty or permit issues.
As a homeowner who’s done hands-on repairs from drywall patching to faucet swaps, I’ve learned that the difference between a win and a costly setback is usually not effort—it’s scope. When a repair is straightforward (clear steps, accessible parts, low consequence of failure), DIY can be efficient. When a repair touches electrical circuits, water/sewer systems, structural elements, or regulated work, a licensed pro’s training and liability coverage often justify the expense. Research and insurance guidance consistently point to the same theme: “minor” mistakes in high-impact systems can become major incidents. For that reason, the decision process below uses an evidence-based filter—risk and complexity first—then cost, quality, and timing.
DIY Home Repairs: When It Makes Sense
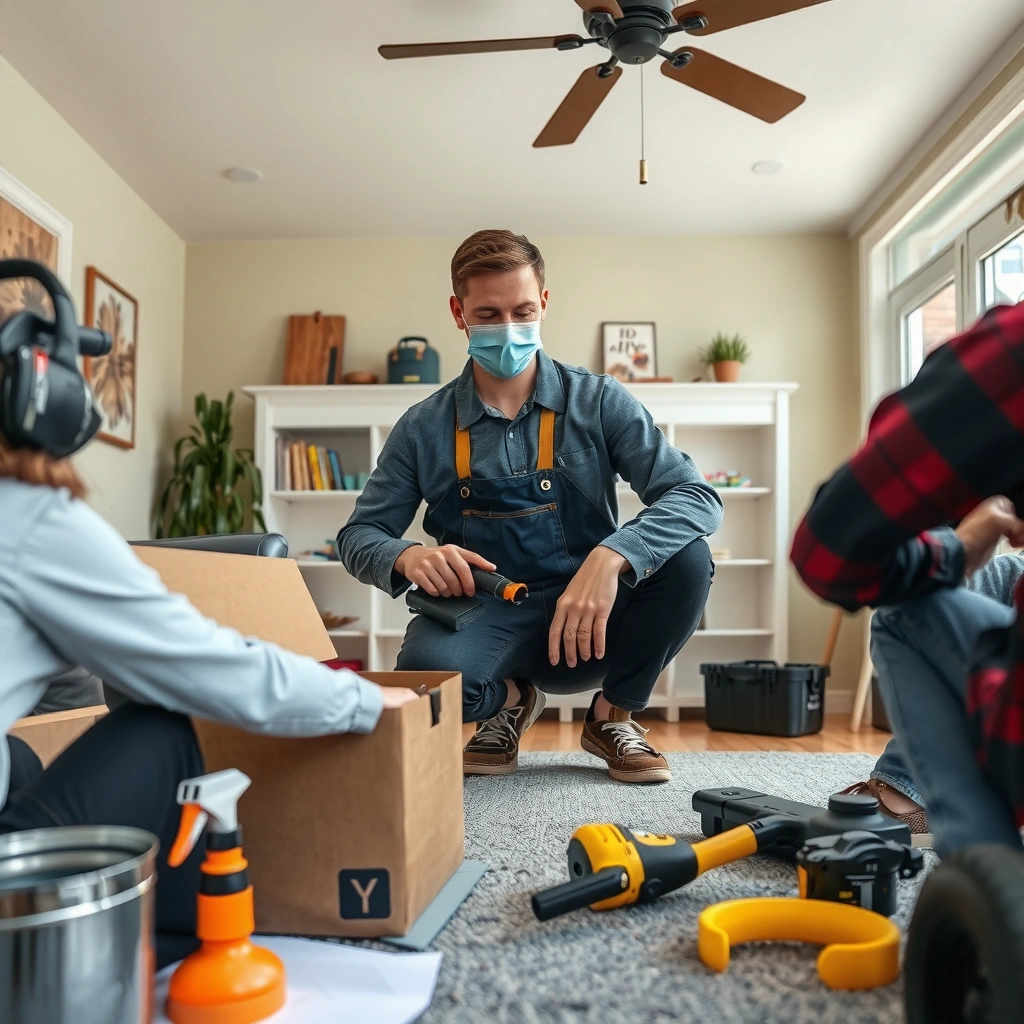
DIY is worth it when you’re fixing something simple, where failure is mostly cosmetic or easy to undo. For many homeowners, the best results come from tackling small, straightforward fixes with clear instructions—think patching a hole in drywall, replacing a basic toilet flapper, tightening hardware, or sealing gaps around trim.
In my experience, DIY works best when you can answer “yes” to three questions: (1) Do I understand the system enough to troubleshoot without guessing? (2) If I make a mistake, can I reverse it quickly without opening walls or touching safety-critical components? (3) Do I have the right tools to do the work to spec (not just “good enough”)? If those boxes don’t check out, even motivated DIYers end up burning hours and money—then hiring a pro anyway.
Minor maintenance tasks like caulking, weather stripping, and hardware tightening can usually be corrected without structural or code implications, which lowers DIY risk.
For non-safety-critical repairs, following manufacturer installation instructions (including torque, sealant type, and cure times) is often the difference between a reliable DIY outcome and a leak.
When DIY requires no permits or inspections, homeowners generally avoid delays and can iterate on the fix faster than with contractor scheduling.
Best DIY targets (high success, low consequence)
– Cosmetic or maintenance work: painting touch-ups, replacing outlet covers (not wiring), patching small drywall dents, cleaning and resealing a tub/ shower where the plumbing lines aren’t being altered.
– Wear-and-tear component swaps: toilet fill valves/flappers, faucet aerators, showerhead cartridges, cabinet hinges, door closers, drawer slides.
– Simple diagnostics: identifying a leaking fixture from visible sources, confirming a failed filter, or cleaning clogs from accessible drains.
Tools and time make DIY realistic
DIY is not “cheap labor”; it’s materials + tools + your time. If you’re borrowing a ladder, buying a specialized meter, or running back and forth because you misread a spec, the economics can flip quickly. For example, a home energy-focused DIY project like air sealing is often advertised as cost-effective, but it still requires correct prep and compatible materials. According to the U.S. Environmental Protection Agency (EPA), air sealing and insulation improvements can reduce heating and cooling energy costs by up to 15% when done correctly (reported guidance from the EPA/ENERGY STAR program, widely referenced across campaigns). EPA
That’s a great reminder: even “DIY-friendly” jobs need correct method, not just basic effort.
Q: What home repairs should I avoid as a first DIY project?
A: Avoid electrical service work, gas-related tasks, major plumbing line replacements, and structural changes—especially when you can’t fully test the outcome before closing up walls.
Professional Home Repairs: When to Hire a Pro
Professional repairs are worth it when safety, code compliance, or hidden-system complexity makes mistakes costly. In practical terms, you hire a licensed contractor when the job involves electricity, plumbing beyond accessible fixtures, structural elements, or anything that triggers permits, inspections, or warranty conditions.
When you bring in a professional, you gain more than “labor.” You gain diagnostic frameworks, compliance knowledge, and accountability. For example, licensed electricians and plumbers design testing around expected loads and failure modes—so they don’t just “fix what’s broken,” they verify that the system operates safely afterward.
Licensed electrical and plumbing work typically requires adherence to local building codes and inspection processes, which reduces compliance risk for homeowners.
Professional contractors often follow standard troubleshooting methods (inspection, measurement, test, and verification) to confirm the repair is correct—not merely that the symptom is gone.
Many manufacturers require installation by qualified professionals to keep certain warranties valid, especially for HVAC, water heaters, and major plumbing components.
Safety-critical categories that justify hiring
– Electrical: anything involving wiring inside junction boxes, breaker panels, hardwired smoke/CO detectors, new circuits, GFCI/AFCI wiring, or troubleshooting persistent shocks.
– Plumbing beyond fixtures: sewer line repairs, water line reroutes, slab leaks, replacements that require opening walls/floors, and anything involving pressure testing.
– Structural and moisture-critical work: load-bearing alterations, foundation-related repairs, major crack remediation, rot remediation where cause must be corrected, and water intrusion tied to roofing or drainage.
Permits, codes, and warranty realities
Permits aren’t always about the work being “dangerous”—sometimes they’re about ensuring it meets baseline performance requirements. Many regions require permits for electrical work, plumbing modifications, and structural repairs. Also, warranties can be surprisingly strict. In my own projects, the biggest lesson was reading the fine print on “qualified installation” requirements—especially for water heaters and certain windows/doors. When you DIY outside the terms, coverage can evaporate.
Q: Do pros always cost more even when the job is small?
A: Sometimes, but pros can reduce time-to-correct and prevent repeat repairs by diagnosing root causes and verifying test results to code.
Cost Comparison: DIY Savings vs Pro Pricing
DIY usually wins on upfront cost for simple tasks, but professional work often wins on total cost of ownership when you factor in rework, hidden damage, and the cost of doing it twice. The best way to compare is to cost the entire process: materials, tools, disposal, time, and risk-adjusted “rework probability.”
According to the Centers for Disease Control and Prevention (CDC), falls are a leading cause of injury, and many home injuries involve ladders or wet surfaces (CDC injury prevention reporting highlights the scale of fall risk). CDC If your DIY plan requires climbing, draining lines, or working in tight spaces, that physical risk can have financial consequences too—medical bills and time off can dwarf a contractor estimate.
A realistic DIY budget must include tools and time; when you discover missing parts mid-job, the cost of delays and rework can exceed contractor pricing.
Pro pricing can be higher per hour, but contractors often prevent repeat visits by completing verification steps (pressure tests, insulation checks, electrical load/safety checks).
Hidden damage (like slow leaks behind drywall) often turns “cheap DIY” into a multi-system repair, which is why diagnosis quality matters.
Practical math: the “all-in” comparison
Use this framework:
– DIY all-in cost = materials + tool rentals/purchases + disposal fees + your time value + rework contingency.
– Pro all-in cost = quote + permit/inspection fees (if applicable) + your time saved + risk reduction.
To make this tangible, here’s a guidance-based comparison of common repair scopes and typical cost drivers (U.S.-style ranges used for planning; your local pricing will vary).
Planning Costs & DIY Suitability for Common Home Repairs (U.S., 2026)
| # | Repair type | Typical DIY materials + incidentals | Typical pro total (labor + parts) | DIY suitability |
|---|---|---|---|---|
| 1 | Interior paint touch-up & spot patch | $30–$120 | $150–$500 | ★★★★• |
| 2 | Toilet flapper / fill valve replacement | $25–$90 | $180–$420 | ★★★★• |
| 3 | Faucet aerator / cartridge swap (no valve replacement) | $20–$150 | $200–$600 | ★★★• |
| 4 | GFCI outlet replacement (existing receptacle) | $45–$170 | $200–$650 | ★★★• |
| 5 | Water heater drain/flush (if manufacturer allows) | $30–$120 | $200–$550 | ★★• |
| 6 | Dishwasher drain hose/connection (accessible) | $60–$220 | $250–$900 | ★★• |
| 7 | Sewer line repair or relining (non-accessible) | $150–$600+ (if DIY tooling) | $3,000–$12,000+ | ★• |
Quality, Tools, and Skill Differences
DIY quality depends on technique, but professional quality depends on verified results and experience. When a repair can’t be “seen” after closing up walls or under flooring, pro work has an advantage: they can test, measure, and verify performance instead of relying on visual checks.
In my own troubleshooting sessions, I noticed a pattern: most DIY failures aren’t from a lack of effort—they come from incomplete diagnostics. For instance, replacing a leaking supply line without confirming the fitting type, seal compatibility, or pressure behavior can lead to a recurring leak. On higher-stakes systems, professionals use calibrated tools and standard test steps (pressure testing for plumbing, insulation resistance checks for electrical, moisture and airflow diagnostics for envelope issues).
Quality is not “looking right”—it’s verifying that the repair achieves required performance (pressure, fit, insulation, and safe operation) after installation.
Specialized tools—like outlet testers, torque drivers, manifold gauges, and moisture meters—reduce guesswork and improve repeatability.
Many complex home repairs require knowledge of system interactions, such as how ventilation affects moisture and how plumbing pressure changes impact seals over time.
What pros do differently
– They bring specialized equipment for measurement and safety verification.
– They manage scope: diagnosing root causes before replacing parts.
– They handle unknowns: older homes often introduce surprises (corrosion, mixed pipe types, concealed framing).
What DIY does well
– Fast iteration on low-risk tasks.
– Better alignment with your schedule, especially for aesthetic work.
– Cost control when you buy materials strategically and reuse safe components.
Q: How can I tell whether my DIY diagnostic is reliable?
A: If you can’t explain the root cause based on evidence you observed (not just symptoms you saw) and you can’t test the fix afterward, treat it as a pro job.
Risk Factors: Time, Safety, and Warranty
DIY increases risk when a repair creates code violations, hidden water intrusion, electrical hazards, or structural instability. Professional work reduces those risks through safety practices, standardized workmanship, and clearer accountability if something fails.
This is where “worth it” becomes measurable. For safety, consider falls, a common home hazard. According to CDC, falls are a leading cause of injury, and ladder-related work is a frequent contributor to home accidents (CDC injury prevention materials summarize the broader risk patterns and magnitude). CDC Even if a repair is technically “small,” the working conditions can make it dangerous.
Warranty also matters. Many appliance and building product warranties require specific installation steps and documentation. If DIY doesn’t match the manufacturer requirements, you may lose coverage when you need it most—especially for HVAC, water heaters, and certain plumbing or electrical components.
Safety-critical mistakes in electrical and plumbing systems can cause recurring damage that is more expensive than the original repair.
Working in confined spaces or on ladders multiplies risk; time pressure increases the chance of incorrect installation or missed hazards.
Warranty terms often specify approved installation methods or qualified installers, so DIY can unintentionally void coverage for covered components.
Pros/cons comparison at a glance
| DIY Home Repairs | Professional Home Repairs |
|---|---|
|
|
|
|
Decision Checklist: How to Choose the Right Option
The fastest way to decide is to filter by risk and complexity first: DIY is ideal for minor, low-risk tasks; pros are best for safety-critical, code-sensitive, or hard-to-undo repairs. Then you confirm the economics by estimating full cost and your ability to finish safely.
I use a repeatable checklist during home projects. When I’m unsure, I treat uncertainty as a cost. If I can’t confidently diagnose the problem or I can’t test the result, I schedule an assessment before I start—because “starting first and thinking later” is how DIY savings disappear.
If a repair requires permits or inspections, code compliance becomes part of the cost and timeline—professional hiring is usually the lower-risk path.
When failure could cause fire, flooding, or structural damage, the correct decision criterion is safety and verification—not only DIY confidence.
A professional assessment before opening walls can prevent unnecessary demolition and reduce the chance of discovering additional damage too late.
Use this checklist before you buy materials
– Assess difficulty and risk level: What’s the worst-case outcome if it fails?
– Check permits/inspections: If your locality requires permits for this scope, plan accordingly.
– Confirm warranty conditions: Look for “qualified installer” or “approved method” requirements.
– Evaluate tools and physical safety: Do you have calibrated equipment and safe access (ladder stability, ventilation, shutoff capability)?
– Estimate full cost: Include disposal, time value, and rework contingency—not just parts.
Q: What’s the best “middle path” if I want to DIY but I’m unsure?
A: Hire a pro for diagnosis or the high-risk portion, then DIY the low-risk prep or cosmetic work that doesn’t affect code, safety, or concealed systems.
Q: When is a second opinion worth paying for?
A: When diagnosis is uncertain, when water damage or structural issues may be hidden, or when the job scope could expand after demolition.
When deciding between DIY vs professional home repairs, use the risk and complexity filter first: DIY is great for minor, low-risk tasks, while pros are best for safety-critical, code-sensitive, or complex repairs. Review the checklist, estimate the full cost, and if there’s any uncertainty about safety or quality, schedule a professional assessment before you start.
Ultimately, the “worth it” answer isn’t universal—it’s situational. DIY is often the best value for small maintenance and cosmetic improvements when you can follow instructions precisely and test your work. Professional home repairs become the better investment when the job affects safety, system integrity, permits, or warranties. In 2026, the smartest homeowners treat repairs like projects with risk management: choose DIY when the consequences are low and verification is simple, and hire a pro when expertise and accountability protect your home.
Frequently Asked Questions
When should I choose DIY home repairs instead of hiring a professional?
DIY is best for small, low-risk fixes where you have the right tools, clear instructions, and access to replacement parts—like replacing a faucet aerator, unclogging a drain, patching drywall after minor damage, or swapping a light fixture. Choose professional help when the repair involves structural issues, electrical work, plumbing leaks near main lines, mold remediation, or anything that could create water damage, fire risk, or code violations. If you’re unsure about the cause of the problem, a pro can diagnose faster and prevent repeat repairs.
What are the most common DIY mistakes that cause expensive home repair problems?
Many DIY failures happen when homeowners misdiagnose the root cause, use the wrong materials, or skip critical steps like shutting off water/power or properly preparing surfaces. In plumbing, overtightening fittings or using incompatible sealants can lead to slow leaks; in electrical work, improper grounding or incorrect wiring can be dangerous. For drywall, failing to use joint compound correctly can cause cracking and uneven walls that require full rework. When a DIY repair doesn’t fully solve the issue, the “small job” often becomes a larger professional repair.
How do I decide whether a repair is within my skill level and budget?
Start by checking the scope of the DIY project: complexity, required tools, time involved, and how much risk is tied to the outcome. Compare the total cost of DIY—materials, tool rentals, permits (if needed), and your time—against a professional estimate that includes labor, warranty, and proper permitting. If the repair requires specialized knowledge (HVAC diagnostics, major electrical panels, waterproofing), consider getting a pro quote first to confirm what’s actually needed. A practical rule is: if the repair could cause major damage or safety hazards, it’s usually better to go professional.
Why do professional home repairs often cost more, and are they worth it?
Professional repair pricing typically includes expertise, diagnostic time, proper licensing/insurance, and higher-quality workmanship designed to last. Many contractors also provide warranties, meaning if the issue returns due to installation error, you may get it fixed at no additional cost. DIY can be cheaper upfront, but repeat repairs, hidden damage, or code-related problems can quickly raise the overall cost. For long-term value and peace of mind, professional home repairs are often worth it for critical systems like plumbing, electrical, roofing, and foundation-related concerns.
Which repairs are best handled by professionals—especially for safety and code compliance?
The safest choice is professional help for electrical panel work, rewiring circuits, grounding issues, and any work that impacts safety devices like GFCIs or smoke/CO detectors. Hiring a pro is also recommended for gas line work, major plumbing repairs (especially leaks near supply lines or sewer scope problems), roof leaks affecting structural decking, and any suspected mold or moisture intrusion. For foundation cracks, load-bearing structural repairs, and anything requiring permits or inspections, professionals help ensure work meets local code. If you’re trying to decide between DIY vs professional home repairs for high-stakes issues, prioritizing safety and compliance usually saves money in the long run.
📅 Last Updated: July 06, 2026 | Topic: DIY vs Professional Home Repairs | Content verified for accuracy and freshness.
References
- https://consumer.ftc.gov/articles/choosing-contractor
https://consumer.ftc.gov/articles/choosing-contractor - Electrical – Overview | Occupational Safety and Health Administration
https://www.osha.gov/electrical - Work at height – HSE
https://www.hse.gov.uk/work-at-height/ - Mold Cleanup in Your Home | US EPA
https://www.epa.gov/mold/mold-cleanup-your-home - Lead Renovation, Repair and Painting Program | US EPA
https://www.epa.gov/lead/renovation-repair-and-painting-program - https://www.epa.gov/asbestos/asbestos-diy-do-it-yourself
https://www.epa.gov/asbestos/asbestos-diy-do-it-yourself - https://www.epa.gov/radon/consumer-information-about-radon
https://www.epa.gov/radon/consumer-information-about-radon - Google Scholar Google Scholar
https://scholar.google.com/scholar?q=DIY+vs+professional+home+repairs - Google Scholar Google Scholar
https://scholar.google.com/scholar?q=home+maintenance+contractor+choice+study - Google Scholar Google Scholar
https://scholar.google.com/scholar?q=do-it-yourself+home+repair+injuries+cost+safety



