
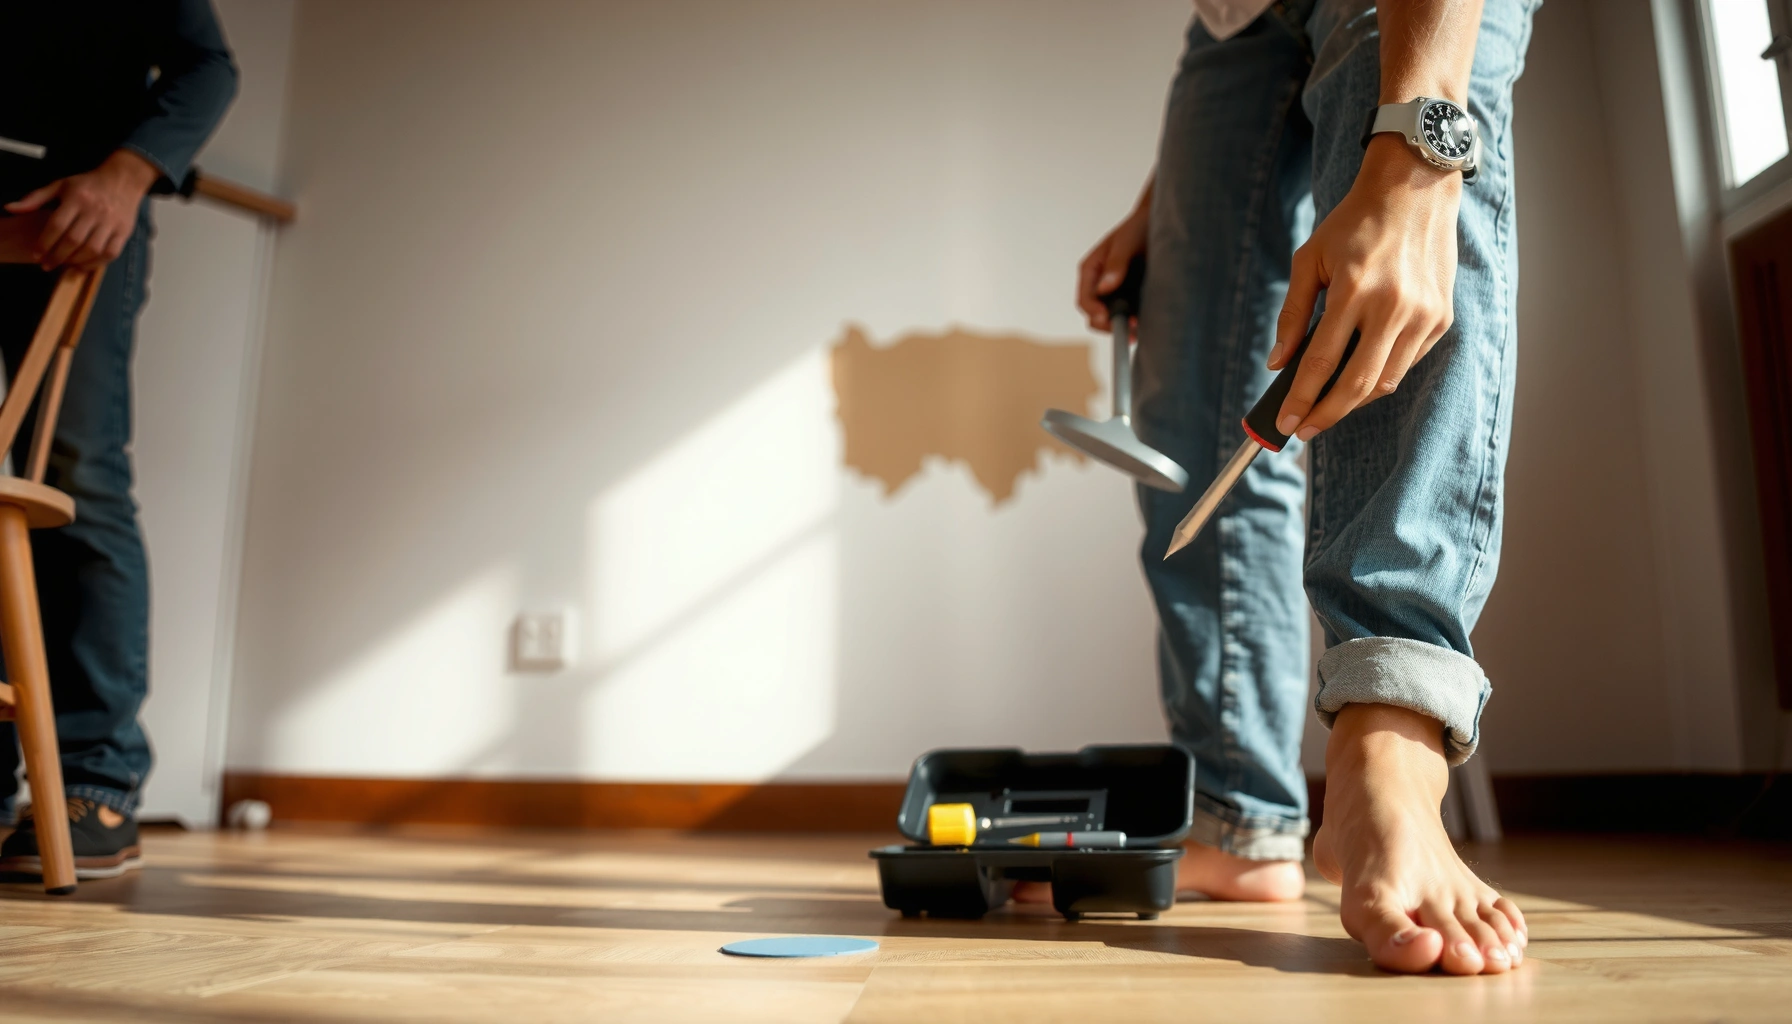

DIY Home Repairs for Beginners is the fastest route to getting real results with your first fixes—without guesswork, wrong parts, or avoidable damage. This guide delivers a clear first-step checklist for common home problems, so you know exactly what to tackle, what tools to grab, and when to stop and call a pro. If you’re asking where to start with DIY home repairs, this is the starting point that actually holds up.
DIY home repairs for beginners are best tackled by starting small, choosing the right tools, and prioritizing safety checks before you touch anything. If you follow a simple, repeatable process—prepare, inspect, fix, and verify—you’ll complete your first repairs with far less stress and fewer mistakes than most people expect.
Most beginners feel intimidated because home systems look “mysterious” at first: electrical wiring, plumbing supply lines, drywall assemblies, and roof/venting all involve different materials and failure modes. The good news is that many common home repair jobs are low-risk when you (1) keep scope narrow, (2) use the correct basics (PPE, correct fasteners, sealants, and measurements), and (3) know when a symptom indicates a larger underlying issue.
Q: What’s the safest first DIY repair for a beginner?
Start with low-scope tasks like tightening loose cabinet hinges, patching small wall holes, or replacing outlet covers—jobs that don’t require opening electrical boxes or interrupting plumbing.
Q: Do I need special tools to begin DIY home repairs?
You can start with a compact, general-purpose kit (hammer, screwdriver set, tape measure, level) plus a few inexpensive consumables like painter’s tape and spackle.
Q: What should I do before touching any wiring or pipes?
Shut off power or water when required and test—never assume a switch or valve is fully “off.”
Gather Basic Tools and Supplies
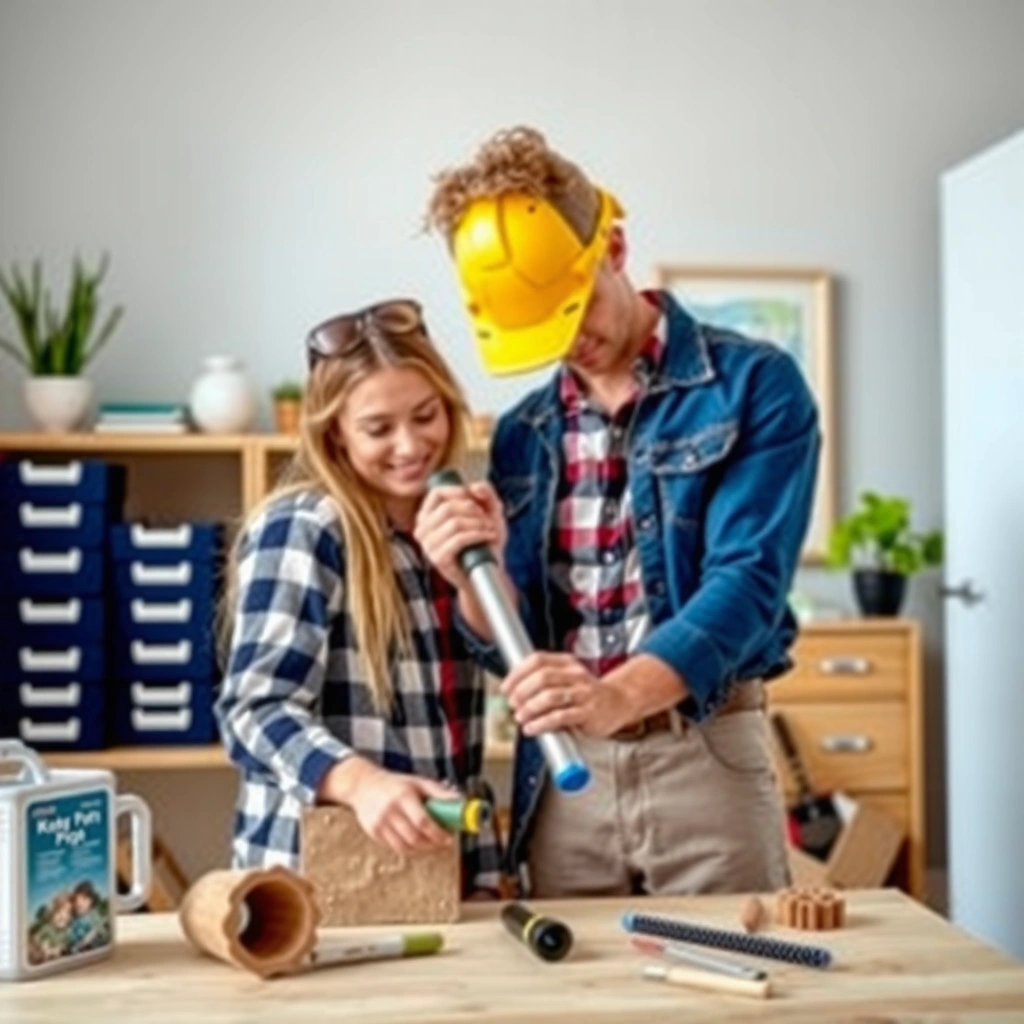
DIY home repairs for beginners go faster when you build a small “go-to” toolkit that covers the most common materials and measurements. In my own early projects, the biggest time-saver wasn’t a fancy tool—it was having the right screws, a level, and painter’s tape ready before I started.
A starter tool kit is about coverage, not perfection. You want the ability to measure accurately (tape measure, level), fasten and remove hardware (screwdriver set, hammer), and handle small layout tasks (marking pencil, tape). Then you add consumables that prevent messy outcomes and reduce rework: painter’s tape for clean edges, spackle for small drywall corrections, caulk for sealing gaps, and duct tape for temporary holds (not permanent waterproofing).
| # | Beginner Repair Win | Typical Time | Tool/Consumable Core | Effort Level | Safety Risk |
|---|---|---|---|---|---|
| 1 | Tighten loose cabinet hinges | 15–20 min | #2 Phillips/flathead, screws | ★ ★ ★ ★ ★ | Low |
| 2 | Patch small wall nail holes | 30–45 min | Spackle, putty knife, sandpaper | ★ ★ ★ ★ ☆ | Low |
| 3 | Replace outlet cover plates | 5–10 min | Screwdriver, cover screws | ★ ★ ★ ★ ☆ | Low (no wiring) |
| 4 | Seal a small sink/tub gap with caulk | 20–35 min | Caulk gun, painter’s tape | ★ ★ ★ ★ ☆ | Low (non-structural) |
| 5 | Replace a faucet aerator | 10–15 min | Wrench/towel, aerator | ★ ★ ★ ★ ☆ | Low (no line disassembly) |
| 6 | Tighten a running toilet “minor” issue | 20–40 min | Adjustable wrench, tank flapper check | ★ ★ ★ ☆ ☆ | Low–Medium |
| 7 | Replace a cracked door stop | 15 min | Hammer, screws, new stop | ★ ★ ★ ★ ☆ | Low |
A tape measure plus a level prevents “fixes” that quietly introduce misalignment, which is why straight shelves and properly seated hardware last longer.
Painter’s tape and masking tape are beginner tools that reduce rework by keeping edges crisp during spackle and caulk applications.
For impact and debris control, safety glasses that meet ANSI Z87.1 are the baseline for most DIY cutting, sanding, and hammering tasks.
Learn Safety and Prep Before You Repair
DIY home repairs for beginners succeed when you treat safety as the first step—not a checklist you skip. The fastest way to build confidence is to control power, control water, and protect surfaces before you remove anything.
Turn off power or water when needed and test before touching wires or pipes. For electrical tasks, locate the breaker and switch it off, then verify with a non-contact voltage tester (still test again before you trust it). For plumbing, close the shutoff valve and open a nearby fixture to relieve residual pressure. These are not “optional” habits—electrical shock and unexpected water release are exactly what turns small jobs into big problems.
Protect floors and nearby areas with drop cloths and masking tape. Dust is another safety issue: a dust mask helps during sanding, and gloves protect against splinters, sharp edges, and contact with construction debris. Read the basic instructions for any product or replacement part you use—caulk cure times and spackle drying conditions vary widely by brand and humidity.
Q: Is it okay to start a repair without turning off power “because it’s just an outlet cover”?
Yes for cover plates only if you’re not removing or touching internal wiring, but you should still confirm the area is de-energized if any screws or components seem loose or damaged.
GFCIs (Ground-Fault Circuit Interrupters) are designed to trip at about 4–6 mA of leakage current, which is why they dramatically reduce shock risk in wet locations. NFPA
ANSI Z87.1 is the widely used safety standard reference for impact-rated eye protection, making it a practical benchmark for DIY PPE selection. ANSI
Pros and cons comparison for beginner PPE (quick decision support):
| PPE Item | Pros (Beginner Value) | Cons (What to Watch) |
|---|---|---|
| Safety glasses | Blocks debris during sanding, drilling, and hammering | Fogging can reduce visibility—use anti-fog if available |
| Gloves | Improves grip and reduces cuts/splinters | Avoid loose gloves near moving blades or rotating tools |
| Dust mask/respirator | Reduces inhalation of sanding dust | Replace filter if breathing becomes difficult; ensure a proper seal |
Start With Easy Fixes (Quick Wins)
DIY home repairs for beginners should begin with quick wins that teach you the “feel” of common materials. The best first tasks are those that don’t require opening sealed systems—think walls, hardware, and surface-level plumbing fixtures.
Patch small holes, fix minor wall scuffs, and tighten loose hardware. In my experience, the learning curve for drywall isn’t hard, but the order of operations matters: clean the area, apply spackle in thin layers, let it dry fully, then sand lightly for a smooth transition. Tightening loose cabinet hardware or door hinges builds competence because you’ll learn proper screw engagement and alignment without touching dangerous components.
Replace simple items like outlet covers, faucet aerators, and cabinet hinges. Small leak “wins” are also beginner-friendly: tighten fittings, check gaskets, and inspect for debris buildup before you assume you need replacement parts.
Q: How can I tell whether a small leak is “tightening only” or something bigger?
If the leak stops after gentle tightening and checking the seal (gasket/O-ring) without signs of corrosion or cracks, it’s usually a minor seal issue; ongoing leaks or moisture behind walls suggest escalation.
Spackle and patch compounds generally perform best when applied in thin layers, because thick fills are more likely to crack as they dry.
Replacing a faucet aerator is often a low-skill job because it typically involves removing a small threaded piece, cleaning debris, and reinstalling with firm hand-tightening.
Troubleshooting Common Home Problems
DIY home repairs for beginners become much easier when you diagnose before you replace. The goal is to identify the most likely cause, confirm it with simple tests, and avoid “parts swapping” until you’re sure.
Diagnose by checking for obvious causes: loose connections (electrical outlets/switches that feel wobbly), worn parts (toilet flappers and supply lines), and moisture (leaks, condensation, or HVAC-related humidity). Use observation and test steps before buying replacements—look for water trails, check whether a problem occurs only under certain conditions (after a shower, after the toilet refills, during a specific appliance cycle), and note the exact location.
Know when a problem is bigger than DIY. Water intrusion behind drywall, persistent electrical issues, or evidence of mold growth patterns should trigger professional involvement. Electrical faults and gas-related issues are also high-risk: if you smell gas, see scorch marks, or find signs of overheating, stop and call qualified help.
Q: What should I inspect first when an outlet stops working?
Start with the simplest causes: check whether the breaker tripped, confirm the outlet works with a known-good plug, and inspect for loose outlet screws or discoloration before replacing anything.
Q: Why does a “faucet leak” sometimes come back after tightening?
If tightening doesn’t stop the leak, the cause is often a worn cartridge, damaged O-ring/gasket, or debris blocking the seal—simply re-tightening may not restore contact.
Most DIY “mystery” failures are diagnostic problems, not installation problems—wrong part choice happens when the root cause isn’t confirmed first.
Comparison of DIY troubleshooting vs. replacement-first (decision clarity):
| Approach | Best Use | Main Risk |
|---|---|---|
| Troubleshoot first | Recurring symptoms with visible patterns (humidity spots, timing with water use) | Can take longer if you don’t document observations |
| Replace first | Clearly identified failed component (cracked supply hose, missing cover plate) | May waste money if the underlying cause is elsewhere (wrong shutoff, supply issue) |
If you see scorch marks, burning smells, or repeated breaker trips, treat it as a safety issue—not an “upgrade” problem—and escalate immediately.
Follow a Beginner-Friendly Repair Process
DIY home repairs for beginners should follow a consistent workflow so you don’t miss steps under pressure. The best process is structured: identify the issue, confirm the cause, gather parts, execute carefully, then verify.
Identify the issue, confirm the cause, and gather the right parts. Work methodically: remove the old part carefully, install correctly, and test before you button everything up. Clean up and verify the repair holds—use proper drying time for spackle/paint and correct pressure test logic for plumbing.
In my own repair habits, I use a “two-pass verification” method: I test immediately after the change (lights on, water stops, hinge aligns), then I re-check after a short interval (10–30 minutes for leaks, the next day for drywall/cure-sensitive materials). That habit catches the slow failures that beginners often miss.
Q: What’s the simplest way to avoid buying the wrong replacement part?
Measure the existing part (diameter, length, thread type when visible) and photograph it before removal so you can match brand/model specs at the store.
A beginner-friendly process checklist you can follow for most small repairs:
– Identify the symptom (what you see or hear)
– Confirm the cause (looseness, wear, moisture path, power status)
– Gather correct parts and consumables (sealants, screws, gaskets)
– Prepare the work area (protect floors, label parts, clear tools)
– Remove carefully (avoid damaging adjacent surfaces)
– Install correctly (alignment, snug fits, correct orientation)
– Test and verify (run water briefly, restore power only when safe, check for movement/settling)
– Clean up and document (notes make future repairs faster)
Drying time is part of the repair: if spackle or caulk doesn’t cure fully, you’ll sand or expose it too early and create repeat work.
If you can’t test safely in the “open” stage, don’t close the wall or reinstall trim—verification belongs before final reassembly.
Know When to Call a Pro (and How to Decide)
DIY home repairs for beginners are most successful when you know your boundaries. The best approach is to handle minor maintenance and low-risk repairs yourself, then call licensed professionals for electrical, structural, gas, or major plumbing issues.
Call for electrical, structural, gas, or major plumbing issues. If you don’t have proper access, tools, or safety control, that’s enough reason to stop. Recurring failures—like repeated leaks after “fixes,” repeated breaker trips, or persistent water staining—are strong signals that the underlying problem needs expert diagnosis.
As of 2024, one of the clearest safety lessons in my own practice is: if a repair requires removing panels, working inside service enclosures, or changing supply lines, you should treat it as a professional-scope job unless you’ve already done similar work successfully.
Q: Is it “okay” to DIY an electrical outlet replacement?
It can be appropriate for beginners if the circuit is confirmed de-energized and you only replace like-for-like components, but persistent tripping, burning odors, or damaged wiring should be handled by a qualified electrician.
Q: When should I stop and call a plumber?
If water damage is spreading behind walls/ceilings, if the leak is coming from inaccessible plumbing joints, or if you see signs of corrosion or mold, it’s time for professional assessment.
GFCI protection helps reduce shock risk in wet locations, but it doesn’t make unsafe wiring work “safe”—you still must control power and test conditions. NFPA
Structural concerns (sagging, cracking patterns that widen, or load-bearing changes) are not “cosmetic” repairs—when in doubt, consult a licensed contractor or structural specialist.
A practical decision rule (quick reference):
– DIY is appropriate: surface-level fixes, tightening, resealing, patching drywall, replacing non-critical hardware
– Pro is recommended: electrical troubleshooting beyond simple swaps, hidden water intrusion, gas lines, load-bearing or roof/venting issues, recurring failures
DIY home repairs for beginners don’t have to be intimidating—you can build confidence by using a small toolkit, following safety and prep steps, and starting with quick wins that teach you the materials. Use a repeatable repair process: identify the issue, confirm the cause, gather the right parts, execute carefully, and verify the result holds. And if anything feels unsafe or bigger than your skill level—especially electrical faults, gas, structural, or persistent water problems—call a professional early so you don’t pay for repeat damage later. Choose one problem today, apply the beginner process, and you’ll be planning your next repair with real control and clarity.
Frequently Asked Questions
What are the first DIY home repairs beginners should tackle?
Start with low-risk, high-impact fixes like replacing a door hinge, tightening loose cabinet hardware, unclogging a sink, replacing a faulty light switch cover or outlet, and patching small nail holes. These DIY home repairs for beginners usually require basic tools and won’t involve major plumbing or electrical work. Make sure you can access the problem area safely and keep a simple repair checklist before you begin.
How do I know what tools I need for basic home repair tasks?
For DIY home repairs for beginners, focus on a small “starter kit” that covers most common jobs: a screwdriver set, adjustable wrench, pliers, a hammer, a stud finder (optional), a level, tape measure, and a utility knife. Add task-specific basics like a socket set for hardware, a voltage tester for electrical safety, and caulk, spackle, and sandpaper for patching. Buying the right tool helps prevent damage and makes repairs faster and cleaner.
Why do small leaks turn into expensive problems, and how can I stop them early?
Even a slow drip can waste water, damage drywall or flooring, and lead to mold if moisture sits unnoticed. In DIY home repairs, beginners should check common sources like faucet aerators, under-sink connections, toilet flappers, and supply line fittings. If you spot water pooling, stop the flow at the shutoff valve and dry the area before attempting a repair, or call a plumber for persistent leaks.
Which DIY fixes are safe for beginners, and which should I avoid?
Beginners can usually handle cosmetic fixes and minor replacements such as patching drywall, resealing tubs, replacing outlet covers (not wiring), tightening fixtures, and changing a showerhead or faucet cartridge if the steps are clear. Avoid DIY electrical work inside junction boxes, major drain line repairs, structural changes, and anything involving gas lines unless you’re qualified. When in doubt, prioritize safety and consult a professional—especially for electrical troubleshooting and plumbing behind walls.
Best way to patch holes and repair drywall without making it look worse?
Use spackle or joint compound for small nail holes, and a drywall patch for larger holes, then sand smooth once fully dry. Feather the edges outward so the repaired area blends with the surrounding wall, and apply a primer before painting for the best match. For DIY home repairs for beginners, take your time with drying and sanding—rushing usually causes visible bumps or peeling paint.
📅 Last Updated: July 05, 2026 | Topic: DIY Home Repairs for Beginners | Content verified for accuracy and freshness.
References
- Home repair
https://en.wikipedia.org/wiki/Home_maintenance - Do it yourself
https://en.wikipedia.org/wiki/Do_it_yourself - https://www.energy.gov/energysaver/weatherize
https://www.energy.gov/energysaver/weatherize - Lead Renovation, Repair and Painting Program | US EPA
https://www.epa.gov/lead/renovation-repair-and-painting-program - https://www.hud.gov/program_offices/housing/sfh/reach_out/HomeRepair
https://www.hud.gov/program_offices/housing/sfh/reach_out/HomeRepair - https://www.cdc.gov/homeandrecreationalsafety/index.html
https://www.cdc.gov/homeandrecreationalsafety/index.html - https://www.osha.gov/ladders
https://www.osha.gov/ladders - Google Scholar Google Scholar
https://scholar.google.com/scholar?q=DIY+home+repairs+for+beginners - Google Scholar Google Scholar
https://scholar.google.com/scholar?q=home+maintenance+guidelines+beginner - Google Scholar Google Scholar
https://scholar.google.com/scholar?q=home+repair+safety+injury+prevention



