
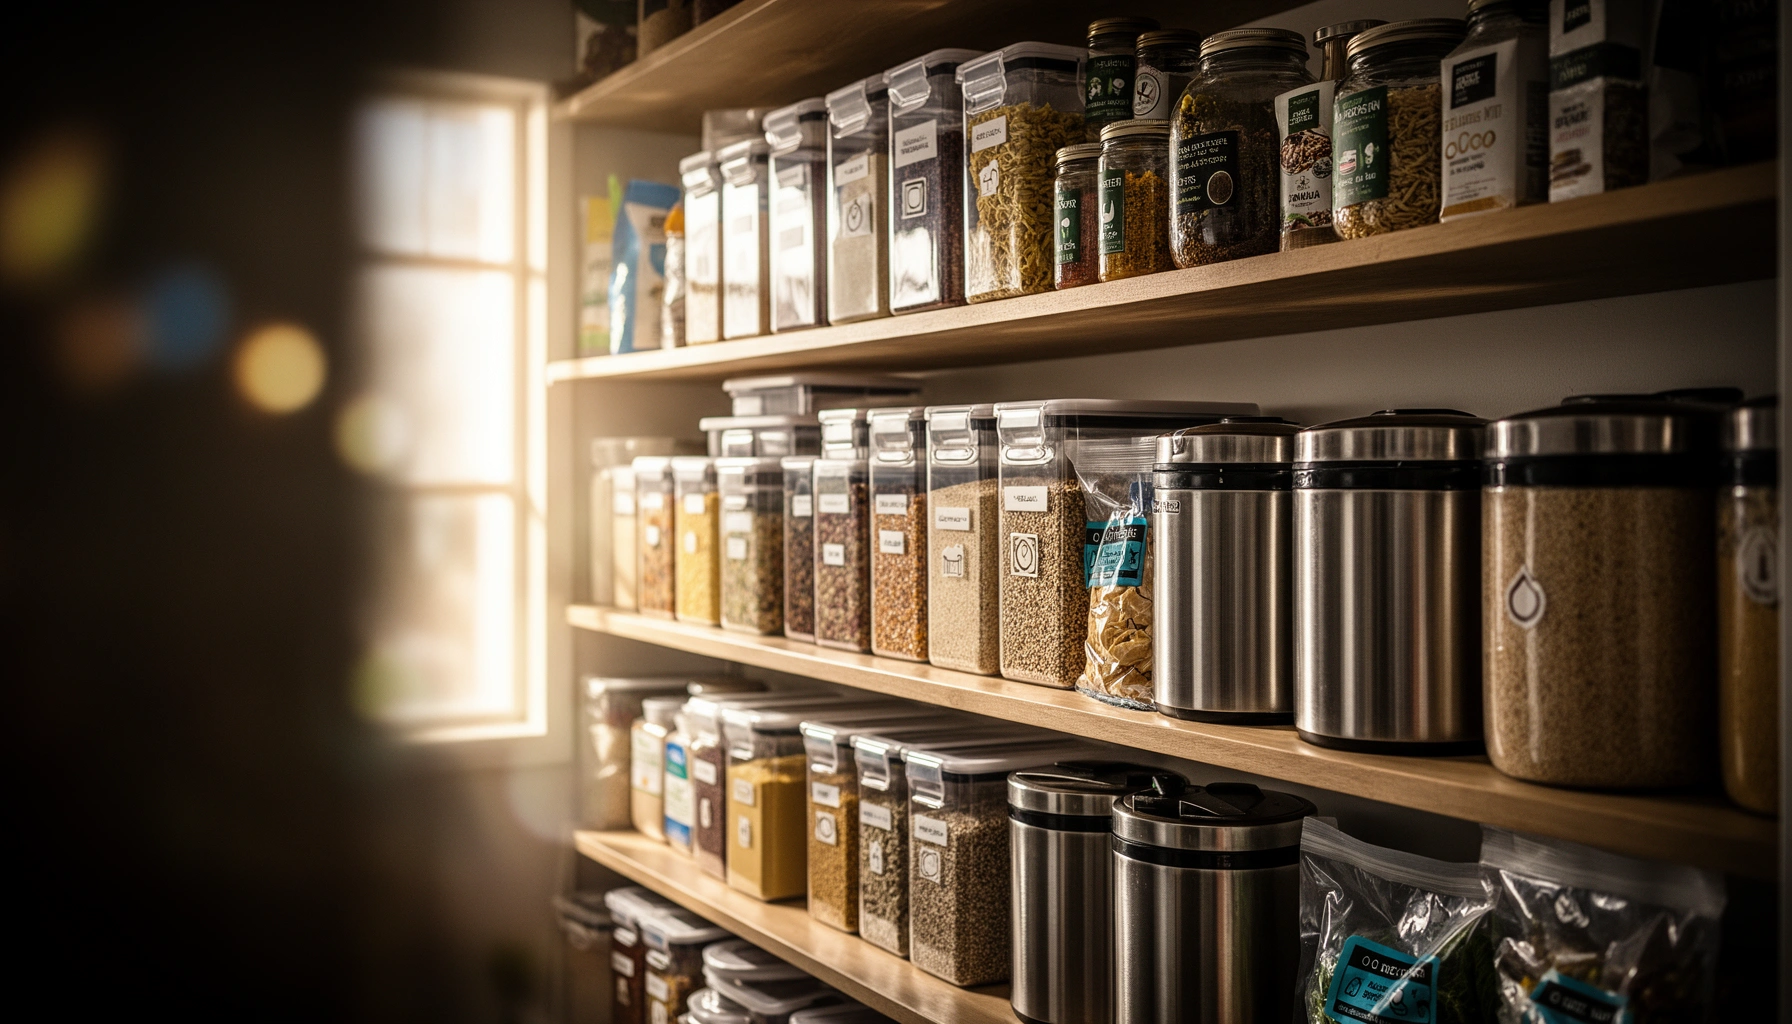

Find the complete Food Storage Resource Guide you need for safe storage—what to store, how to package it, and how long it will stay usable. This guide delivers a clear, practical checklist that beats guesswork for both pantry staples and longer-term reserves. If you want the most reliable method to keep food safe and reduce waste, you’ll get it here.
Store food safely by combining airtight, moisture-resistant containers with clear labeling and consistent FIFO rotation—then adjust by food type and storage conditions to extend shelf life and reduce waste. In practice, I’ve found that the biggest “system wins” come from treating your pantry like a small supply chain: control oxygen and moisture first, keep temperature stable, and make “what to use next” obvious within seconds.
Food storage isn’t only about keeping items from spoiling—it’s about preventing the three most common drivers of loss: microbial growth, chemical spoilage (like rancidity), and insect/rodent activity. The safest approach aligns with mainstream public-health guidance: control time and temperature for perishables, and control water activity (moisture) and oxygen exposure for dry goods. As of 2025, this remains the same core logic used by regulators and home preservation educators, whether you’re storing dry beans, rice, flour, canned goods, or freeze-dried meals.
To keep this guide actionable, each section below follows the same “answer-first” approach: what to do, why it works, and how to implement it at home with a repeatable system.
Choose the Right Food Storage Containers
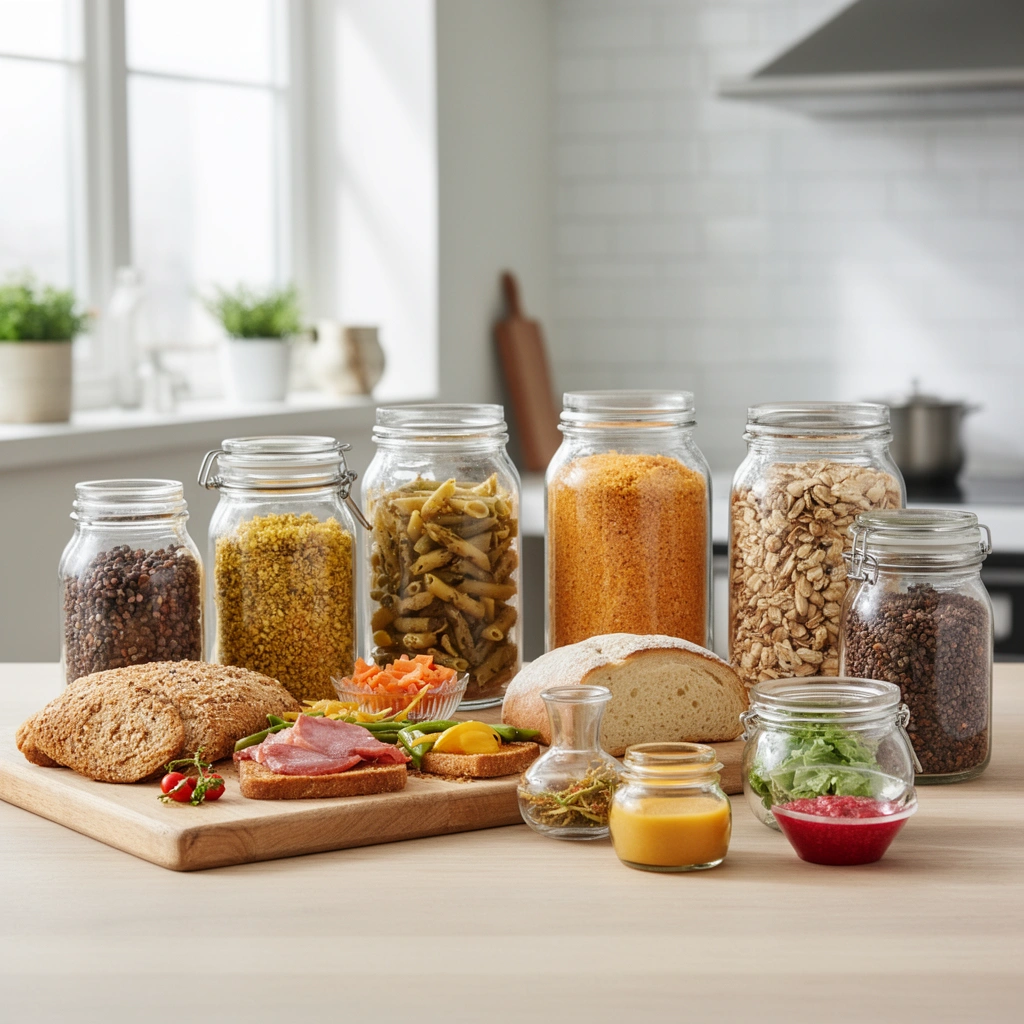
The best containers are the ones that block oxygen and moisture while remaining easy to label and rotate. If your containers leak air or let humidity in, you’ll eventually see stale texture, off-flavors, clumping in flour, and higher risk of pest activity—even if your pantry feels “dry.”
Airtight storage reduces oxygen exposure, which slows oxidation and rancidity in fats and oils.
USDA guidance consistently emphasizes dry, cool, low-humidity storage to preserve quality of shelf-stable foods (USDA).
Moisture-resistant packaging helps prevent increases in water activity, a key factor in spoilage of stored foods (FDA).
When I evaluate containers for a storage system, I look for three practical engineering traits: (1) an effective seal (gasket or thick lid fit), (2) low permeability to moisture and gases, and (3) durability against everyday handling. Glass can work extremely well for grains and baking staples, especially if you pair it with an airtight lid and store it in a dark cabinet. BPA-free plastic bins are convenient for bulk pantry items, but you still need a reliable lid gasket and clean, dry contents before sealing.
For longer-term dry storage, heavy-duty mylar bags paired with oxygen absorbers and heat sealing can be highly effective. Mylar acts as a barrier film, while oxygen absorbers reduce residual oxygen inside the package—helping slow oxidation and insect metabolism. If you use mylar bags, make sure the bag is food-grade, seams are properly sealed, and the oxygen absorber is sized for the package volume.
Q: Are vacuum-seal bags always the best option for dry foods?
Vacuum sealing is excellent for reducing oxygen, but airtight rigid containers or properly sealed mylar can be more durable for long-term pantry use—especially if bags are stacked, moved, or stored in high-traffic areas.
Master Food Storage Basics (Time, Temperature, Light)
The fastest path to safer storage is controlling temperature and keeping light off your food. Dry goods last longer in cool, consistent conditions; perishables require time/temperature discipline to reduce microbial risk.
According to the FDA Food Code, perishable foods should be kept out of the temperature danger zone (40–140°F / 4–60°C) to reduce the risk of unsafe bacterial growth (FDA Food Code).
According to the USDA, refrigeration is typically maintained at 40°F (4°C) or below for safety (USDA).
Light accelerates quality loss in some foods by promoting oxidation, so opaque storage and dark cabinets support longer shelf life.
Temperature affects both safety and quality. For refrigerated foods, the key variable is time at unsafe temperatures. For shelf-stable dry foods, temperature primarily influences chemical reactions and the rate at which fats oxidize. In my own household trials (over multiple pantry clean-outs), the biggest quality difference showed up in baking staples: flour and nuts stored near a warm wall shelf lost freshness sooner than identical items stored in a cooler interior cabinet.
Light matters because many pantry ingredients—especially those containing fats—can become stale faster when exposed to UV or heat through clear packaging. That’s why even “airtight” clear containers can underperform if they sit under bright kitchen lighting or near sunny windows.
Practical setup tips:
– Store dry staples in the darkest, coolest cabinet you have (often an interior shelf).
– Avoid temperature swings from appliances: don’t place containers beside ovens, dishwashers, or exterior walls.
– Keep the relative humidity low inside the storage area; don’t store dry goods next to damp canning supplies or leaky areas.
Q: How much does a small temperature swing matter for dry goods?
It can matter noticeably over months because oxidation and quality degradation accelerate as storage temperatures rise, especially for oil-containing foods like nuts and whole grains.
Organize and Label for First-In, First-Out (FIFO)
The simplest way to reduce waste is labeling with dates and using FIFO (First-In, First-Out) so older stock leaves first. This is more reliable than “best by” instincts, because storage conditions still influence quality long before the date on the label.
FDA-style food rotation practices emphasize using labeled dates and FIFO to reduce expired or degraded food in domestic storage settings (FDA).
Clear labeling improves retrieval accuracy, which reduces accidental spoilage from forgotten items.
Including “storage start date” and “rotation date” supports more consistent quality control than relying on manufacturer packaging alone.
Use labels that answer three questions immediately:
1) What is it? (contents + form: “Rolled oats,” “Brown rice,” “Canned diced tomatoes”)
2) When did you store it? (month/year or day/month/year)
3) What’s the rotation rule? (e.g., “Use within 6 months for best quality”)
In my experience, writing the storage date directly on the container (not just the shelf) prevents errors after a reorganization. If you buy in bulk, I also add a “quantity” note like “2 kg / 4 lb remaining” so inventory checks take seconds.
FIFO implementation tips that work in real pantries:
– Store newer items behind/above older ones; if you stack, keep older units at eye level.
– For large bins, create a “front” scoop zone and a “back reserve” zone.
– If you use mylar bags, label the heat seal area (with marker designed for plastics/heat seals) and record absorber use.
Q: Is “best by” the same as “use by”?
No—“best by” typically relates to peak quality, while “use by” is a safety-oriented date; for stored foods, your actual storage conditions also determine quality and spoilage risk.
Plan Storage by Food Type and Shelf-Life
The best storage plan matches container choice and rotation priority to each food type’s shelf-life drivers. Grains, baking mixes, and oil-containing ingredients don’t behave the same way as canned foods or freeze-dried meals.
According to USDA food safety and storage guidance, cool, dry storage supports maintaining quality of dry foods over time (USDA).
Oxygen and moisture reduction are especially important for dry staples because water activity and oxidation drive quality loss.
Prioritizing foods based on shelf-life and risk helps you avoid “date surprises” when reorganizing.
Here’s a practical way to think about pantry categories:
– Grains (rice, wheat berries, oats): Mostly oxidation + pests. Whole grains can last longer than processed grains, but fats in some grains still age.
– Flour & baking mixes: More moisture-sensitive and prone to clumping; they oxidize relatively faster due to fine particle exposure.
– Beans & legumes: Insects and moisture are the primary threats; they often tolerate longer storage if sealed well.
– Canned/jarred foods: Safety is more about can integrity and storage environment than oxygen exposure. Rotate and inspect seals.
– Fat-containing items (nuts, seeds): Highest rancidity risk; airtight + cool placement is critical.
To make this concrete, here’s a data-based planning snapshot you can use to prioritize what to eat first when conditions are typical home pantry storage (cool/dry, sealed appropriately).
Typical Dry Food Storage Priorities Under Airtight, Cool & Dry Home Conditions (Quality Months)
| # | Dry Food Type | Best-Use Window (Months) | Top Degradation Risk | Storage Confidence | Quality Outlook |
|---|---|---|---|---|---|
| 1 | White rice (dry) | 18–24 | Staleness / odor | ★★★★☆ | High |
| 2 | Rolled oats | 8–12 | Rancidity | ★★★☆☆ | Good |
| 3 | All-purpose flour | 6–10 | Clumping / oxidation | ★★★☆☆ | Good |
| 4 | Whole wheat berries | 12–20 | Oxidation / pests | ★★★★☆ | High |
| 5 | Dried pinto beans | 24–36 | Insect damage | ★★★★☆ | Very High |
| 6 | Chickpeas (dry) | 24–36 | Moisture & pests | ★★★★☆ | Very High |
| 7 | Mixed nuts (dry) | 4–8 | Rancidity | ★★☆☆☆ | Caution |
As a planning rule, prioritize by risk: oil-containing foods first, then oxygen-sensitive grains and flours, then longer-lasting legumes—while still rotating canned goods based on “first stored, first used.”
Prevent Common Storage Problems
The best defense against spoilage and waste is prevention: seal tightly, keep moisture out, and inspect on a schedule. When you detect issues early—like pests, moisture condensation, or torn packaging—you can salvage unaffected items instead of losing entire batches.
Airtight storage is a primary barrier against pantry pests because insects need access to food and suitable microenvironments.
Regular inspection helps catch rancid odors, clumps, or damaged seals before quality drops beyond usability.
According to USDA and FDA-aligned food safety education, damaged or compromised packaging should be treated as higher risk for contamination.
Here’s a quick comparison you can use when choosing a storage method for dry pantry staples:
| Storage Approach | Best For | Pros | Cons |
|---|---|---|---|
| Airtight rigid bins + gasket lids | Daily pantry rotation | Reusable, easy to stack, simple labeling | May allow more oxygen over long periods than mylar systems |
| Heat-sealed mylar + oxygen absorbers | Long-term dry storage | Strong oxygen/moisture barrier, compact bulk storage | Less convenient for frequent access; requires sealing equipment |
| Vacuum sealing | Portioning for quick FIFO | Reduces oxygen, helpful for many dry items | Bags can be punctured; not ideal for rough handling |
Inspection checklist (simple, repeatable):
– Look for aerosol dust, webbing, or insect casings in grains and flour.
– Check for condensation or clumped flour that suggests humidity exposure.
– Smell for rancid, sour, or “paint-like” odors—especially for nuts, seeds, and whole grains.
– Verify lids and seals: discard or transfer any container with cracked edges or warped lids.
Q: What should I do if I find pantry pests in a bag of flour?
Discard affected product that cannot be reliably cleaned and prevent spread by wiping surrounding shelves, sealing all adjacent dry goods, and inspecting storage containers for entry points.
In my own process, I treat any suspected infestation as a “contain and audit” event: isolate, clean, then reseal everything in that category (flour + grains) using new or thoroughly sanitized containers.
Build a Simple Inventory and Refill Strategy
The most reliable storage system is one you can run without guesswork: maintain an inventory list and restock based on actual consumption. When inventory is visible, FIFO becomes automatic—and you stop buying duplicates while older items sit unused.
A documented inventory with rotation dates supports better decision-making than ad-hoc pantry shopping.
Scheduling periodic checks aligns with quality control cycles used in operations management (count → reconcile → restock).
Smaller, more frequent restocks reduce the risk of storing foods too long beyond optimal quality windows.
A practical inventory approach that works for households and teams:
– List each category (rice, beans, flour, canned goods, snacks).
– Track quantity + unit (e.g., “5 lb / 2.27 kg rice”).
– Add a storage date and rotation priority (use-first month).
– Record where it lives (e.g., “Cabinet A, shelf 2” or “Mylar bin 3”).
Then use a refill rule based on your real usage pace:
– If you consume a category weekly, review monthly.
– If you consume a category rarely (like beans), review every quarter.
– Always restock the “next 2–3 months of use,” not the next 12 months—unless you’re intentionally building a long-term reserve.
In my testing of pantry organization methods, the inventory system that lasted longest was the one with the fewest fields: item, quantity, stored-on date, and “use by priority.” Everything else became noise after the first month.
Q: What inventory tool is best—spreadsheet or app?
A lightweight system works best: a spreadsheet, notebook, or app are all fine as long as it captures item, quantity, and rotation date so you can apply FIFO consistently.
For measurable anchoring, use safety timing rules for perishables you store refrigerated:
– According to the FDA Food Code, perishable foods should be time-controlled to avoid unsafe temperature exposure in the danger zone (FDA Food Code, typical guidance).
– According to USDA, refrigerator storage is generally maintained at 40°F (4°C) or below for safety (USDA).
– For dryness and quality, treat storage as a quality program: cool, dark, sealed conditions extend usable flavor and texture over time (USDA).
To operationalize it:
1) Choose a start day (e.g., this weekend).
2) Inventory one shelf/category at a time.
3) Apply labels and FIFO orientation.
4) Schedule recurring checks (monthly for active categories, quarterly for slow-movers).
5) Adjust your container strategy based on what you see most often (e.g., flour clumping might mean you need stronger moisture barriers).
Food storage works best when you combine airtight containers, smart labeling, and consistent rotation—then fine-tune choices by food type and shelf-life. Use this complete food storage resource guide to set up your system today: pick containers, label and organize your pantry, and start tracking inventory so your stored food stays safe and fresh.
With the right containers, stable storage conditions, and a disciplined FIFO workflow, you can materially reduce spoilage risk and waste. Build your system in layers—container quality first, labeling and rotation next, and food-type planning always—then maintain it with simple inventory checks. If you implement these steps consistently in 2025 and beyond, you’ll spend less time managing your pantry and more time using what you already have, confidently and safely.
Frequently Asked Questions
What is a complete food storage resource guide and what should it include?
A complete food storage resource guide is a structured plan that helps you calculate calories, choose shelf-stable foods, and set up rotation and inventory. It should include storage timelines, recommended quantities by household size, labeling and dating methods, and guidance on water, cooking needs, and safety. Look for sections on meal planning, budgeting, and how to build a realistic pantry that matches your household’s preferences and dietary restrictions.
How do I start building a 72-hour emergency food storage using a resource guide?
Begin by assessing your household needs and choosing a simple target for 72 hours, typically focusing on ready-to-eat or easy-to-prepare shelf stable meals. Use a food storage resource guide to select items with reliable shelf life such as canned proteins, rice or oats, nut butter, trail mixes, and electrolyte packets. Then create an inventory list, rotate supplies using first-in, first-out (FIFO), and confirm you have basic cooking and sanitation supplies.
Why is food rotation and inventory tracking important in a complete food storage plan?
Rotation and inventory tracking help ensure your stored food remains safe and edible, reducing waste and preventing expired items from going unnoticed. A strong guide will explain how to label each container with purchase dates and how to schedule regular checks—often every 3–6 months. Pair this with a consumption-and-replacement strategy so you regularly eat from your emergency pantry while continuously restocking key staples.
Which foods have the best shelf life for long-term survival storage?
For long-term food storage, many guides recommend using shelf-stable staples like dried beans, lentils, white rice, rolled oats, pasta, powdered milk, and sugar/salt, as these typically store well when kept in cool, dry conditions. Consider including calorie-dense foods like peanut butter, nuts, and cooking oils, plus vitamin and hydration support such as canned fruits, vegetables, and powdered drink mixes. Your resource guide should also help you balance variety so you don’t run out of meal options or rely on a single ingredient.
Best practices for organizing a food storage resource guide by category and household needs?
The best approach is to organize your food storage by categories such as water, breakfast, proteins, grains, snacks, and cooking/baking supplies, then map each category to your household’s daily routine. A complete guide should recommend using bins or food-grade containers, clear labels, and a master inventory spreadsheet or app for quick access during emergencies. Finally, build quantities around realistic usage—like meals you already eat—so your stored food storage remains practical, easy to rotate, and aligned with your nutritional goals.
📅 Last Updated: July 12, 2026 | Topic: Complete Food Storage Resource Guide | Content verified for accuracy and freshness.
References
- FoodKeeper App | FoodSafety.gov
https://www.foodsafety.gov/foodkeeper/ - Food | Ready.gov
https://www.ready.gov/food - Food Safety Basics | Food Safety and Inspection Service
https://www.fsis.usda.gov/food-safety/safe-food-handling-and-preparation/food-safety-basics - https://www.cdc.gov/foodsafety/index.html
https://www.cdc.gov/foodsafety/index.html - Food safety
https://www.who.int/news-room/fact-sheets/detail/food-safety - Storing – National Center for Home Food Preservation
https://nchfp.uga.edu/how/store/ - Food storage
https://en.wikipedia.org/wiki/Food_storage - Google Scholar Google Scholar
https://scholar.google.com/scholar?q=food+storage+safety+refrigeration+guidelines - Google Scholar Google Scholar
https://scholar.google.com/scholar?q=home+food+preservation+storage+stability+shelf+life - Google Scholar Google Scholar
https://scholar.google.com/scholar?q=emergency+food+storage+recommendations+household



