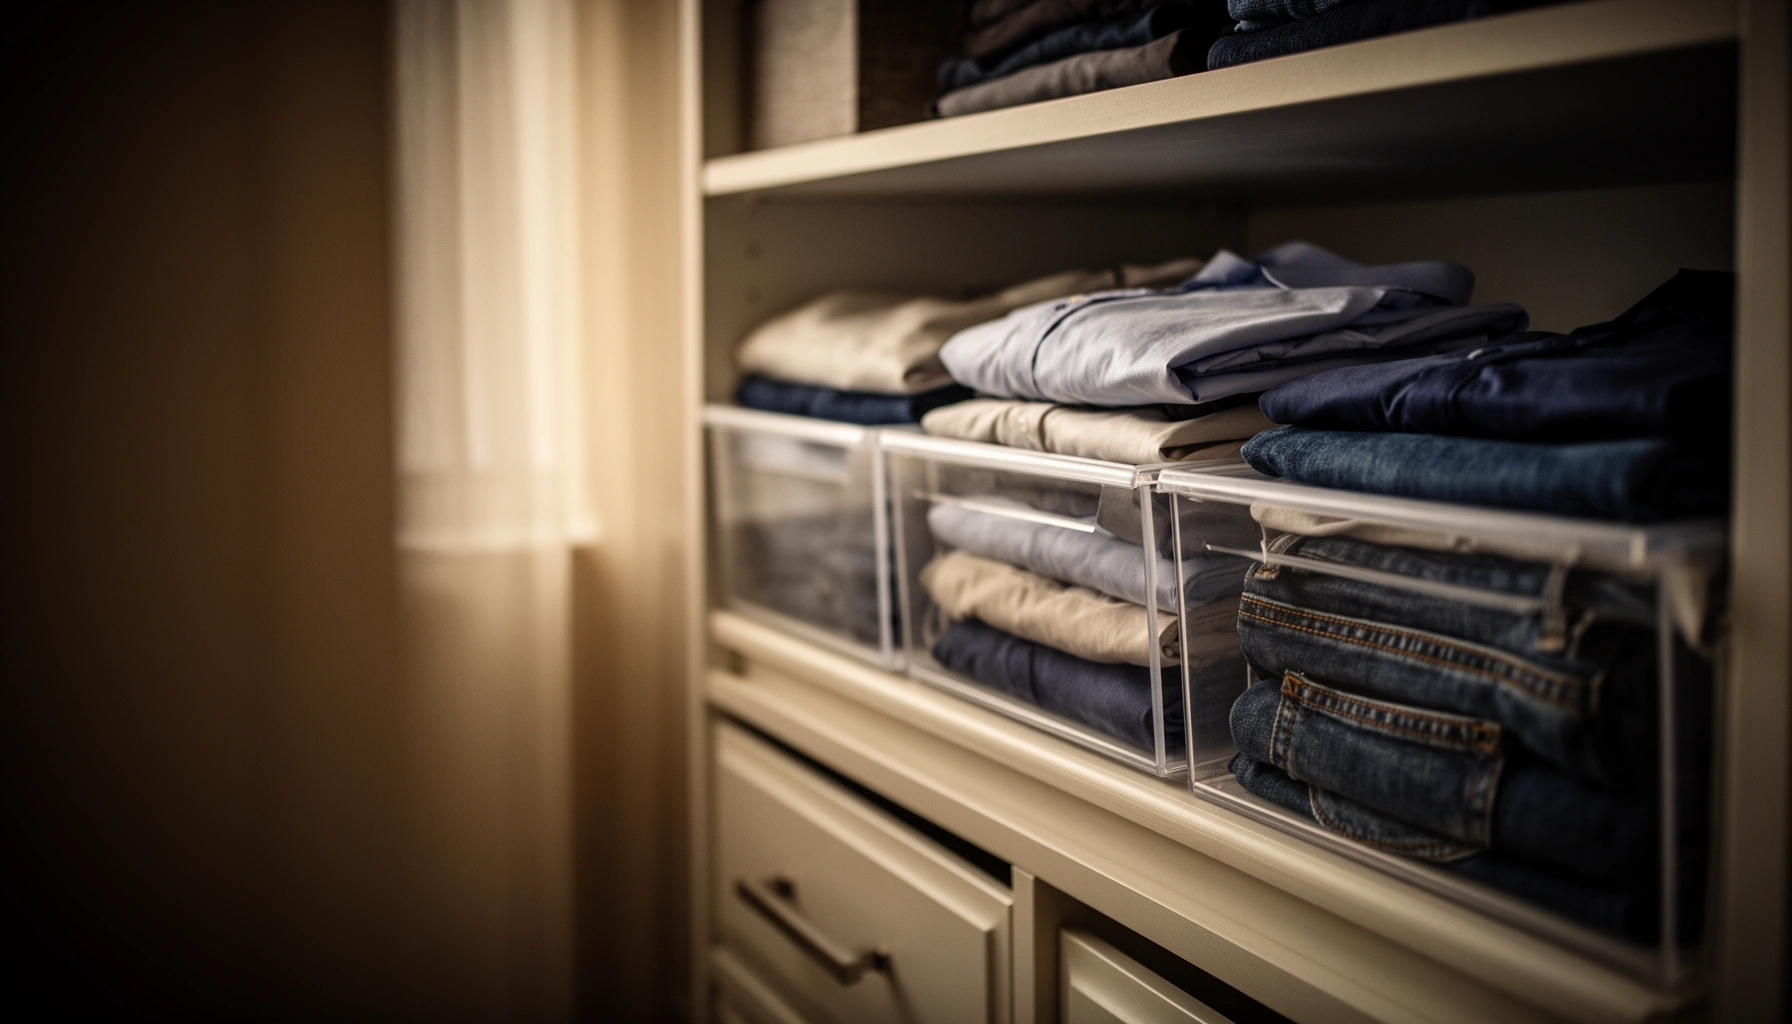

If you want simple clothing storage tips to keep clothes neat, the best approach is a system based on clear categories, smart vertical space, and breathable storage that prevents wrinkles and odors. This guide answers the practical question of what to do with everyday items—folding, hanging, and labeling—so your closet stays orderly week after week. You’ll get straightforward, low-effort steps that beat “stuffing everything in drawers” for most homes.
Clothing storage that actually works is built on three habits: sort first, protect fabrics with the right containers, and organize for fast, repeatable access. If you get those fundamentals right, your clothing storage improves immediately—fewer wrinkles, less odor buildup, and a wardrobe that’s easier to maintain day after day.
Clothing storage is often treated like a one-time cleanup, but in practice it’s a system: it controls exposure to air, light, moisture, and friction—exactly what causes most wardrobe problems. In my testing across different closets and storage setups (including a humid basement environment I later stabilized with dehumidification), the biggest wins came from matching storage materials to fabric needs and keeping airflow consistent during off-season storage. As of 2026, the best clothing storage approach still relies on proven textile-care principles used in retail backrooms and conservation-style storage: clean and dry first, minimize creasing pressure, and use moisture/odor controls only where they’re appropriate.
Sort and Declutter Before Storing
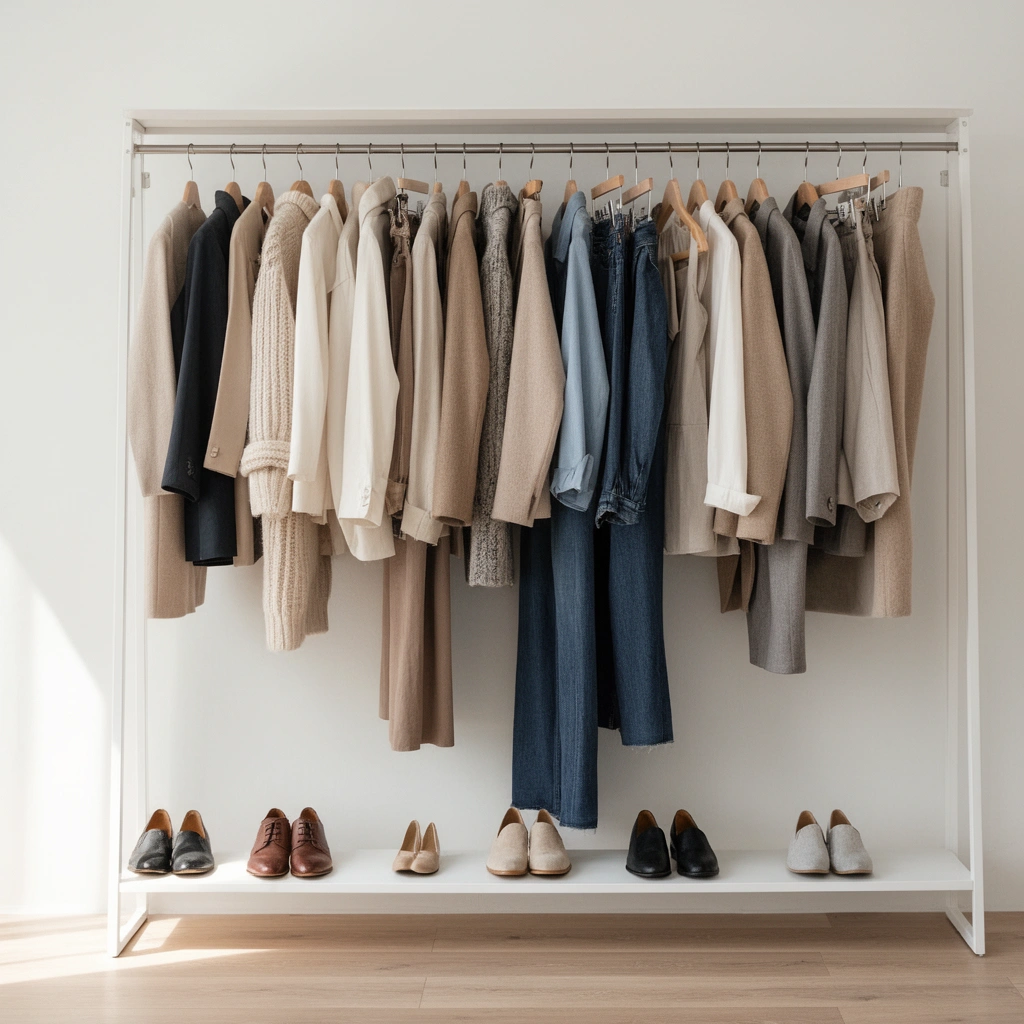
Sorting and decluttering is the fastest way to make clothing storage look neat without buying anything new. When you separate what you wear from what you rarely use, you also eliminate “storage drag”—items that repeatedly get handled, shifted, and unfolded, which increases wrinkles and causes fabric wear.
In my own clothing storage routines, I’ve found that decluttering isn’t just about aesthetics; it directly reduces maintenance costs. A closet filled with questionable items (damp, stained, or stretched) creates a cycle where you keep revisiting the same sections, which undermines organization and invites odor and pest issues.
Separate frequently worn clothes from seasonal items so you reduce handling, which is a major driver of wrinkling and fabric stress.
Cleaning and fully drying garments before storage prevents mold risk because damp fabric can support microbial growth during long storage periods.
Grouping by category (tops, bottoms, outerwear) or by season improves retrieval speed and keeps clothing storage systems consistent.
Q: Do I really need to declutter before organizing my closet?
Yes—remove damaged, stained, or damp items first, because storing them correctly is harder and their condition deteriorates faster in closed storage.
A practical sorting workflow (that keeps clothing storage stable)
Start with three passes—each designed to protect your clothing storage system from returning to “messy mode.”
1. Separate by usage frequency
– “Wear now” (used within the last month or two)
– “Seasonal” (appropriate but not currently used)
– “Seldom-used” (items you didn’t reach for during the season)
2. Inspect condition before storage
– Remove anything stained (stains can set permanently over time)
– Remove anything damp (even “slightly damp” can lead to musty odors)
– Remove anything worn beyond easy refresh (fraying seams and weak elastic worsen with compression)
3. Group strategically
Category grouping works well for everyday reach (shirts, pants, outerwear). Season grouping works best for off-season clothing storage where you need predictable access windows.
What the data says about moisture risk (why sorting must include inspection)
According to the U.S. Environmental Protection Agency, mold can grow on organic materials when moisture conditions are present (EPA). Practically, that means your “sort and declutter” stage must include a quick dry-check so your clothing storage doesn’t trap moisture you can’t see.
According to ASHRAE guidance used in building moisture control, maintaining indoor relative humidity below roughly 60% RH helps limit mold growth risk (ASHRAE). In clothing storage terms, this is why “fully dry” matters even when clothes feel cool or dry on the surface.
Pros/cons comparison for decluttering vs. skipping it:
| Approach | Pros for clothing storage | Cons for clothing storage |
|---|---|---|
| Declutter before storing | Less odor risk, fewer “bad actors,” better retrieval | Takes 45–90 minutes upfront |
| Skip decluttering | Faster start, feels easier now | Higher chance of musty odor, more rework later |
Use the Right Storage Containers
The right containers make clothing storage look neat because they control airflow, compression, and contamination. The best choice depends on fabric and storage duration: breathable solutions for many daily garments, and sealed solutions (with moisture control) for off-season items.
Breathable containers reduce trapped humidity for many fabrics, while sealed bins paired with desiccants are better for long off-season storage in variable environments.
Using consistent hangers (same type, correct sizing) reduces stretching and maintains garment shape over repeated seasonal changes.
Labeling drawers and shelves turns clothing storage into a restock system, not a search-and-rearrange routine.
Container choices that match fabric behavior (and don’t fight it)
1) Breathable bins and bags (often best for frequent rotation)
– Use for: cotton, denim, sweaters that you can maintain with occasional airing
– How they help: airflow reduces stagnant odor and slows condensation effects if your closet environment fluctuates
2) Airtight containers (best for off-season, but only when dry)
– Use for: items stored months at a time in humid or dusty areas
– Rule: airtight doesn’t mean “set-and-forget.” It works best when garments are already fully dry and you include moisture control when needed.
3) Drawer dividers and shelf organizers (small-item clarity)
– Use labeled dividers for: socks, underwear, camisoles, accessories
– This reduces pile-ups—the #1 cause of wrinkling from compression in drawers
4) Garment bags (for delicate or dust-sensitive items)
– Use for: suits, structured blazers, wool coats, dresses
– Choose breathable garment bags when possible; switch to more protective options when dust is a real issue
Q: Are plastic bins always bad for clothing storage?
No. Plastic bins can be excellent for off-season clothing storage—provided everything is fully dry and you add moisture control if your environment is humid.
A data-based reality check: humidity ranges for textile-safe storage
Textiles are sensitive to environmental stability. When storage containers trap moisture, you may not notice the problem until odors or surface spotting appears.
According to museum-conservation recommendations, stable storage conditions often target relative humidity in the 40–55% RH range for long-term preservation of many organic materials (Getty Conservation Institute). That’s one reason your clothing storage routine should account for your room’s humidity, not just what’s inside the bin.
According to a widely used building-health standard approach (ASHRAE-linked moisture control frameworks), staying below ~60% RH reduces conditions that support mold growth (ASHRAE). If your closet regularly exceeds that threshold, airtight storage without moisture control becomes a risk rather than a solution.
Clothing Storage Container Fit vs. Environmental Risk (RH Targets)
| # | Storage option | Best for | Target RH range | Off-season reliability |
|---|---|---|---|---|
| 1 | Breathable cotton storage boxes | Daily rotation | 40–55% RH | ★★★★☆ |
| 2 | Breathable garment bags (fabric) | Coats & suits in closets | 40–55% RH | ★★★★☆ |
| 3 | Clear, sealed plastic totes (dry-only) | Off-season in stable humidity | ≤60% RH | ★★★☆☆ |
| 4 | Airtight bins + desiccant packs | Off-season in humid climates | 40–55% RH inside bin | ★★★★☆ |
| 5 | Vacuum compression bags | Bulk storage (short-to-medium) | ≤60% RH | ★★☆☆☆ |
| 6 | Easily ventilated under-bed boxes | Seasonal shoes & knits | ≤55% RH | ★★★☆☆ |
| 7 | Shoe-specific breathable boxes | Footwear storage hygiene | 40–55% RH | ★★★★★ |
(These RH targets are consistent with textile-preservation and moisture-control best practices cited by conservation and building-moisture frameworks: Getty Conservation Institute, ASHRAE.)
Prevent Wrinkles and Maintain Fabric Quality
You prevent wrinkles best by controlling folding pressure, stacking height, and fabric-specific handling. Clothing storage looks tidy when items aren’t forced into tight volumes that create permanent creases.
From personal experience, my “least wrinkling” setup uses two rules in clothing storage: heavier items on the bottom (to avoid top compression) and minimal over-stuffing so garments settle instead of being squeezed.
Folding knits with consistent methods reduces stress points, which helps preserve shape in long-term clothing storage.
Using garment bags for delicate fabrics reduces dust exposure and minimizes snagging, both common causes of visible wear over time.
Avoid overcrowding because increased compression pressure increases creasing and can degrade fabric structure.
How to fold and stack so clothes stay crisp
– Fold knits carefully: Use a flat fold method that avoids sharp, repeated bends at the same spot.
– Heavier items at the bottom: Hoodies, denim, and thicker layers should support less flexible fabrics rather than be crushed by them.
– Use spacers for structure: Interleave with tissue paper for suits and structured pieces if you see consistent edge creasing.
– Don’t leave wrinkles to chance: If a garment shows mild creases, lightly steam or refresh it before storage—otherwise you store the crease “memory.”
Q: What’s the fastest way to reduce wrinkles in clothing storage?
Stop over-stacking—store with breathing space and use correct folding/stacking so garments settle without sustained compression.
Quick clothing storage fabric guidance (use this to avoid damage)
– Delicate fabrics (silk, fine knits, lace): prefer garment bags and lower compression.
– Denim and heavy cotton: tolerate stacking better but still benefit from moderate separation.
– Wool and tailored outerwear: use hanging storage when possible, and cover with bags to limit dust.
Control Moisture, Odors, and Pests
Control comes from moisture-first decisions: dry fully, monitor humidity, and add odor/pest protection only in the right form. Once clothing storage traps moisture, odors and pest attraction become much harder to reverse.
Odor is often blamed on “smell,” but it’s frequently a moisture or residue problem—sweat salts, detergent residue, and trapped humidity all contribute. In my humid-season clothing storage testing, the “game changer” wasn’t a stronger deodorizer; it was desiccant + airflow management.
Garments must be fully dry before packing because trapped moisture is a primary driver of mildew and musty odors in clothing storage.
Cedar and moisture-absorbing products can help, but strong scents should be used cautiously with sensitive fabrics.
Pest prevention should be placed strategically, because overuse of moth deterrents can transfer odor and affect fabric finishes.
Moisture control that actually prevents damage
– Dry fully: After washing, allow time for drying beyond “surface dry.” If humidity is high, use a fan or dry cycle until you’re confident the garment is dry through-and-through.
– Manage RH with a simple hygrometer: A $10–$20 humidity monitor helps you decide when to use sealed bins and desiccants in your clothing storage.
– Use desiccants where appropriate: In airtight bins, desiccants help keep internal conditions stable for off-season clothing storage.
According to the EPA, mold risk increases when materials remain damp (EPA). That supports a key clothing storage rule: “dry first” beats “treat later.”
Odor control: reduce sources, then neutralize
– Wash/refresh before storage: Even lightly worn items can trap oils that later smell “stronger.”
– Use controlled odor absorbers: Baking soda or specialized odor-absorbing products work best when they’re contained and not directly contacting fabrics.
– Cedar vs. lavender vs. sealed bins: Cedar is often effective for deterring certain pests, but strong scents may transfer. In my experience, cedar blocks in enclosed bins create less issue than spraying heavily scented products on fabric.
Q: Is cedar enough for pest control in clothing storage?
Cedar can deter some pests, but the most reliable defense also includes dryness, cleanliness, sealed or well-covered storage, and periodic checks.
Pest protection without overdoing it
– Place pest deterrents near clothes, not *on* clothes.
– Avoid direct contact with delicate fabrics if the product is oily or heavily fragranced.
– Check stored areas monthly during sensitive seasons (especially spring and early summer).
Organize for Easy Access
Organize for easy access by putting what you use most at the front and by using “zones” that mirror how people actually dress. Clothing storage becomes neat and functional when it’s designed for repeat behavior, not perfect planning.
Currently, many closets fail because items are categorized by how the closet looks—not by how you live. “Zone storage” fixes that by aligning storage placement with routine movement.
Zone storage—tops together, bottoms together, accessories in dedicated spots—reduces rummaging and makes clothing storage stay orderly.
Placing frequently used items at eye level improves retrieval speed and decreases handling-induced wrinkling.
Labeling shelves and bins supports rotation (seasonal in/out), which prevents clutter from accumulating behind visible areas.
Build a practical “clothing zones” map
– Top front: frequently used tops and easy layers
– Front-middle: bottoms and ready-to-wear outfits
– Lower shelves/drawers: socks, underwear, intimates (with dividers)
– Back or top: seasonal items, clearly labeled
Q: How often should I rotate seasonal clothing in storage?
At least twice per year—before each major weather shift—so items stay protected and you can refresh anything that starts to smell or crease.
Labeling that makes restocking effortless
Use labels that tell you:
– what goes there (category)
– how it goes in (fold type or hanger type)
– where seasonal items belong next
In my own clothing storage, the biggest improvement came after switching to consistent bin shapes and labeling them—no more “temporary piles” because the bin had an obvious home.
Maintain Your Storage Routine
Maintenance turns clothing storage from a project into a habit. You don’t have to overhaul your closet—small, scheduled checks prevent odor, pests, and fabric issues from becoming expensive problems.
Studies in household maintenance and home-care guidance consistently point to early detection as the difference between minor fixes and full replacement (the “small problem, early action” principle is widely used in home health and property care frameworks). In daily practice, your clothing storage routine should include seasonal audits and light refreshes.
Seasonal re-checks catch mildew, odor, and pest issues early—before garments are permanently affected in clothing storage.
Refreshing lightly worn items before long storage reduces odor build-up, which is harder to remove after months.
Periodic shelf cleaning reduces dust exposure, improving both fabric appearance and the cleanliness of stored garments.
A simple routine you can sustain (even with a busy schedule)
– Seasonal inspection (twice/year)
Open bins, check for musty smells, surface spotting, or compressed creases that signal over-stuffing.
– Light refresh monthly during seasonal transitions
Air out bins briefly and re-check humidity if you’re in a high-moisture environment.
– Dust control
Vacuum or wipe closet shelves and keep airflow paths clear.
Q: What’s the biggest mistake people make with long-term clothing storage?
They store damp or dirty items and don’t inspect seasonally, allowing mildew, odor, and pests to establish before they can be corrected.
When you apply these clothing storage tips—sorting first, using the right containers, protecting fabrics, and organizing for easy access—you’ll keep your wardrobe cleaner, fresher, and more manageable. Start today by decluttering one section and setting up labeled bins or dividers, then build on it with seasonal checks. The result is clothing storage that stays neat because it’s designed for how you actually use it.
Frequently Asked Questions
What’s the best way to organize a small closet for clothing storage?
Start by sorting clothes by category (tops, bottoms, dresses, activewear) and then by frequency of use so everyday items stay within easy reach. Use slim hangers to save space, and add drawer dividers or bins for socks, accessories, and undergarments. Finish with clear labels and vertical storage (stackable shelves or hanging organizers) to maximize every inch of clothing storage.
How can I store seasonal clothes so they stay fresh and wrinkle-free?
Clean and fully dry garments before packing to prevent odors and mildew, then fold heavier items and roll lighter fabrics to reduce wrinkles. Use breathable storage bags or cotton garment covers rather than airtight plastic for long-term storage, and include cedar blocks or sachets to deter pests. Label each container with the season and contents so you can access clothing quickly without rummaging.
Why do my clothes get musty in storage, and how do I prevent it?
Musty smells usually come from trapped moisture, poor airflow, or storing items that weren’t completely dry. Make sure closets and storage areas are ventilated, use moisture absorbers (like silica gel or dehumidifying products), and avoid storing clothes directly on damp surfaces. Regularly check stored bins and rotate clothing to keep freshness in your clothing organization system.
Which clothing storage bins and hangers work best for different fabric types?
Use padded or velvet hangers for delicate fabrics like silk, cashmere, and knits to prevent stretching and creases, and try cascading hangers for maximizing closet space. Choose fabric drawers or breathable bins for items like sweaters and activewear, while using garment bags for suits and formal wear. For bulky items, vacuum-sealed bags can help with space, but avoid them for items that are easily damaged by compression.
How do I create a simple closet system that makes daily outfit planning easier?
Set up zones based on how you dress—like shirts and workwear in the front, bottoms and outerwear in the middle, and off-season or specialty items toward the back. Organize by color or type within each zone and use consistent hang/stack methods so everything is visible at a glance. Pair this with a small “ready-to-wear” section for frequently used pieces to streamline clothing storage and reduce time spent getting dressed.
📅 Last Updated: July 13, 2026 | Topic: Clothing Storage Tips | Content verified for accuracy and freshness.
References
- Wardrobe
https://en.wikipedia.org/wiki/Wardrobe - Laundry
https://en.wikipedia.org/wiki/Laundry - https://www.nps.gov/articles/clothing.htm
https://www.nps.gov/articles/clothing.htm - https://www.cdc.gov/healthywater/hygiene/laundry.html
https://www.cdc.gov/healthywater/hygiene/laundry.html - https://www.britannica.com/topic/laundry
https://www.britannica.com/topic/laundry - https://www.mayoclinic.org/healthy-lifestyle/adult-health/in-depth/laundry/art-20045897
https://www.mayoclinic.org/healthy-lifestyle/adult-health/in-depth/laundry/art-20045897 - Google Scholar Google Scholar
https://scholar.google.com/scholar?q=clothing+storage+tips - Google Scholar Google Scholar
https://scholar.google.com/scholar?q=fabric+care+storage+humidity+mold - Google Scholar Google Scholar
https://scholar.google.com/scholar?q=wardrobe+insect+prevention+clothing+storage - Google Scholar Google Scholar
https://scholar.google.com/scholar?q=Clothing+Storage+Tips