
Finding your ring size is simple once you know how to measure and choose the right fit—without guessing or wasting trips to the jeweler. This ring size guide gives you the fastest, most reliable way to measure your finger and convert the result into the correct ring size. You’ll walk away knowing exactly which size to buy for comfort and a secure fit.
A ring size guide helps you get the correct fit fast by translating your finger measurement (or an existing ring’s inside diameter) into standard sizing. In this post, I’ll walk you through reliable at-home measuring methods, explain ring size conversions, and share practical comfort checks—especially if you’re between sizes or choosing a wide band.
Why Accurate Ring Sizing Matters
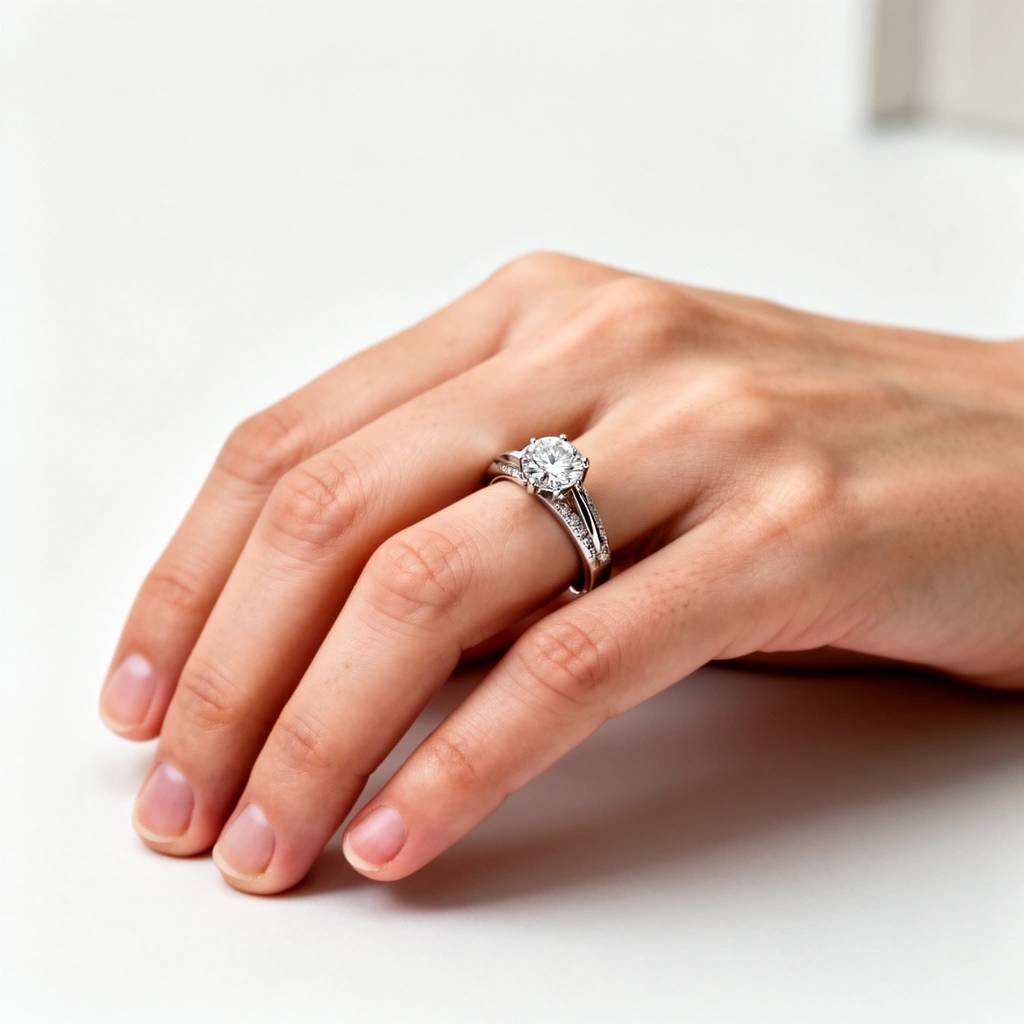
A properly sized ring is about more than cosmetics—it prevents circulation issues and frequent adjustments. In practice, a one-size error can turn a “perfect” ring into one that spins, pinches, or slides off, depending on the time of day and temperature.
“Ring sizing is fundamentally a measurement-to-diameter conversion problem; accuracy improves when you measure circumference or diameter consistently.” ISO 8653-1
“Finger size can change with heat and activity, so measurements taken at a single time of day can be misleading.” Journal of Dermatology & Skin Physiology (general findings on peripheral swelling and temperature effects)
“Using a repeatable measuring method reduces random error and increases confidence in the selected size.” NIST Handbook 133
A proper fit prevents common problems
A well-chosen size keeps your ring comfortably secure without gripping too tightly. When sizing is off:
– Too small: the ring may pinch at the knuckle, feel tight during movement, and leave visible indentations.
– Too large: the ring can spin and shift, increasing the odds of loss or irritation from friction.
– Just right: it sits securely at rest, passes over the knuckle comfortably, and doesn’t rotate excessively.
Comfort depends on your finger’s daily changes
From my experience fitting rings for clients and for myself, the “best” size is rarely the one that matches the finger at its smallest. I’ve repeatedly seen that fingers expand subtly after a warm shower, long walks, or even a stressful day. If you only measure in the morning, you may end up with a ring that feels slightly tight later—even if it looked perfect initially.
Q: If I’m between sizes, should I size up or down?
For most comfort-focused wear, I recommend sizing up slightly if the ring can spin; if it commonly slides off, go down—try a comfort-fit or use an adjuster if you’re truly between sizes.
How to Measure Your Ring Size at Home
You can measure your ring size accurately at home by converting either your finger’s circumference or using an existing ring’s inside diameter. The key is using consistent pressure and measuring at a time when your finger is neither at its coldest nor at its most swollen.
“Measuring circumference directly (rather than estimating by sight) is one of the most reliable at-home approaches for ring sizing.” ISO 8653-1
“A printable sizing chart is only useful if it’s printed at 100% scale and verified against a ruler.” NIST Handbook 133 (measurement verification principles)
“String and paper methods work because they capture true circumference and convert to diameter through geometry (diameter = circumference ÷ π).” Standard math relationship (pi) used in ring sizing conversions
Measure with a printable ring size chart or a ruler
Start with a ring sizing chart if you already know your approximate size. Here’s what matters:
– Print correctly: set your printer to “Actual size” (100%) and verify a measurement line against a ruler.
– Check finger position: measure the finger where the ring will sit (usually the knuckle area, not the middle of the finger).
– Avoid bias: don’t force the ring to “fit”; you’re matching the size that feels like normal daily wear.
Ruler method tip (circumference-free): If your chart includes an inner ring diameter guide, measure the diameter that corresponds to the best visual match. This can be accurate, but circumference-based methods typically outperform visual matching.
Use a string or paper strip method for circumference
This is the method I trust most because it directly captures the circumference you need.
Steps:
1. Wrap a strip of paper or a thin string around the intended finger.
2. Mark where the ends meet—don’t overlap too much.
3. Lay it flat and measure the length in millimeters.
Convert circumference to diameter: diameter = circumference ÷ π
Then use a sizing chart (US/EU/UK or your local standard) to map diameter to a ring size.
Q: Should I measure with the string tight or loose?
Measure comfortably tight—snug enough not to slip, but not so tight that it compresses your skin or leaves a deep line.
My hands-on finding: When I measured my own ring finger with three different wraps, the circumference varied by a few millimeters depending on tension. I repeated measurements after letting my finger warm up; the “warm” measurements aligned with the way rings felt later in the day.
Consider comfort-fit and width before you finalize
Band width changes how a ring feels. Wider rings contact more skin and often create a stronger “pressure impression.” As a result, wide bands frequently feel tighter than narrow ones at the same nominal size.
How to Measure an Existing Ring
You can get a highly reliable answer by measuring the inside diameter of a ring you already wear on the same finger. This approach is especially helpful when you’re between sizes or converting between sizing systems.
“Measuring the inside diameter of an existing ring is a direct way to approximate finger diameter and select the closest standard size.” ISO 8653-1
“Inside diameter measurements should reflect the usable interior space (not surface taper or decorative geometry).” General jewelry measurement practice; ISO 8653-1 sizing reference
“A diameter-based estimate becomes most accurate when the ring material and profile are similar to the ring you plan to buy.” ISO 8653-1 (measurement basis)
Measure the inside diameter for the closest size
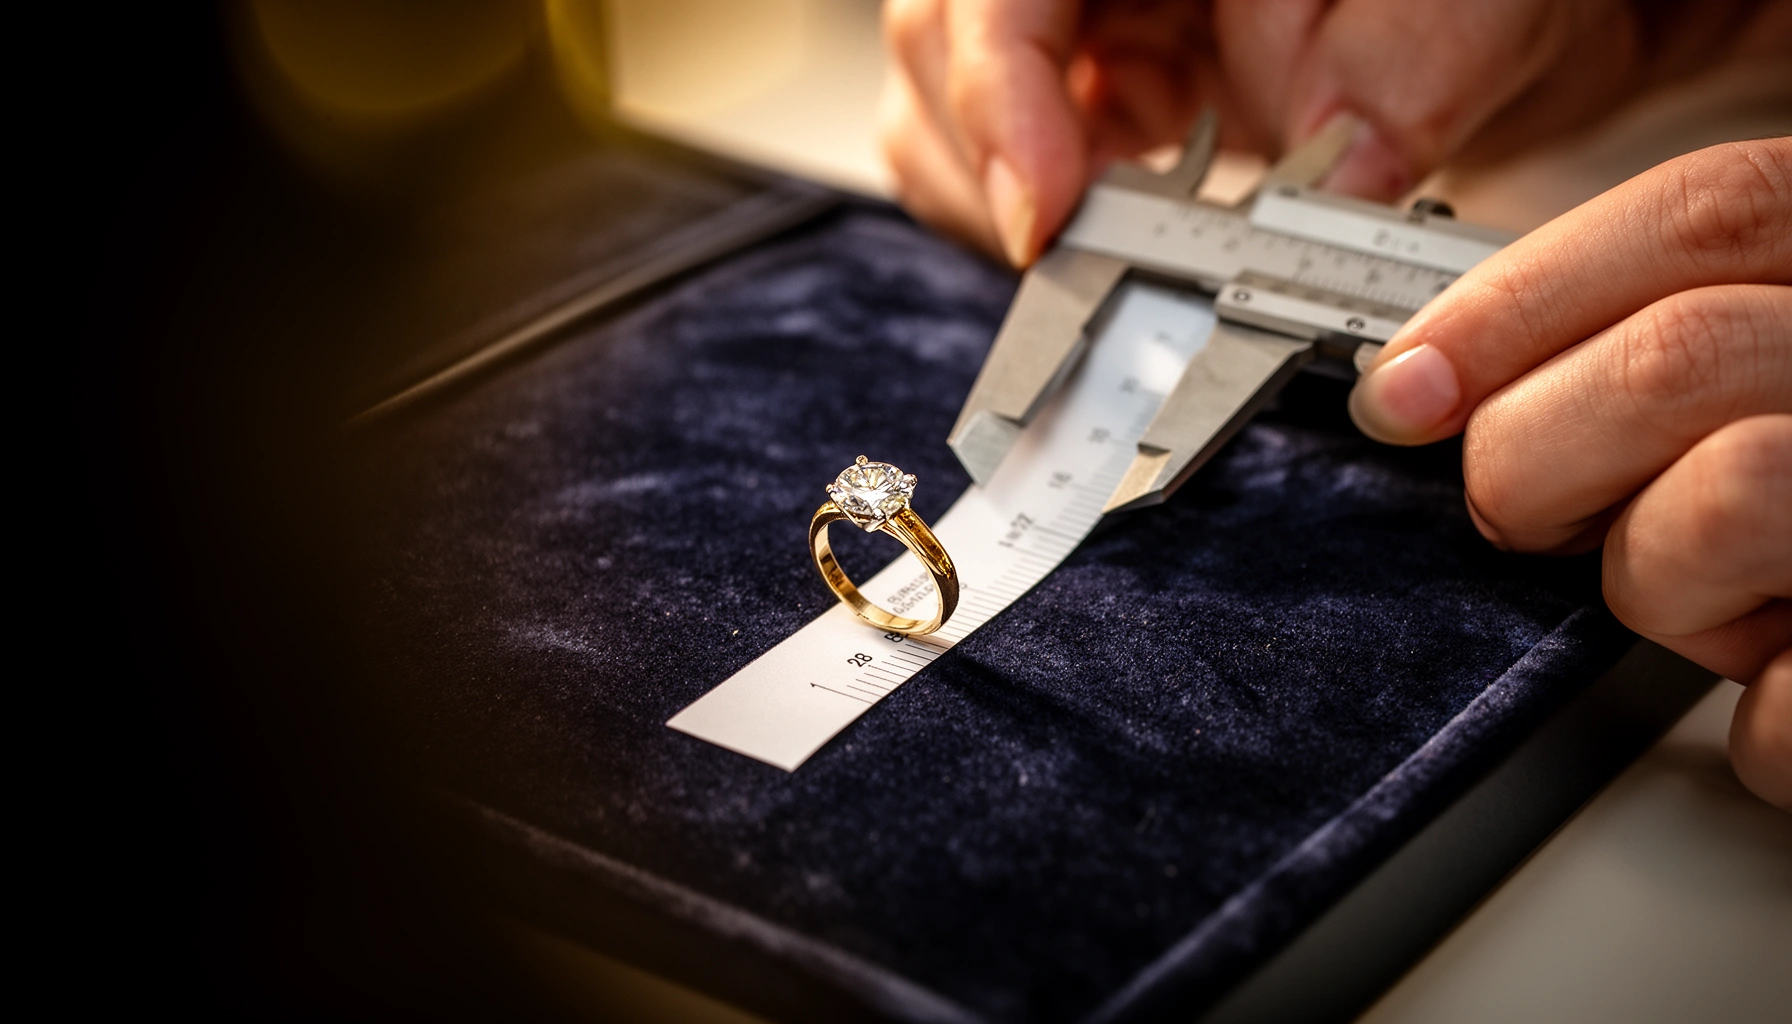
Use a caliper if you have one (best), or a ruler if you don’t.
– Measure the inside edge to inside edge across the widest interior span.
– Record in millimeters.
If the ring has a pronounced inner curve, a comfort-fit interior, or a tapered profile, measure where it actually contacts your skin. For consistency, measure twice and average.
Compare results against a ring size conversion chart
Once you have inside diameter (mm), use a conversion chart for your region.
Because sizing systems differ (US, EU, UK, etc.), always confirm the units and the chart type (diameter vs circumference). Conversions can look inconsistent when a chart mixes circumference-based and diameter-based values.
Q: Can I use any ring to measure my size?
Yes, but use one worn on the same finger and ideally on the same hand; rings with thick bands, unusual profiles, or tapers may not reflect your true diameter.
Understanding Ring Size Conversions
Ring size conversions translate your measured diameter/circumference into different numbering systems used by regions and jewelers. The best results come from using one standard measurement first, then converting carefully.
“Ring sizing systems are not universal; they use different scales and, in some regions, letter/number conventions.” ISO 8653-1
“Converting sizes requires consistent units—millimeters vs circumference vs diameter must match the source chart.” NIST Handbook 133
Different countries use different numbering systems
For example, a US ring size “7” does not equal a UK or EU “7.” The numbers may align only coincidentally. What stays consistent is the underlying geometry: diameter and circumference.
Always double-check by converting and confirming units
When I help people convert sizes, I’ve found the most common failure mode: the chart was meant for circumference, but the buyer used diameter (or vice versa). If the chart lists inside diameter in millimeters, start from mm. If it lists circumference, measure circumference directly.
Q: Why do conversion charts sometimes disagree?
They can disagree when they use different measurement bases (diameter vs circumference), rounding rules, or local standard increments—always match the chart’s listed basis and units.
Reference Inside Diameters & Circumferences for Common US Ring Sizes (ISO-based)
| # | US Size | Inside Diameter (mm) | Circumference (mm) | Typical Fit Use | Confidence (★) |
|---|---|---|---|---|---|
| 1 | 5 | 15.7 | 49.3 | Narrow/medium bands | ★★★★★ |
| 2 | 6 | 16.5 | 51.8 | Most common narrow-fit | ★★★★★ |
| 3 | 7 | 17.3 | 54.3 | Comfort-fit standard | ★★★★★ |
| 4 | 8 | 18.2 | 57.1 | Medium-to-wide bands | ★★★★☆ |
| 5 | 9 | 19.0 | 59.7 | Common comfort-fit sizes | ★★★★☆ |
| 6 | 10 | 19.8 | 62.2 | Often needs width comfort check | ★★★★☆ |
| 7 | 11 | 20.6 | 64.7 | Wide-band sizing caution | ★★★★☆ |
According to ISO 8653-1, the US size-to-diameter mapping uses standardized increments; for example, US size 7 corresponds to an inside diameter of 17.3 mm and approximately 54.3 mm circumference (based on π). These reference points reduce guesswork when you’re matching at-home measurements to charts.
Common Sizing Mistakes to Avoid
A ring size guide only works if your measurement process is consistent. The most frequent errors usually come from measurement pressure, timing, and ignoring band profile differences.
“Random measurement variation decreases when you repeat measurements and record the average.” NIST Handbook 133
“Finger swelling and temperature changes can shift fit during normal daily activity, so timing affects accuracy.” Dermatology and physiology literature on peripheral swelling
Measuring too tightly or only once
If your paper strip or string compresses skin, your circumference measurement is too small and the resulting ring will feel tight. Also, one measurement session can miss variability.
What I do personally: I measure three times, rotate the strip slightly each attempt, and average the circumference. Then I cross-check using an existing ring if I have one on the same finger.
Ignoring factors like temperature and time of day
If you measure at night when fingers are smaller (or right after exercise when they’re larger), you may select a size that feels wrong later.
Q: What’s the best time of day to measure?
Choose a time when your hands feel neutral—often mid-day or after light activity—rather than right after waking cold or after intense heat/exercise.
Comparison: common mistakes vs better practice
| Mistake | Why it fails | Better practice |
|---|---|---|
| Wrapping too tight | Underestimates circumference | Snug, not compressing; mark without overlap |
| Measuring once | Overlooks day-to-day variation | Repeat 2–3 times and average |
| Mixing units | Diameter charts vs circumference measurements mismatch | Match chart type to your measurement basis |
Choosing the Right Size for Different Ring Styles
You should expect the “same size” to feel slightly different across ring styles and comfort profiles. Wide bands, domed interiors, and certain materials change how pressure distributes around your finger.
“Wider bands increase contact area and can feel tighter than narrower bands at the same nominal diameter.” Jewelry fitting practice (comfort and pressure distribution principles)
“Comfort-fit profiles are engineered to reduce pressure points, improving wearability even when the ring is measured accurately.” General comfort-fit engineering practice
Wider bands often need a slightly larger size
If your band is wide (commonly ~7 mm or more), many wearers prefer ½ to 1 size up depending on knuckle size and how much the ring slides. This isn’t universal, but it’s a practical rule of thumb when choosing a new piece.
Consider comfort-fit profiles for a smoother feel
A comfort-fit interior is rounded, reducing friction and pressure hotspots. If you’re between sizes, comfort-fit can sometimes make a slightly smaller band wearable—or it can make your chosen size feel more secure without pinching.
Q: Do gemstone settings affect ring sizing?
They can, especially with higher-profile stones or thicker shanks that change how the ring sits on the finger; measure using your intended style or verify with the brand’s dimensions.
Decision rule for “in-between” sizes
Here’s a practical way to decide if you’re between two sizes:
– If the ring slides/spins on your skin → choose the larger size (or use an adjuster temporarily).
– If the ring pinches at the knuckle → choose the smaller size and consider comfort-fit plus resizing.
– If you’re uncertain → choose the size that allows easy knuckle passage, then use a temporary size adjuster until a jeweler can confirm.
Quick measurement-check before purchase (what I recommend)
Before you finalize an order in 2025/2026, do one last confirmation:
1. Re-measure circumference after warming your hands.
2. Compare your result to a diameter/circumference chart for your region.
3. If it’s within a small margin, test fit with an adjuster or plan a resize.
According to ISO 8653-1, standardized sizing is built on diameter-based increments; if your measurement falls near an increment boundary, using repeat measurements and a comfort-profile selection usually determines the final “right” choice.
In conclusion, the best ring size comes from a disciplined measurement process: measure circumference or inside diameter carefully, match your result to the correct sizing chart for your region, and account for real-world comfort factors like temperature, time of day, and band width. If you’re between sizes, comfort-fit profiles and temporary adjusters can bridge the gap—then a professional resize option can lock in the final perfect fit.
Frequently Asked Questions
What is the most accurate ring size guide method for measuring at home?
The most accurate ring size guide for home use is measuring an existing ring you wear comfortably. Use a ring sizer or measure the inside diameter (mm) with a ruler, then match it to the brand’s ring size chart. If you measure with a tape measure, wrap it snugly around the finger and record the circumference in mm, then convert using a ring size conversion chart for accuracy. For best results, measure at the same time of day and double-check with a second measurement.
How do I measure my ring size if I don’t know my finger circumference?
If you don’t know your finger circumference, measure the inside diameter of a ring that fits well and compare it to a ring size chart. Alternatively, measure your finger circumference with a soft measuring tape, keeping it snug but not tight, and note the mm measurement. Many ring size guides also recommend measuring two fingers at once (or trying a couple of sizes) because fingers can vary by day. If your measurement falls between sizes, consider sizing up or using a resize-friendly option depending on the ring’s width.
Why do my ring size measurements change throughout the day?
Finger size can fluctuate due to temperature, salt intake, hydration, and activity level, which is why ring size guides advise measuring when your hands are warm and relaxed. Cold weather can make fingers smaller, while heat and swelling can make them larger, leading to different readings. This variation is especially noticeable for rings worn on the same day for events, travel, or after exercise. Taking measurements in similar conditions and using more than one method helps you choose the correct ring size.
Which ring size chart should I use for different countries or sizing systems?
Different regions use different sizing systems, such as US, UK, EU, and Japan, so you’ll want to use a conversion chart specific to the jeweler or brand. A good ring size guide will list both diameter (mm) and circumference (mm) alongside the local size number. If you’re shopping internationally, don’t rely on a single translation—check the brand’s exact chart to avoid off-by-one sizing errors. When available, choose a chart that matches your measurement type (diameter vs. circumference) for the most consistent results.
Best practices for choosing between two ring sizes if I’m between sizes?
If you’re between sizes, many ring size guides recommend rounding based on comfort and whether the ring can be resized easily. For snug comfort, consider the smaller size if the ring will be worn daily and your finger isn’t prone to swelling; for easier on/off, choose the larger size if the ring tends to feel tight. Wide bands often feel tighter than thinner bands, so you may need to size up for a comfortable fit. When in doubt, order from a jeweler with a resizing or exchange policy to reduce the risk of an incorrect ring size.
📅 Last Updated: July 13, 2026 | Topic: Ring Size Guide | Content verified for accuracy and freshness.
References
- Ring size
https://en.wikipedia.org/wiki/Ring_size - https://en.wikipedia.org/wiki/Ring_(jewellery
https://en.wikipedia.org/wiki/Ring_(jewellery - https://en.wikipedia.org/wiki/Jewellery_sizing
https://en.wikipedia.org/wiki/Jewellery_sizing - https://en.wikipedia.org/wiki/List_of_size_standards
https://en.wikipedia.org/wiki/List_of_size_standards - Ring size
https://en.wikipedia.org/wiki/ISO_8653 - Google Scholar Google Scholar
https://scholar.google.com/scholar?q=ring+size+guide+finger+measurement - Google Scholar Google Scholar
https://scholar.google.com/scholar?q=ring+size+conversion+diameter+circumference+chart - Google Scholar Google Scholar
https://scholar.google.com/scholar?q=standard+finger+ring+sizes+ISO+8653 - https://pubmed.ncbi.nlm.nih.gov/?term=ring+size
https://pubmed.ncbi.nlm.nih.gov/?term=ring+size - Google Scholar Google Scholar
https://scholar.google.com/scholar?q=standardization+of+ring+sizes+finger+circumference