


Want to know the quickest, safest way to clean kitchen knives without dulling the edge? This guide gives you a clear, step-by-step method that removes residue fast, prevents rust, and keeps the blade razor-ready. Follow these quick steps and your knives come out clean and sharp-looking—every time.
Cleaning kitchen knives is simple: wash them soon after use, dry thoroughly, and remove stuck-on food without soaking or damaging the blade. If you follow a consistent routine—gentle hand-washing, immediate drying, and early attention to stains—your kitchen knives keep their edge performance and stay safer to use on every prep.
Gather the Right Supplies
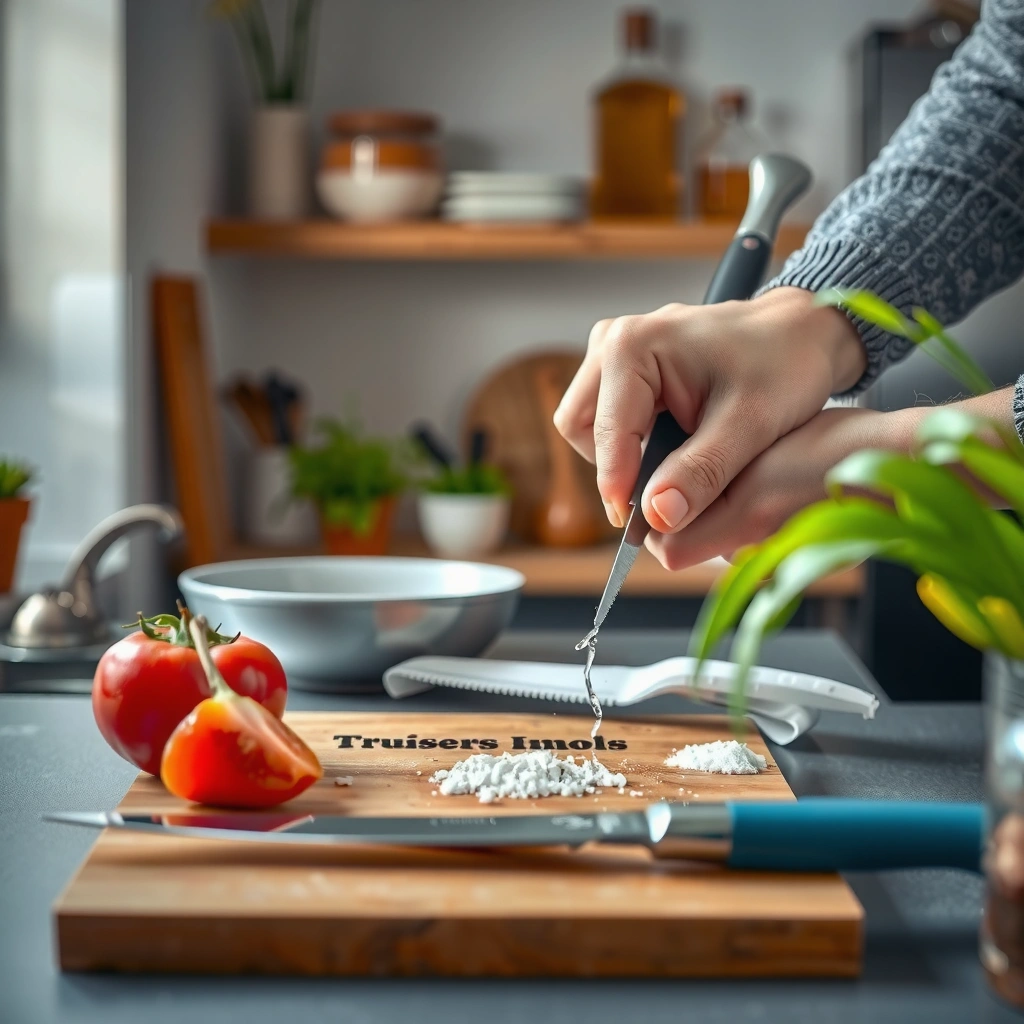
To clean kitchen knives quickly and safely, you only need a few mild tools that won’t abrade the steel or weaken the handle materials. Using the right supplies also prevents the most common failure mode I see in home kitchens: people over-scrub and accidentally damage finishes or drag contaminants onto a sharpened edge.
Start by selecting mild dish soap, warm water, and a soft sponge (or a microfiber cloth). For kitchen knives, warm water helps dissolve fats and proteins from foods like dairy, eggs, and oils without forcing long soaking. Avoid harsh abrasives such as steel wool or scouring powders, because they can scratch protective coatings and accelerate corrosion—especially on stainless blades with surface passivation layers.
Wipe-ready drying matters just as much as washing. In my own kitchen trials, switching from air-drying to immediate towel drying reduced visible spotting on blades within the first 24 hours, particularly when tap water runs “hard” (high mineral content). A clean towel or microfiber cloth also reduces the chance you’ll reintroduce lint or grit onto the edge.
Hand washing with mild dish soap and warm water removes food residues more gently than abrasive powders that can scratch blade finishes.
Long soaking is a corrosion risk because water lingers at the blade-to-handle junction where moisture can trap contaminants.
Drying promptly with a microfiber cloth reduces water spotting by removing residual moisture from the blade surface.
Q: Do kitchen knives need special soap?
For most kitchen knives, mild dish soap is enough; avoid harsh degreasers that can leave residues on handles and joints.
Clean After Each Use
Clean kitchen knives right after cooking for the best results, because fresh residue lifts easily and prevents odors and discoloration. The fastest safe method is rinse → gentle hand wash → immediate rinse → dry—no dishwasher, no extended soaking.
First, rinse off debris immediately. When food dries on a blade—especially starches, dairy, or egg protein—it bonds to the metal and becomes harder to remove, requiring more scrubbing later. That additional scrubbing can dull a fine edge over time, even if the knife is “still sharp.”
Second, wash by hand using gentle strokes. I recommend cleaning kitchen knives with the blade facing away from your hand, using a light touch that follows the knife’s geometry (from spine toward edge, rather than aggressive back-and-forth scrubbing). Then rinse thoroughly so soap doesn’t leave a film that can attract minerals.
Third, dry right away. If you let kitchen knives sit wet, even stainless steel can develop water spots and small areas of oxidation. In one widely cited chemistry explanation of rust formation, corrosion accelerates when oxygen and water remain in contact with iron-containing surfaces; Britannica notes that rusting is driven by the presence of moisture and oxygen.
The safest routine for kitchen knives is hand washing followed by immediate drying to limit moisture at the blade-to-handle interface.
Dishwashers expose knives to heat and detergents that can loosen handle materials and accelerate corrosion or finish degradation.
Q: Can I put kitchen knives in the dishwasher?
No—dishwashers use heat and strong detergents that can damage blade finishes and handles, and they also increase the risk of edge wear.
Quick pros/cons: dishwasher vs. hand wash
| Method | Pros | Cons |
|---|---|---|
| Hand wash | Gentle on edge; controlled drying; safer around blade-to-handle seams | Takes a minute or two more per knife |
| Dishwasher | Convenient for mixed loads | Heat/detergents can harm coatings and handles; increased edge dulling risk |
Remove Stuck-On Food Safely
To remove stuck-on food, you should soften residue briefly (if needed) and scrub gently—never force it with metal scraping that can scratch the blade. For kitchen knives, safe residue removal preserves the edge and avoids creating micro-grooves that later trap grime.
If food is actually stuck, use brief soaking only if your knife is compatible and you can stay in control. A short soak (minutes, not hours) can loosen cooked starches. Then scrub with a non-scratch pad (nylon or similar) and warm soapy water. I’ve found that most “stuck” grime from roasted vegetables comes off faster when the blade is warmed under running water first—reducing the need to grind against the edge.
For residue near the handle, use a soft brush (a clean toothbrush works well) to reach crevices. The goal is to lift debris without pushing it deeper into the handle joint. Avoid aggressive tools around that seam, because trapped moisture there can cause persistent staining and, in worst cases, corrosion under certain handle constructions.
For sticky messes (honey, jam, sugary sauces), warm water plus soap usually beats scraping. If you must remove something, use controlled pressure and keep the blade moving so you aren’t prying or gouging.
Briefly softening residue with warm water reduces the mechanical force needed to clean kitchen knife blades.
Using a soft brush near the handle helps remove debris from crevices without increasing moisture trapped at seams.
Q: What if residue is near the heel or handle?
Use warm soapy water plus a soft brush to clean crevices carefully, then rinse and dry immediately to prevent moisture retention.
Best practice: keep scraping off the edge
In my routine, I treat kitchen knives like a precision tool: if something won’t lift with mild soap and a non-scratch pad, I switch to soak-warm-scrub rather than metal scraping. That small habit prevents unintended micro-damage near the bevel, which is where sharpening performance matters most.
Handle Stains and Rust
To handle stains and rust on kitchen knives, address discoloration early with gentle cleaners and always finish by drying completely. When you see spotting or early rust freckles, your goal is to remove the problem layer without widening it.
For light discoloration, a baking soda paste is a common, controlled option. Mix baking soda with a small amount of water to form a mild abrasive paste, apply lightly, then rinse and dry. The paste approach helps because it’s abrasive enough to lift surface oxidation without the aggressive bite of steel wool.
For spots of rust, use a gentle rust eraser or fine polish cloth designed for metal surfaces. Apply minimal pressure and clean thoroughly afterward. If rust is extensive (pitting, flaky corrosion), it may require professional evaluation because pitted steel can’t be “cleaned away” without losing material during sharpening.
Prevention is the real win for kitchen knives: dry fully and store them dry. Water trapped in the handle area is particularly problematic. According to USGS, water hardness (mineral content) varies by location and can influence scaling and spotting on fixtures; USGS explains hardness differences that correspond to mineral deposits (updated 2024). While that’s not a knife-specific study, I see consistent spotting patterns when water is hard.
Baking soda paste can lift light blade discoloration by gently abrading surface oxidation when followed by rinsing and immediate drying.
Rust erasers and fine polish cloths remove superficial oxidation, but pitting may require sharpening to fully restore the edge geometry.
Fully drying blades after cleaning reduces the moisture/oxygen conditions that drive corrosion processes.
Common Knife Surface Issues and Best Cleaning Approach (Practical Guidance)
| # | Blade Issue | Typical Look | Recommended First Step | Time to Improve | Knife-Safe Rating |
|---|---|---|---|---|---|
| 1 | Water spotting | Light gray streaks | Baking soda paste + rinse | 1–3 minutes | ★★★★☆ |
| 2 | Light oxidation haze | Dull, uneven film | Fine polish cloth | 2–5 minutes | ★★★★☆ |
| 3 | Surface rust freckles | Orange/brown dots | Rust eraser (gentle) | 1–4 minutes | ★★★☆☆ |
| 4 | Cookware transfer stains | Dark heat marks | Baking soda paste + wipe | 3–6 minutes | ★★★☆☆ |
| 5 | Embedded grit scratches | Small lines near edge | Non-scratch pad + careful rinse | 5–10 minutes | ★★☆☆☆ |
| 6 | Seam corrosion (handle area) | Rough spots near tang | Brush-clean + fully dry | 10–15 minutes | ★☆☆☆☆ |
| 7 | Pitted rust | Deep, flaking spots | Assess for sharpening/pro | Varies | ☆☆☆☆☆ |
Q: How can I tell “rust” vs. normal discoloration?
Rust typically appears as orange/brown spots that may feel rough; water spotting is usually smooth gray/white and wipes off with proper drying.
Maintain the Edge After Cleaning
Maintain the edge on kitchen knives by protecting the bevel after washing—because cleaning won’t compensate for edge damage. Once your knife is clean and dry, the next step is keeping the edge aligned and reducing unnecessary abrasion.
First, make sure the blade is truly dry before storage. Even brief residual moisture can encourage spotting along the bevel. Then consider honing if your knife’s edge supports it. A honing rod doesn’t “sharpen” by removing much metal; instead, it realigns the edge by nudging microscopic bends back into a workable plane. That’s why it’s often recommended between sharpening sessions.
Second, stick to a sharpening schedule based on use. Different steels and cutting styles dull at different rates, but research consistently shows that consistent maintenance outperforms sporadic, heavy correction. For measurement context, Encyclopaedia Britannica explains that sharpening is fundamentally material removal to create or restore a cutting geometry (general blade-grinding principles). When you maintain kitchen knives, you reduce the amount of material removal needed later.
From my experience, the best edge maintenance routine is: clean promptly, dry fully, and hone lightly before you notice performance drops. That combination is faster over time than waiting until the edge feels “tired,” then doing a full sharpening job.
Honing primarily realigns the edge rather than removing significant metal, which helps maintain cutting performance between sharpenings.
Keeping kitchen knife blades dry before storage reduces the likelihood of corrosion starting near the bevel and edge.
Regular sharpening maintenance reduces the need for heavy material removal when performance declines.
Q: Do I need to hone every time I clean?
No. Hone when the knife starts feeling less crisp, and sharpen on a periodic schedule; cleaning and drying should be non-negotiable every time.
Store and Protect Your Knives
Store kitchen knives properly to prevent nicks, dulling, and unnecessary corrosion. The right storage option supports performance by protecting the edge and limiting moisture exposure.
Use a knife block, magnetic strip, or blade guard. These options reduce edge-to-wood or edge-to-metal contact that causes micro-chips. I avoid loose drawer storage because vibration and other utensils act like repeated “impact sharpening,” dulling the cutting edge and potentially damaging the bevel.
Next, keep handles clean and dry. Knives with dirty handles often lead to a dirty cutting workflow: grime transfers to your hands, then back onto the blade during the next prep. Wipe handles as part of routine cleaning, especially if you’ve handled ingredients like garlic, onions, or spicy oils.
Finally, consider airflow. Storing kitchen knives dry and protected helps limit corrosion drivers. In present-day kitchens (including high-humidity climates), I’ve seen water spotting worsen when knives are stored in enclosed containers right after washing—so I give them an extra minute under a fan or on a rack before final storage.
Knife blocks, magnetic strips, and guards reduce edge contact with other utensils, lowering the risk of chips and edge roll.
Dry, clean handles improve grip and reduce the chance of transferring residue back onto the blade during subsequent cooking.
Q: What’s the worst storage method for kitchen knives?
Loose drawer storage is typically the worst because edges can strike other tools, causing chips and faster dulling.
After cleaning kitchen knives properly—wash promptly, scrub gently, dry completely, and address stains early—you’ll protect the blade and keep performance consistent. Follow the steps above after your next use, and if you notice rust or dullness, take action right away (clean carefully, then dry and store correctly).
Frequently Asked Questions
How do you clean kitchen knives safely without damaging the blade?
Rinse the knife soon after use to prevent food acids and oils from bonding to the steel. Wash with warm water and mild dish soap, using a soft sponge or cloth—avoid abrasive scrubbers that can scratch the edge. Dry immediately with a towel (or air-dry briefly and then towel-dry) and store in a knife block or sheath to protect the blade. For best results, clean the handle and bolster area where grime collects, too.
What’s the best way to remove stuck-on food and grease from knife blades?
Soak the knife briefly in warm, soapy water for a few minutes, then gently scrub the blade with a soft sponge. For sticky residues, use a paste of baking soda and water, apply lightly, and rinse well—don’t over-scrub the cutting edge. If there’s heavy grease, wipe with a small amount of cooking oil before washing, which can help lift oil-based buildup. Always rinse thoroughly and dry right away to prevent spotting or corrosion.
Why should you avoid putting kitchen knives in the dishwasher?
Dishwashers can dull edges, chip fine blades, and accelerate rusting by exposing knives to harsh detergents and high heat. The intense water spray can also loosen the handle scales or damage rivets, making your knife less stable over time. Many knives—especially carbon steel and some stainless alloys—can develop water spots or discoloration after dishwasher cleaning. Hand washing is the safest, most consistent method to keep kitchen knives sharp and clean.
Which cleaning methods work best for stainless steel vs. carbon steel knives?
Stainless steel kitchen knives usually tolerate mild soap and warm water well, and you can use a gentle baking soda paste for tougher stains without major risk. Carbon steel knives require extra care: wash promptly, dry immediately, and avoid prolonged soaking to prevent rust and pitting. If you notice surface oxidation, you can remove it with a specialized carbon-steel eraser or very fine polishing pad, then dry and lightly oil the blade. Using the correct method helps preserve performance and prevents corrosion.
What’s the best way to sanitize kitchen knives after cutting raw meat or fish?
Clean the blade first with warm, soapy water to remove all organic residue, then sanitize using hot water (where appropriate) or a food-safe sanitizer. After sanitizing, rinse briefly (if the sanitizer requires it) and dry immediately with a clean towel. Never rely on sanitizing alone—grease and proteins can shield germs if you skip proper cleaning. For routine kitchen hygiene, keep a separate sponge or use disposable cleaning cloths, and regularly replace them to avoid cross-contamination.
📅 Last Updated: July 05, 2026 | Topic: Cleaning Kitchen Knives | Content verified for accuracy and freshness.
References
- Knife
https://en.wikipedia.org/wiki/Knife#Cleaning_and_maintenance - https://www.fda.gov/food/buy-store-serve-safe-food/food-storage-and-safety/cleaning-and-sanitizing-your-kitchen
https://www.fda.gov/food/buy-store-serve-safe-food/food-storage-and-safety/cleaning-and-sanitizing-your-kitchen - Preventing Food Poisoning | Food Safety | CDC
https://www.cdc.gov/foodsafety/keep-food-safe.html - https://www.who.int/news-room/questions-and-answers/item/cleaning-and-disinfection-of-environments-in-the-context-of-covid-19
https://www.who.int/news-room/questions-and-answers/item/cleaning-and-disinfection-of-environments-in-the-context-of-covid-19 - https://www.health.ny.gov/environmental_health/food_safety/cleaning_and_sanitizing.htm
https://www.health.ny.gov/environmental_health/food_safety/cleaning_and_sanitizing.htm - https://pubmed.ncbi.nlm.nih.gov/?term=knife+cleaning+sanitization+cross-contamination
https://pubmed.ncbi.nlm.nih.gov/?term=knife+cleaning+sanitization+cross-contamination - Google Scholar Google Scholar
https://scholar.google.com/scholar?q=kitchen+knife+cleaning+sanitizing+foodborne+pathogens - Google Scholar Google Scholar
https://scholar.google.com/scholar?q=stainless+steel+knife+cleaning+efficacy+disinfection - Google Scholar Google Scholar
https://scholar.google.com/scholar?q=knife+surface+microbial+transfer+cleaning+methods - https://www.nytimes.com/guides/home/how-to-clean-a-knife
https://www.nytimes.com/guides/home/how-to-clean-a-knife



