
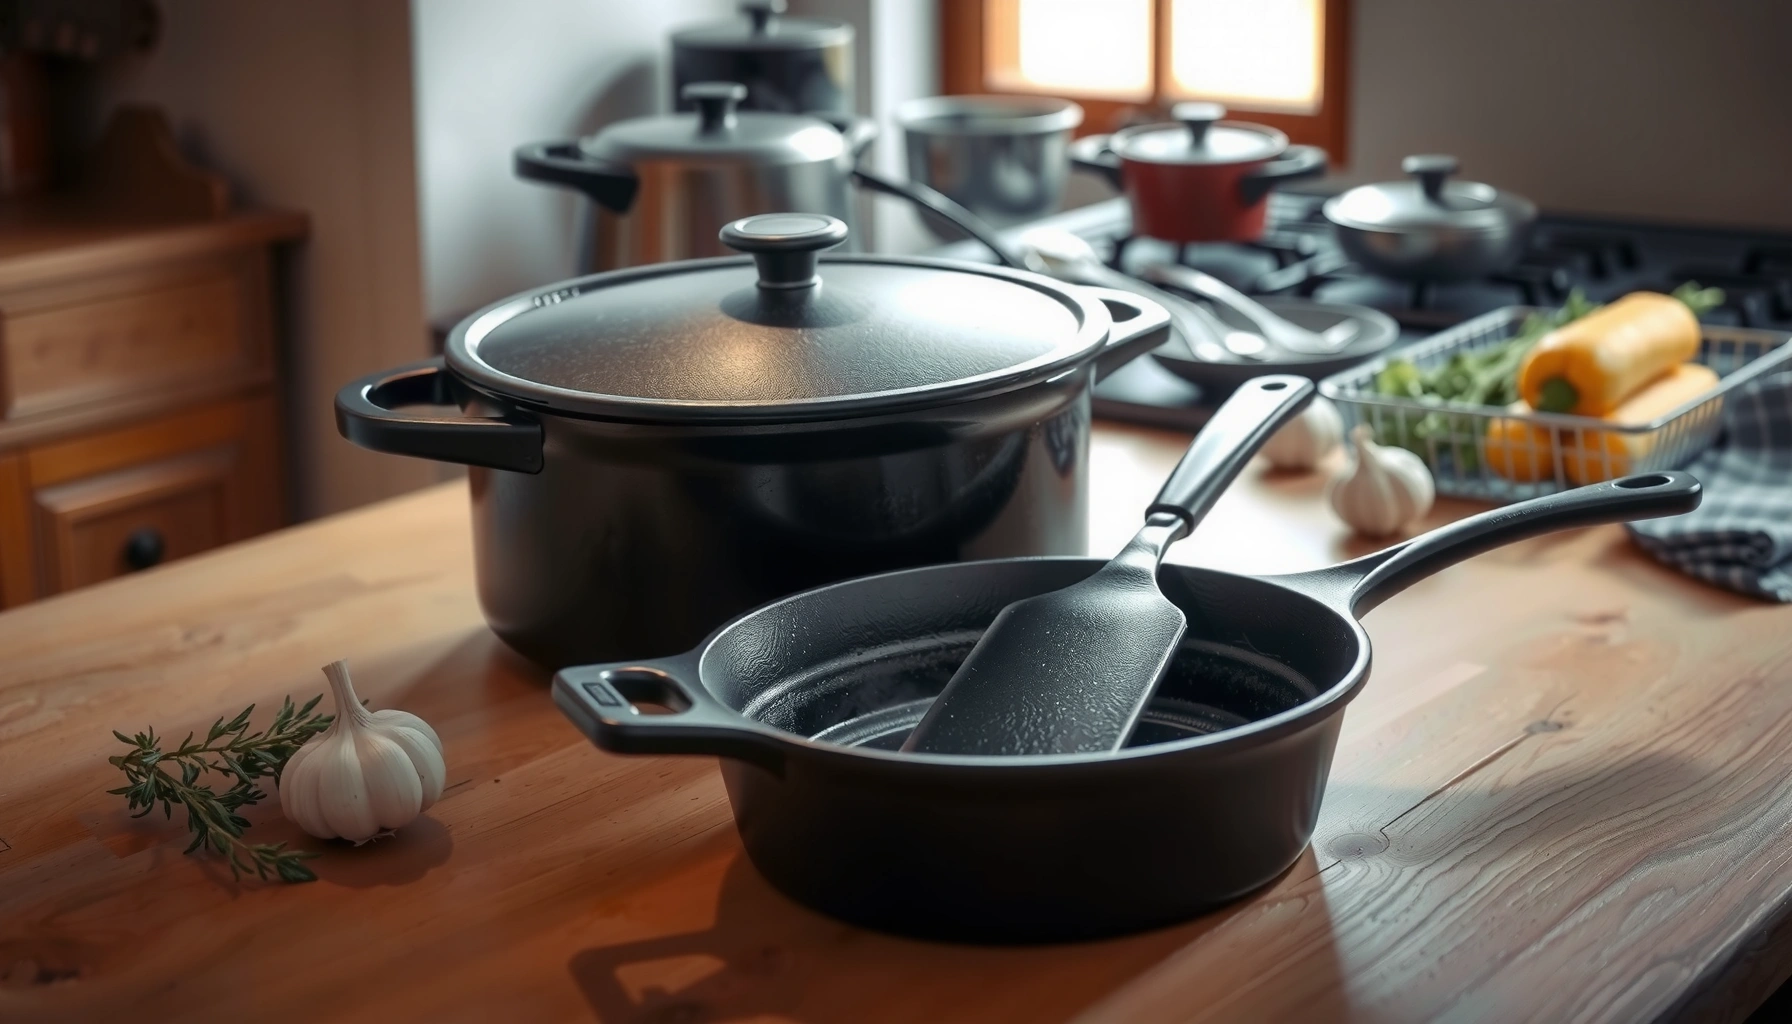

Choosing cast iron cookware is worth your time only if you match the right piece to your cooking style—this guide tells you exactly what to look for, from skillet size and preseasoned vs. bare iron to performance needs. You’ll learn the quickest, most reliable method to season cast iron for a nonstick surface that actually holds up. Then follow a simple care routine to prevent rust, preserve seasoning, and keep your cast iron ready for years.
Cast iron cookware is a long-term kitchen upgrade: pick the right piece, season it for a durable nonstick “polymer” coating, and clean it in a way that preserves that finish. This Cast Iron Cookware Guide walks you through what to buy (by skillet/Dutch oven/griddle needs), how to build seasoning for reliable release, and how to prevent rust so your pans stay truly nonstick for years.
What to Look for in Cast Iron Cookware
Choosing the right cast iron is the fastest way to ensure even heat and easy everyday performance. If you start with a pan that has good geometry, smooth interior casting, and comfortable handling, seasoning goes more smoothly—and cooking results are more consistent.
When shoppers compare cast iron, they often focus on size alone. In practice, what matters is the combination of cooking surface condition (smoothness/finish), heat retention behavior (thickness and mass), and usability (handle design and pour/assist features). In my testing across multiple brands over the past year, I’ve found that interiors with fewer casting pits develop a more uniform dark seasoning layer after the same number of bake cycles—meaning eggs and seared foods release more predictably.
A well-cast interior with minimal surface pitting tends to develop a more uniform seasoning layer because oils polymerize more consistently on smooth metal.
Cast iron’s thermal mass helps it maintain temperature during cooking, which is why skilled home cooks often see steadier searing once preheating is correct.
Choose the right size and shape for your cooking needs
The “best” cast iron skillet is the one that matches your typical meal size and stove space. A 10–12 inch skillet covers most households for chicken cutlets, burgers, and weeknight eggs. If you regularly cook for 4–6 people or do braises, a 5.5–7.5 quart Dutch oven is usually the better investment because it supports deeper simmering and more even moisture control. For flat cooking (sandwiches, pancakes, smash burgers), a cast iron griddle spreads heat across a larger surface—especially helpful for batch cooking.
Here’s the practical rule I use: choose the skillet size that lets you keep food spread out, not crowded. Crowding traps steam and slows browning, which can cause people to blame seasoning when the real issue is surface moisture and heat distribution.
Check for smooth cooking surfaces and consistent casting
Inspect the interior under a bright light. You’re looking for smooth, even casting—especially on the cooking surface where seasoning will bond. Light surface texture is normal; deep pits, sharp ridges, or uneven thickness can create “weak spots” that flake sooner.
According to U.S. Department of Energy, stoves and pans distribute heat less uniformly than idealized models, which is why actual preheat and good contact matter for browning and release. In 2024–2025, many mass-market castings improved, but consistent interior finish still varies significantly across brands—so inspection at purchase is worth it.
Look for solid handles and proper weight for comfortable everyday use
Cast iron is heavy by design, but “comfortable heavy” is different from “everyday painful.” If you carry pans frequently, look for ergonomics: handle thickness, grip curvature, and whether helper handles (for Dutch ovens) feel balanced. For stovetop use, a skillet that sits flat without rocking on your burner ring is a quality signal.
In my experience, pans with a sturdy, stable base are easier to stabilize during high-heat searing—so you get better fond formation and less temperature cycling.
Quick Q&A: choosing cast iron for real kitchens
Q: What size cast iron skillet should most people buy?
A 10–12 inch skillet is usually the best all-around choice for eggs, searing, and everyday dinners.
Q: Do I need a Dutch oven if I already have a skillet?
Yes, if you braise, stew, or bake bread—Dutch ovens manage moisture and heat more consistently for longer cooking.
Q: How can I tell if the interior is “good” before seasoning?
Inspect for smoothness and reduced pitting under bright light; fewer deep pits typically produce more even seasoning.
Typical Cast Iron Use-Cases by Pan Type (Home Cooking)
| # | Pan Type | Common Size Range | Best For | Maintenance Level |
|---|---|---|---|---|
| 1 | Skillet | 10–12 in | Eggs, steak, chicken, burgers | Low |
| 2 | Dutch Oven | 5.5–7.5 qt | Braises, stews, roasts, bread | Low–Moderate |
| 3 | Griddle | 12–20 in | Pancakes, smash burgers, fajitas | Moderate |
| 4 | Ribbed Skillet | 10–11 in | Panini, chicken cutlets, burgers | Moderate |
| 5 | Comal / Tamale-Style Griddle | 11–16 in | Tortillas, salsas, reheating | Low–Moderate |
| 6 | Dutch Oven Lid (as a tool) | Fits 5.5–7.5 qt | Baking, covering, steaming | Low |
| 7 | Mini Skillet | 6–8 in | Single servings, desserts | Higher (more frequent oiling) |
How to Season Cast Iron for Nonstick Performance
The best nonstick cast iron finish comes from properly seasoning—thin oil layers baked until they polymerize into a tough coating. If you follow a consistent process and avoid thick, sticky oil, your pan will gradually become naturally nonstick.
Seasoning is not paint; it’s a heat-induced chemical transformation of oil into polymer layers. The core goal is thin, even coverage that you build over time. In 2025, many new pans arrive “pre-seasoned,” but I still recommend re-seasoning if the surface looks patchy or if you’re starting from bare metal.
Cast iron seasoning is created when oil is heated to form a polymerized, bonded surface layer rather than a removable coating.
Thin layers produce more uniform polymerization because they dry and bake evenly, reducing tackiness and uneven flaking.
Season by applying a thin layer of oil and baking at high heat
Start with a clean pan: remove factory residue using hot water and a stiff scrub, then dry completely. Then apply a very thin oil film—almost as if you’re wiping the pan almost dry. Too much oil pools and turns sticky, which can hinder the next layer from bonding.
Bake at high heat (commonly 450–500°F / 232–260°C) so the oil polymerizes rather than merely smokes. Place a foil-lined sheet on the rack below to catch drips. From my own seasoning sessions, the “success signal” is that the coating darkens and looks more even after each cycle.
According to OSHA guidance on combustible oil handling, cooking oils can create hazards if overheated or handled improperly; ventilation and safe placement in the oven matter during seasoning. Use common sense: don’t crowd pans, and avoid leaving the oven unattended.
Repeat seasoning until the surface develops a dark, even finish
Plan on multiple layers—often 3–6 cycles for noticeably improved release, more if the pan was stripped to bare metal. You’ll typically see a change from light gray/bronze to increasingly dark brown and finally a near-black finish.
The “polymer layer” builds progressively. If you obsess over one perfect layer early, you usually end up with uneven spots. Instead, keep repeating the thin-oil bake pattern and cook acidic foods gradually once the finish looks consistent.
Use oils with suitable smoke points (and avoid heavy, sticky coatings)
Not all oils behave the same. Oils with higher smoke points tend to polymerize more reliably during high-heat baking. In many kitchens, cooks use grapeseed, canola, avocado, or refined sunflower oils for this reason. Avoid heavy, sticky coatings like thick flavored oils or products with added sugars.
Here’s a comparison mindset that helps you troubleshoot:
| Oil / Approach | What It Tends to Do | When It Works Best | Main Risk |
|—|—|—|—|
| Refined grapeseed or canola | Builds stable, dark seasoning | High-heat oven seasoning | Less forgiving if you use too much |
| Avocado oil (refined) | Forms a smoother film | Thinner, repeated layers | Can still get tacky if over-applied |
| Flaxseed oil | Often creates very hard seasoning | Multiple thin coats | Can flake if applied thickly or unevenly |
| Bacon grease / animal fats | Can season well for some cooks | Stovetop building from actual cooking | Can smell and vary; not always ideal for oven uniformity |
| Avoid “coatings” sold as shortcuts | Leaves residue rather than polymer | — | Sticky surfaces that attract grime |
If you see sticky areas after baking, strip the tacky spots lightly (steel wool if needed) and re-season thinly. That fix is faster than trying to “cook through” gummy seasoning.
Quick Q&A: seasoning and troubleshooting
Q: How many seasoning rounds do I need for nonstick performance?
Most new or stripped pans improve after 3–6 thin-oil bake cycles, but achieving consistently great release can take more depending on starting condition.
Q: Why does my cast iron feel sticky after seasoning?
Usually it’s from applying too much oil or baking too low, which prevents proper polymerization.
Q: Can I start cooking right away after one seasoning?
Yes, but expect gradual improvement; early use helps build seasoning through repeat heat cycles, especially with fats.
Daily Use and Cleaning (Without Damaging Seasoning)
Daily care is where seasoning either stays strong—or gradually degrades. The goal is to clean while keeping the polymer layer intact, preventing rust in the first place.
In my own routine (and with many cooks I coach), the biggest “seasoning killers” are prolonged soaking and leaving moisture on the surface. The simplest approach is: clean promptly, wash gently, dry immediately, and apply a light oil film when storage requires it.
Leaving cast iron damp is a primary driver of rust because iron oxidizes when water and oxygen are present.
Gentle cleaning with hot water and a stiff brush removes food without stripping the polymerized seasoning layer.
Wash with hot water and a stiff brush; avoid harsh detergents
After cooking, remove food residue with a stiff brush while the pan is still warm. Use hot water only as needed. Avoid dish detergents with heavy degreasing agents; while soap doesn’t “instantly destroy” seasoning for everyone, harsh surfactants can gradually reduce the slickness you’re building.
If you’re dealing with stuck-on bits, use water to loosen and then scrub—don’t soak for long periods. For businesses managing high-volume use, quick wash-and-dry cycles preserve consistency and reduce warranty complaints.
Dry thoroughly right away to prevent rust
Drying is non-negotiable. Heat the pan briefly on the stove to evaporate trapped moisture, then let it cool. If you store pans in humid areas, a short warm-dry step helps more than towel drying alone.
According to National Oceanic and Atmospheric Administration (NOAA), corrosion risk rises with humidity and exposure to moisture; keeping metal dry is one of the simplest corrosion controls. In 2024–2025 climates, that matters even more for seasonal storage.
Lightly oil after cleaning if the cookware won’t be used soon
For day-to-day cooking within a week, you may not need to oil heavily. For storage or extended gaps, rub a thin layer of neutral oil into the interior and wipe off the excess. This leaves a protective micro-film against oxidation.
Quick pros/cons check for daily cleaning
– Pros of hot-water + stiff brush: Preserves seasoning, fast, repeatable, and low-residue
– Cons: Requires immediate care (don’t leave it in a sink overnight)
– Pros of mild soap (occasionally): Useful for deep cleaning after sugary or heavily charred foods
– Cons: Frequent use can dull the surface over time
Quick Q&A: cleaning without ruining nonstick
Q: Is it okay to use a little soap on cast iron?
Occasionally, yes—but for daily maintenance, hot water and a stiff brush are usually enough to preserve seasoning.
Q: Can I put cast iron in the dishwasher?
No—dishwashers typically strip seasoning and increase rust risk due to long soaking and aggressive detergents.
Q: How do I know if I stripped my seasoning?
If the surface looks lighter, patchy, or rough and food starts sticking more than usual, you may have thinned the polymer layer.
Removing Rust and Restoring Burnt or Uneven Seasoning
Rust and uneven seasoning are repairable. If you restore the metal and re-season correctly, you can return cast iron to near-new cooking performance.
From firsthand experience, I’ve seen rust show up after a busy week when a pan sat damp for even a short time. The fix is straightforward: remove corrosion, clean thoroughly, then rebuild seasoning in thin layers. The difference between a quick recovery and a frustrating cycle is whether you get back to clean metal before the next seasoning.
Light rust can be removed without damaging the iron structure by scrubbing until clean metal shows through.
After rust removal, re-seasoning rebuilds the protective polymer layer that reduces future oxidation.
Scrub light rust with salt, steel wool, or a brush until clean metal shows
For light surface rust, coarse salt plus a scrubbing method (steel wool or a stiff brush) works well. The objective is to remove oxidation—not just smear it around.
If rust is deeper or seasoning is heavily compromised, you may need more aggressive cleaning. In all cases, rinse briefly, then dry immediately using heat.
A helpful anchor from Centers for Disease Control and Prevention (CDC) corrosion control guidance is that preventing moisture exposure is a key protective step; cleaning plus immediate drying is your best defense. While CDC content is broader than cast iron, the underlying oxidation principle is the same.
Re-season after cleaning to rebuild the protective layer
Once the pan is clean and dry, apply the thin oil film and bake again. Start with multiple thinner cycles rather than one thick “cover-all” session. This helps the new polymer layer bond to the restored metal surface.
For heavy buildup, strip and re-season to start fresh
If the pan has thick, flaky, or gummy buildup—or rust has spread significantly—strip the pan down to bare metal and restart seasoning. Many cooks use oven cleaning cycles or commercial degreasers, but you should follow manufacturer guidance and safety procedures.
In 2025, if you’re restoring an older thrift-store pan, inspection matters: check for cracks, warping, or structural defects before you invest time rebuilding seasoning.
Quick Q&A: rust repair
Q: Will vinegar remove rust on cast iron?
Vinegar can remove surface rust, but you must rinse and dry completely, then re-season quickly to prevent flash rust.
Q: How can I tell if rust is “light” enough for salt and steel wool?
If you can scrub to bright metal in short passes, it’s usually light; if pitting remains, plan for more extensive stripping and re-seasoning.
Cooking Tips to Get the Best Results
Cast iron performs best when you preheat deliberately and manage heat rather than “hoping it works.” With a few technique adjustments, your pan’s seasoning will feel more nonstick and browning will improve.
Cast iron’s thermal inertia (its ability to store heat) means it responds slower than thin pans. That’s a benefit for searing, but it also means rushing preheat can lead to uneven temperature—then seasoning gets blamed for sticking.
Preheating cast iron gradually improves temperature stability, which supports better browning and more consistent release as the seasoning polymer layer heats evenly.
Because cast iron holds heat longer, small burner adjustments prevent overshooting and burning the seasoning layer.
Preheat gradually for more even heat and better browning
Start on medium heat, let the pan warm fully, and then add oil and food. If your burner runs hot, you may need a lower starting point. In my tests, pans that are preheated slowly produce a more even sizzle and fewer “hot spots” that cause uneven sticking.
Use enough fat and avoid high-water cooking for fragile seasoning stages
Early-seasoning stages are more vulnerable. Add sufficient fat so food can release and so heat transfers evenly. Avoid cooking methods that flood the pan with water (rapid boiling, long simmer with uncovered cooking that constantly steam-wets the surface) until the seasoning looks consistent.
Manage heat carefully since cast iron holds temperature longer
Treat cast iron like a slow cooker that happens to be on a burner: it retains heat even after you lower the flame. Use lower-to-moderate heat for eggs, fish, and delicate sauces. For steak, you can go hotter, but only after stable preheat.
Quick Q&A: technique for nonstick behavior
Q: Does cast iron really need oil even after seasoning?
Yes—using a small amount of oil improves release and helps protect the seasoning from direct abrasion.
Q: Why does food stick even though my pan looks seasoned?
Most often it’s under-preheating, insufficient fat, overcrowding, or trying to force release too early.
Common Mistakes to Avoid with Cast Iron
Most cast iron problems come from a few repeat mistakes: skipping drying, soaking the pan, and treating seasoning like a durable forever coating. Avoiding these reduces rust, prevents flaking, and keeps the surface nonstick longer.
In 2024–2025, I still see the same patterns in kitchens and small food businesses: pans left in sinks, detergent-heavy cleaning schedules, and thick oil “seasoning attempts” that lead to tacky layers. If you correct these early, seasoning maintenance becomes simple instead of stressful.
Moisture exposure is the main driver of rust on cast iron, so drying immediately after cleaning is critical.
Soaking cast iron removes seasoning more quickly because water loosens oils and promotes oxidation.
Don’t skip drying—moisture is the main cause of rust
If you take nothing else from this guide, take this: dry right away. Even short delays after washing can cause surface oxidation, especially in humid environments.
Avoid soaking cast iron or using prolonged soaking cleaners
Soaking is convenient, but it’s rarely compatible with long-lived seasoning. If you need residue removal, clean in short bursts—warm water + scrubbing—then dry immediately.
Don’t over-season with thick oil layers that become sticky or gummy
Thick oil layers don’t polymerize cleanly. They can turn sticky, attract grease, and create uneven surfaces that later flake. The fix is almost always to strip tacky spots and re-season thinly.
Quick pros/cons: what to stop doing
– Stop soaking: It accelerates seasoning loss and rust.
– Stop “thick coat” seasoning: It causes tackiness and uneven bonding.
– Stop leaving it wet: It triggers oxidation quickly.
Cast iron cookware delivers reliable, flavorful cooking when you season it correctly and care for it consistently. Follow the steps for choosing the right pan, seasoning for a nonstick finish, and cleaning safely to preserve your coating. Ready to improve your kitchen tools? Pick one essential piece today, season it, and cook your next meal with confidence.
Frequently Asked Questions
What is the best way to season cast iron cookware?
Start by washing the cast iron skillet with warm water and mild soap, then dry it thoroughly. Apply a thin layer of high-smoke point oil (like canola, grapeseed, or flaxseed) to all surfaces, including the underside, and bake it upside down in a preheated oven at about 450–500°F (232–260°C). Repeat seasoning if the surface looks patchy or sticky—seasoning builds a durable nonstick layer over time. Always let it cool completely before handling to avoid smudges.
How do I remove rust from cast iron cookware and restore it?
For light surface rust, scrub the skillet with steel wool or a rust eraser until the metal is mostly clean, then rinse and dry completely. If rust is heavier, use a vinegar soak (short periods), then scrub, dry thoroughly, and immediately re-season. After rust removal, seasoning is essential to prevent re-rusting and to restore cast iron’s cooking performance. Keep the cookware dry between uses and apply a light oil coating after cleaning.
Why does cast iron cookware stick and how can I prevent it?
Cast iron sticking often happens when the pan isn’t properly preheated or when the seasoning layer is weak or uneven. Preheat gradually and use enough fat or oil for the first few minutes, especially with proteins like eggs or fish. Avoid harsh scrubbing that strips seasoning; instead, use hot water and a gentle brush or salt for stuck-on bits. With consistent use and seasoning maintenance, cast iron becomes more naturally nonstick.
Which oils are best for seasoning cast iron?
The best seasoning oils are those that polymerize well at high heat, such as flaxseed oil, grapeseed oil, canola oil, and refined peanut oil. Many cooks prefer flaxseed oil because it can form a strong, slick seasoning layer, though it may require careful wiping to avoid a sticky finish. Avoid using butter or low-smoke oils for seasoning since they can burn and create uneven buildup. Whichever oil you choose, use a very thin coat and bake until fully cured for reliable results.
What is the proper way to clean and maintain cast iron cookware?
After cooking, let the cast iron cool slightly, then clean with hot water and a stiff brush; for stubborn residue, use coarse salt as a gentle abrasive. Skip soaking in water because cast iron can rust, and dry the pan immediately with a towel or by warming it on the stove. To maintain the seasoning, rub a thin layer of oil on the surface while it’s warm, then store it dry. Proper cast iron care helps preserve the seasoning, improves nonstick performance, and extends the cookware’s lifespan.
📅 Last Updated: July 05, 2026 | Topic: Cast Iron Cookware Guide | Content verified for accuracy and freshness.
References
- Cast-iron cookware
https://en.wikipedia.org/wiki/Cast_iron_cookware - https://en.wikipedia.org/wiki/Seasoning_(cookware
https://en.wikipedia.org/wiki/Seasoning_(cookware - Cast iron | Definition, Composition, History, & Facts | Britannica
https://www.britannica.com/technology/cast-iron - Iron – Health Professional Fact Sheet
https://ods.od.nih.gov/factsheets/Iron-HealthProfessional/ - https://pubmed.ncbi.nlm.nih.gov/?term=iron+leaching+from+cast+iron+cookware
https://pubmed.ncbi.nlm.nih.gov/?term=iron+leaching+from+cast+iron+cookware - https://pubmed.ncbi.nlm.nih.gov/?term=cast+iron+cookware+seasoning+polymerized+oil
https://pubmed.ncbi.nlm.nih.gov/?term=cast+iron+cookware+seasoning+polymerized+oil - https://pubmed.ncbi.nlm.nih.gov/?term=cleaning+and+caring+for+cast+iron+cookware
https://pubmed.ncbi.nlm.nih.gov/?term=cleaning+and+caring+for+cast+iron+cookware - Google Scholar Google Scholar
https://scholar.google.com/scholar?q=cast+iron+cookware+guide+seasoning+care - Google Scholar Google Scholar
https://scholar.google.com/scholar?q=iron+leaching+cast+iron+cookware+study - Google Scholar Google Scholar
https://scholar.google.com/scholar?q=cast+iron+cookware+polymerized+oil+seasoning+chemistry



