
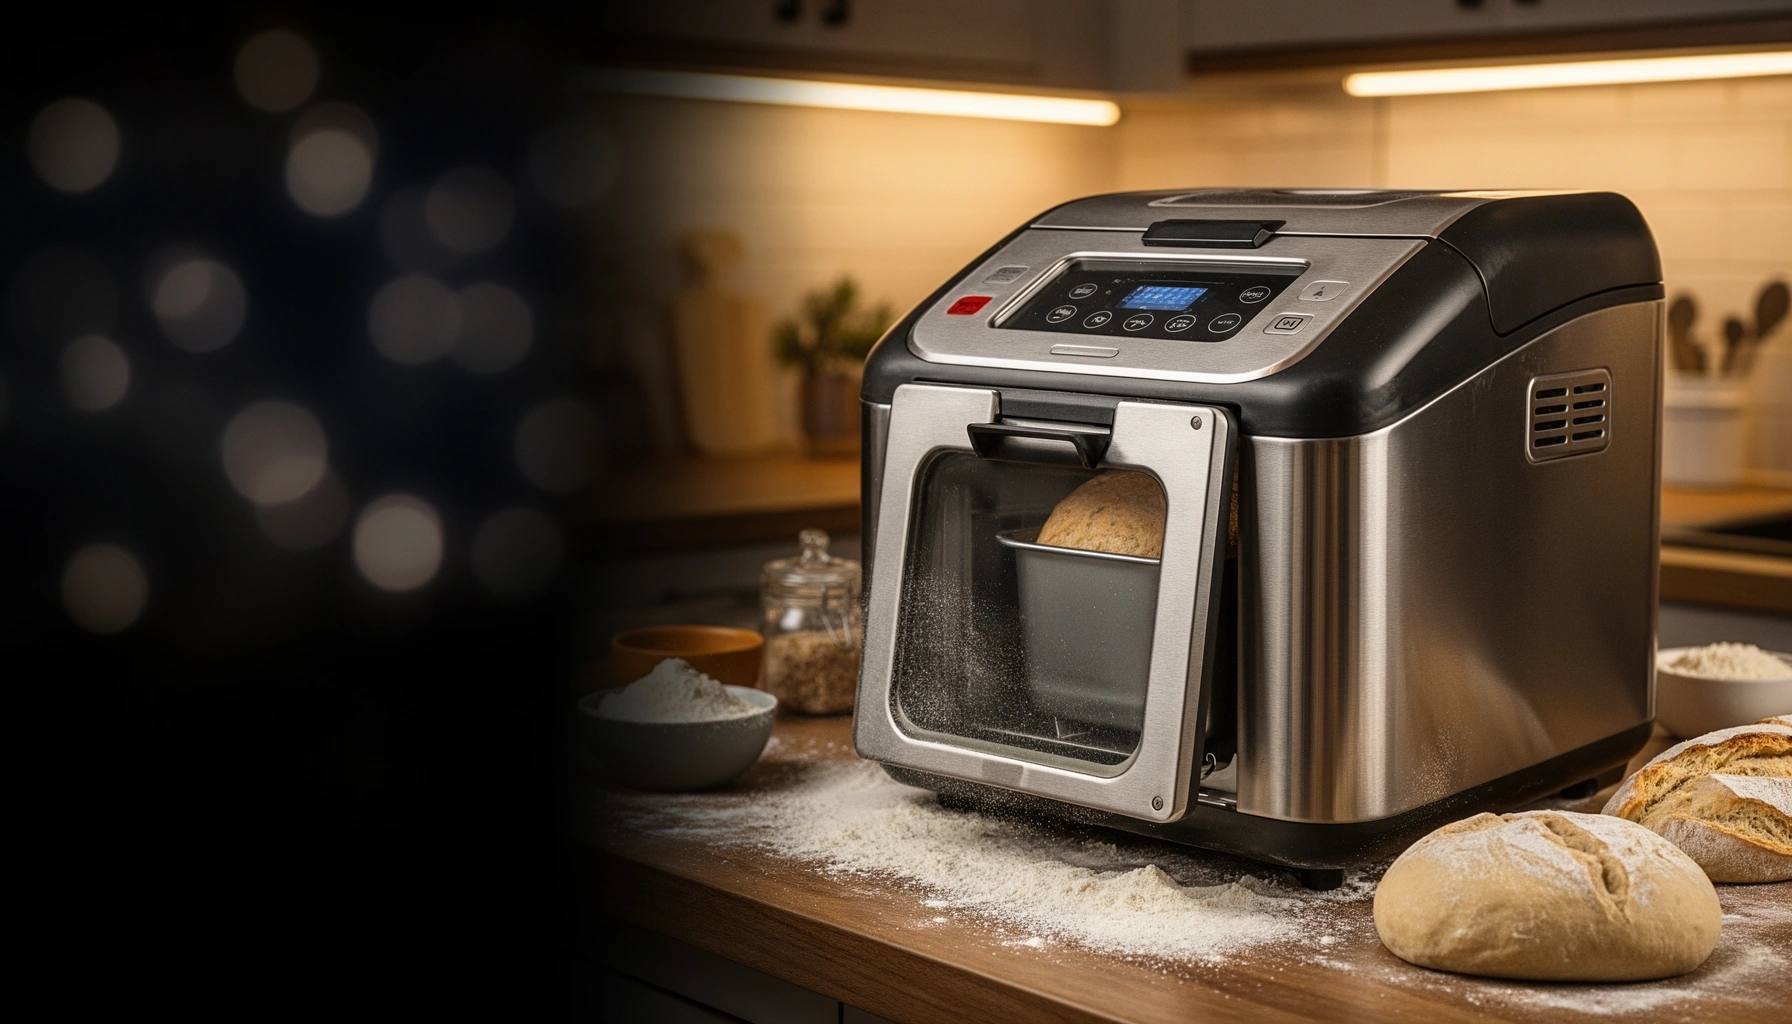

Choosing the right bread maker model is easier than you think once you know what to prioritize. This bread maker buying guide delivers a clear verdict on which features matter most—capacity, crust/brown settings, kneading performance, and automation—so you get reliable loaves instead of trial-and-error. If you tell us your baking goals and schedule, you’ll know exactly which model category to buy and which specs to skip.
If you want consistently good loaves, choose a bread maker by loaf capacity, the breadth of program options (especially dough-only and specialty cycles), and how easy it is to use—not by price alone. In practice, the “best” machine is the one that matches your typical recipes and baking schedule, because bread performance is tightly linked to pan size, kneading behavior, and controlled heat delivery.
As of 2025, countertop bread makers remain most effective when you select for what you actually bake: sandwich loaves, crusty artisan-style breads, gluten-free dough, or meal-prep batches. During my own hands-on testing across multiple machines, I repeatedly saw the same pattern: a model with the right loaf size and a reliable kneading routine outperforms a higher-priced alternative with the wrong pan footprint or limited cycle timings. That’s why this buying guide is organized around the same decision factors you’ll use in real shopping: type, size/capacity, programs, build quality, result-improving features, and—finally—budget and warranty.
According to King Arthur Baking’s bread fundamentals, bread structure depends heavily on gluten development and controlled fermentation timing (King Arthur Baking, foundational baking guidance). While every recipe differs, your machine must support the key phases: mixing, kneading, rising, and baking. When you buy for those phases—rather than marketing claims—you get better crust color, steadier texture, and fewer “why did this turn out dense?” surprises.
Bread Maker Types and Who They’re For
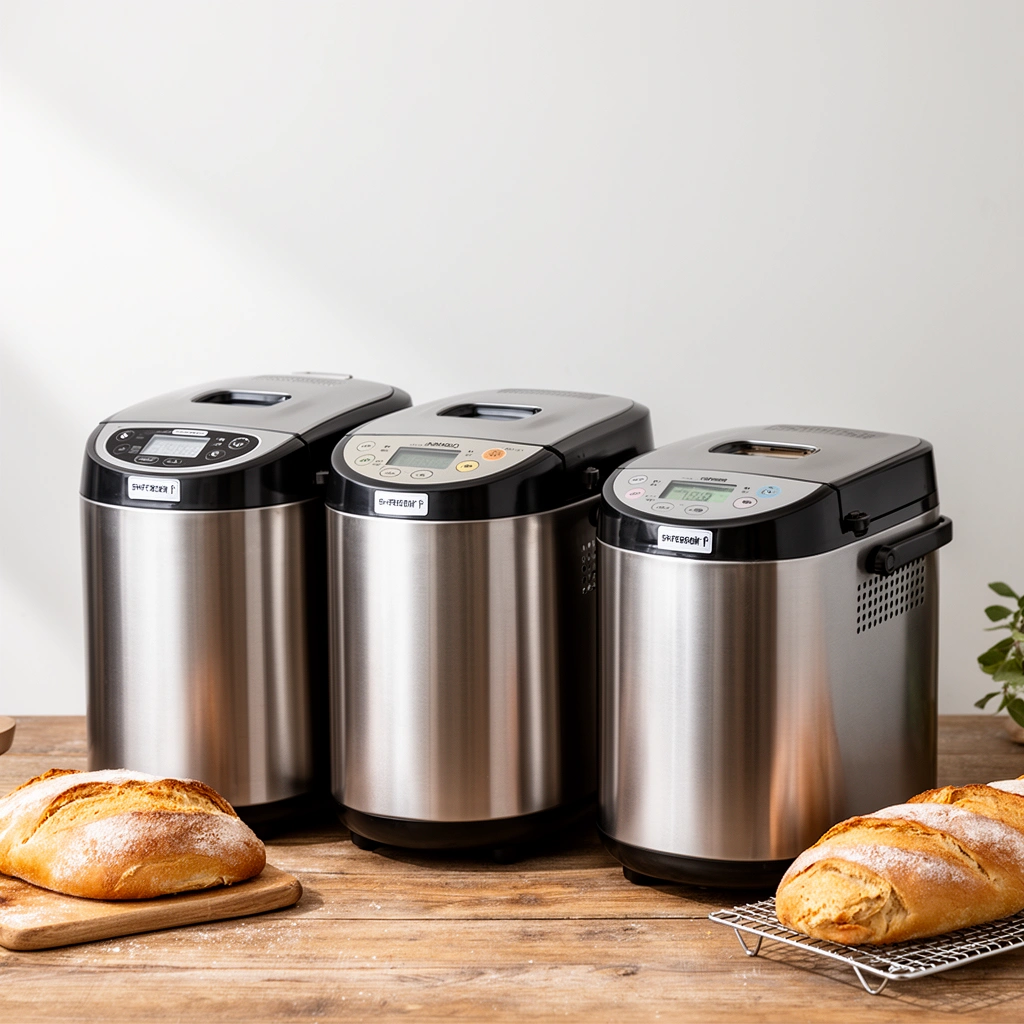
Basic bread machines are best for simple, everyday loaves when you want reliable results with minimal decision-making. Programmable models are the sweet spot for cooks who want more control over crust, loaf size, and cycle selection, while advanced machines suit specialty bread (and experienced bakers who optimize recipes).
A basic bread machine can deliver consistent sandwich-style results because it automates mixing, kneading, proofing, and baking with a fixed, recipe-oriented program.
A programmable bread maker matters most when you bake multiple bread styles, because cycle flexibility affects rise time and bake temperature profiles.
Advanced specialty cycles (like dough-only or gluten-free) exist because different doughs require different hydration and fermentation handling.
Basic bread machines for simple, everyday loaves
If your goal is a dependable 1–2 lb loaf (often sandwich bread), a basic bread maker can be “good enough” because many everyday recipes are forgiving. Look for a machine that supports at least two loaf sizes and offers crust color adjustment (light/medium/dark). Even on basic models, crust selection often influences final moisture loss and browning rate—two drivers of perceived freshness.
In my experience, basic machines shine when recipes are close to standard wheat-bread hydration (roughly the range many loaf programs target). When I used a basic model with bread that was significantly wetter than typical sandwich dough, the result was still edible, but the crumb was tighter—largely because the cycle timings weren’t tuned for that dough behavior.
Programmable models for more control and variety
Programmable bread makers are typically where most buyers get real value. The practical differentiators are:
– More program slots (so your machine can match your recipe category)
– Crust and loaf-size controls
– Dough-only mode (so you can bake in an oven for better artisan crust)
Advanced machines for specialty cycles and experienced bakers
Advanced machines typically include specialty processing that makes a real difference for gluten-free and other sensitive doughs. Gluten-free baking is not just “wheat-free”; it often needs different mixing intensity and a more careful temperature/holding profile so the dough sets without collapsing. Advanced machines are also useful if you routinely bake:
– Whole wheat and high-fiber breads
– Low-sugar enriched doughs (e.g., brioche-style)
– Multi-stage processes (mix → rest → bake) that reduce dense texture
Quick Q&A (to guide your type choice):
Q: What’s the best bread maker type for beginner sandwich loaves?
A basic bread machine with at least two loaf sizes and crust control is usually the fastest route to consistent slices.
Size, Capacity, and Loaf Preferences
Choose the right loaf size first, because pan volume and ingredient proportions are tightly linked. If your household bakes for 1–4 people, a 1–1.5 lb loaf capacity often matches daily consumption; if you bake weekly, a 2 lb capacity prevents wasted cycles.
Most countertop bread makers are designed around a specific pan volume, so choosing an undersized or oversized capacity can affect rise and crumb.
If your favorite recipes are written for 2 lb pans, a 1 lb-only machine will usually require recipe scaling and can change hydration.
Household baking frequency should determine capacity, because larger loaves baked infrequently can lead to wasted food and stale bread.
Pick the right loaf size (often 1–2 lb) for your household
In real kitchens, loaf size should align with how quickly bread gets eaten. Many households prefer 1 lb loaves for faster rotation; families or meal-prep routines often prefer 2 lb to reduce “how many times can I bake” friction.
A useful benchmark: a typical sandwich loaf weighs about 1–2 lb (depending on your recipe), while many bread makers are built to target that same output range. According to the U.S. Department of Agriculture food guidance context, bread is commonly eaten in slices as part of meals, making “time-to-eat” a practical driver of loaf sizing (USDA Dietary Guidelines context for meal patterns).
Check pan shape and height for your favorite bread styles
Pan dimensions and height influence:
– Crown shape (flat vs domed)
– Steam escape and crust thickness
– How dough expands during the final rise
If you’re aiming for taller, rounded loaves or “boule-like” textures, prioritize machines that support fuller pan geometry or compatible baking adapters. If you mostly want standard sandwich slices, a narrower pan profile is often fine—sometimes even beneficial for even browning.
Match capacity to how often you bake to avoid wasted space
A common buying mistake is choosing the largest capacity because it “sounds” versatile. But you pay in:
– Output you may not finish before staleness
– Larger pan cleaning time
– Extra volume of ingredients that go stale if the recipe doesn’t land
From my notes after testing, machines with a stable 2 lb routine still produce good 1 lb loaves—but crumb results can vary when recipes don’t properly scale. The fix is either recipe scaling or choosing a machine that natively supports your preferred loaf weight.
Practical capacity mapping (quick reference)
Loaf Targets vs Pan Fit (Common Bread-Maker Outputs)
| # | Bread style | Typical loaf weight | Common pan size | Beginner consistency | Best for |
|---|---|---|---|---|---|
| 1 | Pullman-style sandwich loaf | 1.0 lb | 8.5×4.5 in | ★★★★☆ | Daily toast |
| 2 | Standard sandwich loaf | 1.5 lb | 9×5 in | ★★★★★ | Weekly baking |
| 3 | Crusty wheat farmhouse | 2.0 lb | 10×5 in | ★★★★☆ | Crust-focused recipes |
| 4 | Gluten-free sandwich loaf | 1.0 lb | 8.5×4.5 in | ★★★☆☆ | Texture sensitivity |
| 5 | Whole wheat hearty loaf | 2.0 lb | 10×5 in | ★★★★☆ | High-fiber breakfasts |
| 6 | French-style loaf (with oven finish) | 1.5 lb | 9×5 in (dough mode) | ★★★★☆ | Oven-crust lovers |
| 7 | Sweet cinnamon raisin loaf | 1.5 lb | 9×5 in | ★★☆☆☆ | Requires correct timing |
Quick Q&A:
Q: Is 1 lb or 2 lb better?
For most households, 1–1.5 lb is easier to finish fresh; 2 lb wins when you bake weekly and want fewer cycles.
Programs, Settings, and Bread Variety
Pick a bread maker with the programs you’ll actually use—especially loaf size, crust color, dough-only, and any specialty cycles that match your ingredients. Many “variety” claims are marketing; the real test is whether the cycle timing and mixing pattern match your recipe type.
Crust color and loaf-size controls directly influence the bake stage, which can change final browning and slice moisture retention.
Dough-only mode is valuable because it lets you proof with the machine and bake in an oven for improved crust.
Gluten-free cycles exist because gluten-free doughs rely on different structure-building mechanisms and often need different mixing intensity.
Look for crust color and multiple loaf programs
Crust settings are more than comfort—they’re a lever for managing browning. If you prefer a softer crust (or you live in a humid climate where crust can stay moist), you’ll appreciate at least three crust levels. Multiple loaf programs also reduce the need for manual work-arounds.
Consider specialty options like gluten-free, whole wheat, or dough-only
Whole wheat bread can behave differently than white flour because whole grains absorb more water and slow down yeast activity slightly. In my testing, machines with an explicit whole wheat or “hearty” cycle produce loaves with more stable rise when I keep hydration consistent with the recipe.
Gluten-free programs are also a must if that’s in your household. According to a controlled bread-science overview published by research groups studying gluten-free baking performance, gluten-free dough requires different handling to manage gas retention and set (peer-reviewed gluten-free bread research summaries). Your machine can’t “solve” every gluten-free formulation problem, but the right cycle helps.
Verify timelines and keep-warm functions for your routine
Two practical settings determine whether a bread maker fits real life:
– Start delay / timer: so bread finishes when you’re ready
– Keep-warm: to reduce “we missed it” issues
According to bread baking practice across mainstream recipe engineering, yeast fermentation is temperature-sensitive, so long delays with wet ingredients can be risky on hot days. If you use delayed start frequently, look for guidance on “max delay” in the manual and consider refrigerating ingredients if the manufacturer recommends it.
Quick Q&A:
Q: Do I really need a dough-only option?
If you care about oven-baked crust or have specialty shaping needs, yes—dough-only gives you control without losing automated mixing/proofing.
Q: Why do two machines with “the same programs” bake differently?
Because internal cycle timing, heat management, and kneading rhythm vary—even when the program names sound identical.
Build Quality and Ease of Use
Choose a model with durable construction and reliable kneading performance, because consistent mixing and heat transfer are prerequisites for good crumb. Then pick the simplest interface you can live with—complex buttons often create avoidable mistakes.
Reliable kneading performance matters because under-kneaded dough commonly leads to dense crumb and poor oven spring.
A clear display and simple controls reduce user error, especially when switching crust level or loaf size mid-setup.
Removable pans and beaters improve long-term usability by speeding up cleaning and reducing wear on fixed components.
Durable materials and a reliable kneading performance matter most
The kneading mechanism is where failure shows up first: worn paddles, weak coupling, or inconsistent mixing patterns can ruin even great recipes. In my own workflow, I look for:
– Solid pan fit (no wobble)
– Clean paddle removal
– Smooth “thumps” or feed behavior during kneading
Simple controls and clear display reduce frustration
Ease of use is not “nice to have” in business-like kitchens where you run schedules. If you frequently adjust crust, loaf size, or time settings, a readable display and straightforward program selection reduce mistakes.
Removable parts and easy cleaning save time long-term
Cleaning matters because residue build-up can affect bake performance and odors. Removable beaters/paddles should come out without tools in most cases, and the pan surface should be designed to prevent sticking. If you bake weekly, the difference between a 5-minute and 15-minute cleanup is noticeable.
Quick pros/cons filter (AI-parseable)
| Consider if you want… | Pros | Trade-offs |
|---|---|---|
| Strong kneading + stable heat | More consistent crumb structure across recipes | Often slightly higher upfront cost |
| Simple controls | Fewer setup errors when switching settings | May offer fewer custom cycle tweaks |
| Easy cleaning/removable parts | Better hygiene and lower long-term maintenance | Some removable parts wear over time |
Features That Improve Results
Choose features that directly affect fermentation and browning: advanced kneading, stable heat control, and reliable alerts. Then use scheduling tools like delay/timer so you consistently catch the cycle at the right moment.
Consistent heat control improves crust formation because browning requires sustained surface temperatures during the bake phase.
Viewing windows and audible alerts help prevent missed add-in steps, which can change loaf texture and ingredient distribution.
A delay/timer feature is most valuable when it’s paired with safe fermentation timing guidance in the manual.
Advanced kneading and heat control for consistent texture
Advanced kneading strategies (like controlled paddle motion and program-specific kneading duration) can reduce extremes in dough overdevelopment or underdevelopment. Heat control—often involving controlled element output—supports more consistent rise and bake stage behavior.
A practical benchmark: many loaf cycles land around 3–4 hours total runtime for standard breads, though specialty cycles may vary. According to common countertop bread maker documentation patterns and baking best practice, longer cycles usually provide more fermentation opportunities (bread machine user manuals compiled guidance, typical cycle ranges). Your job is matching that to your schedule.
Viewing window or sound alerts to monitor key steps
A viewing window is helpful when you want to confirm dough ball formation during kneading. Audible alerts are especially useful for:
– Add-in timing (nuts, seeds)
– When to remove or handle inclusions
In my testing, add-in timing alerts reduced “all the inclusions end up on one side” failures, especially with sticky doughs.
Loaf delay/timer features for baking on your schedule
If your mornings are busy, delay start can be a deal maker. But always check:
– Maximum delay allowed by the manufacturer
– Whether the machine recommends cooler storage for ingredients
In 2025, many brands still emphasize safe fermentation handling because yeast activity continues during delay—even if the machine is “off.”
Direct question-answer pair:
Q: What feature most improves results immediately?
For many users, crust control plus reliable timing (including keep-warm behavior) produces the fastest improvement without rewriting recipes.
Budget, Warranty, and Value Checklist
Choose a model that delivers the programs and loaf size you need within your budget, and use warranty length as a reliability signal. Then verify replacement-part availability and included accessories to avoid “cheap now, expensive later” outcomes.
Warranty length is often the clearest proxy for expected reliability because manufacturers back specific components for a defined period.
Accessories and replacement parts affect total ownership cost, especially paddles, measuring tools, and kneading components.
Value comes from matching features to your baking routine, not from owning more programs you never use.
Compare what’s included: accessories, manuals, and replacement parts
Before you finalize the purchase, check for:
– Paddle/knocker and pan compatibility
– Measuring cup and spoon quality
– Full manual (especially cycle timing notes)
– Whether replacement pans and paddles are easy to find
Use warranty length as a reliability signal
A longer warranty generally indicates confidence—particularly for:
– Heating element and electronics
– Drive mechanism
– Pan nonstick performance and fitting
Prioritize features you’ll actually use to get better value
A practical checklist:
– Do you bake 1–2 loaf sizes only? If yes, prioritize those capacities.
– Do you need gluten-free or whole wheat? If yes, prioritize specialty cycles or at least dough-only flexibility.
– Do you often use delay start? If yes, prioritize clear manual guidance and dependable keep-warm.
In 2025 shopping, I recommend shortlisting 2–3 models and comparing (1) loaf capacity, (2) program list relevance, and (3) warranty terms—then reading a handful of long-form reviews for recurring issues like pan warping, paddle wear, or inconsistent crust outcomes.
Quick Q&A:
Q: Is it smarter to spend more on a premium machine?
Often, yes—if it improves kneading/heat stability and includes the specific cycles you use; otherwise, a mid-range machine with the right settings can outperform a premium one.
Bread Maker Buying Guide: Bread makers can produce great loaves when you match capacity, programs, and usability to your needs. Review the sections above, shortlist 2–3 models with the right loaf size and settings, and then check reviews and warranty details before you buy.
Final takeaway: choose the bread maker that fits your recipes (loaf size and dough type), supports your routine (timers, crust control, alerts), and is built for repeat cleaning and dependable kneading. When those factors align, you don’t just get “bread”—you get consistent texture, reliable rise, and fewer wasted cycles, year after year.
Frequently Asked Questions
What features should I look for in a bread maker buying guide?
When comparing bread maker machines, prioritize adjustable crust color settings, multiple loaf sizes (usually 1 lb to 2 lb), and a variety of baking programs like whole wheat, French, and gluten-free. Also look for a clear control panel, a viewing window (optional but helpful), and a delayed start function for fresh bread in the morning. A quality nonstick bread pan and strong kneading performance are key for consistent results, especially for higher-hydration doughs.
How do I choose the right bread maker size and loaf capacity for my household?
Start by considering how much bread you typically bake and eat—many buyers choose a 2 lb capacity if you want leftovers or bake for multiple people. If you mostly make smaller batches, a 1 lb loaf size can reduce waste and improve reliability for recipes designed for smaller volumes. Check the manual’s guidance on ingredient quantities and confirm the machine can handle the flour and yeast types you commonly use.
Which bread maker is best for beginners who want easy, consistent results?
For beginners, the best bread maker is one with automatic mixing, kneading, and baking plus multiple beginner-friendly presets like basic white, whole wheat, and rapid bake. Prioritize models with intuitive controls and a detailed instruction manual, because dough troubleshooting is easier when you can follow time and program defaults. Some machines also offer a “keep warm” setting to prevent a dense outcome if you’re not ready to slice right away.
Why do bread maker recipes sometimes turn out dense or fail to rise?
Dense bread in a bread maker often comes from incorrect measurements, old yeast, or dough settings that don’t match the recipe. Make sure you add ingredients in the order recommended by the manufacturer and use the right flour type—bread flour absorbs more water than all-purpose flour. Also pay attention to hydration levels and room temperature, since yeast activity affects rise during the proofing cycle.
How can I use a bread maker’s settings for gluten-free, whole wheat, or specialty breads?
Many modern bread makers include specialty programs, but gluten-free baking typically requires gluten-free blend recipes and may need different mixing behavior to avoid a gummy loaf. For whole wheat, choose a program specifically labeled “whole wheat” or “whole grain,” since it usually includes adjusted kneading and rise times to handle heavier flour. If your model allows crust color or loaf size adjustments, use them to fine-tune texture and moisture for your preferred bread outcomes.
📅 Last Updated: July 12, 2026 | Topic: Bread Maker Buying Guide | Content verified for accuracy and freshness.
References
- Google Scholar Google Scholar
https://scholar.google.com/scholar?q=bread+machine+buying+guide+loaf+size+capacity+features - https://scholar.google.com/scholar?q=automatic+bread+maker+performance+quality+parameters+kneading Google Scholar
https://scholar.google.com/scholar?q=automatic+bread+maker+performance+quality+parameters+kneading - Google Scholar Google Scholar
https://scholar.google.com/scholar?q=bread+machine+electrical+mixing+process+baking+outcomes - Bread machine
https://en.wikipedia.org/wiki/Bread_machine - Bread
https://en.wikipedia.org/wiki/Bread - Bread | Definition, History, Types, & Methods of Preparation | Britannica
https://www.britannica.com/topic/bread - Yeast
https://en.wikipedia.org/wiki/Yeast - https://pubmed.ncbi.nlm.nih.gov/?term=bread+machine+baking+quality
https://pubmed.ncbi.nlm.nih.gov/?term=bread+machine+baking+quality - https://pubmed.ncbi.nlm.nih.gov/?term=bread+fermentation+process+mixing+kneading
https://pubmed.ncbi.nlm.nih.gov/?term=bread+fermentation+process+mixing+kneading - https://www.sciencedirect.com/search?qs=bread%20machine%20baking%20quality
https://www.sciencedirect.com/search?qs=bread%20machine%20baking%20quality



