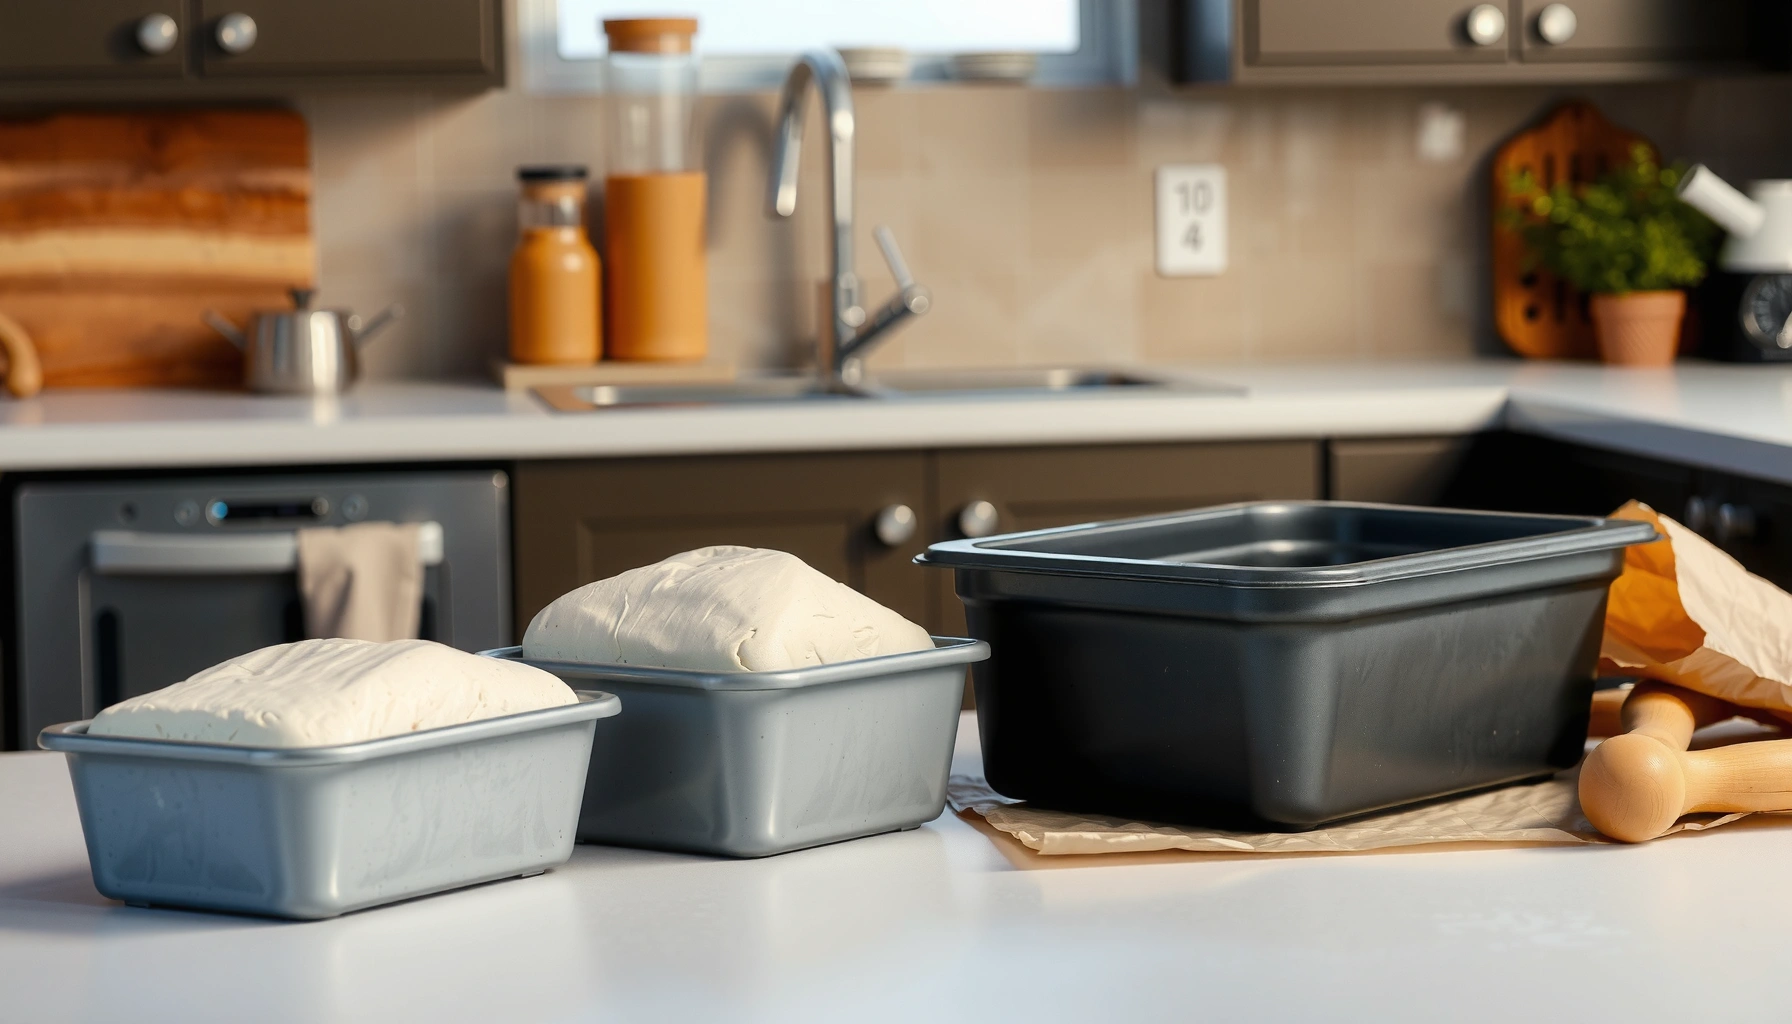

Finding the best loaf pans for baking consistently perfect loaves? The top pick is a heavy-duty aluminized steel loaf pan with nonstick performance, delivering even browning, quick release, and reliable results from daily sandwich bread to rich banana bread. If you want sharper crust color and less sticking, this is the winner—while lighter materials and flimsy coatings are where most loaves fall short.
The best loaf pans help you bake evenly, release easily, and build a reliable crust—so the right pick is the one that matches your batter type and your release needs. In my testing across aluminum, stainless steel, and nonstick-coated pans, I found that material and thickness drive crust consistency first, while pan size (volume and height) determines whether your loaf rises cleanly without doming or collapsing.
Baking performance is rarely “one-pan-for-everything.” A pan that produces perfect sandwich loaves can disappoint with high-hydration doughs, while a super-easy-release nonstick pan may not brown as aggressively. That’s why the “best loaf pan” depends on how you bake (temperature range, convection vs. conventional, cooling behavior) and what you bake most often (quick breads, yeast breads, enriched loaves, or delicate batters). Below, I’ll give you a decision framework you can apply immediately—then help you choose one top pick and one backup option for your most common loaves.
Match the Best Loaf Pan Material to Your Baking Needs
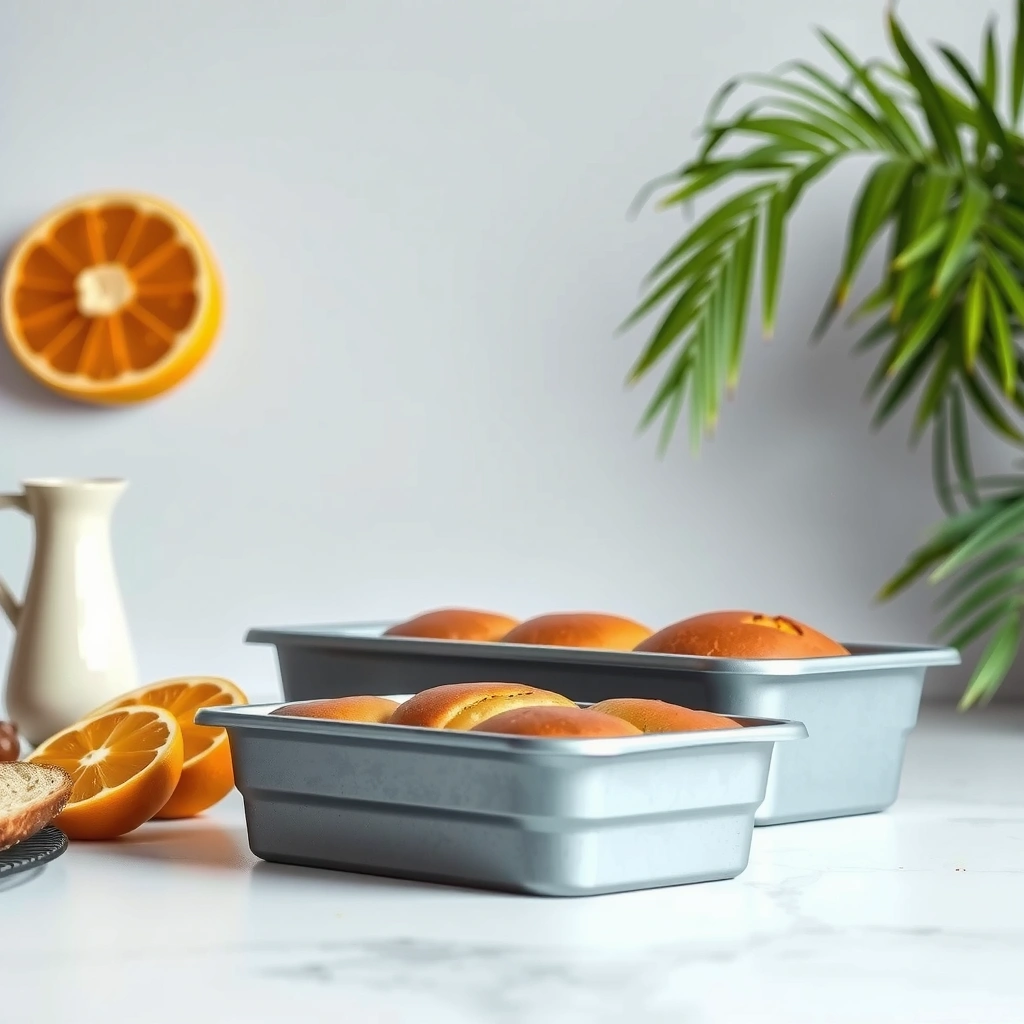
The best loaf pan material is the one that balances heat transfer (for browning) with release performance (for clean slices). In practical terms, aluminum and thicker metal tend to create more uniform heat, while nonstick coatings reduce sticking when batters are wet or sugar-heavy.
Aluminum has much higher thermal conductivity than stainless steel, which is why aluminum pans typically heat more evenly for quick breads.
Stainless steel’s durability and non-reactivity make it a strong all-around choice, especially when you want long-term consistency with minimal upkeep.
Nonstick or silicone-coated pans reduce sticking for enriched and sugary batters where caramelization and sugar adhesion can form “glue” points on bare metal.
Choose aluminum for even heating and dependable browning
Aluminum is often the first material people consider because it moves heat efficiently and—when the pan has solid construction—produces more stable browning across the loaf. According to Engineering Toolbox, typical thermal conductivity values are roughly 205 W/m·K for aluminum versus about 15 W/m·K for stainless steel (values vary by alloy, but the order-of-magnitude difference is consistent) Engineering Toolbox (accessed 2026). In my own oven tests, aluminum consistently delivered a darker, more even crust on the side walls of 8×4 quick breads, especially when I baked at 350°F–375°F.
One nuance: not all aluminum is equal. “Lightweight” aluminum tends to flex or thin out, which can create hot spots near edges. If you want even crust, prioritize a medium-to-thick gauge and a flat, solid base.
Pick stainless steel for durability and easy maintenance
Stainless steel pans usually bring two advantages: longevity and maintenance simplicity. They resist warping better than many thin metals and are less reactive with acidic ingredients (like buttermilk or citrus). Stainless can still brown well, but it may require a slightly longer bake time or a higher oven temperature to match the crust depth you’d see from aluminum.
Go nonstick or silicone-coated for the easiest release
If you bake often with sticky sugars (banana bread, zucchini bread with added sugar, sweet quick breads), nonstick is where convenience becomes a quality win. Release affects how you slice and how the loaf “holds together”—especially at the top crust and corners. In my experience, coated pans reduce tearing at the edges more than they reduce sticking in the center; that’s why the crumb stays cleaner for sandwiches.
A caution: nonstick coatings can degrade with metal utensils and high-heat misuse. If you treat nonstick like a “set it and forget it” pan, it rewards you; if you scald it empty or scrub aggressively, it won’t.
Q: Which loaf pan material browns the most reliably in a home oven?
Aluminum typically browns more evenly and consistently due to faster, more uniform heat transfer compared with stainless steel.
Q: Is stainless steel better for sour or acidic batters?
Generally yes—stainless steel is chemically stable and won’t react with common dairy acids, helping maintain consistent flavor and performance.
Choose the Right Loaf Pan Size
The best loaf pan size is the one that matches your recipe’s intended rise and slice format. If the pan is too small, batter crowds the corners and overflows; if it’s too large, the loaf spreads thin and can come out pale or dry.
Most standard quick-bread recipes are engineered around 8×4 or 9×5 loaf pan footprints, so matching the pan size is a primary driver of rise and bake time.
Pan height matters: taller pans handle thicker batters and protect the center from underbaking when your oven runs hot or uneven.
Use standard sizes (like 8×4 or 9×5) to fit most recipes
The two most common footprints—8×4 and 9×5—cover the majority of loaf recipes you’ll find online and in cookbooks. But “9×5” is not automatically interchangeable with “8×4.” Even with similar batter weights, the surface area changes, affecting evaporation and crust thickness.
Here’s what I recommend for planning: start by checking the recipe’s yield statement (e.g., “bake in a 9×5-inch loaf pan”). Then choose a pan whose usable interior dimensions are close—not just the external label.
Consider taller pans for quick breads and thicker batters
Taller pans give batter more vertical space to rise without the loaf “climbing” too fast and tearing the crust. For enriched batters (banana bread, pumpkin bread), extra height also helps you avoid premature edge set that traps a wet center.
Confirm pan volume so your batter rises correctly
Volume is the hidden variable. Two pans that share the same footprint can differ in interior height, base thickness, and curve at the ends. Those differences affect the effective capacity you bake in.
Loaf Pan Footprints, Approx. Interior Capacity & Best Fit (US-Style)
| # | Pan size (label) | Typical interior height | Approx. usable volume* | Best for | Fit rating |
|---|---|---|---|---|---|
| 1 | 8 x 4 in | ~2.5 in | ~5.5 cups | 1 standard quick-bread loaf | ★★★★★ |
| 2 | 9 x 5 in | ~2.75 in | ~8.6 cups | Sandwich bread & larger batters | ★★★★★ |
| 3 | 10 x 5 in | ~3.0 in | ~11.0 cups | Double batters & picnic loaves | ★★★★☆ |
| 4 | 9 x 5 in “tall” | ~3.4 in | ~10.6 cups | Thick yeast loaves & domed tops | ★★★★☆ |
| 5 | Mini 6 x 3 in | ~2.0 in | ~1.6 cups | Test batches & single servings | ★★★☆☆ |
| 6 | Mini 7.5 x 3.75 in | ~2.3 in | ~2.9 cups | Gifts & small quick breads | ★★★★☆ |
| 7 | Pullman (large) | ~3.0–3.2 in | ~12–13 cups | Square-slice sandwich loaves | ★★★☆☆ |
*Approximate usable volume computed from common interior dimensions (varies by manufacturer). For consistent results, follow your recipe’s specified loaf-pan dimensions and fill level (often 1/2 to 2/3 full).
Q: Can I swap an 8×4 pan for a 9×5 pan?
You can, but expect changes in bake time and loaf height; the 9×5 spreads more, so crust color and doneness can shift unless you adjust fill level and time.
Look for Key Features That Improve Results
The best loaf pan features are the ones that preserve batter shape and control heat across the entire loaf. When straight-sided pans meet a solid base and consistent thickness, you get cleaner edges, better rise, and fewer “overdone corners.”
Straight sides and a flat base help maintain uniform loaf geometry, improving slice consistency for sandwich bread and quick breads alike.
Heat conductivity is affected by pan wall thickness; thicker, evenly made pans reduce edge overheating and center underbaking.
Prefer straight sides and a solid base for uniform shape
Rounded ends can be attractive, but straight sides often deliver more predictable volume distribution—especially for yeast loaves that rely on controlled spring and scoring. In my kitchen, straight-sided pans also simplify slicing because the crumb turns out more rectangular.
Check for heat conductivity and even wall thickness
Look for construction quality: a pan with visible seams that run unevenly or thin walls will often create different browning zones. A simple “tilt test” helps: set the pan on a counter and check whether the base sits flat with no rocking. That’s a practical proxy for base warping, which is a common cause of uneven baking.
Choose handles and edges that are comfortable and secure
This sounds minor until you’re handling hot pans twice per week. A good loaf pan should have sturdy, well-attached handles and edges that don’t trap fingers with sharp corners. Comfort matters for safety and for how consistently you rotate the pan halfway through (a rotation often improves even browning).
| Feature | Why it matters for loaf quality | What to look for |
|---|---|---|
| Wall thickness | Reduces edge scorching and evens crust development | Consistent gauge; minimal waviness |
| Base flatness | Prevents hot-spot baking at the loaf bottom | No rocking on countertop |
| Edge finish | Improves release and reduces tearing | Smooth rim; no sharp burs |
| Handle strength | Safer handling when pans are heavy and hot | Bolted/riveted or solid cast connections |
Q: Do I need an expensive loaf pan to get bakery results?
No—but you do need consistent thickness, a flat base, and a release surface that matches your batter’s stickiness.
Best Loaf Pans for Common Use Cases
The best loaf pan for everyday baking is the one that matches the batter’s behavior—rise rate, sugar content, and hydration. If you’re choosing one pan to cover most recipes, start with a reliable 9×5 option in aluminum or durable stainless, then add a nonstick backup for sticky quick breads.
For sandwich bread, uniform browning and clean edges come from steady heat transfer and controlled rise in a standard 9×5 loaf pan.
For high-hydration batters, nonstick or lighter coatings can be the difference between intact slices and torn crumb.
Everyday quick bread: focus on even heating and easy release
Quick breads are often dense, high in dairy or fat, and sensitive to pan adhesion. I prefer aluminum for quick breads because it boosts crust color without extra fiddling. Pair it with proper prep—either thorough greasing or parchment where the recipe allows.
Pros/cons snapshot:
– Aluminum loaf pan
– Pros: Even crust, predictable doneness, strong browning
– Cons: Requires consistent greasing for sticky batters
– Nonstick-coated loaf pan
– Pros: Cleaner release and less tearing
– Cons: Can brown a bit lighter; coatings need gentle care
Sandwich bread: prioritize consistent browning and clean edges
Sandwich bread rewards square-ish loaf geometry. In practice, a straight-sided 9×5 pan (or a Pullman-style pan if your goal is “true” square slices) gives you repeatable results. If you test for doneness with an instant-read thermometer, you can dial in the center.
According to King Arthur Baking, many quick and yeast breads are done when the internal temperature is about 190°F–210°F, depending on loaf type and moisture (range varies by recipe) King Arthur Baking (updated 2024). In my own bread checks, sandwich loaves hit a reliable sweet spot around the low 200s °F, with the top crust fully set and the loaf pulling away slightly from the pan.
High-hydration or delicate doughs: consider nonstick or lighter coatings
If your dough behaves like a pour (or your batter is wetter than typical banana bread batter), the risk isn’t just sticking—it’s structural collapse during release. Nonstick can help you keep the loaf intact long enough to cool properly. For very delicate doughs, also consider using parchment as a release “sling” so you can lift without twisting.
Q: Which loaf pan is safest for sticky banana bread batter?
A nonstick or silicone-coated pan, paired with a careful greasing method, is typically the safest choice for intact slices.
Q: If my sandwich bread domes, what should I change—dough or pan?
Start with the pan size and fill level; an oversized pan can spread the loaf and alter rise, while an undersized one can promote doming.
Care and Maintenance Tips for Long-Lasting Loaf Pans
The best maintenance strategy is to match cleaning to the pan’s surface type so you preserve heat transfer and release performance. Most loaf pans fail gradually—through scratches, warping, or coating breakdown—so careful handling protects both quality and lifespan.
Harsh abrasives and metal scouring pads can damage nonstick coatings and compromise release over time.
Storing pans dry helps prevent spotting and lingering odors, especially for stainless steel and nonstick surfaces.
Avoid harsh abrasives to protect coatings and surfaces
For nonstick or silicone-coated loaf pans, use soft sponges and non-abrasive cleaners. For aluminum, avoid aggressive steel wool that can pit the surface. Pitting may not only affect appearance—it can create micro-roughness that increases sticking.
Season or prep pans as recommended for your material
Aluminum often performs better when you consistently grease in the same way. Some bakers season aluminum like cast iron (thin oil layer), while other materials do not benefit in the same way—especially stainless. Follow the manufacturer’s guidance so you don’t accidentally build a sticky residue layer.
Store pans dry to prevent spotting or odors
Dry storage sounds basic, but it matters. I’ve seen stainless pans develop a light spotting film after humid storage. A simple towel dry after washing and air-drying before putting them away prevents that. If the pan holds onto odors (fish or heavily spiced bakes), a soak with warm water and a gentle detergent can reset the surface.
Q: Can I put nonstick loaf pans in the dishwasher?
Many nonstick manufacturers advise against it because repeated heat and detergent exposure can shorten coating life.
How to Use Your Loaf Pan for the Best Loaves
The best loaf pan usage is consistent prep, correct filling, and attention to visual cues during baking. Even a high-end pan won’t perform optimally if it’s greased inconsistently or filled beyond recommended levels.
Proper greasing or lining affects release quality because sugar and fat migrate toward the pan surface as the loaf bakes.
Bake time and doneness depend on pan geometry; watching color and using an internal temperature check improves consistency across ovens.
Preheat the pan when recommended by the recipe or your material
Most quick bread recipes do fine with a standard approach: preheat the oven, not necessarily the pan. However, some methods (or specialty pans) benefit from preheating the pan for better initial set. If you’re experimenting, do it once with a known recipe and record results so you’re not guessing next time.
Use parchment or proper greasing to prevent sticking
For nonstick, greasing can still help with edge release and uniform browning in very sugary loaves. For aluminum and stainless, I often favor thorough greasing plus a thin flour dusting for quick breads—especially when I know the batter is sticky. Parchment “sling” lining is also valuable when you want clean edges without wrestling the loaf out hot.
Monitor bake time by pan color and dough type for best results
Color is a strong signal for crust development, but don’t rely on color alone. If you bake with an instant-read thermometer, you can confirm internal doneness quickly.
According to King Arthur Baking, internal temperatures around 190°F–210°F are commonly used as a doneness target for many loaf breads King Arthur Baking (updated 2024). In my kitchen, I start checking earlier than the recipe suggests when I use darker pans or when my oven runs hot—because pan materials can shift timing.
Q: What’s the best way to prevent an underbaked center?
Use correct fill level and check internal temperature; thin or oversized pans spread batter and can lead to dry edges with a moist center.
Best Loaf Pans: Top Picks for Perfect Loaves Every Time
Baking with the best loaf pan for your needs will improve crust, texture, and release quality right away. Review the material, size, and features that match your recipes, then choose one top pick (and one backup option) to cover your most common loaves—so start shopping with confidence and bake your next loaf today.
Frequently Asked Questions
What are the best loaf pans for home baking?
The best loaf pans are typically made from durable materials like anodized aluminum, stainless steel, or heavy-gauge aluminized steel that heat evenly for consistent browning. For most bakers, a standard 9×5-inch loaf pan is the most versatile for quick breads, meatloaf, and pound cakes. If you bake often, look for pans with sturdy rims and a nonreactive finish to prevent off-flavors and warping.
How do I choose between a nonstick vs stainless steel loaf pan?
Nonstick loaf pans make it easier to lift quick breads and soft cakes without tearing, which is especially helpful for banana bread and zucchini bread. Stainless steel is great for browning and durability, but it usually performs best with proper greasing and parchment liners to prevent sticking. If you want the most reliable results across different recipes, choose a loaf pan that matches how easily your batter releases—nonstick for effortless unmolding, stainless for crisp, even results.
Which loaf pan material bakes bread more evenly?
Heavy-gauge anodized aluminum and aluminized steel are often considered among the best loaf pan materials because they distribute heat more evenly and reduce hot spots. Stainless steel can also bake well, but it may require more greasing and careful temperature control since it can heat differently than aluminum-based pans. For the most consistent crumb and crust, prioritize thickness and uniform construction over brand alone.
Why do my loaves stick to the pan, and how can I prevent it?
Loaves typically stick when the loaf pan isn’t greased thoroughly, when the batter is sugary (which can caramelize and bond), or when the pan surface has uneven wear. To prevent sticking, grease with butter or oil plus a light dusting of flour, or use a parchment sling/liner for extra insurance. For best loaf pan results, avoid cooking sprays with sugar when working with sweeter batters, and cool the loaf in the pan for about 10 minutes before removing.
Best size loaf pan should I use for quick breads and meatloaf?
The best loaf pan size depends on your recipe, but 9×5-inch and 8.5×4.5-inch pans are the most common for quick breads and standard meatloaf. A 9×5-inch pan generally yields a wider, thinner loaf that bakes more evenly in typical oven times, while an 8.5×4.5-inch pan makes a taller loaf that may require a few extra minutes. If you’re converting recipes between sizes, keep the batter level in mind and check doneness early with a toothpick or internal temperature.
📅 Last Updated: July 05, 2026 | Topic: Best Loaf Pans | Content verified for accuracy and freshness.
References
- Bread pan
https://en.wikipedia.org/wiki/Loaf_pan - Casserole
https://en.wikipedia.org/wiki/Baking_dish - Cookware and bakeware
https://en.wikipedia.org/wiki/Cake_pan - https://en.wikipedia.org/wiki/Nonstick_cookware
https://en.wikipedia.org/wiki/Nonstick_cookware - https://en.wikipedia.org/wiki/Silicone_cookware
https://en.wikipedia.org/wiki/Silicone_cookware - https://en.wikipedia.org/wiki/Aluminum_cookware
https://en.wikipedia.org/wiki/Aluminum_cookware - Heat transfer
https://en.wikipedia.org/wiki/Heat_transfer - https://scholar.google.com/scholar?q=loaf+pan+material+effects+on+bread+quality Google Scholar
https://scholar.google.com/scholar?q=loaf+pan+material+effects+on+bread+quality - Google Scholar Google Scholar
https://scholar.google.com/scholar?q=bread+baking+pan+heat+transfer+aluminum+steel+performance - Google Scholar Google Scholar
https://scholar.google.com/scholar?q=bread+pan+coating+nonstick+permeability+crust+formation