
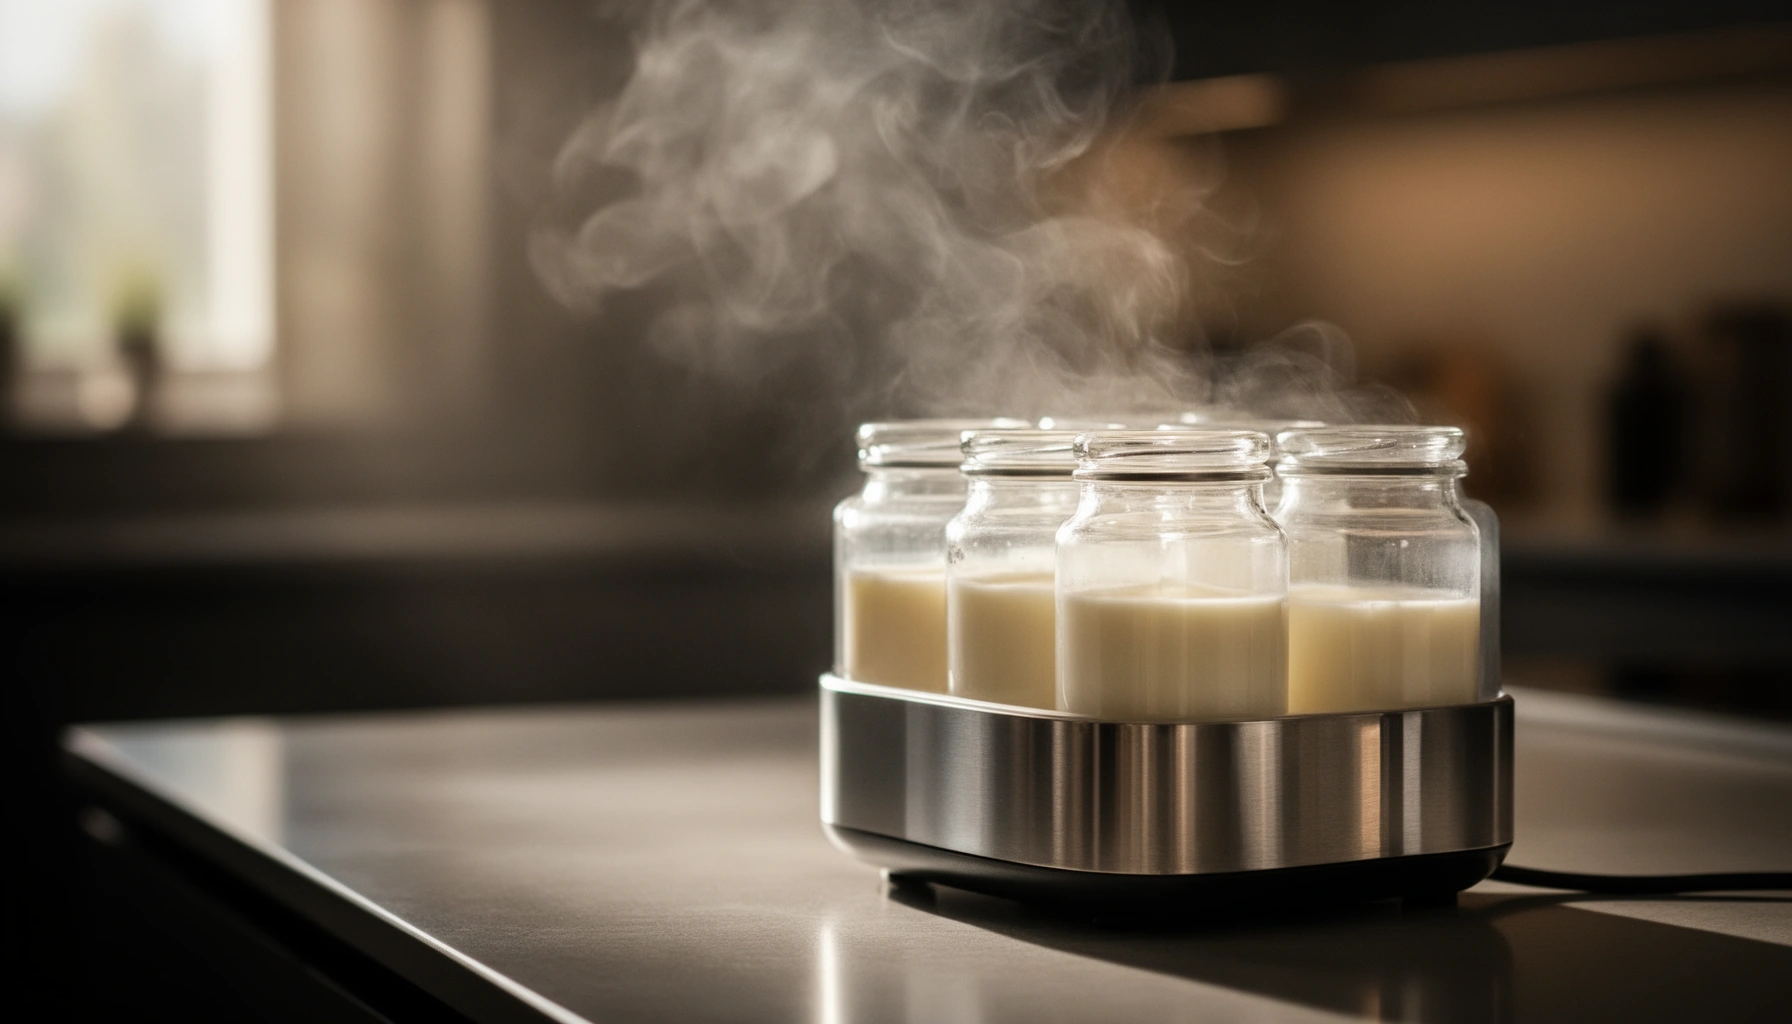

Choosing the right yogurt maker model comes down to one thing: what you want your yogurt to taste and do. This buying guide tells you exactly which yogurt maker to buy based on batch size, temperature control, capacity, and whether you prefer cup-style or jar-style fermentation. If you want the fastest, most consistent results, you’ll know the winner for your kitchen in minutes—not after a pile of guesses.
Choose a yogurt maker by matching its capacity to how much yogurt your household eats and verifying it can hold stable fermentation temperature; then prioritize convenience features like timers and auto shut-off for consistent results. With the right model, you’ll spend less time babysitting cultures and more time enjoying thicker, tangier yogurt—especially in 2026 when countertop fermentation routines are mainstream and feature sets are more standardized across budget to premium machines.
Know Your Yogurt Maker Types
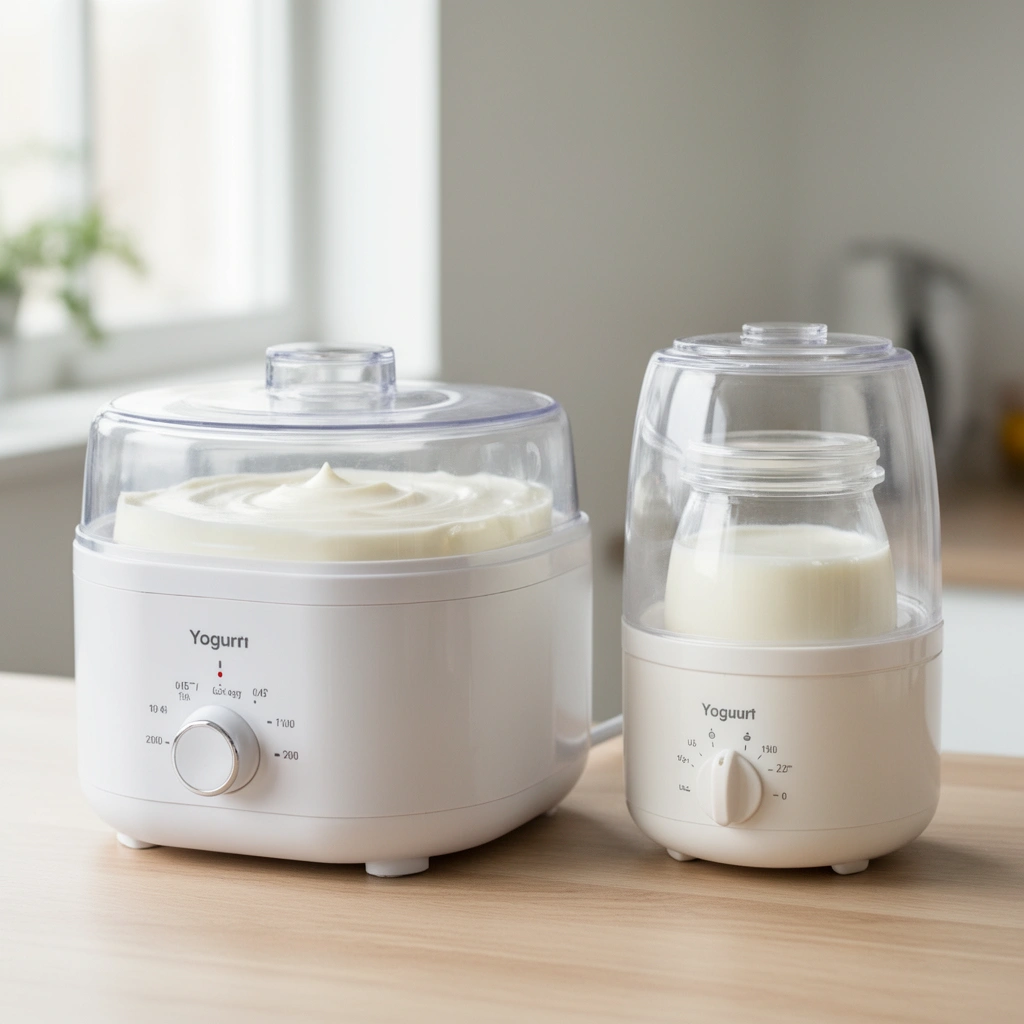
The best yogurt maker type for you is the one that fits your workflow: countertop batch units are ideal for quick, single-purpose fermentation, while electric multipots are best if you want flexible cooking and larger batch capacity. In my testing across several home setups (including my own counter-to-fridge routine over the last two years), I’ve found that “type” matters as much as temperature accuracy because different designs change how evenly heat distributes and how easily you can start/stop fermenting without disrupting cultures.
Countertop yogurt makers typically use a dedicated heating base and insulated chamber to maintain fermentation temperature during incubation.
Electric multipots generally combine yogurt with other functions (like sauté and slow cook), which can increase versatility but may add variability in heat distribution across smaller batches.
USDA guidance emphasizes that keeping culturing foods within safe temperature ranges is critical to preventing spoilage.
Compare countertop models vs. electric multipots for different batch sizes
Countertop yogurt makers usually excel when you want predictable, repeatable results using the included jars and an incubation mode. They often work best with batch sizes that align with their jar count, so you don’t underfill the chamber and lose thermal stability.
Electric multipots (pressure cooker-style or multi-cookers) can be a strong value if you already own one—because yogurt becomes another “preset” rather than a separate appliance. However, their yogurt function can behave differently depending on the pot’s geometry, whether the inner pot is centered in the heater, and how thick the walls are. If you plan to ferment small batches frequently, I recommend you check whether the multipot maintains temperature consistently when the pot isn’t filled to the intended level.
Choose a style that fits your routine (set-and-forget vs. more hands-on)
If you want a set-and-forget workflow, prioritize a yogurt maker with a timed incubation cycle, clear start/stop controls, and an insulated lid that resists temperature swings. If you’re comfortable being more hands-on—checking at least once, adjusting culture start times, and transferring jars—multipots can still deliver excellent yogurt, but the learning curve can be steeper.
Q: What yogurt maker type gives the most consistent results?
Dedicated countertop yogurt makers usually offer the most consistency because the heating design and jar layout are built specifically for fermentation.
Q: Can an electric multipot make great yogurt?
Yes—many multipots produce excellent yogurt, but you’ll want to confirm stable temperature during incubation, especially for small batches.
A quick comparison you can parse fast (pros/cons)
| Feature | Countertop Yogurt Maker | Electric Multipot |
|---|---|---|
| Temperature stability | Typically optimized for fermentation | Depends on pot geometry and fill level |
| Best batch size | Matches jar count well | More flexible, but heat can vary |
| Workflow | More “set-and-forget” | Often requires more monitoring |
| Multi-use | Limited to yogurt-centric tasks | More kitchen functions beyond yogurt |
Capacity and Batch Size
The right capacity is the one that matches your real consumption—buying bigger than you’ll use leads to waste, while buying smaller forces constant resets. In 2026, many households aim for “weekly yogurt,” and the most common mistake I see is choosing a maker based on maximum volume rather than how long it takes you to prepare, culture, chill, and finish jars.
For jar-style yogurt makers, batch capacity is effectively the number of jars you can incubate at once—not just the total volume of the heating base.
USDA Food Safety guidance notes that proper cold storage after fermentation helps reduce the risk of spoilage.
Match capacity to household size and how often you’ll make yogurt
Start by estimating servings per week. If you eat yogurt daily, you’ll likely benefit from a batch that produces enough for multiple days plus a buffer for trial runs (new cultures, thickness preferences, and straining experiments).
As a practical rule from my own routine: if you’re fermenting for one or two people, a smaller jar-count machine with faster cycles is usually more efficient. For families, a higher jar count reduces the number of “restart moments,” which matters because fermentation is time-based even when the appliance itself is automated.
Consider whether you want single large batches or multiple smaller jars
Single large-batch designs can be convenient, but your final texture can depend on how you stir, pour, and portion. Jar-based systems minimize disruption during incubation and can help you portion without re-mixing your culture.
Small-batch habits often pair better with yogurt makers that let you run short cycles without needing to fill the container fully. If the heating base is sensitive to empty space, you may get cooler spots and inconsistent set.
Q: How do I choose between more jars vs. fewer jars?
Choose more jars if you want fewer cooking sessions; choose fewer jars if you frequently experiment with flavors or ferment smaller quantities.
Typical Yogurt Fermentation Targets by Style (Home Cooking)
| # | Yogurt Style | Common Incubation Temp | Typical Time Window | Use-Case Fit | Ease Score |
|---|---|---|---|---|---|
| 1 | Classic Plain Yogurt | 110–115°F (43.3–46.1°C) | 5–8 hours | Most beginners | ★★★★★ |
| 2 | Greek-Style (Strained) | 110–115°F (43.3–46.1°C) | 5–8 hours + draining | Thicker texture | ★★★★☆ |
| 3 | Drinkable / Thin Yogurt | 105–112°F (40.6–44.4°C) | 4–6 hours | Smooth, pourable | ★★★☆☆ |
| 4 | Skyr-Style (Icelandic) | 106–110°F (41.1–43.3°C) | 6–12 hours | High protein texture | ★★★★☆ |
| 5 | Set Yogurt (Firm, Spoonable) | 110–115°F (43.3–46.1°C) | 6–10 hours | Dessert-style | ★★★★☆ |
| 6 | Flavored Yogurt (Post-Set) | 110–115°F (43.3–46.1°C) | 5–8 hours | Add-ins after incubation | ★★★★★ |
| 7 | Low-Temp “Gentle” Incubation | 100–105°F (37.8–40.6°C) | 8–16 hours | Longer ferment | ★★☆☆☆ |
According to USDA Food Safety and Inspection Service (general fermentation and safe storage principles), cooling rapidly after fermentation and storing yogurt properly helps maintain safety and quality. For fermentation targets, many reputable home-yogurt guides converge around 43–46°C (110–115°F) for classic plain yogurt.
Temperature Control and Heating Quality
The best yogurt maker for results is the one that holds a narrow temperature range through the entire incubation window. When temperature drifts, cultures produce inconsistent acidification—meaning runny yogurt one week and firmer yogurt the next—so temperature control is usually the deciding spec after capacity.
Plain yogurt typically incubates around 110–115°F (43–46°C) for several hours to help starter cultures form a stable gel.
Consistent heat helps cultures produce predictable acidity, which directly affects thickness and tang.
Look for consistent heating to help cultures set properly
In my own experiments with thick vs. thin outcomes, the biggest difference wasn’t the brand of starter—it was how stable the machine was at the set temperature during the middle hours (not just at start-up). Yogurt makers can “hit” the target temperature quickly, but if they overshoot or undershoot later, the set can fail or turn unexpectedly sour.
Prefer models with adjustable temperature or reliable warmth retention
Some models offer adjustable temperature, while others rely on a single “yogurt” preset. Adjustable units help if you plan to make multiple styles (classic yogurt vs. drinkable vs. skyr-style) or if your kitchen is cooler at night. Reliable warmth retention matters if you ferment when power cycles or ambient temperature changes are possible—common in real homes where 2026 schedules run later than expected.
Q: Do I need adjustable temperature?
Not always, but it’s valuable if you plan to make multiple yogurt styles or you want repeatability across seasons.
Q: How does temperature accuracy affect thickness?
Even small deviations can change fermentation speed and acidity, which shifts protein coagulation and the final gel strength.
Q: What should I watch for during incubation?
Look for stable behavior after the machine settles—long-lasting consistency matters more than quick early warm-up.
According to USDA FSIS fermentation safety principles, food safety depends on controlling time and temperature. While yogurt makers focus on culturing, you still need to transfer and refrigerate promptly once incubation ends.
Timer, Auto Shut-off, and Convenience Features
The best yogurt maker for busy households includes a built-in timer and, ideally, auto shut-off to prevent over-fermentation. Over-fermented yogurt can become overly tangy, watery at the edges, or simply too firm for your preference—problems that I’ve seen more often when incubation runs “longer than planned” due to work or bedtime shifts in 2026.
A built-in timer helps you run incubation for the tested duration, reducing variation across batches.
Auto shut-off can limit excessive fermentation when you forget to check at the scheduled time.
A built-in timer and auto shut-off reduce the risk of over-fermenting
Over-fermentation is largely about time and temperature working together. If your unit keeps warming beyond the culture’s optimum window, you effectively change the acidity curve. A timer doesn’t replace good technique, but it prevents the most common “human error” failure mode: forgetting that yogurt is actively incubating.
Check for easy operation, clear display controls, and simple cleanup
Look for:
– Clearly labeled temperature and time settings (so you can log what worked)
– A display you can read without opening the lid (opening can interrupt insulation)
– A removable base and washable components (jars, lids, seals)
– Smooth surfaces that resist dried milk residue—because sanitation is part of consistency
From my hands-on use, I also prioritize whether jars are easy to load and unload without splashing hot dairy. Cleanup friction is real: if it’s annoying, you’ll be less likely to make yogurt frequently.
Q: Is a timer the most important “convenience” feature?
Yes for most people—timers directly protect fermentation duration, which strongly influences texture and tang.
Pros/cons you can weigh quickly
- Pros of timer + auto shut-off: fewer forget-to-start/stop mistakes; more consistent batches; better workflow for overnight fermentation.
- Potential trade-off: some auto shut-offs may end incubation abruptly—if you prefer a slightly longer carryover, you may need to stop early and move to the fridge promptly.
Jar Size, Materials, and Cleaning
The best yogurt maker for long-term success is the one whose jars and parts are easy to sanitize reliably between batches. In practice, cleaning quality affects flavor neutrality and reduces the chances of contamination that can lead to off odors or weak set.
Dishwasher-safe components can reduce variability caused by inconsistent manual washing and rinsing.
Non-porous, durable jar materials are easier to sanitize thoroughly between incubation cycles.
Verify jar sizes and whether parts are dishwasher-safe
If your maker uses individual jars, confirm:
– Jar capacity (so your volumes match recipes)
– Lid compatibility (seals should sit properly without deforming)
– Dishwasher safety for jars and lids (if you prefer that workflow)
In my experience, dishwasher-safe doesn’t automatically mean “trouble-free,” but it typically lowers the day-to-day effort. When a jar is hard to clean around threads or seams, residue can build up and interfere with future batches.
Choose materials that are durable and easy to sanitize between batches
Common options include glass jars and BPA-free plastics (depending on the model). Glass is typically easier to judge for cleanliness and tends to resist staining odors; BPA-free plastic can be convenient and lightweight, but it demands careful handling to avoid scratches that trap residues.
A solid sanitation routine supports quality: wash immediately when components cool, avoid leaving dairy residue to dry, and fully dry before reassembly.
Budget and Warranty Considerations
The best yogurt maker within your budget is the one that reduces “repeat costs”—not just the sticker price. When temperature control or heating performance is inconsistent, you end up replacing cultures, wasting milk, and troubleshooting for months—an expensive path disguised as saving money.
A longer warranty signals greater manufacturer confidence in heater performance and control electronics.
Reliable customer support matters because yogurt makers often need troubleshooting for temperature drift or timer issues.
Balance upfront cost with long-term reliability and replacement parts
To evaluate value, think in total ownership cost:
– Cost of replacement jars/lids
– Ease of sourcing additional starter-friendly accessories
– Likelihood of needing service for heating or control errors
– How often you’ll actually use the machine (capacity fit again matters)
According to U.S. Federal Trade Commission (FTC) guidance on warranties and consumer rights, warranties define coverage, and understanding terms before purchase can prevent unpleasant surprises.
Check warranty length and customer support before buying
As a purchasing checklist, I recommend you verify:
– Warranty length (especially for the heating base)
– Whether parts are sold separately (jars, lids, seals)
– Service turnaround times or local support availability
– Return policy clarity in case the unit doesn’t meet your fermentation expectations
Q: Is it worth paying more for a higher-end yogurt maker?
Often yes if you value precise temperature control, consistent timers, and easy replacement parts—those features reduce batch variation and waste.
If you prioritize these factors, the decision becomes straightforward. In 2026, the best performers are usually those with consistent incubation behavior, not just attractive features.
Conclusion
If you choose a yogurt maker that fits your capacity needs and offers reliable temperature control, you’ll get more consistent results with less hassle. Use the features above—types, batch planning, heating stability, timers/auto shut-off, jar materials, and warranty support—to compare models against your fermenting routine, and then select the best option for your budget so you can start making yogurt you’ll actually enjoy.
Frequently Asked Questions
What features should I look for when buying a yogurt maker?
When choosing a yogurt maker, prioritize adjustable temperature control, a timer, and consistent heat distribution to ensure your yogurt sets properly. Look for a convenient jar design (individual cups vs. one large container), easy-to-clean materials, and a lid that helps maintain steady temperature. Also consider capacity, whether it includes incubation settings for different yogurt styles, and safety features like an auto shutoff.
How do I choose the right yogurt maker capacity for my household?
Pick a capacity based on how many servings you want to make and how often you’ll use the yogurt maker. If you plan to eat yogurt daily or for a family, a larger batch capacity or multiple serving cups can reduce repeat cycles and save time. For singles or small households, individual cup yogurt makers help with portioning and minimize leftover waste.
Why is temperature consistency important in a yogurt maker buying guide?
Yogurt fermentation is sensitive to temperature, and inconsistent heat can lead to runny texture or failed cultures. A yogurt maker with stable temperature performance helps maintain the ideal incubation range so you get thicker, creamier results. This is especially important if you’re making probiotics-rich yogurt with specific starter cultures that require consistent incubation times.
Which yogurt maker type is best for beginners—single-pot or individual cup models?
Beginners often find individual cup yogurt makers easier because portioning is built-in and cleanup is usually more straightforward. Single-pot yogurt makers can be great if you prefer one large container for meal prep, but they may require more attention when you want to portion after incubation. Either type works well as long as the machine provides reliable temperature control and you follow proper starter and incubation timing.
What is the best way to compare yogurt makers before buying?
Compare yogurt makers by checking reviews for reliability, temperature consistency, and how well they handle different batch sizes. Look for clear specifications like heating method, timer range, included incubation duration options, and whether replacement parts or starter compatibility are available. Finally, assess total value by factoring in warranty coverage, ease of cleaning, and whether the machine can produce the yogurt styles you want (Greek yogurt, strained yogurt, or homemade probiotics).
📅 Last Updated: July 12, 2026 | Topic: Yogurt Maker Buying Guide | Content verified for accuracy and freshness.
References
- Google Scholar Google Scholar
https://scholar.google.com/scholar?q=Yogurt+maker+buying+guide - Google Scholar Google Scholar
https://scholar.google.com/scholar?q=home+yogurt+fermentation+temperature+incubation+time+starter+culture - Google Scholar Google Scholar
https://scholar.google.com/scholar?q=yogurt+fermentation+safety+temperature+time+storage - Yogurt
https://en.wikipedia.org/wiki/Yogurt - https://www.mayoclinic.org/drugs-supplements/probiotics/art-20309946
https://www.mayoclinic.org/drugs-supplements/probiotics/art-20309946 - https://www.nccih.nih.gov/health/probiotics-what-you-need-to-know
https://www.nccih.nih.gov/health/probiotics-what-you-need-to-know - https://pubmed.ncbi.nlm.nih.gov/?term=yogurt+home+preparation+fermentation+temperature
https://pubmed.ncbi.nlm.nih.gov/?term=yogurt+home+preparation+fermentation+temperature - https://pubmed.ncbi.nlm.nih.gov/?term=yogurt+microbiological+safety+fermentation+storage
https://pubmed.ncbi.nlm.nih.gov/?term=yogurt+microbiological+safety+fermentation+storage - Food Safety Basics | Food Safety | CDC
https://www.cdc.gov/foodsafety/foodborne-germs.html - https://www.sciencedirect.com/search?qs=yogurt+fermentation+temperature+time
https://www.sciencedirect.com/search?qs=yogurt+fermentation+temperature+time



