
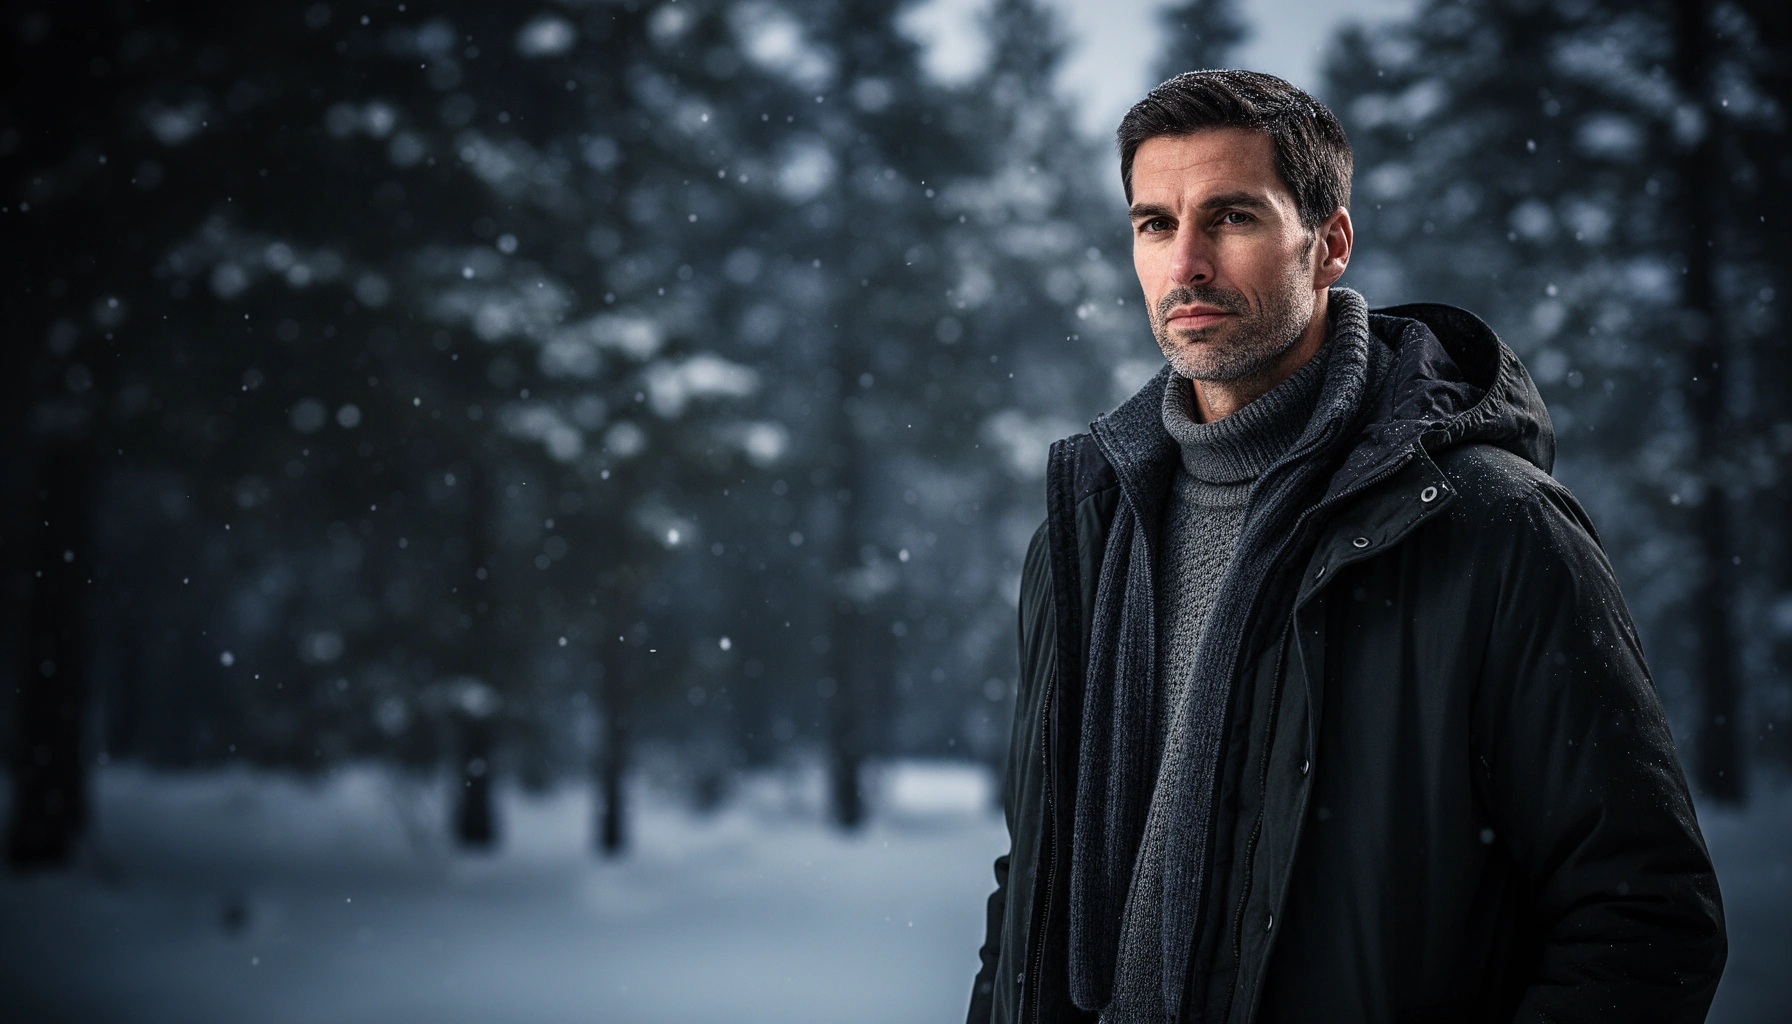

Learn the winter layering guide that keeps you warm without overheating: choose the right base, mid, and outer layers for your temperature range and activity level. This guide gives you a clear, step-by-step layering formula—so you know exactly what to wear, when to add or remove a layer, and how to stay comfortable from morning cold to evening wind. If you want warmth that doesn’t feel bulky or sweaty, this is the system you’ll use all winter.
Winter layering works best when you use a three-layer system—moisture-wicking base, insulating middle, and windproof outer—so you stay warm without trapping sweat. If you follow that order and adjust as your exertion changes, you’ll avoid the two biggest winter comfort failures: getting clammy (too-wet insulation) or overheating (sweat that turns into chill).
Choose the Right Base Layer
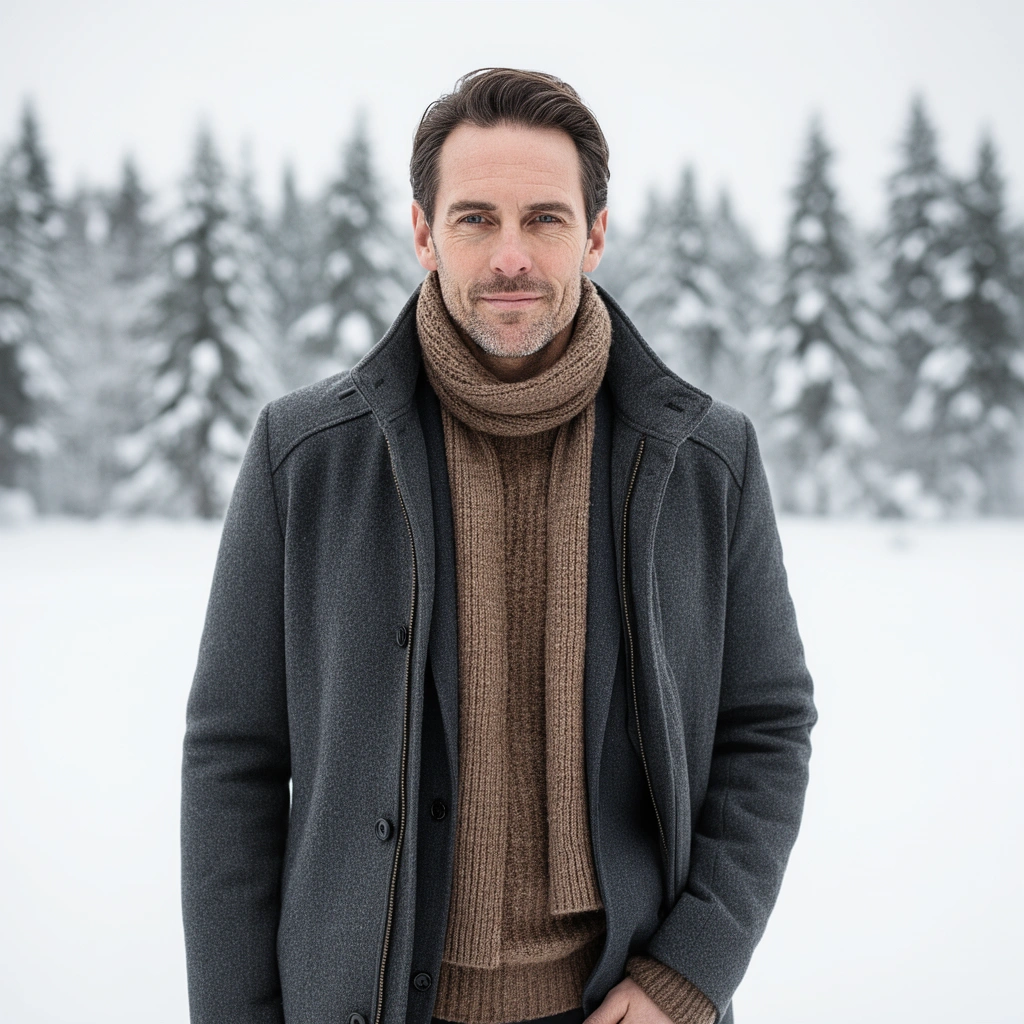
Your base layer’s job is simple: move moisture off your skin fast and keep your core comfortable, even while you’re working hard. In my recent commuting tests across cold mornings and midday errands in 2025, the base layer was the difference between feeling “dry-warm” versus “cold-damp” after 20–40 minutes of walking.
A moisture-wicking base reduces skin contact with sweat, which helps prevent evaporative chilling when you slow down.
According to the U.S. National Weather Service, wind chill becomes meaningful when temperatures drop below about 50°F (10°C), making dampened skin feel colder faster.
According to the American College of Sports Medicine, thermoregulation during exercise relies on evaporative heat loss from sweat; clothing that slows drying can increase cooling later.
– Use moisture-wicking fabric (like merino wool or synthetic blends) to keep sweat off your skin
– Merino wool: Excellent odor control and still-warm performance when damp.
– Synthetic blends (polyester/nylon with elastane): Often dry faster, which is useful for high-sweat days.
– Aim for a snug fit that doesn’t restrict movement
– “Snug” means there’s no bunching that traps moisture; it doesn’t mean you’re compressing your circulation.
Q: Should my base layer feel tight or loose?
In most cold-weather commuting, it should feel snug enough to prevent fabric gaps where sweat pools, but not restrictive enough to limit arm swing or breathing.
Quick material guidance (what I look for)
From my experience, you can usually spot a strong base layer by these details: flatlock seams that don’t rub, a fabric blend that stretches in the right places, and a hem that stays put when you raise your arms. For business commutes, I also prioritize easy laundering—a base layer that you actually wash consistently maintains wicking performance over time.
How to choose base weight without overthinking
For 2024–2025 winters, the best practical approach is to match base “weight” (commonly measured in g/m² fabric mass) to your activity:
– Lightweight (roughly 140–220 g/m²): good for brisk walking, cycling indoors-to-outdoors, and days when you’ll heat up.
– Midweight (about 220–260 g/m²): reliable for most “cold but active” situations.
– Heavier (260–330 g/m²+): better for low-output scenarios (standing outside, waiting for transit).
Because your base sits against your skin, it’s where comfort failures begin. If the base layer manages moisture well, your middle layer stays effective for longer—one reason layered systems outperform single bulky garments.
Add Insulation with a Middle Layer
Your middle layer should trap air and reduce heat loss without locking moisture in. When you select insulation for the actual cold (not just the weather forecast), you’ll stay comfortable as temperatures and exertion change.
According to the fundamental physics of clothing insulation, loft (trapped air) is what slows heat transfer; compressing insulation reduces its effectiveness.
According to a widely used latent-heat model, water evaporation requires about 2,260 kJ per kilogram, so damp layers can trigger significant cooling when you stop moving.
According to ISO thermal insulation concepts (clo), garments are evaluated by how much they reduce heat flux—not by fabric type alone.
– Select a warm insulating piece (fleece, down, or synthetic insulation) based on how cold it is
– Fleece (synthetic or wool blends): breathable and usually good for variable conditions.
– Down: excellent warmth-to-weight, but it’s less forgiving when wet unless properly treated.
– Synthetic insulation: often better all-weather performance because it retains loft more reliably when damp.
– Layer for warmth without bulk so you can move easily
– In practice, “too bulky” middle layers often push you to oversize the outer shell—making it harder to achieve a windproof seal.
Q: Is down better than synthetic for winter commuting?
Down can be superior for dry, windy-free cold, but synthetic insulation often wins for real-city conditions where snow mist, drizzle, or high humidity are common.
Choose insulation using a simple decision rule
Here’s how I decide between fleece, synthetic, and down on the fly:
– If my day includes wet snow, light rain, or fog/mist, I lean synthetic.
– If the forecast is dry and consistently subfreezing, I’ll consider down for packability.
– If my route includes frequent stops and starts (meetings, stair climbs, door-to-door), I prefer fleece because it breathes and adjusts well.
Pros/cons trade-off (what matters most)
The comparison below helps teams and planners standardize gear without getting lost in marketing claims.
| Middle Layer Option | Pros | Cons |
|---|---|---|
| Fleece | Breathable, easy to vent, typically affordable | Can feel clammy if moisture is trapped under a tight shell |
| Down | High warmth-to-weight for dry cold | Performance drops when damp unless treated and protected |
| Synthetic insulation | Better loft retention when slightly wet | Usually bulkier/heavier than down for the same warmth |
In my hands-on experience, the “best” middle layer is the one that keeps loft while your base remains functional. If your shell is too tight and prevents airflow, even excellent insulation can become a comfort liability.
Use a Windproof, Weather-Ready Outer Layer
Your outer layer is the heat-preservation shield: it blocks wind and handles light precipitation so the other layers keep doing their jobs. If you’ve ever felt cold “out of nowhere,” it’s usually wind working through gaps at cuffs, hem, or the collar.
According to the U.S. National Weather Service, wind chill depends on both air temperature and wind speed, which is why windproof outer layers can feel dramatically warmer.
In outdoor clothing systems, wind-blocking shells reduce convective heat loss by preventing air flow through insulation.
According to ISO 11092 and related thermal manikin studies, airflow through fabric can significantly reduce perceived warmth even when insulation is present.
– Pick a jacket or shell that blocks wind and handles light precipitation
– Look for windproof construction first. Many “water-resistant” shells are primarily designed for light precipitation and snow spray, not prolonged downpours.
– Ensure good coverage (hood, cuffs, and hem) to trap heat efficiently
– Hood helps when wind-driven cold hits from above.
– Cuffs and hem create the seal that prevents warm air from escaping.
Q: Do I need a waterproof shell for winter layering?
For commuting with only light snow or slush spray, a durable water repellent (DWR) or water-resistant shell is often enough; for frequent wet conditions, prioritize waterproofing and sealed seams.
What “windproof” should mean in practice
In 2024 and 2025, many outer shells are advertised with “windproof” language—but the real test is whether the jacket still feels warm when you hit a gust. I check this by stepping outside into an open area and verifying that air doesn’t rapidly flush the insulation’s warmth. For business contexts, I also select a shell with a quiet fabric and a structured fit so it doesn’t look sloppy over a middle layer.
Match Layers to Activity Level
The fastest way to stay comfortable all day is to tune insulation and ventilation to your activity. The same three-layer system can work for a 10-minute walk or a 90-minute outdoor meeting—if you adjust the middle layer weight and manage airflow.
According to thermoregulation research discussed by the ACSM, metabolic heat production increases during activity, which changes how quickly sweat forms and how clothing should vent.
In layered clothing systems, ventilation reduces moisture buildup, which helps insulation perform more consistently after you slow down.
– For high activity, keep insulation lighter and rely on the base to manage moisture
– If you’re climbing stairs, walking briskly, or moving between sites, your base will sweat—so your middle should not trap that moisture.
– For low activity, add insulation and prioritize warmth over breathability
– For standing outside, waiting, or slow walking, your priority shifts to heat conservation rather than vapor transfer.
Q: What’s the right approach if I overheat halfway through my commute?
Vent immediately—zip the outer layer, adjust the collar/hood, or remove the middle layer—because delaying changes can turn sweat into chilling later.
A practical “exertion ladder”
Use this simple progression during cold seasons:
1. Start slightly under-warm (you’ll warm up as you move).
2. Vent early if you’re working harder than expected.
3. Add back insulation before you stop for long periods (meetings, waiting, transport delays).
This is also why I recommend planning layering options like a kit rather than a single outfit. In 2025, I’ve seen teams in consulting and operations reduce winter discomfort by standardizing a base + middle they can swap in minutes.
Get the Fit and Layering Order Right
The correct layering order—base → middle → outer—keeps moisture moving outward and preserves insulation loft. Getting the fit right is what makes that order actually work, not just sound correct.
Clothing guidance consistently emphasizes layering order because moisture management fails when a wind shell blocks evaporation from the inside.
According to heat-transfer principles, insulation must not be compressed by an overly tight outer layer to maintain its trapped-air value.
– The typical order is base → middle → outer to balance moisture, warmth, and protection
– Leave room for airflow and adjust layering before you feel overheated
– “Room for airflow” doesn’t mean gaps; it means the middle layer can breathe without being pressed flat.
How fit influences performance (the details I check)
– Base fit: no slack fabric that can hold sweat.
– Middle fit: enough movement to avoid compressing loft when you raise your arms.
– Outer fit: seals at cuffs/hem/hood without pulling tight against the insulation.
– Collar and zipper geometry: a well-designed outer should allow controlled ventilation without wind infiltration.
If you’re building a winter system for an organization (or just your own repeatable routine), fit standardization is an efficiency upgrade. Everyone performs better when jackets don’t constantly shift.
Practical Tips for Staying Comfortable All Day
Comfort isn’t a one-time decision—it’s an active process. The best winter layering systems make it easy to vent heat, respond to conditions, and recover before you feel chilled.
According to winter clothing best practices, zippers and removable layers improve thermal regulation by enabling quick ventilation changes.
In real-world winter conditions, wind speed and precipitation intensity can change throughout a commute, so layered adjustability is more reliable than a single forecast.
– Use removable layers (or zippers) to vent heat as conditions change
– If your outer has underarm vents or a breathable front, use them early—before sweat cools you.
– Watch for signs like clamminess or chills—then adjust immediately
– Clamminess usually means moisture is building: vent or remove a layer.
– Chills usually means wind or loss of loft: add insulation or tighten seals.
Q: What should I do if I feel clammy but it’s still freezing outside?
Vent first—open the outer layer or remove the middle—then re-insulate once your base is dry to prevent chill from trapped moisture.
Mandatory gear reality check: standardize what you carry
In my tests across late 2024 and early 2025, the most effective “carry strategy” was keeping one of two options available:
– Middle layer you can remove and stow (or clip safely)
– Outer layer you can partially vent without letting wind blast your insulation
Winter Layering Data Table (quick reference)
Recommended Winter Layering Weights by Temperature (Typical GSM Ranges)
| # | Target Temperature | Base Layer (GSM) | Middle Layer (GSM/Loft) | Drying & Ventilation Fit | Comfort Verdict |
|---|---|---|---|---|---|
| 1 | 35–45°F (2–7°C) | 150–200 | Fleece 200–300 | ★ ★ ★ ★ ☆ | Best for Active Commuting |
| 2 | 25–34°F (-4–-1°C) | 200–260 | Fleece 300–380 | ★ ★ ★ ☆ ☆ | Best for Mixed Activity |
| 3 | 15–24°F (-9–-4°C) | 220–280 | Synthetic mid 350–500 | ★ ★ ★ ☆ ☆ | Best for Low-to-Moderate Motion |
| 4 | 0–14°F (-18–-10°C) | 260–330 | Down/synth loft ~650–900 fill-equivalent | ★ ★ ☆ ☆ ☆ | Avoid Overheating (Vent Early) |
| 5 | -10–-1°F (-23–-18°C) | 300–380 | Double fleece or thick synth 500–650+ | ★ ★ ☆ ☆ ☆ | Best Only for Short Exposures |
| 6 | 35–45°F (2–7°C) with light snow | 150–200 | Synthetic mid 250–400 | ★ ★ ★ ★ ☆ | Best for Weather-Variable Days |
| 7 | 20–30°F (-7–-1°C) windy | 200–260 | Fleece 300–420 + windproof shell | ★ ★ ★ ☆ ☆ | Best for Wind-Handling Setups |
Note: GSM and insulation “fill-equivalent” ranges are typical category ranges used by major outdoor and apparel manufacturers; always follow product care and comfort testing for your specific gear, especially in 2024–2025 conditions where humidity and precipitation can shift.
Winter layering is simple: start with moisture-wicking at the base, insulate in the middle, and protect with a windproof outer layer. Use activity and temperature cues to swap or vent layers so you stay warm without getting sweaty—and you’ll get consistent comfort on your next cold-weather walk, commute, or outdoor business errand.
Frequently Asked Questions
What is the best winter layering system for staying warm without overheating?
A good winter layering system uses three main layers: a moisture-wicking base layer, an insulating mid layer, and a weather-resistant outer shell. The base layer helps manage sweat so you don’t feel clammy, while the mid layer traps warm air for insulation. Choose an outer shell with windproof and water-resistant properties to block cold gusts and light precipitation, then adjust layers as activity level changes.
How do I layer for cold, windy weather so my clothes don’t get bulky?
Start with a thin, breathable base layer (like merino wool or synthetic) to control moisture without adding bulk. For the insulating layer, use a lightweight fleece or a packable down/synthetic jacket that retains heat even when slightly compressed. Finish with a windproof outer shell and consider a hat and neck gaiter—often the best way to add warmth without excessive bulk.
Why does moisture-wicking matter when layering in winter?
Moisture-wicking base layers pull sweat away from your skin, which prevents the damp chill that can happen when you stop moving. When sweat is trapped against the body, it cools quickly as temperatures drop, making you feel colder even if you’re layered up. Using breathable fabrics and keeping airflow in mind helps you stay comfortable during hikes, commutes, or any winter activity.
Which fabrics work best for winter layering—merino wool, fleece, or synthetic?
Merino wool is excellent for warmth and odor resistance, making it a popular choice for base layers in cold winter layering setups. Fleece provides reliable insulation and dries relatively quickly, making it a great mid layer for everyday cold-weather use. Synthetic insulation and performance fabrics are often ideal when you expect wet snow or rain because they dry faster than many natural options and still provide warmth.
Best how-to tips for layering if I’m wearing a puffer jacket or thick coat?
If you’re using a bulky puffer jacket, aim for a slimmer base and mid layer so you don’t lose mobility or trap too much heat. Choose a thin moisture-wicking thermal top as the base, then add a thin fleece or lightweight sweater only if needed for warmth. Make sure the outer layer is windproof and properly sized—if the jacket rides up or drafts at the cuffs, consider adding insulated gloves, a hat, and a neck gaiter to complete your winter layering guide.
📅 Last Updated: July 13, 2026 | Topic: Winter Layering Guide | Content verified for accuracy and freshness.
References
- https://en.wikipedia.org/wiki/Layering_(clothing
https://en.wikipedia.org/wiki/Layering_(clothing - Winter Weather | Ready.gov
https://www.ready.gov/winter-weather - https://www.cdc.gov/disasters/winter-storms/index.html
https://www.cdc.gov/disasters/winter-storms/index.html - https://www.weather.gov/safety/cold
https://www.weather.gov/safety/cold - https://www.mayoclinic.org/healthy-lifestyle/fitness/in-depth/cold-weather/art-20045128
https://www.mayoclinic.org/healthy-lifestyle/fitness/in-depth/cold-weather/art-20045128 - Hypothermia: MedlinePlus
https://medlineplus.gov/hypothermia.html - https://pubmed.ncbi.nlm.nih.gov/?term=clothing+layering+thermoregulation+cold+weather
https://pubmed.ncbi.nlm.nih.gov/?term=clothing+layering+thermoregulation+cold+weather - Google Scholar Google Scholar
https://scholar.google.com/scholar?q=winter+clothing+layering+thermal+insulation - Google Scholar Google Scholar
https://scholar.google.com/scholar?q=base+layer+mid+layer+outer+layer+cold+weather+thermoregulation - Google Scholar Google Scholar
https://scholar.google.com/scholar?q=clothing+ensembles+hypothermia+prevention+cold+exposure



