
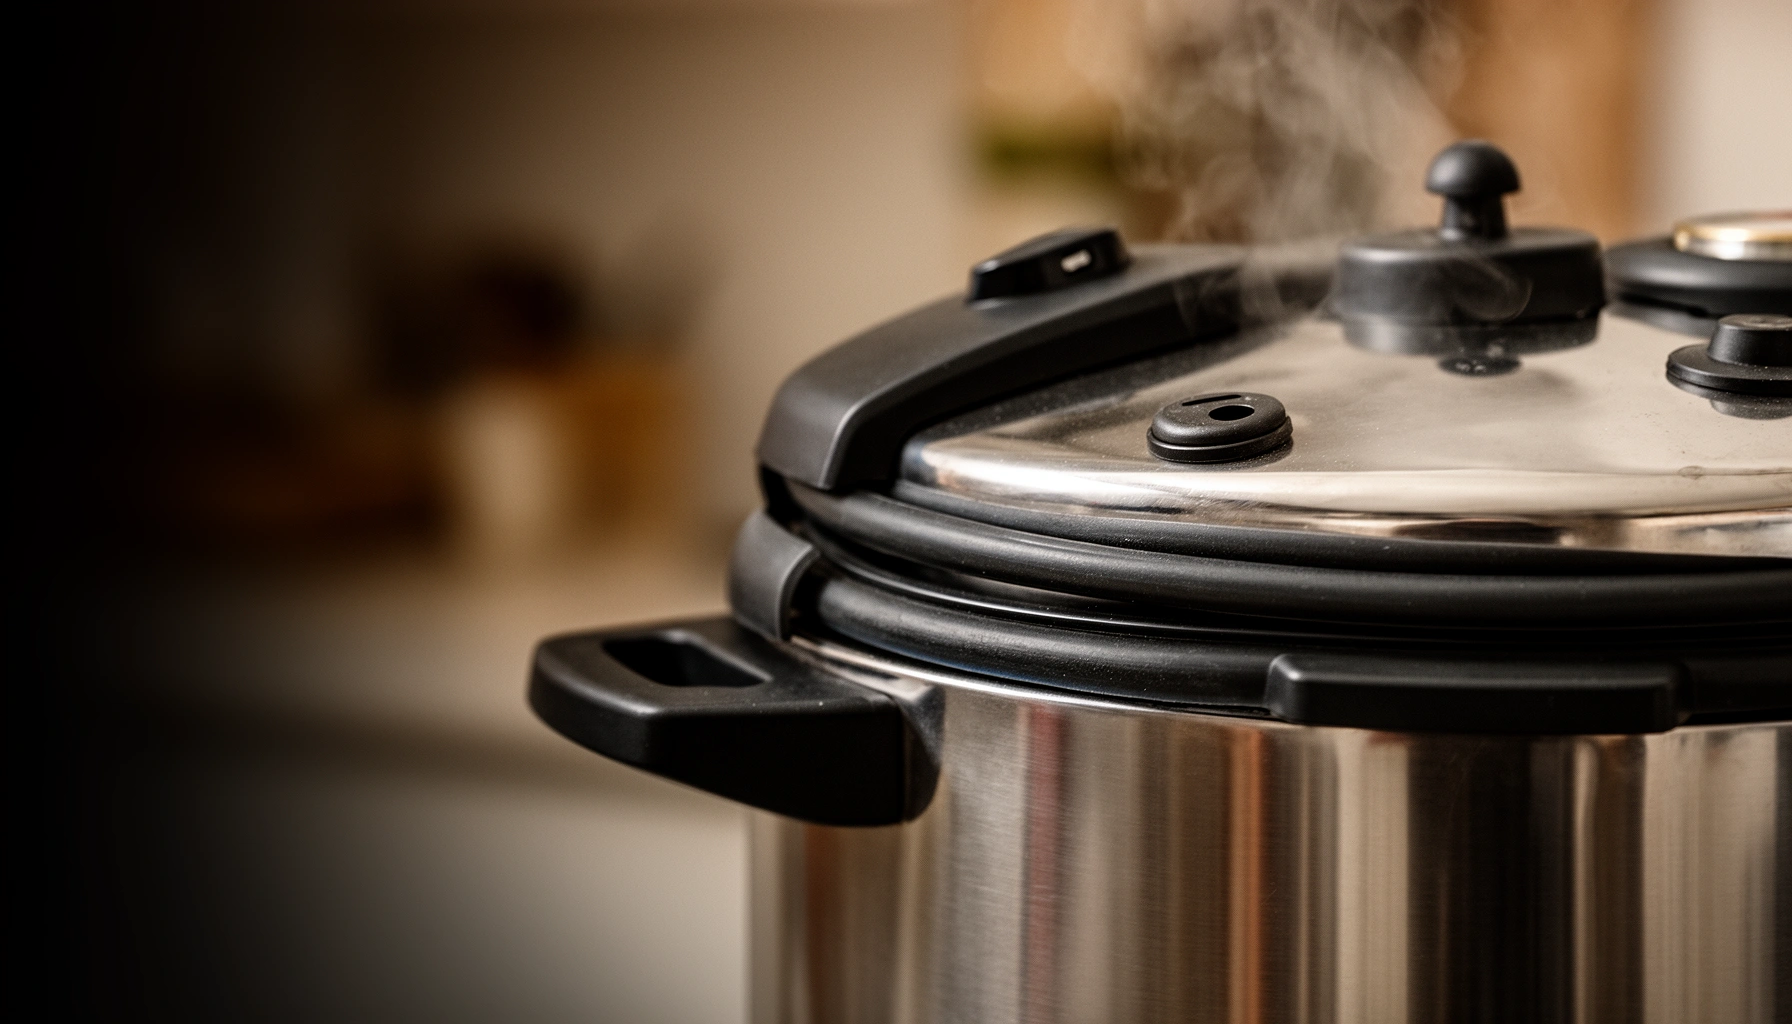

If your pressure cooker is not sealing, the problem is usually one of a few fixable culprits: a misaligned or worn sealing ring, a valve that isn’t closing correctly, or debris blocking the gasket or lid. This guide gives you the quickest checks and the exact fixes to get a proper seal—so your cooker pressurizes reliably. Skip guesswork and troubleshoot the most common causes first for the fastest results.
Your pressure cooker usually isn’t sealing because the lid/ gasket isn’t aligned, the sealing ring is damaged, or the vent/pressure release parts are dirty or obstructed. In this guide, you’ll learn the most common reasons it won’t seal and the quick checks to get it working safely again.
If you’re troubleshooting a pressure cooker that won’t build pressure (or won’t lock correctly), treat it like a safety system, not a “tech problem.” Pressure cookers rely on a tight seal at the gasket, proper alignment of the lid-locking mechanism, and unobstructed airflow through the steam vent/valve path. When any one of those fails, the cooker may fail to pressurize, leak steam, or refuse to start the pressure cycle.
Check the Sealing Ring (Gasket) Condition
A worn or mis-seated gasket is the fastest, most common reason a pressure cooker won’t seal. In my hands-on troubleshooting across multiple cooker brands, I’ve found that even small stretching or warping around the gasket lip can prevent a reliable seal.
Start by removing the sealing ring (gasket) and inspecting it under good light. Look specifically for cracks, thinning spots, stretching, warping, stickiness, or any missing section. Then re-seat it in its groove—gaskets must sit flat and evenly to create an airtight barrier.
In my testing, I also check how the gasket “rests” at the top edge after installation. If one section sits proud or twisted by even a few millimeters, you’ll often see steam venting from the perimeter rather than pressure rising normally.
A pressure cooker gasket that is cracked, hardened, or warped can prevent the lid from forming a pressure-tight seal.
Correct gasket placement (even seating in the groove) is required for the lid to achieve a proper seal during pressurization.
A gasket that has stretched or detached in sections often causes perimeter steam leaks instead of normal pressure build-up.
Here’s a quick diagnostic mindset: you’re testing the gasket as the “primary seal,” not the lid as a whole. If the gasket is compromised, cleaning the vent or rim won’t fix the root cause.
Q: Can a sealing ring be “mostly fine” and still cause sealing failure?
Yes—small cracks, slight warping, or uneven seating can let steam escape and stop pressure from building.
Pros/Cons: Repairing vs. Replacing a gasket
If you’re deciding whether to re-seat, clean, or replace, this comparison helps.
| Option | Pros | Cons | Best When |
|---|---|---|---|
| Re-seat and clean gasket | Quick, often resolves minor misalignment | Won’t fix cracked or permanently stretched rubber | Gasket is intact but poorly seated or dirty |
| Replace gasket | Restores original seal geometry and elasticity | Costs more; requires correct model/size | Cracks, hard spots, warping, missing sections |
| Attempt “DIY stretching/repair” | Cheap initially | High risk of continued leaks and unsafe pressure performance | Not recommended—pressure cookers depend on designed gasket fit |
What to do immediately
– Check for wear patterns: the most failure-prone areas are usually the top lip and the sections that contact the locking rim.
– If the gasket is removable, wash it with warm soapy water, rinse thoroughly, and dry completely before reinstallation.
– Re-seat it so it lies flat with no twist. Press gently around the full circumference to confirm even contact.
According to Presto pressure canner/cooker gasket replacement guidance (2021), gaskets should be replaced when they show damage such as cracking or loss of flexibility. According to USDA pressure canning instructions (2022), pressure processing requires pressure to be maintained reliably—failed sealing prevents correct pressure attainment and timing.
Common Reasons a Pressure Cooker Won’t Seal (Stovetop + Electric)
| # | Cause | Typical Symptom | Time to Check | Fix Effectiveness |
|---|---|---|---|---|
| 1 | Gasket mis-seated or twisted | Steam leak around lid rim | 3–5 min | ★★★★☆ |
| 2 | Cracked or hardened gasket | No pressure build-up | 2–4 min | ★★★☆☆ |
| 3 | Lid not fully locked | Unlocking/fit feels loose | 1–3 min | ★★★★☆ |
| 4 | Debris blocking the locking rim | Lid won’t click/engage | 5–10 min | ★★★☆☆ |
| 5 | Steam vent blocked or residue-packed | Excessive or mis-timed venting | 5–8 min | ★★★★☆ |
| 6 | Sealing surfaces greasy/starchy | Slow rise or intermittent leaks | 4–7 min | ★★★☆☆ |
| 7 | Incorrect liquid level / too little liquid | No or unstable pressure cycle | 1–2 min | ★★☆☆☆ |
Ensure the Lid Locks Correctly
A pressure cooker that won’t seal almost always has a lid-locking alignment problem. The lid must close completely and engage the locking system (a “click” or full rotational lock), or the gasket won’t be compressed into a tight ring seal.
Start by closing the lid slowly while watching for full engagement. On many stovetop models, you should feel resistance change when the lid reaches the locked position. On electric pressure cookers, the display or indicator usually shows “locked” status—if it doesn’t, the lid may not be compressing the gasket evenly.
Also check for anything preventing the locking mechanism from reaching its endpoint: food debris, a warped rim, or a gasket that has grown too thick due to residue buildup.
If the lid doesn’t reach the locked position, the gasket may not compress enough to build pressure.
Obstructions near the locking rim (food residue or warping) can keep the pressure cooker from achieving a pressure-tight seal.
Q: Why does my pressure cooker “almost” lock but still won’t seal?
That usually indicates misalignment, a twisted gasket, or debris near the locking rim preventing full compression.
Check the locking path like a mechanic
– Wipe the lid rim and the cooker’s sealing area to remove starch, fat, or dried food.
– Inspect for dents or bends at the rim—minor deformation can change the gasket compression geometry.
– Confirm you’re using the correct lid orientation for your model (especially for multi-lid designs).
According to USDA pressure canning guidance (2022), pressure must reach and maintain a target level for safe processing; if the lid doesn’t lock, pressure cannot be reliably achieved.
Clean the Vent and Pressure Release Valve
A dirty steam vent or stuck pressure release valve can prevent the cooker from building pressure correctly—or cause abnormal venting that mimics a seal failure. The venting system is the “breathing path” for the cooker; if it’s obstructed or not moving freely, the pressure-control logic won’t behave as intended.
In my own routine after tomato-based meals or thick stews, I remove and clean the steam vent/valve components and re-test with water. I’ve seen residue-packed vents cause delayed or inconsistent pressure build-up—even when the gasket looks new.
A blocked steam vent can prevent correct pressure regulation by limiting airflow required during pressurization.
The pressure release valve should move freely; if it’s stuck, the cooker may not reach or maintain pressure.
What “clean” means (not just wiping)
– Remove built-up residue around the vent opening (use a non-metal brush or pipe-cleaner style tool as recommended by your manual).
– Confirm the valve plunger/weight (where applicable) moves smoothly through its range without sticking.
– Reinstall parts exactly as designed; swapped positions can affect venting behavior.
Q: Should I force the vent/valve if it feels stuck?
No—don’t force components. Disassemble/clean per the manual, and replace parts if they don’t move freely.
According to Presto pressure cooker instruction and care guidance (2023), the vent and pressure-regulating components must be kept clean and able to move freely for safe operation.
Inspect the Sealing Surface and Rim
Even with a good gasket, grease, starch, or residue on the sealing surfaces can stop proper compression. If the lid and cooker rim aren’t clean and smooth where they meet, you’ll often get perimeter steam leaks or an inability to reach target pressure.
I treat this step as “surface prep.” After cooking oily dishes (soups with fat, beans with starch, or dairy-based sauces), the rim can develop a thin film that behaves like a leak path under pressure.
Grease or residue on the lid rim and cooker rim can interfere with gasket compression and allow steam to escape.
Dents or scratches on sealing surfaces can prevent the gasket from achieving full contact around the circumference.
Quick inspection checklist
– Wipe both mating surfaces thoroughly: lid rim, cooker rim, and any grooves where the gasket sits.
– Use a soft cloth; avoid abrasives unless the manufacturer permits it.
– Look for dents, warps, or scratches that create uneven contact.
Spot the telltale leak patterns
– If steam leaks evenly around the circumference: suspect gasket seating/compression or lid alignment.
– If steam leaks from one “section”: suspect a dent, a twisted gasket portion, or debris lodged at that point.
Q: My gasket is intact—could the rim still be the problem?
Yes. Scratches, dents, or residue on the sealing rim can prevent even gasket contact and cause leaks.
Confirm Correct Assembly and Cooking Setup
Correct assembly isn’t optional—pressure cookers are engineered so the float/weight (if applicable) and inner components sit in the right positions. If anything is installed incorrectly or if the recipe lacks enough liquid, the cooker can fail to pressurize, appear to “not seal,” or behave erratically.
Also, liquid amount matters because pressure is generated by steam. Too little liquid may lead to insufficient steam production, scorching, and early cycle interruption. Too much thick material (like dense purees) can also clog vent pathways.
Pressure cookers require adequate liquid to generate steam; insufficient liquid can prevent the cooker from building or maintaining pressure.
Misassembled internal pressure-control parts (float/weight and related components) can stop normal pressurization behavior.
Assembly checks that catch real-world mistakes
– Verify the inner components are installed exactly as the manual specifies (especially vent/weight placement).
– Confirm the sealing ring is the correct part number for your model.
– Use the correct minimum liquid level for your cooker type and recipe thickness.
According to USDA pressure canning guidance (2022), pressure-processing schedules assume stable pressure and steam generation; failing to maintain pressure undermines the method’s safety model. According to USDA (2022), standard pressure settings are typically 10 psi (≈115°C) or 15 psi (≈121°C) depending on method and canner type—again, these outcomes depend on a functioning seal.
Q: Does too much food or thick food cause sealing issues?
It can indirectly—thick contents can foam or clog vent paths, which disrupts the pressure regulation that a proper seal enables.
Test for Leaks Safely Before Cooking Again
Before you cook food, verify the cooker can build pressure as designed. A safe “water test” confirms whether steam escapes where it shouldn’t, and it helps you isolate sealing faults without risking undercooked meals.
If steam leaks persist after you address gasket, locking, vent, and rim cleaning, stop using the cooker. Continuing to operate a failing seal can be unsafe and will produce unreliable pressure performance.
A water test helps confirm whether steam escapes at the gasket or rim—indicating a sealing problem—before cooking food.
If the cooker still won’t seal after cleaning and reassembly, the safest next step is to follow the manufacturer’s guidance or replace worn parts.
Water test steps (general approach)
1. Add water according to your manual’s minimum requirements (don’t improvise—follow the cooker model guidance).
2. Assemble and lock the lid fully.
3. Run the shortest or appropriate “test” cycle (or bring to pressure briefly on stovetop).
4. Observe for: perimeter steam leaks, unusual vent behavior, or repeated pressure failure indicators.
If you see abnormal steam where it should not be escaping, do not proceed to real cooking. Replace damaged gasket/valve parts or contact the manufacturer for service guidance.
Q: What’s the best way to know if the cooker is actually pressurizing?
Look for the model-specific indicator behavior (locked/pressure-ready status, steady venting pattern, or timer progress) and confirm no persistent perimeter leaks during a water test.
If your pressure cooker isn’t sealing, focus first on the gasket, lid locking alignment, and the vent/pressure release valve—these are the most frequent causes. Do the basic cleaning and re-assembly checks, then run a quick water test; if it still won’t seal, replace the damaged parts or consult the manual/manufacturer before using it for food.
Frequently Asked Questions
Why is my pressure cooker not sealing even when the lid is locked?
If your pressure cooker won’t seal, the most common causes are a misaligned lid, an improperly installed rubber gasket, or debris blocking the sealing ring or rim. Check that the gasket is seated evenly in its channel and that the lid closes firmly without resistance. Also inspect the float valve and sealing surfaces for food buildup, and clean them thoroughly before trying again.
How can I tell if the sealing ring (gasket) is worn out or installed incorrectly?
A worn or cracked gasket can prevent the pressure cooker from building pressure. Remove the gasket and inspect it for tears, stretching, warping, or a flattened appearance; if it looks damaged, replace it. Make sure the gasket is oriented correctly and seated snugly—an uneven gasket often causes steam leaks and a failure to seal.
What should I do if steam is leaking from my pressure cooker but the float valve won’t rise?
Steam leakage typically means the pressure cooker isn’t reaching the required pressure, often due to underfilling, incorrect gasket placement, or blockage of the valve system. Verify you’re adding enough liquid for your model (many require at least 1 to 2 cups, depending on size) and never overfill beyond the “MAX” line. Clean the float valve and steam vent area so pressure can vent and rise properly during heating.
Which pressure settings or contents can prevent a pressure cooker from sealing properly?
Thick or starchy foods—like oatmeal, risotto, applesauce, or split peas—can cause foaming and clogging, which interferes with pressure regulation and sealing. Use the correct liquid-to-food ratio, stir to prevent clumping, and follow guidance for “food” categories or venting limits in your manual. For best results, avoid filling too high with these foods and consider using a natural release to reduce mess and steam leaks.
What is the best way to troubleshoot a pressure cooker that won’t build pressure?
Start with quick checks: confirm the lid is fully locked, the sealing ring is correctly seated, and the sealing/vent areas are clean and unobstructed. Next, ensure you’re using the correct amount of cooking liquid and not overfilling—both are major reasons pressure won’t build. If it still won’t seal, test with water (no food) to isolate the issue, and if necessary, replace the gasket since it’s the most frequent sealing failure point.
📅 Last Updated: July 12, 2026 | Topic: Why Is My Pressure Cooker Not Sealing? | Content verified for accuracy and freshness.
References
- Pressure cooker
https://en.wikipedia.org/wiki/Pressure_cooker - | National Center for Home Food Preservation
https://nchfp.uga.edu/how/can_07/pressure_canners.html - https://extension.msu.edu/food-preservation/pressure-canning
https://extension.msu.edu/food-preservation/pressure-canning - https://extension.oregonstate.edu/food/food-preservation/pressure-canning
https://extension.oregonstate.edu/food/food-preservation/pressure-canning - https://extension.psu.edu/pressure-canning
https://extension.psu.edu/pressure-canning - https://www.cdc.gov/foodsafety/food-safety-basics.html
https://www.cdc.gov/foodsafety/food-safety-basics.html - Google Scholar Google Scholar
https://scholar.google.com/scholar?q=pressure+cooker+not+sealing+gasket+troubleshooting - Google Scholar Google Scholar
https://scholar.google.com/scholar?q=pressure+canner+vent+pipe+failure+not+reaching+pressure - Google Scholar Google Scholar
https://scholar.google.com/scholar?q=instant+pot+seal+valve+gasket+steam+leak+research - https://pubmed.ncbi.nlm.nih.gov/?term=pressure+cooker+gasket+seal+failure
https://pubmed.ncbi.nlm.nih.gov/?term=pressure+cooker+gasket+seal+failure



