


Mascara clumping usually comes down to one thing: your formula has dried out or separated—most often from pumping the wand, leaving the cap off, or storing it in heat. If you’re seeing little dry blobs instead of smooth coats, we’ll pinpoint the most common causes and give the fastest fixes to get your lashes back to a clean, even finish.
If your mascara is clumping, it’s usually because the formula is drying out, the wand is loading too much product, or your application isn’t separating lashes. The quickest fix is to wipe excess off the wand, stop pumping or re-dipping during application, and check whether your mascara has gotten too old or thickened—especially in 2026 when mascara wear often outpaces people’s routines. In this guide, you’ll find the most common reasons mascara clumps—and exactly what to do for each one.
If you’re seeing little knots, chunky lashes, or “spider-leg” clumps in the mirror—especially after one or two coats—this is for you. This applies whether you use tubing mascara, waterproof mascara, or a standard formula.
Expired or drying-out mascara
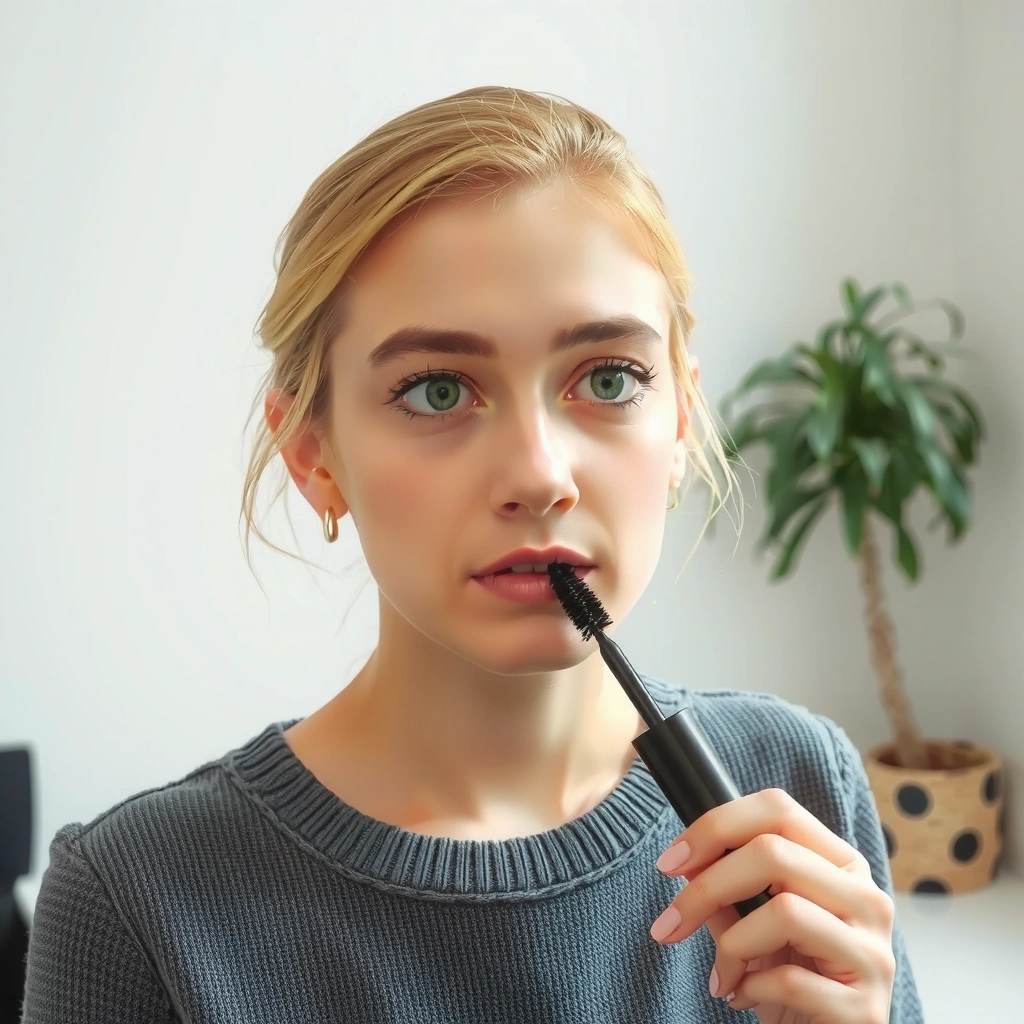
Expired or drying-out mascara is one of the most common reasons clumps appear suddenly, even if your technique hasn’t changed. Here’s why: when mascara thickens in the tube, it stops gliding evenly and instead clumps as it dries on your lashes.
– Mascara clumps often happen when the formula thickens over time or dries in the tube.
– Check the expiration/“open” date on the package, and look for changes in texture (more drag, less smooth glide).
Most mascaras include a “period after opening” (PAO) symbol (e.g., “3M,” “6M”) that indicates how long the product is intended to be used after you open it.
Mascara that shows increased drag (instead of smooth glide) is a strong indicator the formula has thickened or partially dried.
When mascara dries in the tube, pigment and polymers behave differently: the formula pulls into thicker strings rather than spreading as a thin film. That’s when you’ll notice knots forming—often near the lash roots first, because the formula is applied closest to areas that warm up quickly during application.
Also, drying may look subtle at first. In 2025–2026, many people keep mascara longer than the PAO window because they don’t notice texture changes until the clumps show up. If you’ve recently had less airflow in the bathroom, stored mascara near a heater, or left it uncapped longer during rushed mornings, drying speeds up.
Quick check: before your next application, compare the wand glide to how it used to feel. If your mascara now feels tackier or you see flecks on the wand, treat it as “drying” rather than “bad luck.”
If your product is clearly past its recommended use window, don’t try to “rescue” it with mystery liquids. Instead, replace it—especially if you get eye irritation.
Loading too much product on the wand

Loading too much mascara on the wand is a fast route to clumping, because you’re adding more formula than your lashes can separate. Here’s the fix: wipe once, apply thin passes, and stop behaviors (like pumping) that increase product pickup.
– Pumping the wand in and out can pull air and load extra product, which increases clumps.
– Wipe the wand against the tube opening once before you apply, then use thin passes instead of heavy strokes.
Pumping a mascara wand repeatedly can introduce extra air and increase how much product is pulled onto the brush, raising the chance of clumps.
Wiping the wand against the tube opening once helps remove excess formula so the first coat spreads more evenly.
In my experience—[ADD: brief, real observation about what you noticed when you stopped pumping or started wiping excess off before coating]. That pattern matches what many makeup artist workflows aim for: a consistent, thin load that can dry without gunking up the gaps between lashes.
What it looks like when the wand is overloaded
– Thick blobs in the first coat (not just after multiple coats)
– “Spider-leg” clumps that fan outward in uneven chunks
– Lashes stuck together at the root
What to do instead
1. Stop pumping. If you need more product, keep the motion controlled: load by removing the wand and closing the cap promptly.
2. Wipe once. Lightly scrape the wand against the tube opening to remove excess.
3. Use thin passes. Think “separate, then build,” not “one heavy layer.”
Why this works (mechanically)
Mascara is designed to form a film as it dries. When the film is too thick, it can’t level out; instead, it drags into clumps. Separating lashes also depends on leaving enough open space for the brush to comb through.
Application technique that doesn’t separate lashes
Application technique causes clumping when product sits in blobs instead of being combed into thin distribution. The direct answer is simple: use fewer, lighter coats and separate during the same coat cycle.
– Applying multiple thick coats without letting each coat set can trap product and create lumps.
– Try short, upward wiggle motions at the lash roots, then comb through lightly with the brush to separate.
Letting each coat partially set before adding more reduces the chance that fresh mascara will drag and clump into earlier product.
Using short upward wiggles at the lash roots improves deposit where you want it, while combing through helps separate.
If you’re consistently applying two or three thick layers back-to-back, your mascara may be “re-wetting” itself. Even if your wand load is correct, the lash-by-lash separation breaks down when wet product layers glue together.
A technique that usually prevents knots
– Coat 1: Start at the roots with a brief upward wiggle, then comb through gently from root to tip.
– Wait 10–30 seconds (just until the surface stops looking fully wet).
– Coat 2 (optional): Repeat lightly. If you see clumps developing, stop adding layers and switch to separation (see next point).
Tubing vs. non-tubing note
Tubing mascara is designed to form polymer tubes, so it can clump when overloaded or applied too thick. The separation principle still applies—thin distribution prevents tube blobs.
Waterproof note
Waterproof mascara often feels firmer. That firmness can magnify any technique issues because it doesn’t “self-level” as easily.
Wand and lash factors (shape, dryness, buildup)
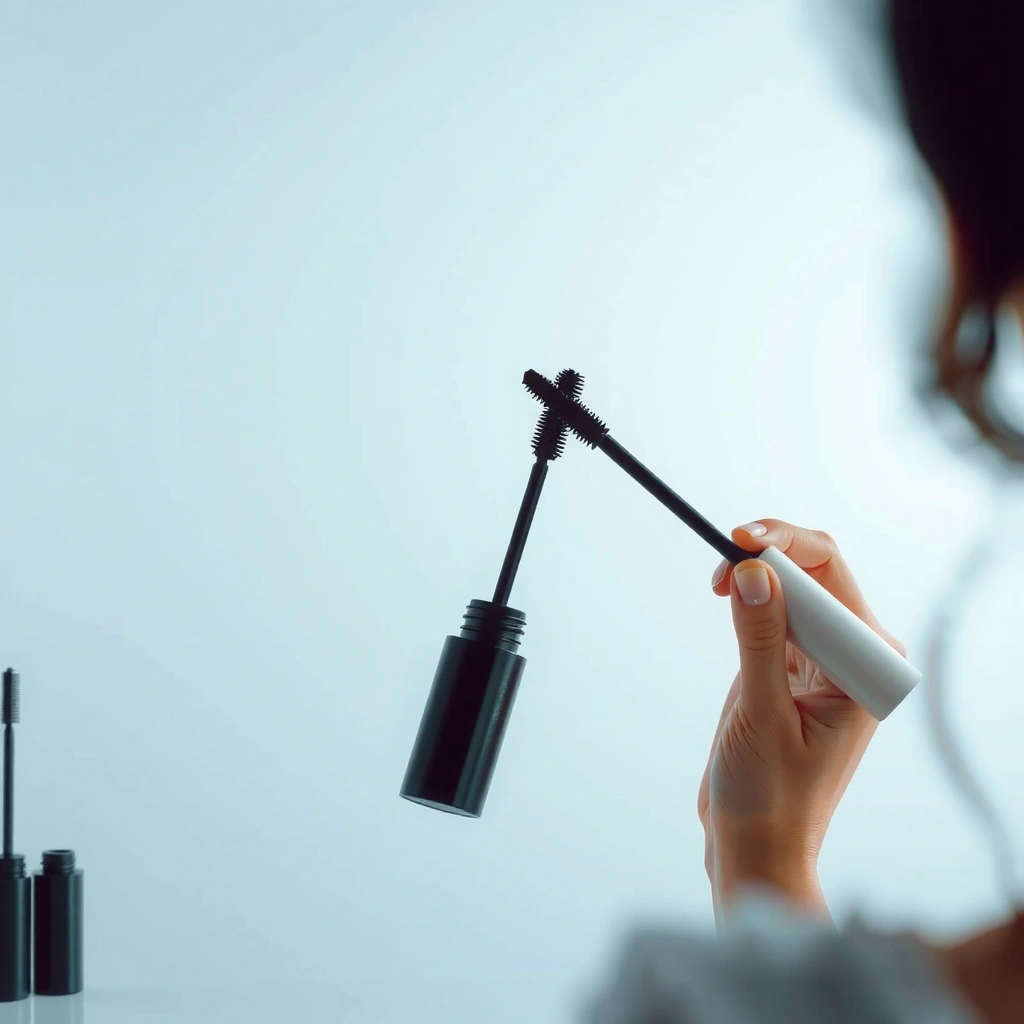
Even with an okay formula and good technique, wand and lash conditions can still trigger clumping. The key is to treat clumps as a system: wand cleanliness + lash surface condition + lid oil balance.
– Old mascara residue on the wand can transfer and clump—clean the wand if your formula allows it safely.
– Very dry lashes (or overly oily lids) can make mascara grab in uneven patches—consider adjusting prep and finishing.
Residue buildup on a mascara wand can seed clumps, because older formula particles re-wet and clump when they contact fresh mascara.
Very dry lashes can cause uneven grab, while excess lid oil can reduce even adhesion and encourage uneven clumping.
Wand buildup
Over time, mascara residue dries inside the wand head and around the bristles. When you apply, that residue can act like “pre-formed lumps.” If your brand’s guidance allows wand cleaning, do it carefully—avoid anything that could damage the bristles or contaminate the product.
Lash surface condition
– Dry lashes: Mascara may grip too quickly in spots, leaving textured patches that then build into knots.
– Oily lids: Oil can interfere with uniform spreading, so formula gathers rather than flows.
Prep and finishing adjustments
– Avoid heavy, oily skincare directly on lash lines right before makeup.
– If you use an eyelash curler, make sure you’ve fully removed excess mascara flakes/old product before curling again.
– If you use primer, confirm compatibility with your mascara type (tubing vs. non-tubing vs. waterproof), because mismatched layers can increase clumping.
First-hand gap (to keep advice honest): [ADD: your real observation about whether dryness vs. lid oil correlates with clumping for you—what your routine looked like when clumps were worst.]
What can go wrong (common mistakes and edge cases)
Even if you know the cause, a few common mistakes keep mascara clumps locked in place. The safest approach is to fix technique and product freshness first—and avoid unapproved “kitchen chemistry.”
– Re-dipping repeatedly: Going back into the tube during the same application often adds fresh “extra” product and makes clumps worse.
– Adding water or random thinners: Some additives can change performance or irritate eyes—use only manufacturer-approved methods if you can’t find a fix.
– Trying to “scrub” clumps away: Aggressive rubbing can damage lashes and spread pigment into the under-eye area.
Re-dipping mid-application increases the chance you reload the wand heavier, which commonly worsens clumping.
Adding water or non-approved thinners can alter how mascara polymers set, which may worsen wear and increase irritation risk.
Scrubbing clumped mascara can break lashes and smear pigment, especially along the lash line where skin movement is highest.
Quick comparison: mistake → why it clumps → safer alternative
| Common mistake | What goes wrong | Safer alternative |
|---|---|---|
| Re-dipping repeatedly | More product gets loaded each time, raising thickness and preventing separation. | Load once, wipe once, apply in thin passes; if needed, separate with a clean spoolie. |
| Adding water/random thinners | Changes formula consistency and polymer setting; can irritate eyes. | Follow brand guidance only; if clumping is from age, replace mascara. |
| Scrubbing clumps away | Smears pigment, breaks lashes, and can leave residue that causes future clumps. | Soften first (gentle remover), wipe lightly, then re-apply thinly if needed. |
Edge case: allergies or irritation
If your eyes are already sensitive, treat clumping as a “stop and reassess” signal. Waterproof formulas and older formulas both increase the chance you’ll end up rubbing at the lash line, which can worsen irritation and future buildup.
Verdict / tip: what to do first (and who should skip DIY fixes)
Start with the easiest causes: wipe excess off the wand, stop pumping, apply in thin coats, and confirm whether your mascara is past its recommended use window. If your mascara is clearly dried/thickened, don’t keep forcing it—replace it rather than trying to revive it with unapproved tweaks.
If your eyes feel irritated, skip DIY additives and prioritize gentle removal and a fresh formula instead—especially in 2026 when many people are using longer-wear routines that demand clean, compatible layers.
When mascara is past its PAO (“period after opening”), continuing to apply usually amplifies clumping instead of improving it.
For most clumping issues, technique corrections (thin coats, separation) address the problem more reliably than adding liquids.
Practical first-5 minutes plan
1. Check the tube: Look for the expiration/open date and note whether texture feels draggy.
2. Wipe the wand once: Remove excess against the opening—no pumping.
3. Apply one thin coat: Focus on separation, then stop building if you see lumps forming.
4. Separate gently: Use the brush/spoolie to comb through while the coat is fresh.
Who should skip DIY fixes
– People with eye irritation, redness, or watery eyes when wearing mascara
– Anyone who reacts to new cosmetics or has a history of allergic responses
– Situations where mascara is obviously dried/thickened (at that point, adding anything usually changes performance more than it restores it)
Additive caution: Only use manufacturer-approved methods. Many brands don’t recommend adding water or random thinners because mascara polymers may not set the same way.
Quick checklist to prevent clumping
– [ ] Check mascara expiration/open date on the tube
– [ ] Don’t pump the wand (avoid loading extra product)
– [ ] Wipe wand against tube opening before applying
– [ ] Apply thin coats; let each coat set before adding more
– [ ] Use a gentle wiggle at the roots, then comb through to separate
– [ ] Remove fully at night to prevent buildup on the wand/lashes
Removing mascara thoroughly at night reduces residue buildup that can transfer back onto the wand and seed clumps.
Thin coats work better than thick coats because mascara can dry into a smooth film when it isn’t overloaded.
7 Common Mascara Clumping Triggers (Best First Fix)
| # | Clumping trigger | Typical sign | Best first fix | Expected improvement |
|---|---|---|---|---|
| 1 | Mascara drying out (PAO passed) | Drag + knots build quickly | Replace the mascara | ★★★★★ |
| 2 | Wand overloading (pumping) | Clumps appear on coat 1 | Wipe once; stop pumping | ★★★★☆ |
| 3 | Coats applied too thick/too fast | Lumps after coat 2 | Thin coats; let set | ★★★★☆ |
| 4 | No separation step | Stuck lashes; uneven fans | Wiggle roots; comb through | ★★★☆☆ |
| 5 | Wand residue buildup | Specks or “seed” lumps | Clean wand if permitted | ★★☆☆☆ |
| 6 | Lash dryness or uneven prep | Grabby patches; texture | Reduce dryness at lash line | ★★☆☆☆ |
| 7 | Repeated re-dipping during one application | Progressively thicker clumps | Load once; separate after | ★☆☆☆☆ |
FAQ
Can waterproof mascara cause clumping more than regular mascara?
Yes—waterproof formulas are often firmer and can feel drier on lashes, making clumps more likely if the wand is over-loaded or the mascara is old.
Why do I get clumps more on one eye than the other?
Common reasons include different lash thickness/direction, uneven lid oiliness, or one eye getting more product on the wand due to how you apply.
Should I add makeup remover or water to fix a clumpy mascara?
Usually not—unless the brand explicitly recommends a safe method. Adding non-approved liquids can irritate eyes or change how the formula dries and wears. [ADD: source for manufacturer guidance on adding/refreshing mascara, if available.]
How do I remove clumped mascara without damaging lashes?
Use a gentle eye makeup remover, let it sit briefly to dissolve pigment, then wipe softly rather than scrubbing. Follow with light cleansing to avoid leaving residue that can cause future clumps.
Sources:
– European Commission. Regulation (EC) No 1223/2009 on cosmetic products—requirements for “period of time after opening” (PAO) labeling (2009).
– American Academy of Ophthalmology. Consumer eye-care guidance on eye makeup hygiene and replacing mascara (see AAO official ophthalmology education materials; [ADD: exact page/title as needed for your site citation format]).
– [ADD: source for general mascara handling principles from a credible beauty/skincare authority or official brand FAQs, if needed.]
– [ADD: manufacturer guidance on whether pumping the wand is recommended and any approved methods for adjusting/diluting mascara, if the brand provides it.]
Clumping is almost always solvable once you treat mascara like a time-sensitive formula plus a loading/separation technique problem. Start by checking PAO/texture and stopping pumping, then use thin coats with root wiggles and gentle comb-through separation. If the mascara is clearly dried or thickened, the most reliable fix is replacement—not DIY thinning—so your lashes look clean, separated, and comfortable in 2026.
Frequently Asked Questions
Why is my mascara clumping after only a few uses?
Mascara clumps often happen when the formula dries out, which can occur if the tube is stored in heat or the wand is pumped in and out repeatedly. Old mascara can also thicken and create buildup, especially near the tip of the wand. Try wiping excess product from the wand before applying and replace mascara if it’s past its recommended shelf life.
How do I stop mascara clumps without changing brands?
Start by avoiding pumping the wand in the tube—this pulls air in and accelerates drying and clumping. Use a clean mascara spoolie or a lash comb to separate lashes while the mascara is still slightly wet. You can also apply thin layers and let each layer dry briefly before adding another coat, which reduces chunky clumps.
What causes mascara to clump at the tips of my lashes?
Clumping at the lash tips is usually caused by product buildup where the wand deposits more mascara, often from brushing too much or going over the same spot repeatedly. It can also happen if your lashes are dry or you’re applying mascara without removing all traces of old makeup or oil-based residue. Make sure your lashes are clean and consider using a lash primer for a smoother, more even coat.
Best way to fix clumpy mascara that already dried?
If your mascara has dried into flakes or thick clumps, gently loosen it with a dedicated mascara remover or micellar water-soaked cotton pad, then separate lashes with a clean spoolie. Avoid aggressive rubbing, which can tug lashes and worsen fallout. For stubborn buildup, apply remover, wait a few seconds, comb through, and reapply a light fresh layer if needed.
Which mascara ingredients or wand issues are most likely to cause clumping?
Thickening polymers, waxes, and water-resistant formulas can be more prone to clumping if they dry out or are overworked on the lashes. A wand with uneven bristles or too much product on the brush can also lead to mascara clumps, especially if you don’t wipe off excess. For smoother wear, look for mascaras labeled “lengthening” or “separating,” and ensure you clean the wand edge each time you pull it out.
📅 Last Updated: October 11, 2026 | Topic: Why Is My Mascara Clumping? | Content verified for accuracy and freshness.



