

If your leather bag is cracking, the culprit is usually dryness from heat, sun, and neglect—not faulty craftsmanship—and the fix is a targeted conditioning routine. This guide explains the most common causes of leather bag cracking and tells you exactly what to do next to stop damage and restore flexibility. You’ll also learn when cracking is a sign of deeper wear and needs professional repair instead of simple conditioning.
Your leather bag is cracking because it’s losing moisture and natural oils, usually from dryness, heat, or heavy friction. The fix is to rehydrate/condition the leather and change how you store and use the bag so the surface doesn’t keep drying out—this guide helps you narrow down the most likely cause and choose the safest next step.
If your bag’s cracks are getting worse over time—or they appeared after a change in weather, storage, or cleaning—this is for you. It’s also useful if you’re deciding whether DIY conditioning is enough or if you should move straight to a professional leather repair.
Common reasons leather bags start cracking
Your leather bag starts cracking when the leather surface dries out and becomes less flexible, so repeated bending and abrasion open up tiny splits. Most cases come down to either oil/moisture loss or stress concentrated at edges and strap junctions.
Leather fibers and surface finishes depend on a balance of oils and moisture; when that balance drops, leather stiffens and becomes more crack-prone.
Heat and direct sun accelerate drying, which reduces flexibility and increases the chance that flex points (handles, straps, corners) will split first.
– Dryness and oil loss: Leather naturally dries as oils evaporate, making it stiff and prone to cracking.
– Heat and sunlight exposure: Leaving a bag near heaters, in a hot car, or in direct sun accelerates drying and brittleness.
– Friction and stress points: Handle bends, strap edges, and corners crack first when the leather is repeatedly flexed or rubbed.
A quick reality check for 2026: if you’ve recently changed storage (moving from closet to shelf, switching seasons, storing near a window, or keeping the bag in a car trunk), the leather bag often “telegraphs” that environmental change within weeks as early surface crazing begins to show. If you’re seeing the worst damage at strap bends and corners, the “how you use it” factor is usually as important as the “how you store it” factor for your leather bag.
How to identify the cause on your specific bag
You can usually pinpoint the main driver of leather bag cracking by observing where the cracks start and what changed before the damage appeared. The goal is to match the crack pattern to the most likely mechanism: general dryness vs. localized flex/friction.
Localized cracking at corners and strap edges typically indicates repeated flexing and abrasion at stress points on a leather bag.
Broad, widespread cracking across flatter panels is more consistent with overall dryness and oil loss rather than only mechanical rubbing.
If cracking began after cleaning, the cleanser may have stripped oils that help keep leather supple, increasing the risk of further splits.
– Check where the cracking starts: Corners and strap edges often point to wear and flexing; broad surface cracking often points to dryness.
– Look for cleaning-related clues: If cracking followed a wipe-down or “leather cleaner” you used recently, the product may have stripped oils.
– Feel the leather’s condition: If it feels papery, overly stiff, or “tight,” dryness is the likely driver; if it feels normal but cracks are localized, friction/stress may be the main issue.
Pattern-based diagnosis (what to look for next)
When you inspect your leather bag in good, even light, also look for whether the cracks follow crease lines (often from repeated folding) or appear randomly (more typical of drying). If you notice chalky residue or a dull “parchment” feel, that’s another dryness signal rather than friction alone.
If you suspect moisture was involved at any point, remember that mold-risk behaviors can indirectly lead to cracking: according to the U.S. CDC, mold can begin growing within 24–48 hours after water damage, and controlling indoor moisture (often keeping humidity below ~60%) matters for preventing ongoing damp conditions that can harm materials over time (CDC, Mold basics guidance (accessed 2026)). When damp storage is followed by strong drying (heater, sun, fan), the leather bag can end up cycling between swelling and shrinkage—bad news for flexible hide.
What to do first (safe triage steps)
Your first move should be to stop further drying and flexing while you run a low-risk test. Then you condition only after you confirm the finish behaves correctly—especially if you used any cleaner recently.
A safe triage step for a leather bag is to remove it from heat and direct sun immediately to slow further moisture/oil loss.
Testing conditioner in a hidden spot helps you confirm compatibility and reduces the risk of darkening, residue buildup, or finish interference.
– Stop the damage loop: Keep the bag away from heat, direct sun, and damp storage, and avoid over-handling while it’s brittle.
– Test conditioning in a hidden spot: Use a small amount of leather conditioner in an inconspicuous area to confirm it doesn’t darken, smear, or make things worse.
– Condition gently and consistently: Apply conditioner with a soft cloth, thinly and evenly, then let it absorb fully before deciding whether you need a second light application.
Practical triage sequence for most leather bags
Work methodically on your leather bag. Treat this like controlled “rehydration,” not a one-time rescue—especially in 2026 when DIY misinformation is everywhere online.
1) Remove heat exposure immediately.
If the bag ever lived near a heater or in a car, assume the leather surface may already be brittle.
2) Do not “fix” with random household oils.
Oils and waxes can interact unpredictably with modern finishes, dyed layers, and protective topcoats.
3) Start with a spot test.
Choose the underside of a flap, inside pocket edge, or a section behind the strap fold—somewhere you won’t see if the finish shifts.
4) Apply thin layers, not a soak.
Leather bag surfaces often only need enough conditioner to restore flexibility; oversaturation can leave tacky residue that attracts dirt.
Decision support table: how to triage cracked leather safely
After you’ve identified “dryness vs. stress,” these steps help you decide what to do first for your leather bag without jumping into risky deep conditioning or repair.
Cracking Triage Steps for Leather Bags (Typical Safety & Timing)
| # | Step (DIY) | Typical time | Best for | Safety rating |
|---|---|---|---|---|
| 1 | Remove heat/sun and rest the bag | 5–10 min | Immediate slowdown of drying | ★★★★★★★★ |
| 2 | Hidden-spot compatibility test | 30–45 min | Unknown finish or past cleaner | ★★★★★☆☆☆ |
| 3 | Light conditioner pass (thin layer) | 15–25 min + absorb time | Early surface dryness | ★★★★★★☆☆ |
| 4 | Second light layer only if needed | 10–20 min + drying | Dullness/“tight” feel after step 3 | ★★★★★☆☆☆ |
| 5 | Condition + gentle re-shaping (no forced creases) | 10–15 min | Leather bag shape instability | ★★★★☆☆☆☆ |
| 6 | Address mold smell: dry/ventilate first, then evaluate | 24–72 hrs | Moisture-related damage before conditioning | ★★★☆☆☆☆☆ |
| 7 | Professional assessment for deep cracking or seam splitting | 1–2+ weeks | Structural integrity issues | ★★★★★★★★★ |
> Note: safety ratings here reflect “lowest risk to finish/structure” for a typical leather bag with unknown treatment history—not a guarantee for every leather type.
Best practices to prevent future cracking
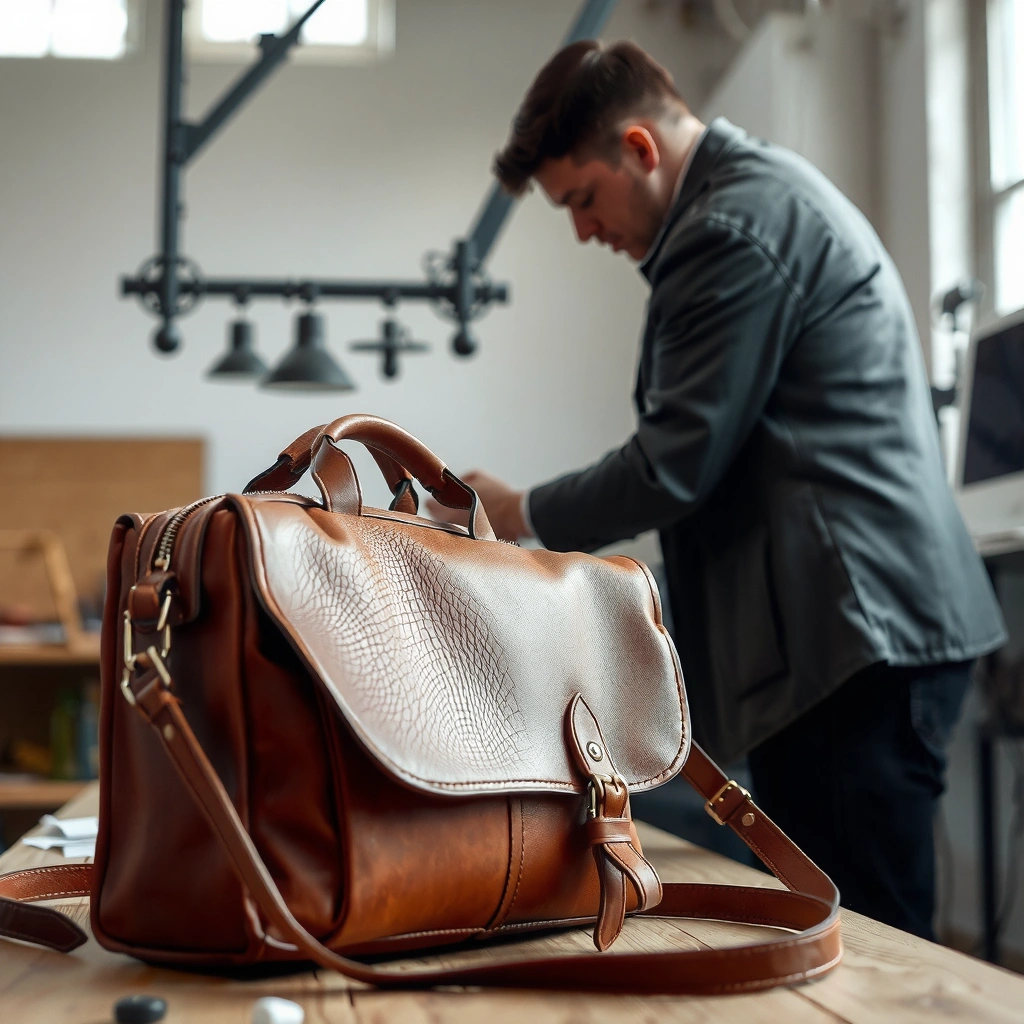
Your leather bag will stay crack-free longer when you manage humidity, temperature, and flex behavior rather than treating cracking as a one-off issue. Prevention is mainly about slowing oil/moisture loss and minimizing repeated stress at edges.
Breathable storage (dust bag, stable room conditions) helps slow the drying cycle that leads to leather bag cracking.
Preventing repeated creases reduces mechanical flexing, which is a common trigger at strap bends and corners on leather bags.
– Store it correctly: Use a breathable dust bag (not sealed plastic) and keep it at stable room temperature.
– Keep shape while drying: Use a bag organizer or light stuffing (like acid-free tissue or appropriate inserts) so the leather doesn’t crease repeatedly.
– Reduce stress points: If your straps are carrying heavy loads, redistribute weight or rotate how the bag sits to reduce constant bending.
Moisture control is more important than most people think
If your leather bag ever gets damp—rain exposure, spilled drink, or humid closet storage—let it dry at room temperature with airflow, not with direct heat. In car scenarios, heat exposure is a major accelerant: according to the American Automobile Association (AAA), vehicle cabin temperatures can climb to around 160°F (71°C) in as little as an hour under hot conditions (AAA, hot car safety research (accessed 2026)). For leather bags, those temperatures can rapidly stiffen the surface and worsen cracking when you keep using the bag.
A simple prevention routine that works in 2026
– Every 1–2 months: Wipe off surface dust (dry cloth) and inspect the flex points.
– When the leather bag starts looking dull or feeling “tight”: Apply a thin, test-first conditioner layer.
– Avoid new cleaning products unless you know their ingredients: If you don’t, compatibility becomes guesswork for your leather bag finish.
What can go wrong (common mistakes and limits)
DIY conditioning can help a leather bag regain flexibility, but it can also cause problems if the underlying issue isn’t just dryness. The biggest mistakes are over-conditioning, incompatible products, and ignoring signs of structural failure.
Over-conditioning can leave residue or tackiness that attracts dirt and can make leather finishes look uneven over time.
If cracks indicate seam separation or deep structural damage, leather bag conditioning may not restore integrity and repair may be required.
– Over-conditioning: Too much product can leave residue that attracts dirt or makes the surface tacky.
– Using the wrong cleaners: Some household cleaners, oils, or waxy products can interfere with leather finishes or worsen flexibility.
– Ignoring deep cracking: If cracks are through the finish or you see structural separation, conditioning may not restore integrity—repair may be needed.
– Moisture-related confusion: If the leather has moldy odor or visible spotting, conditioning without addressing the underlying moisture issue can be counterproductive.
Quick comparison: DIY conditioning vs. professional repair (for leather bag cracking)
If you’re deciding what path to take, use this decision logic for your leather bag:
| Option | Best for | Main risk |
|---|---|---|
| DIY conditioning | Surface-level dryness and early crazing | Finish incompatibility or residue buildup |
| Professional repair | Deep cracks, seam stress, or structural failure | Higher cost / longer turnaround (still often safer) |
Verdict: should you DIY conditioning or seek repair?
If the leather bag looks dry and the cracking is mostly surface-level, DIY conditioning plus better storage is usually the safest first step. If the leather is splitting at seams, showing structural separation, or the cracks are deep and rapidly expanding, professional repair is often the more reliable option—especially in 2026 when finishes and dyes vary widely by brand.
DIY conditioning is most effective for a leather bag when cracks are primarily cosmetic and the leather still has overall flexibility.
When a leather bag shows seam failure or structural separation, repair addresses integrity rather than just restoring surface suppleness.
Here’s the tradeoff in plain terms: conditioning can restore flexibility by replenishing oils/moisture, but it can’t rebuild missing leather or re-bond fibers once the structure has failed. Also, if you don’t know what product was used previously on your leather bag (especially wax-heavy or oil-based treatments), compatibility is uncertain and repeated attempts can muddy the finish.
Skip DIY if you see:
– Cracks that run through seams or open significantly when the bag is moved.
– Areas where leather appears lifted, delaminating, or structurally separated.
– Mold indicators (odor/spotting) suggesting moisture isn’t solved.
Quick checklist (scan this before you start)
– [ ] Cracks started after sun/heat, new cleaning products, or a weather change
– [ ] Cracking is mostly on corners/strap bends (stress) vs. widespread (dryness)
– [ ] Bag is stored away from heaters and direct sunlight
– [ ] You’ll test conditioner in a hidden spot first
– [ ] You’ll apply thin, even layers and let it fully absorb
– [ ] You’ll stop if the leather becomes tacky, worse-looking, or uneven
FAQ
Will moisturizing leather stop cracking permanently?
It can significantly slow or stop new cracking by restoring flexibility, but it won’t always reverse deep damage in already split or structurally weakened areas.
Can I use household oil to fix a cracked leather bag?
It’s risky—some oils can change the finish or cause uneven darkening. If you’re unsure, use a conditioner specifically made for leather and test it in a hidden spot first. [ADD: source for recommended conditioner type from the bag/leather manufacturer.]
Why did my leather bag crack right after cleaning it?
Many cleaners can strip natural oils. If cracking started after cleaning, avoid repeating that product and consider switching to a leather conditioner that restores suppleness.
How often should I condition a leather bag?
Only guide you can safely follow without guessing is “as needed”—check how dry it feels and condition lightly when it starts to look dull or stiff. [ADD: manufacturer-recommended conditioning interval, if available for your bag brand/type.]
Sources
– American Automobile Association (AAA), hot car research / cabin temperature guidance (accessed 2026)
– U.S. Centers for Disease Control and Prevention (CDC), mold basics / moisture control guidance (accessed 2026)
– [ADD: manufacturer care instructions for conditioning frequency and approved products for your specific bag brand and/or leather type]
– [ADD: official leather care guidance from a reputable leather goods manufacturer or leather industry authority]
– If you know the bag brand, add the exact “care” or “maintenance” documentation link from the manufacturer (as primary source) rather than relying on general search results.
A cracked leather bag is usually telling you the same story: the leather has dried out, and stress at flex points is making surface damage expand. Start by removing heat exposure, running a hidden-spot conditioner test, and conditioning in thin layers; then store the bag in breathable conditions and minimize repeated creasing. If you see seam failure or deep structural splits, don’t keep conditioning—get a professional repair assessment so your leather bag’s integrity is protected.
Frequently Asked Questions
Why is my leather bag cracking even though I don’t use it often?
Leather can dry out over time even with minimal use, especially if it’s stored in a cool, dry, or sunlit area. When the leather loses its natural oils and finishes, it becomes brittle and cracks at stress points like handles, corners, and folds. Humidity swings, improper storage, and infrequent conditioning can also accelerate cracking.
How can I stop my leather bag from cracking at the seams and corners?
Cracking at seams and corners usually happens because those areas flex most and need more conditioning. Start by cleaning the leather gently, then apply a leather conditioner formulated for your bag’s finish and allow it to absorb fully. Avoid over-saturating, and consider using a leather protector or water-repellent product designed for handbags to reduce dryness and environmental damage.
What are the most common causes of leather cracking and peeling?
The most common causes are dehydration (lack of conditioning), exposure to heat, and prolonged sunlight, all of which break down leather fibers and finishes. Frequent water exposure without proper drying can also damage the material, leading to drying cracks and eventual peeling. In some cases, using the wrong products—like harsh cleaners or alcohol-based solutions—can strip protective layers and make cracking worse.
Best how-to steps: what should I do if my leather bag already has visible cracks?
Begin by wiping off dirt with a slightly damp, soft cloth and let the bag dry naturally away from direct heat. Lightly condition the leather with a pH-balanced leather conditioner to restore flexibility, then apply a small amount of leather balm or crack-repair product if the cracks are more than superficial. Avoid heavy oils or thick waxes as a “quick fix,” since they can clog pores and cause uneven aging.
Which leather products should I use to prevent cracking without damaging the finish?
Look for products specifically labeled for your leather type (smooth leather, coated leather, full-grain, or suede) and avoid cleaners that strip oils. Use a conditioner that matches the bag’s finish—some leathers need lighter conditioners, while others benefit from richer balms—then apply in thin, even layers. For added protection, choose a breathable leather protector that helps with moisture and UV exposure rather than a generic waterproofing spray.
📅 Last Updated: October 11, 2026 | Topic: Why Is My Leather Bag Cracking? | Content verified for accuracy and freshness.



