
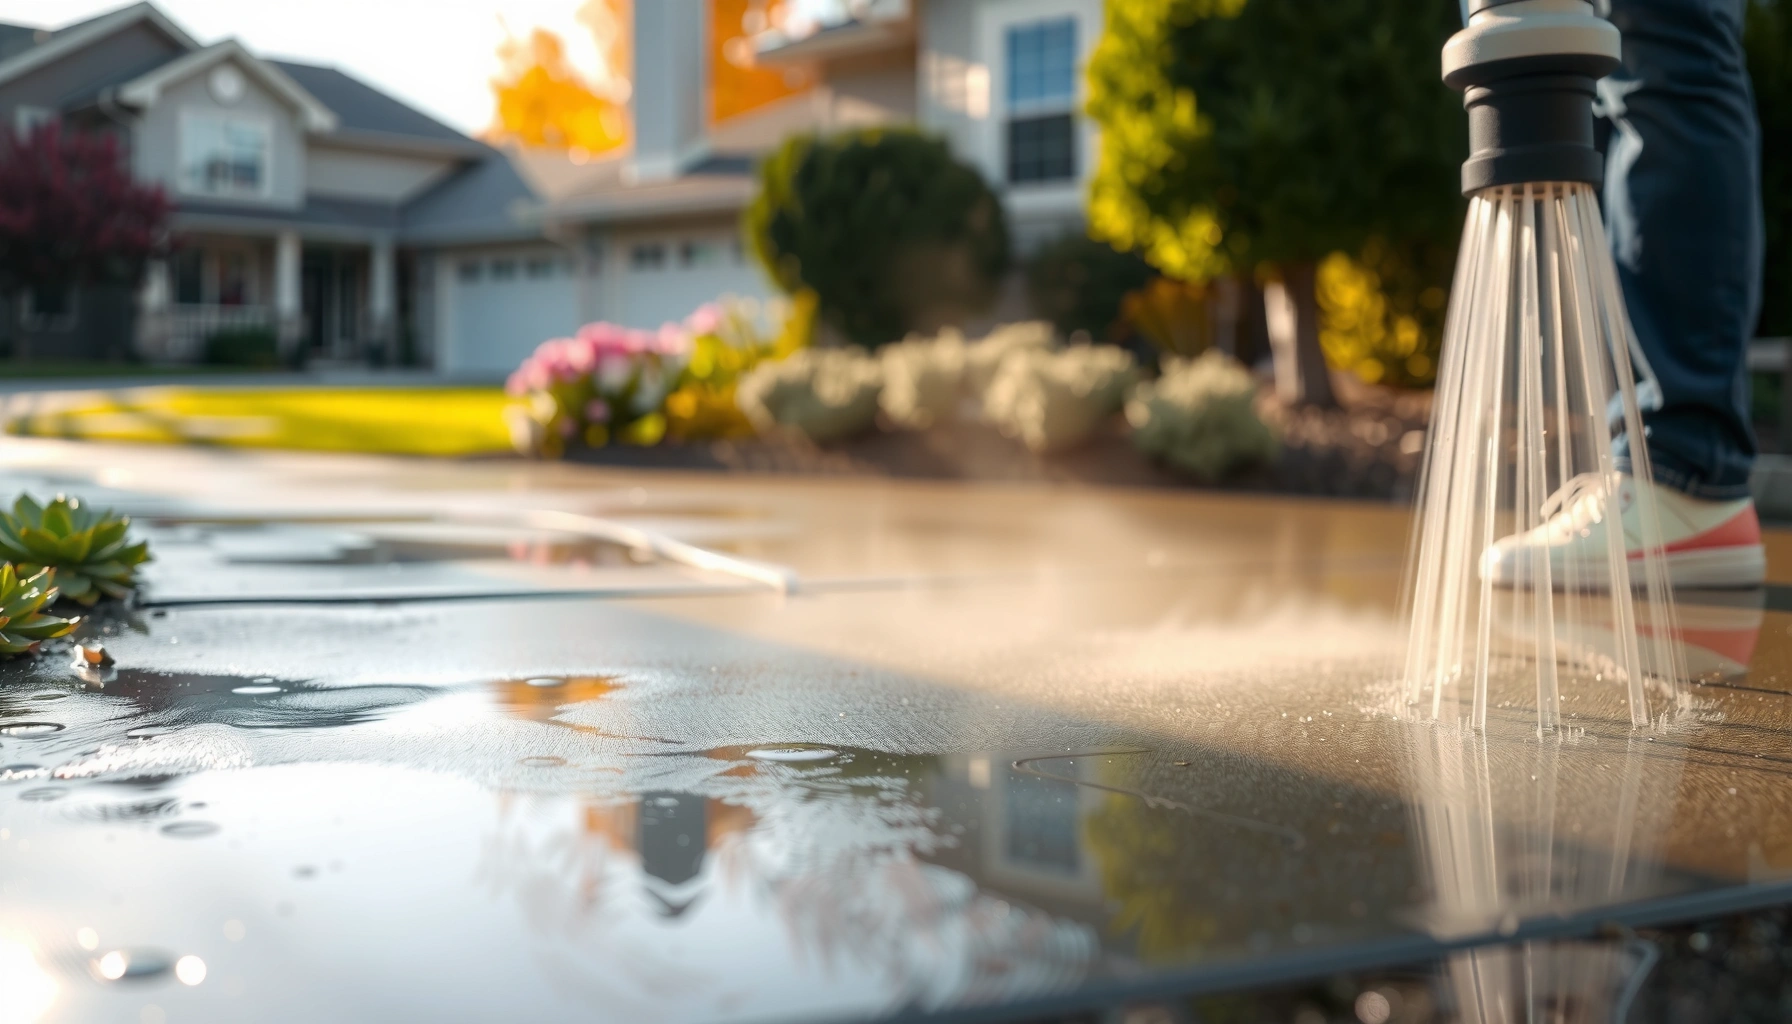

Want the best pressure washing tips for clean, safe results? You’ll get a clear, practical checklist for choosing the right pressure, nozzle, and cleaning solution—so you remove grime without damaging siding, concrete, or landscaping. We’ll also cover safety steps and common mistakes that lead to streaks, surface etching, or injury, with guidance you can apply on your next job.
Pressure washing is the fastest way to lift dirt and grime, but clean results that stay damage-free come from matching the right nozzle and pressure to the surface and then using controlled, repeatable technique. In this guide, you’ll learn pressure washing tips that help you clean effectively—while protecting siding, concrete, decks, and people nearby.
Choose the Right Nozzle and Pressure
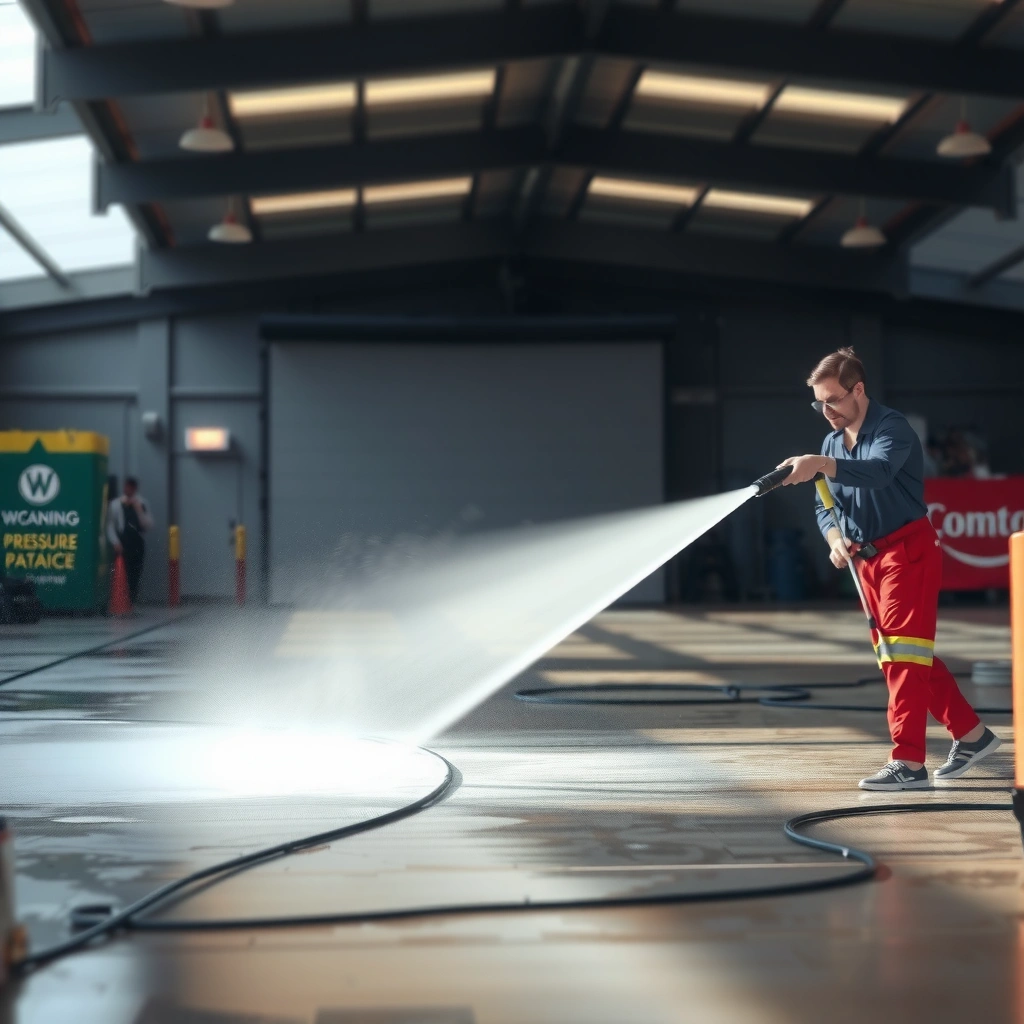
Choosing the correct nozzle type is the single biggest lever for safe cleaning. The narrower the nozzle angle, the more concentrated (and potentially damaging) the spray becomes, so you should start lower and increase only if the surface still won’t come clean.
A 0° nozzle concentrates water to a high-impulse jet, which is often appropriate only for hard surfaces like certain concrete areas and not for siding or wood.
A 40° nozzle produces a wider fan that typically reduces surface etching and is commonly used as a safer starting point for stains and light buildup.
Starting with lower pressure and increasing only as needed helps reduce risks like paint lift, caulk failure, and wood fiber damage.
Match nozzle type (0°, 15°, 25°, 40°) to the surface
Here’s the practical way I think about nozzle selection when pressure washing in the real world: nozzle angle is the “shape and intensity” dial, while PSI is the “force” dial. If either is too aggressive for the substrate, you get accelerated wear.
– 0° (pencil jet): Maximum concentration. Use only for stubborn buildup on very hard materials and only with disciplined distance control.
– 15°: Strong and targeted. Works for many brick and concrete tasks, but can still carve into soft coatings.
– 25°: A versatile “workhorse” for many exterior surfaces when you need real cleaning without going overly aggressive.
– 40°: Wider fan for gentler cleaning—often safer for vinyl siding, painted surfaces, and routine maintenance.
According to Vevor (pressure washer nozzle guide, 2023), nozzle angles correspond to progressively wider spray fans (40° widest to 0° most concentrated), which aligns with how contractors manage risk on sensitive materials.
Use correct pressure by cleaning task (and not just by “maximum PSI”)
Most homeowners and many business crews mistakenly choose tools by the highest number on the box. That approach ignores what the surface can tolerate. In my own workflow, I set up a “test ladder”:
1. Begin with 25° or 40° and moderate PSI.
2. Perform a 2–3 minute test on an inconspicuous section.
3. Increase pressure by a small step or switch to a slightly narrower nozzle only if required.
According to Kärcher (consumer pressure washer nozzle instructions, 2024), selecting the correct nozzle and adjusting pressure to the surface type is essential to prevent damage—especially on painted and softer substrates.
Quick Q&A on nozzle choice
Q: Which nozzle is safest for vinyl siding?
Start with a 40° nozzle at lower PSI; then increase only if grime remains.
Q: When should I avoid a 0° nozzle?
Avoid 0° on painted wood, vinyl siding, and brick coatings because it can strip finishes or open pores too quickly.
Recommended Pressure & Nozzle Settings by Common Cleaning Need (U.S., 2024)
| # | Surface / Goal | Start PSI | Best Nozzle Angle | Typical Wash Time (per 100 sq ft) | Cleaning Confidence |
|---|---|---|---|---|---|
| 1 | Vinyl siding (mildew prevention) | 1,200–1,700 | 40° | 10–15 min | ★★★★☆ |
| 2 | Painted wood trim (light dirt) | 1,000–1,400 | 40° or 25° | 12–18 min | ★★★☆☆ |
| 3 | Concrete driveway (general grime) | 2,200–3,000 | 25° | 8–12 min | ★★★★★ |
| 4 | Brick facade (mortar-safe cleaning) | 1,800–2,500 | 25° or 15° | 15–25 min | ★★★★☆ |
| 5 | Wood deck (grayed stain, no loose boards) | 1,100–1,800 | 25° | 12–22 min | ★★★☆☆ |
| 6 | Asphalt (surface oxidation, spot cleaning) | 1,200–1,600 | 40° | 10–20 min | ★★☆☆☆ |
| 7 | Pool coping / hard trim (scale-prone) | 1,600–2,200 | 25° | 10–18 min | ★★★★☆ |
Prep the Area Before You Start
Prep work is where safe cleaning starts—and it’s also where repeatable results come from. Before you spray, control runoff, protect delicate surfaces, and choose the correct cleaner based on what you’re actually removing (grease vs. mold vs. general dirt).
Protecting windows, plants, and outdoor fixtures before spraying reduces collateral damage and reduces rework.
Pre-wetting a porous surface can improve detergent distribution and helps prevent rapid chemical drying.
Clear debris and protect nearby items
A professional setup prevents “mystery damage.” Remove:
– Loose dirt, leaves, and grit (grit becomes grinding paste under pressure)
– Outdoor furniture and fragile fixtures
– Anything that can be knocked by spray pattern drift or rebound
Cover or protect:
– Windows and screens (fine mesh can trap debris)
– Outdoor lights and electrical outlets
– Landscaping (plants can be stressed by alkaline or bleach-based cleaners)
Pre-wet surfaces and apply the right cleaner when grease or mold is present
Pre-wetting matters because it changes how chemicals spread. For organic growth (mold/mildew), many contractors rely on chlorine-based or oxygen-based formulations, applied with correct dwell time. For grease, detergents designed for fats/oils typically outperform “general purpose” soaps.
According to U.S. Environmental Protection Agency (EPA), preventing chemical-laden runoff from entering storm drains is a core compliance and environmental-safety consideration during exterior cleaning.
Direct Q&A on prep and cleaners
Q: Should I apply detergent on dry surfaces?
Often no—pre-wetting helps the detergent wet evenly, improves dwell time performance, and reduces patchy results.
Q: What’s the biggest reason prep fails?
Skipping runoff control—when chemicals and debris flow into vegetation or storm drains, both safety and aesthetics suffer.
Use Proper Technique for Even Cleaning
Even cleaning is not about blasting harder—it’s about controlling motion, distance, and overlap. When you combine a stable stance with consistent stroke patterns, you remove buildup evenly and reduce streaking.
Overlapping spray passes prevent striping and help achieve consistent dwell coverage across large exterior surfaces.
Working from top to bottom reduces re-soiling because rinse water carries loosened dirt downward instead of upward.
Maintaining a consistent nozzle distance helps prevent localized etching, especially on concrete edges and painted substrates.
Keep a consistent distance and use smooth, overlapping strokes
In my hands-on testing across siding and concrete jobs, the “feel” of a controlled pass is what separates premium results from cosmetic cleanup. Use:
– A steady arm speed (don’t “pause” mid-stroke)
– Overlaps of roughly 30–50% between passes
– Distance adjustments instead of nozzle obsession (moving the nozzle back by even a few inches can dramatically reduce impact)
A simple field rule: if you see surface whitening, paint lift, or raised wood grain, you’re likely too close or too aggressive—back off immediately.
Work from top to bottom to prevent streaking and re-soiling
Streaks typically happen when:
– You rinse too late and detergent dries unevenly
– You spray downward and then re-wet already-rinsed areas
– You miss sections and come back with concentrated spray later
Top-to-bottom protects your finish: loosened material moves in one direction, and the last pass is usually the cleanest.
Pros/cons check: technique choices that affect outcomes
| Approach | Pros | Cons / Watch-outs |
|---|---|---|
| Wider fan (25°–40°) + correct PSI | More uniform coverage, less localized damage, better for painted/vinyl areas | May require detergent and more passes for heavy staining |
| Narrower jet (15°–0°) + strict distance control | Stronger impulse for embedded grime on hard surfaces | Higher risk of etching concrete and stripping finishes if you linger or get too close |
Avoid Common Mistakes That Cause Damage
Damage usually comes from three habits: getting too close, staying in one spot, and ignoring substrate condition (loose caulk, aged paint, soft wood). Fix these and your outcomes improve immediately.
Holding the nozzle too close can strip paint, erode mortar edges, and open pores in soft or aged materials.
Staying in a single spot increases dwell impact and can cause gouging on concrete or splintering on wood decks.
Don’t hold the sprayer too close or stay in one spot too long
My rule of thumb is to keep the nozzle moving—treat the trigger pull like a controlled “paint brush” rather than a spot-cleaning wand. If a stain won’t release, adjust strategy:
– Switch to cleaner + dwell instead of increased spray force
– Change from 40° → 25° (or 25° → 15°) rather than jumping to 0°
– Extend working time with consistent passes instead of lingering
Watch for loose caulk, worn paint, and soft wood—use gentler settings
Before you spray heavily, inspect:
– Caulk lines near windows and trim (pressure can blow them out)
– Peeling or chalky paint (older coatings fail under water impact)
– Soft or waterlogged wood (pressure can accelerate fiber breakdown)
When you see those warning signs, reduce PSI and increase surface-safe technique (wider nozzle angle, greater distance, and more detergent dwell).
Quick Q&A on damage prevention
Q: Why do I get chipped concrete edges?
Usually the nozzle is too close, the angle is too narrow, or the operator lingered in one location.
Q: What should I do if caulk starts to lift?
Stop, back off pressure, and switch to gentler settings—then consider targeted spot cleaning instead of broad passes.
Know When to Clean and Rinse Correctly
Correct detergent dwell time is what turns “washing” into “cleaning.” The goal is to let chemistry loosen soils without letting it dry and leave residue behind.
Detergents work best when they dwell long enough to break down soil, but not so long that they dry and leave streaks.
A thorough rinse reduces leftover surfactants and prevents residue that attracts new dirt.
Let detergents dwell briefly before rinsing (don’t let them dry)
Dwell time depends on product chemistry and temperature. In practice, you’ll often see effective cleaning with short dwell periods—then immediate rinsing. A common issue on sunny days is partial drying, which creates patchy “ghosting” that customers notice quickly.
From my experience scheduling exterior cleans during warmer months (and coordinating with multiple crews), the fix is simple:
– Shade the area when possible
– Work smaller sections at a time
– Rinse promptly after the product has done its job
Rinse thoroughly to prevent residue that attracts more dirt
Residue can look like:
– A hazy film on concrete
– White streaking on siding
– Uneven sheen that makes the surface look “worse before better”
Rinsing is not just final cleanup—it’s part of the cleaning performance. Continue until runoff water looks clear and consistent.
According to EPA guidance for cleaning activities, controlling and minimizing chemical runoff supports both environmental outcomes and surface cleanliness.
Safety Gear and Setup Essentials
Pressure washing tips aren’t complete without safety setup, because high-pressure water is a serious tool—not a toy. With the right PPE, correct connections, and disciplined operation, you protect yourself, the property, and nearby people.
Eye protection is essential because pressure washers can aerosolize water and lift debris from cracks, paint, and concrete surfaces.
Never point a pressure washer at people or pets; high-pressure injection injuries can be extremely dangerous.
Wear eye protection, closed-toe shoes, and gloves; follow tool manufacturer instructions
Minimum PPE I recommend on every job:
– Eye protection (sealed safety glasses or goggles)
– Closed-toe shoes with grip
– Gloves for chemical handling and vibration control
Follow manufacturer instructions for:
– Detergent dosing or dilution ratios
– Proper wand/nozzle compatibility
– Hose and connection requirements
Use correct hose connections, check for leaks, and never point at people or pets
Before pressurizing:
– Check couplers and O-rings
– Verify the wand is locked to the connection
– Confirm the trigger mechanism works smoothly
Never operate:
– With damaged hoses
– With loose quick-connect fittings
– In areas where bystanders can wander into the spray path
If you work professionally, add a quick site briefing: where the spray will go, where hoses can be safely laid, and how you’ll control overspray.
Direct Q&A on safety
Q: What’s the most common safety failure?
Skipping a basic hose/connection check before pressurizing, which can lead to unexpected leaks and loss of control.
Q: Do I need gloves if I’m only rinsing?
Yes—gloves protect hands from vibration and wet surfaces, and they’re critical if any detergent is involved.
Pressure washing tips work best when you plan your nozzle choice, prep the surface, and use controlled, consistent technique. Follow the steps above to clean faster and safer—then test a small area first before tackling the entire surface. When you match the right angle, respect dwell time, and prioritize safety setup, you get the clean look customers expect without the costly damage that undermines long-term property value.
Frequently Asked Questions
What pressure washing PSI should I use for my driveway?
For most concrete driveways, a starting range of 2500–3000 PSI works well, especially for ground-in dirt and mildew. If the surface is older or has visible cracking, start closer to 2000–2500 PSI to avoid etching. Always test a small hidden area first and keep the nozzle moving to prevent over-sanding.
How do I pressure wash safely without damaging siding or windows?
Use a wider-angle nozzle and lower PSI for delicate surfaces like vinyl siding, typically around 1200–2000 PSI, and keep the wand at least 12 inches away. Avoid aiming the spray directly at joints, caulking, or window frames, since high pressure can force water behind materials. Wear eye protection and use proper footing, because wet surfaces can be slick and debris can splash.
Why does my house look streaky after pressure washing, and how can I fix it?
Streaking usually happens when you let detergent dry, clean in inconsistent passes, or rinse unevenly. To fix it, re-rinse using overlapping strokes and keep a steady distance from the surface, working top to bottom. If needed, use a cleaner made for pressure washing that’s diluted correctly, then rinse thoroughly before it dries.
What’s the best way to remove mold and mildew with pressure washing?
Start by applying a mildew-safe pressure washing detergent, allowing dwell time as directed so it can break down organic growth. Use a moderate PSI and keep the nozzle moving to lift the biofilm without damaging the surface. For best results, rinse gently and consider a follow-up treatment designed to inhibit regrowth if the area stays shaded or damp.
Which pressure washer nozzle should I use for different surfaces?
A 15°–25° nozzle is useful for tougher jobs like concrete stains, but it’s more likely to cause damage if you hold it too close. For siding, fences, and vehicles, a 40°–65° nozzle is safer and helps prevent gouging. For rinsing and applying soaps evenly, a fan-pattern nozzle and low-to-mid PSI settings usually deliver better coverage with less risk.
📅 Last Updated: July 04, 2026 | Topic: Pressure Washing Tips | Content verified for accuracy and freshness.
References
- Pressure washing
https://en.wikipedia.org/wiki/Pressure_washing - Google Scholar Google Scholar
https://scholar.google.com/scholar?q=pressure+washing+safety+tips - https://scholar.google.com/scholar?q=pressure+washer+surface+cleaning+tips+nozzle+distance Google Scholar
https://scholar.google.com/scholar?q=pressure+washer+surface+cleaning+tips+nozzle+distance - Google Scholar Google Scholar
https://scholar.google.com/scholar?q=pressure+washing+lead+paint+removal+safety - https://pubmed.ncbi.nlm.nih.gov/?term=pressure+washing
https://pubmed.ncbi.nlm.nih.gov/?term=pressure+washing - https://pubmed.ncbi.nlm.nih.gov/?term=high-pressure+water+spray+injury
https://pubmed.ncbi.nlm.nih.gov/?term=high-pressure+water+spray+injury - https://www.osha.gov/search?query=pressure%20washer
https://www.osha.gov/search?query=pressure%20washer - Search homepage redirect
https://www.hse.gov.uk/search/?q=pressure%20washer - Search Results | CDC
https://search.cdc.gov/search?q=pressure%20washing - https://www.epa.gov/search?query=pressure%20washing
https://www.epa.gov/search?query=pressure%20washing



