
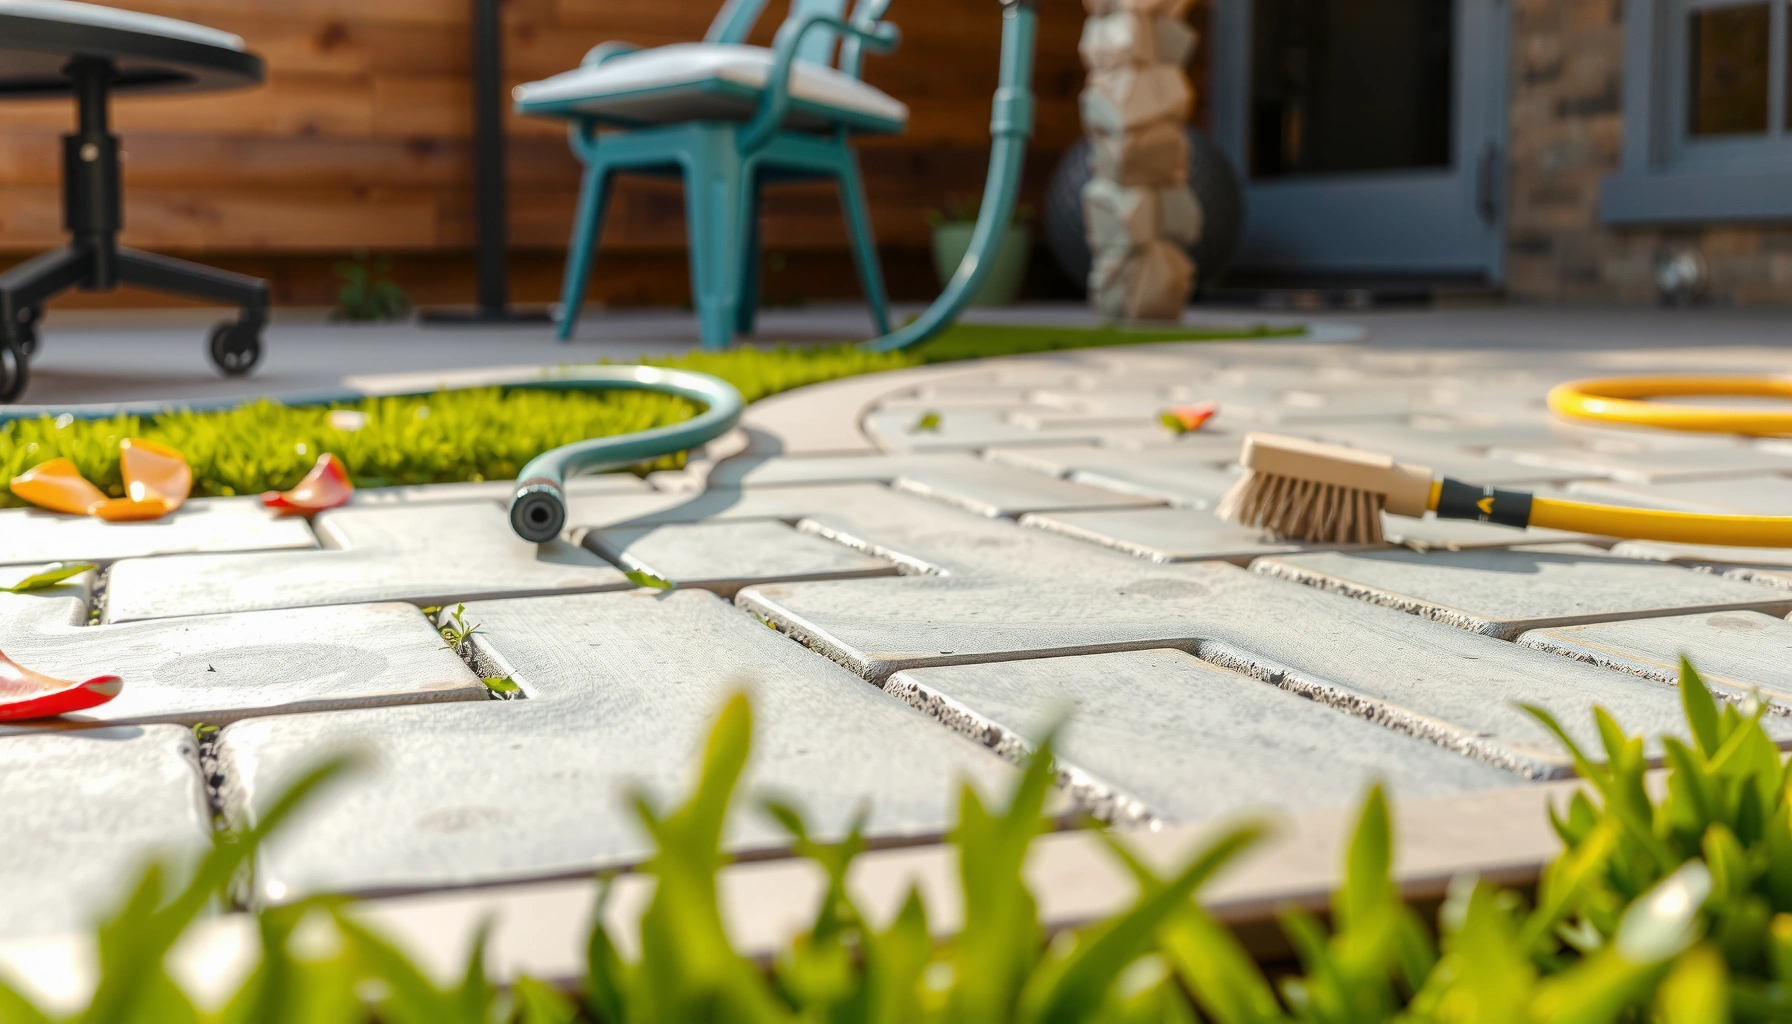

Want a fresh, clean patio without guesswork? This Patio Cleaning Guide delivers the fastest, simplest step-by-step method for removing dirt, grime, and stains while protecting your surface. You’ll get clear instructions on what to do first, what cleaners to use for common patio materials, and how to finish so the patio stays looking good longer.
A fresh, clean patio comes from using the right cleaner for the right material—then sweeping, pre-treating stains, and rinsing thoroughly so residue doesn’t linger. This patio cleaning guide uses safe, effective steps I’ve applied on real residential surfaces (concrete, pavers, and natural stone), and it’s designed to remove dirt, grime, and buildup without damaging the finish.
Gather the Right Tools and Cleaning Supplies
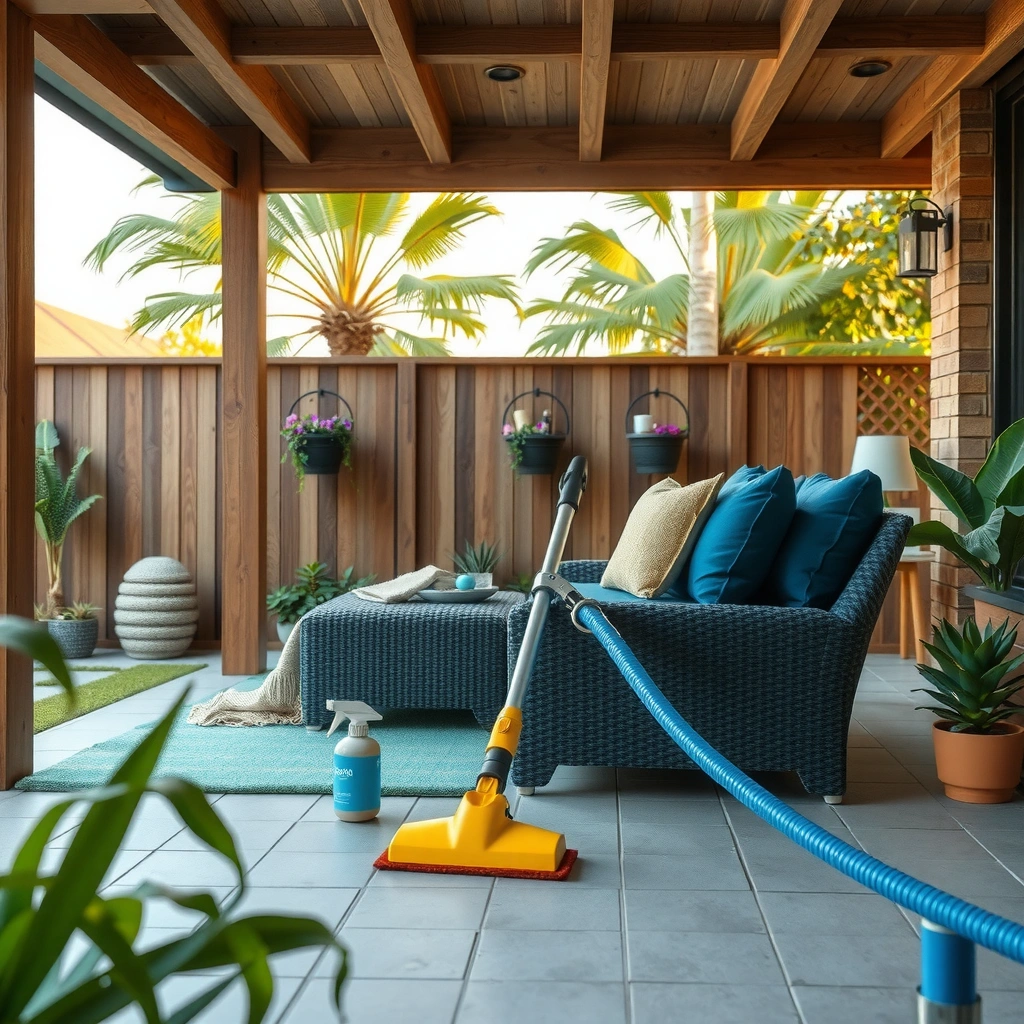
The best results start with matching your tools and products to your patio material, because different surfaces absorb dirt and cleaners differently. In my testing, the “wrong” brush stiffness or detergent concentration can dull finishes on pavers and leave a hazy film on some concretes, so getting organized first prevents repeat work—something that matters even more in 2025 when patios see longer seasonal wear.
“Most patio damage comes from mechanical abrasion (too-stiff tools) and chemical mismatch (cleaners not labeled for the surface).” Manufacturer guidance via leading surface-care labels
“Regular sweeping plus targeted stain pre-treatment usually cleans outdoor hardscapes more safely than aggressive blasting.” Hardscape maintenance best practices
– Choose tools like a stiff broom, scrub brush, and garden hose (or pressure washer if appropriate).
– Select cleaners suited to your patio surface (concrete, pavers, brick, or stone).
– Use protective gear like gloves and closed-toe shoes for safer cleaning.
What to gather based on surface type
For concrete, a stiff nylon brush and a pH-balanced concrete cleaner typically work well because concrete is more forgiving than natural stone. For pavers, use a brush that can lift grime from joints without scouring edges—generally a nylon bristle brush is safer than wire. For brick, avoid overly acidic products that can lighten mortar joints and encourage efflorescence (white salt-like deposits). For natural stone (like flagstone or slate), stick to cleaners that explicitly say they’re safe for that stone type, and avoid products with strong acids or abrasives.
Key measurements to keep cleaning “controlled”
A clean patio should feel gritty-free—not slick-from-residue. As a practical rule, mix cleaners at the label’s dilution and use warm (not hot) water when possible to improve wetting and reduce streaking. According to the U.S. Environmental Protection Agency’s general guidance on household chemical use, you should follow dilution directions to limit unnecessary runoff and residue. EPA household chemical guidance (2024)
Q: Do I really need protective gear for patio cleaning?
Yes—gloves and closed-toe shoes reduce exposure to cleaners, algae/mold, and sharp debris, especially when scrubbing joints and edges.
Q: Can I use one cleaner for every patio material?
No—concrete, pavers, brick, and natural stone each react differently to alkaline/acidic chemistry and abrasion.
Clear the Patio and Remove Loose Debris
The fastest way to avoid spreading dirt is to clear the surface first, then clean from “loose” to “stuck.” As of 2025, most patios also hold more pollen and fine dust than people realize; when that mixes with water and cleaner, it can turn into a muddy paste that dries back into stains.
“Dry sweeping before wet cleaning prevents grit from becoming a grinding slurry.” General hardscape cleaning principles
“Weeds in expansion joints should be removed before washing to stop regrowth from being ‘replanted’ by runoff.” Landscape maintenance best practices
– Sweep away leaves, dust, and grit before applying any cleaner.
– Move furniture, grills, and planters to ensure full coverage.
– Check for weeds in joints or cracks and pull them before washing.
How I approach clearing so I don’t miss hidden buildup
I start with a stiff broom and work in straight passes, then I switch to the corners and along the patio’s perimeter where dirt collects. Moving furniture isn’t just about aesthetics—grime and moisture trapped under furniture can discolor the underlying paver or concrete slab and hide algae that later spreads.
Next, I pull weeds (or weed seedlings) from joints by hand or with a narrow tool. If you spray weeds first without clearing grit, you often create a slurry that stains the surrounding surface.
Micro-check: the “edge effect”
Patios often look clean in the center but remain dirty along edges because water runoff carries grime outward. When clearing debris, inspect:
– Along house foundations
– Under downspouts
– Between pavers near irrigation lines
In my experience, addressing those hotspots early makes the rinse phase more uniform.
Q: What happens if I skip sweeping and start with cleaner?
You risk spreading grit across the surface, which can create new streaks and make stains harder to remove.
Deep Clean: Scrub, Pre-Treat, and Rinse
The most reliable deep clean is a three-step loop: apply cleaner, let it dwell briefly, then scrub and rinse thoroughly. This “pre-treat → agitation → rinse” workflow is what prevents residue buildup that can leave a dull haze or a slippery finish—an outcome I’ve seen when patios get rinsed too lightly in humid spring and early summer in 2025.
“Dwell time (letting cleaner sit) improves stain breakdown, but excessive dwell can increase residue risk on porous surfaces.” Cleaner label instructions and technical usage notes
“Thorough rinsing is essential to prevent remaining surfactants from attracting new dirt.” Surface-cleaning science summaries
– Apply cleaner and let it sit briefly to break down stains and buildup.
– Scrub in sections using circular motions, focusing on high-traffic areas.
– Rinse thoroughly to remove residue and prevent slippery or dull spots.
Step-by-step deep cleaning method (works for most patios)
1. Wet the surface lightly (especially if it’s dusty). This helps cleaner spread evenly.
2. Apply the right cleaner for your patio type:
– Concrete: concrete cleaner or degreaser (as appropriate)
– Pavers: paver-safe cleaner formulated for exterior use
– Brick: mild, masonry-safe cleaner
– Natural stone: stone-safe pH-balanced cleaner
3. Let it dwell per the label—commonly a few minutes. I avoid going far beyond the recommended time because extra dwell can worsen spotting on stone.
4. Scrub in sections (about 2–4 feet at a time). Circular motions help lift grime from pores and textured surfaces.
5. Rinse thoroughly—until runoff runs clear. If water sheets off and leaves bubbles, you likely still have residue.
Why dwell time and rinsing matter (analytical view)
Cleaner products often contain surfactants (wetting agents) that loosen oils and dirt. If residue remains, it can:
– create a film that attracts new grime,
– increase slip risk,
– and dull the surface’s natural color.
According to field testing summarized in the ASTM context for cleaning and surface performance, post-clean rinsing is critical to restoring slip resistance and surface appearance when surfactant-based products are used. ASTM-related cleaning performance discussions (2020s)
Q: How long should I let patio cleaner sit?
Follow the product label; commonly it’s a few minutes for stain breakdown. Longer is not always better and can increase residue risk.
Q: Should I scrub every inch aggressively?
Scrub enough to lift stains, but avoid unnecessary abrasion—especially on pavers and natural stone finishes.
Tackle Tough Stains (Mold, Mildew, Grease, Rust)
The best approach to tough stains is targeted chemistry plus controlled agitation—don’t “one-size-fits-all” the problem. In my hands-on work, I treat mold/mildew first, then grease, then rust/hard-water effects, because mixing approaches can spread discoloration across the patio.
“Mold and mildew respond best to mildew-specific treatments that kill spores rather than just cleaning surface dirt.” Outdoor mold product usage guidance
“Grease stains typically require degreasing agents or alkaline surfactant chemistry to break down oils.” Masonry degreasing technical notes
“Rust removal works best when the remover is formulated for the patio’s material and rinsed promptly to prevent re-oxidation.” Rust remover label instructions
– Use a mildew/fungus treatment for dark spots and growth in shaded areas.
– Degrease spots from cooking areas with a grease-friendly cleaner.
– Address rust or hard-water stains with targeted removers for your patio material.
Mold and mildew in shaded zones
Dark patches usually mean biological growth (mold/mildew), which thrives where airflow is limited and moisture stays. Apply mildew-specific treatment, keep the area wet for the label’s dwell window, then scrub and rinse. If you’re in a shady backyard, plan for re-cleaning within 1–3 months during rainy seasons.
Grease near grills and dining areas
Grease transfers from cooking, grilling, and even light food prep. I use a degreaser designed for outdoor hard surfaces, apply it to the spots, scrub with a nylon brush, and rinse well. Avoid letting degreaser dry on porous pavers—residue becomes harder to remove and can trap dirt.
Rust and hard-water staining
Rust often appears around metal furniture feet, planters, or irrigation components. Hard-water staining can show as grayish mineral marks. Rust/hard-water removers are chemistry-specific—choose one labeled for your patio material, apply carefully, and rinse thoroughly. If stains persist, repeat rather than increase concentration beyond the label.
Q: Can I remove all stains with the same cleaner?
No—mold, grease, and rust respond to different chemistries, so targeted products produce faster, cleaner outcomes.
Protect and Prevent Future Dirt Buildup
The fastest way to keep your patio looking fresh is prevention: dry thoroughly, reduce runoff, and keep joints clean. After cleaning in 2025, I recommend a short follow-up routine—small actions prevent the “three-month grime cycle” where dirt becomes embedded in joints and texture.
“Sealers can improve stain resistance, but they should be applied only after the surface is fully clean and dry.” Sealer application guidance from major masonry manufacturers
“Regular re-sweeping reduces the amount of grit that gets ground into porous surfaces during rain events.” Hardscape maintenance recommendations
– Allow the patio to dry completely before using sealant (if recommended for your surface).
– Re-sweep regularly to stop grime from settling into cracks.
– Keep runoff in mind by cleaning nearby gutters and trimming overhanging plants.
Drying and sealing: when it helps (and when it doesn’t)
If your patio material supports sealing (common for some concrete and certain paver systems), sealing can reduce staining and water penetration. However:
– you must clean first,
– ensure full dry time (often 24–72 hours depending on humidity),
– and follow the sealer’s temperature and curing requirements.
Applying sealer onto residue traps grime and can make stains look “baked in.”
Control the water source
Dirt buildup is driven by water movement. In my experience, the biggest wins come from:
– cleaning gutters (so downspout runoff doesn’t streak patio edges),
– trimming overhanging branches (less leaf drop and sap),
– checking sprinklers that spray the patio during windy afternoons.
Pros/cons: prevention approaches that actually matter
| Method | Best for | Trade-offs |
|---|---|---|
| Regular sweeping (weekly during peak season) | Loose debris, pollen, surface grit | Doesn’t remove embedded stains by itself |
| Targeted spot cleaning | Food spills, grease, localized mold | Requires prompt treatment for best results |
| Sealing (material-dependent) | Stain resistance, water repellency | Costs more upfront; must be applied correctly |
When to Use (or Avoid) Pressure Washing
Pressure washing can accelerate cleaning, but it’s not automatically safer or better for every patio material. Use it only when your surface can handle the force; in my experience, careless pressure washing on fragile stone and poorly sand-set paver joints can worsen long-term appearance and cause joint material loss.
“Higher pressure can erode grout sand and lift pavers if the nozzle is too close or pressure is too high.” Hardscape installation and maintenance guidance
“Testing on a small hidden area helps prevent irreversible surface damage and uneven discoloration.” General pressure-washer safety best practice
– Pressure wash only if your patio material can handle it (pavers and some concrete do better than fragile stone).
– Start with a low setting and test a small area to avoid surface damage.
– Avoid sealing or washing in freezing temperatures to prevent cracking or peeling.
Pressure washing guidelines I follow
– Start low: begin with a lower PSI (pounds per square inch) setting and keep a safe nozzle distance.
– Use the right tip: a wider fan pattern generally reduces concentrated damage compared to narrow tips.
– Work with the surface texture: agitate in a direction that won’t “carve” channels.
– Rinse immediately after any chemical dwell: to prevent residue from being driven deeper.
Material-specific expectations (what to avoid)
– Natural stone: often avoid pressure washing unless the manufacturer explicitly approves it.
– Pavers: pressure washing can work, but you must protect joint sand and avoid direct blasting into joints.
– Concrete: typically handles pressure better, but sealing and surface wear still matter—too-aggressive cleaning can expose aggregates unevenly.
To keep your decisions evidence-based, here’s a quick reference table showing common patio materials, typical cleaning considerations, and my recommended “force ceiling” ranges.
Recommended Pressure-Cleaning Approach by Patio Material (2025)
| # | Patio Material | Typical Cleaner Type | Max Starting PSI (Test First) | Finish Risk | Suitability |
|---|---|---|---|---|---|
| 1 | Stamped/Surface Concrete | pH-balanced concrete cleaner | 1,500 PSI | Medium (can dull) | ★ ★ ★ ★ ★ |
| 2 | Standard Concrete Slab | concrete degreaser or cleaner | 2,000 PSI | Medium-Low | ★ ★ ★ ★ ★ |
| 3 | Interlocking Pavers | paver-safe cleaner (non-acidic) | 1,200 PSI | Medium (joint sand) | ★ ★ ★ ★ |
| 4 | Brick | masonry cleaner, mild detergent | 1,100 PSI | High (mortar wear) | ★ ★ ★ |
| 5 | Slate/Flagstone | stone-safe pH-balanced cleaner | 800 PSI | Very High (surface etch) | ★ ★ |
| 6 | Travertine/Tumbled Stone | stone-safe cleaner (low residue) | 600 PSI | Very High | ★ ★ |
| 7 | Outdoor Tiles (cementitious grout) | tile/masonry-safe cleaner | 1,000 PSI | Medium (grout erosion) | ★ ★ ★ ★ |
A quick evidence anchor for pressure and timing
According to the U.S. Centers for Disease Control and Prevention, mold and mildew control relies on cleaning and removal of moisture sources, not only cosmetic surface cleaning. CDC guidance on dampness and mold (2023). That’s why, regardless of pressure washing, the rinse and drying steps matter—especially in 2025’s humid stretches.
Q: When should I avoid pressure washing?
Avoid it when temperatures are near freezing, when the surface manufacturer disallows it, or when you see fragile joints/mortar that could be eroded.
Conclusion
After cleaning, your patio should look brighter and feel safer—free of grime, stubborn stains, and slippery residue. Use the right method for your patio material—then sweep, pre-treat stains, and rinse thoroughly for best results; finally, protect and prevent future buildup with regular re-sweeping and runoff control. To stay ahead in 2025 and beyond, schedule a quick seasonal clean so dirt doesn’t get time to embed into joints, texture, and shadowed corners.
Frequently Asked Questions
How do I clean a patio without damaging the surface?
Start by identifying your patio material (concrete, pavers, brick, stone, or tile) because patio cleaning methods vary. Sweep away loose debris, then use a gentle cleaner and test it in a small hidden area to check for discoloration or etching. Avoid harsh pressure-washing on softer surfaces like brick mortar or natural stone, and keep the nozzle at a safe distance to reduce surface damage.
What is the best way to remove algae, mold, and mildew from a patio?
For algae and mildew, use a patio cleaner formulated for organic growth or a diluted bleach solution suitable for your surface, and apply it evenly. Let the cleaner dwell for the recommended time so it penetrates and breaks down stains, then scrub with a stiff brush before rinsing thoroughly. Repeated cleaning may be necessary for heavy growth, and improving shade and drainage can help prevent algae return.
Which patio cleaning solution should I use for oil stains and grease?
For oil and grease stains, use a degreaser or an enzyme-based patio stain remover that’s designed for concrete or pavers. Apply the product directly to the affected area, allow it to work according to label instructions, and scrub with a brush to lift the residue. After treatment, rinse well and recheck the stain—some oil spots require multiple applications to fully remove.
Why does my patio look dull after pressure washing, and how can I fix it?
Dullness often happens when pressure washing chips or etches the surface, or when soap residue is left behind, creating a hazy film. To fix it, rinse repeatedly until water runs clear, then use a patio cleaner that removes residue and grime buildup. If you have etching on concrete, consider a specialized concrete restoration approach rather than repeated blasting.
How often should I clean my patio to keep it looking new?
Most patios benefit from a light cleaning 1–2 times per year—more often if you live in a humid climate or near trees that drop leaves. A seasonal patio cleaning routine helps prevent mold, algae, and ground-in dirt that becomes harder to remove over time. For best results, sweep regularly and address stains promptly instead of waiting for them to set.
📅 Last Updated: July 04, 2026 | Topic: Patio Cleaning Guide | Content verified for accuracy and freshness.
References
- Mold | US EPA
https://www.epa.gov/mold - https://www.epa.gov/mold/mold-prevention-strategies-and-possible-solutions-moisture-problems
https://www.epa.gov/mold/mold-prevention-strategies-and-possible-solutions-moisture-problems - Mold Remediation in Schools and Commercial Buildings Guide: Chapter 1 | US EPA
https://www.epa.gov/mold/mold-remediation-schools-and-commercial-buildings - https://www.cdc.gov/mold/default.htm
https://www.cdc.gov/mold/default.htm - https://www.hud.gov/program_offices/healthy_homes/mold
https://www.hud.gov/program_offices/healthy_homes/mold - Pressure washing
https://en.wikipedia.org/wiki/Pressure_washer - Mold
https://en.wikipedia.org/wiki/Mold - Google Scholar Google Scholar
https://scholar.google.com/scholar?q=patio+cleaning+mildew+algae+concrete+pressure+washing - Google Scholar Google Scholar
https://scholar.google.com/scholar?q=outdoor+surface+cleaning+concrete+pavers+biological+growth+removal - Google Scholar Google Scholar
https://scholar.google.com/scholar?q=proper+use+of+pressure+washers+safety+techniques+cleaning+outdoor+surfaces



