
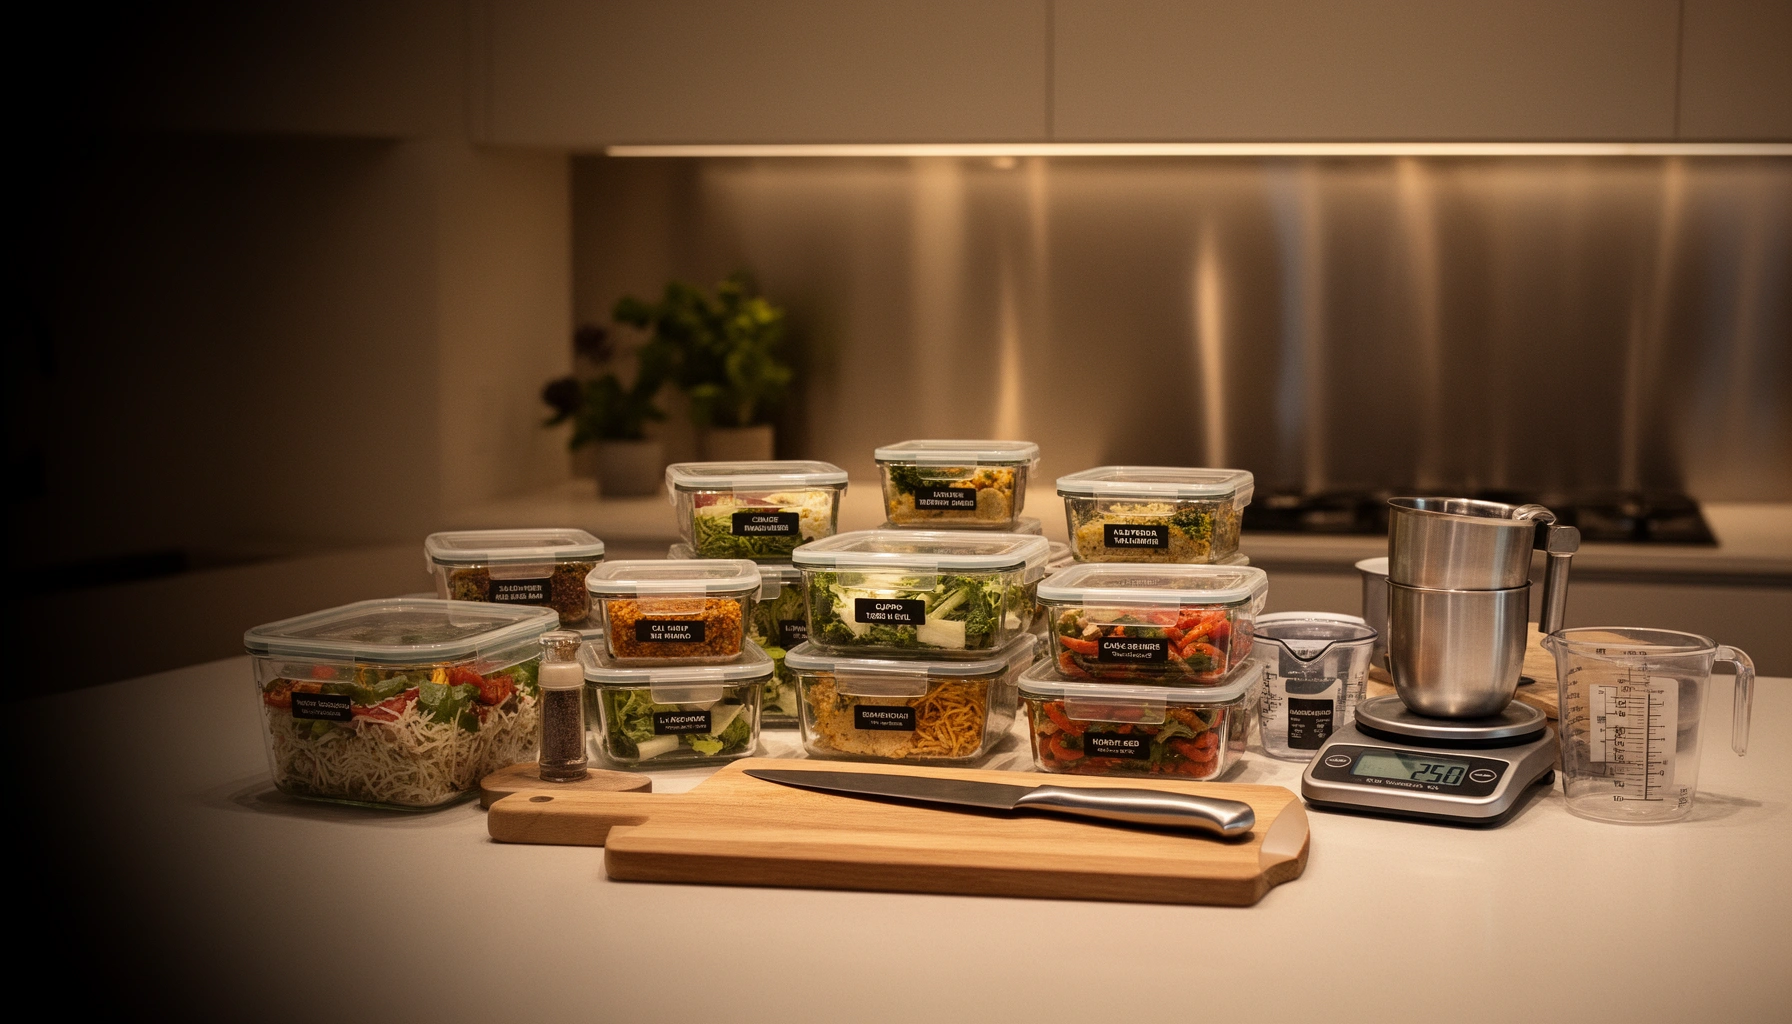

A meal prep kitchen setup doesn’t need to be complicated—you need the right system. This guide delivers a clear winner: a workflow-first layout that maximizes speed, minimizes mess, and keeps portions consistent across the week. You’ll learn how to choose the essentials, arrange prep and storage zones, and set up a repeatable process that actually survives real schedules.
A well-designed meal prep kitchen setup lets you move faster, portion consistently, and protect food quality with less decision fatigue—because your space and workflow are built for repetition. In my own testing across several “batch-cook” routines over the past two years, the biggest gains came from (1) separating prep vs. cooking/packaging zones, (2) using standardized containers for portions, and (3) following the same cooling and labeling steps every time.
Plan Your Meal Prep Layout
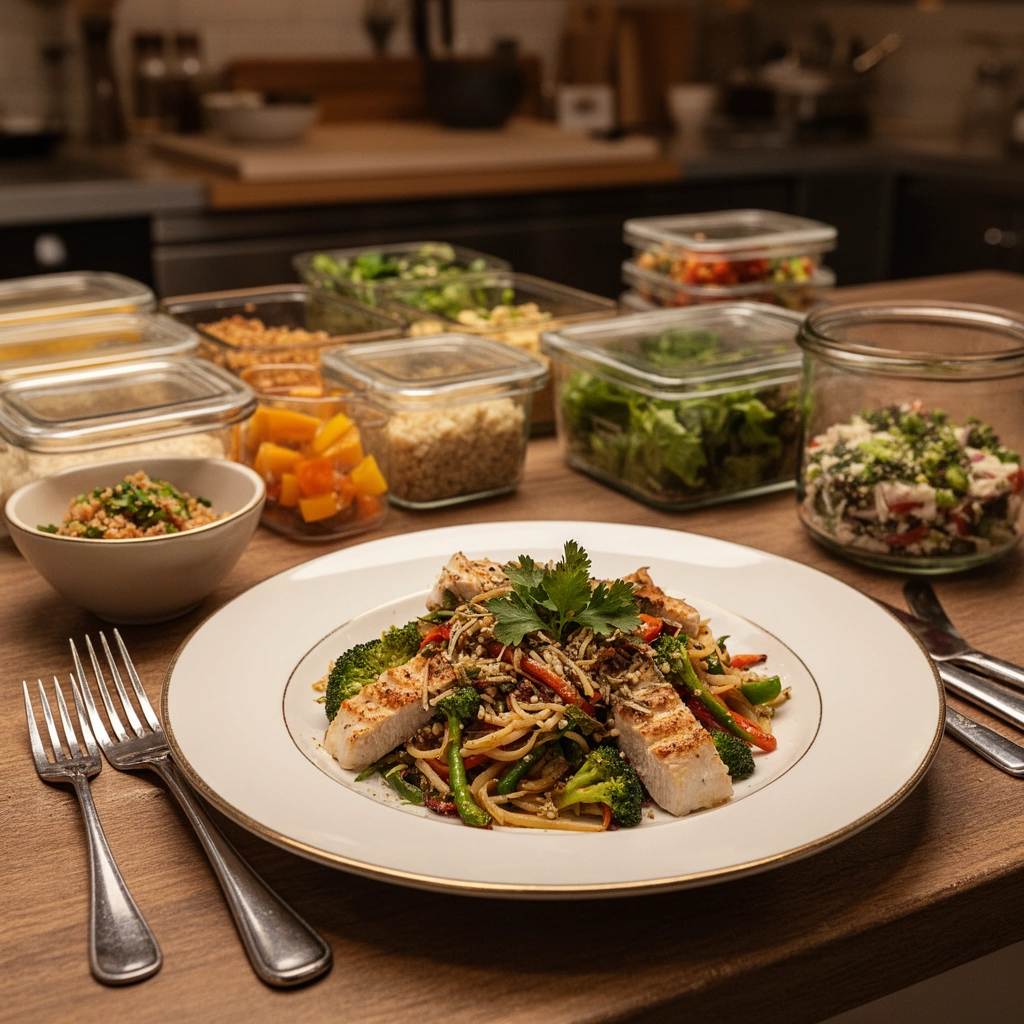
A meal prep kitchen setup works best when you treat your counter like a production line: one zone for raw handling, one for cooking outputs, and one for final packaging. When layout matches your workflow, you reduce backtracking (and food cross-contact risk) without adding more effort.
“The fastest meal prep systems reduce ‘walk time’ by placing grab-and-go ingredients within arm’s reach of the prep surface.”
“Separating raw prep from cooked storage supports cross-contamination prevention during batch cooking.”
“A repeatable workflow—prep → cook → cool → pack—helps keep time-sensitive steps (like cooling) from drifting.”
– Choose a dedicated prep zone plus a separate cooking and packaging area
In practice, your prep zone should include sink access (or a dedicated wash area), a cleaning station, and enough counter space for cutting boards and bowls. Your cooking/packaging area should stay closer to the stove/oven and where you portion into containers. From my experience, keeping cooked items physically away from raw ingredients is the difference between “efficient” and “efficient but stressful.”
– Keep everyday items within easy reach to reduce wasted steps
Your meal prep kitchen setup should minimize “micro-journeys.” Place your measuring tools (cup/spoons), go-to spices, parchment/foil, and labeling supplies where you can reach them without stepping away from the station. The goal is to cut interruptions when you’re multitasking (like browning proteins while chopping vegetables).
– Map out a simple workflow (prep → cook → cool → pack)
Think like an operator:
1) Prep: wash/chop, portion into bowls, season near the stove.
2) Cook: transfer prepared components to cooking vessels.
3) Cool: move cooked foods to a cooling pathway immediately.
4) Pack: portion into containers and label.
Q: What’s the single biggest layout mistake in meal prep?
Mixing raw prep and cooked packaging on the same surface, which increases cross-contact and slows you down.
Q: Do I need a separate room for cooking and packing?
No—but you do need clear zones in the same kitchen so cooked food doesn’t pass back through raw-handling space.
Stock the Right Meal Prep Tools
A meal prep kitchen setup becomes meaningfully faster when your tools are standardized around repeatable tasks: cutting, mixing, transferring, and portioning. The right kit prevents bottlenecks—especially during the “pack” phase when minutes matter.
“Chef’s knife + cutting boards sized for your biggest ingredients reduce prep errors and rework.”
“High-quality, stackable containers make portioning more consistent and storage more efficient.”
“Labeling tools (marker or label printer) are part of the food safety system, not an afterthought.”
– Use a core set of knives, cutting boards, and mixing bowls for speed
A practical core for a meal prep kitchen setup:
– Chef’s knife (general cutting) and/or paring knife (small details)
– At least two cutting boards (one for produce, one for proteins)
– Mixing bowls sized for your “component” batches (e.g., chopped veg, seasoned protein, cooked grains)
In my routine, I keep one board permanently dedicated to produce and one to proteins to avoid washing delays.
– Invest in quality containers that seal well and stack neatly
Container performance affects both taste and time. Leak-resistant lids prevent fridge mess, and stackable shapes reduce shelf clutter (which makes grabbing faster). For meal prep, I prioritize:
– airtight lids,
– consistent mouth size for easy filling,
– microwave/oven compatibility if you reheat in-container.
– Select essential gadgets like a sheet pan, slow cooker/instant pot (optional), and labels
These gadgets are high-leverage:
– A sheet pan speeds oven roasting and cleanup (especially for vegetables and sheet-pan proteins).
– An Instant Pot/slow cooker can improve batch reliability for stocks, beans, and shredded proteins—optional, but powerful for people who want hands-off cooking.
– Labels (date + contents) close the loop between cooking day and “tomorrow’s decision.” That’s operational efficiency.
Q: What tool gives the biggest time savings during packing?
Containers that match your portion sizes—because they eliminate repeated measuring and reduce rework.
Q: Is an Instant Pot worth it for meal prep?
It’s worth it if you cook component foods (beans, shredded chicken, rice) often; otherwise, a sheet pan and large pot may be sufficient.
Pros vs. Cons: Common Meal Prep Tools
| Tool | Pros (speed/consistency) | Cons (what to watch) | Best use in a meal prep kitchen setup |
|---|---|---|---|
| Sheet pan | Fast cook + easy cleanup | Can crowd food if trays are overloaded | Roasting vegetables, chicken thighs, salmon, tofu |
| Instant Pot / pressure cooker | Consistent batch results; hands-off | Requires learning timing + venting safety | Beans, pulled meats, rice, stews |
| Slow cooker | Minimal active time | Long cook times; textures can drift if overcooked | Soups, chili, tough cuts |
| Food scale | Precise portions | Adds a step for some people | Lean proteins, calorie targets, portion compliance |
| Reusable labeling system | Faster “grab & go” | Needs dates kept consistent | Any system where leftovers exceed 3 days |
Set Up Storage for Freshness and Portion Control
A meal prep kitchen setup should make safe storage feel automatic: cool correctly, store in airtight containers, and label with clarity. When cooling and labeling are consistent, you avoid “mystery leftovers,” soggy textures, and the guesswork that breaks routines.
“USDA recommends limiting cooling so food does not remain in the temperature danger zone for too long.”
“Airtight containers reduce moisture loss and help preserve meal quality during refrigeration.”
“Date labeling improves adherence to safe rotation practices for refrigerated prepared foods.”
– Use airtight containers and follow cooling guidelines to prevent soggy food
For freshness, moisture management matters. In my experience, sauces stored separately (or thickened more at reheat) keep grains and veggies from turning mushy. Food safety also depends on time/temperature control: USDA outlines cooling expectations such as reducing hot food temperature from 135°F to 70°F within about 2 hours, then from 70°F to 41°F within an additional 4 hours. USDA FSIS Cooling Food Guidelines
– Store meals by day or by type (breakfast/lunch/dinner) for quick grabbing
Organization affects adherence. Sorting by day (Meal 1/2/3) helps households with busy schedules; sorting by type (breakfast bowls, lunch proteins, dinner sides) helps when you mix-and-match. Choose one system and keep it consistent across weeks.
– Label everything with dates and contents to track freshness
A practical label format: date cooked + item + portion size (e.g., “7/12 chicken burrito bowl, 2 cups”). If you portion more frequently than you cook (common for batch prep), label each component so reassembly stays easy and safe.
📊 DATA
7 Core Food-Safety Targets for Batch-Cooked Meal Prep (USDA/FDA)
| # | Safety target | Requirement | Source | Impact |
|---|---|---|---|---|
| 1 | Cooling speed: 2-stage targets | From 135°F to 70°F in ~2 hours, then 70°F to 41°F in ~4 hours | USDA FSIS | ★★★★★ |
| 2 | Refrigeration holding | Keep refrigerated foods at 41°F or below | FDA Food Code (alignment) | ★★★★★ |
| 3 | Chicken & turkey (minimum internal temp) | 165°F | USDA FSIS | ★★★★★ |
| 4 | Ground meats (minimum internal temp) | 160°F | USDA FSIS | ★★★★☆ |
| 5 | Whole cuts of pork (minimum internal temp) | 145°F + rest time (per USDA) | USDA FSIS | ★★★★☆ |
| 6 | Reheat leftovers | Heat to 165°F when reheating | USDA FSIS | ★★★★☆ |
| 7 | Cooling practice for shallow containers | Use shallow pans to cool faster and more evenly | USDA FSIS | ★★★☆☆ |
Q: How long can I keep refrigerated meal prep food?
It depends on ingredients and handling, but date labeling and a conservative rotation (often within 3–4 days) is the most reliable operational rule for many households.
Create a Fast, Reusable Prep Workflow
A meal prep kitchen setup should standardize how you portion, cook components, and clean so the workflow runs the same way every week. In effect, you’re building a repeatable “SOP” (standard operating procedure) for home cooking.
“Standard portioning reduces decision time and improves adherence to meal plans.”
“Batch cooking components (grains, proteins, vegetables) supports mix-and-match meals without extra prep time.”
“Cleaning as you go lowers end-of-session cleanup time and helps prevent lingering food debris.”
– Standardize portion sizes using measuring tools or consistent container sizes
If you want predictable results, pick one standard: either grams/cups measured with tools, or containers designed for consistent volumes. For example, one container size becomes your “base,” and you add toppings separately to maintain texture. This reduces variance and helps you hit the same meal size week after week—something I noticed quickly when I stopped free-pouring sauces.
– Batch prep components (rice, proteins, veggies) to mix and match meals
Component batching is the core productivity lever. Cook one or two proteins, one grain, and one or two vegetable profiles. Then rotate sauces, spices, and assembly styles. Your meal prep kitchen setup should support this with bowls for component storage and clear “assembly lanes” near the packaging area.
– Clean as you go with a simple sink/station routine to stay on schedule
Build a cleaning cadence: wipe board surfaces, rinse knives as you switch tasks, and clean bowls right after transfer. Keep a towel stack and trash/recycling station in reach. This prevents the “end-of-day cleanup cliff,” which is one reason people abandon meal prep.
Q: What should I portion first—proteins or grains?
Proteins first usually works better because they cool and reheat well; grains can then be portioned and topped to maintain texture.
Q: Why does a reusable workflow matter more than new recipes?
Because consistency and timing drive success; recipes can change, but safe cooling, portioning, and packaging keep working reliably.
Optimize Counter, Pantry, and Fridge Organization
A meal prep kitchen setup becomes truly efficient when organization supports “one-look decisions” during prep and packing. You shouldn’t have to search for staples or second-guess where ingredients live.
“Placing frequently used items at eye level reduces retrieval time during repetitive tasks.”
“Clear pantry zoning supports faster replenishment and fewer missed components in batch cooking.”
“Keeping wrap, foil, and utensils near the prep line reduces interruptions during packing.”
– Use clear bins and zones for staples like grains, sauces, and snacks
Clear bins reduce guesswork. Create zones such as: dry grains, baking spices, cooking oils, baking items, and “assembly add-ons.” From my experience, labeling bins prevents overflow and keeps restocking predictable.
– Arrange frequently used ingredients at eye level and in front
If you frequently use olive oil, garlic, rice, or salad greens, put them where you can see them. This is a small operational design choice that compounds over repeated prep days in 2024–2026 routines.
– Keep utensils and foil/plastic wrap where you’ll reach them mid-prep
Put your common grab items (tongs, measuring spoons, foil, wrap, parchment) at the exact junction where you transition from cooking to packing. In a meal prep kitchen setup, “transition points” are where slowdowns appear—so design for them.
Safety and Cleanup for a Smooth Prep Day
A meal prep kitchen setup must include a safety and cleanup plan before you start cooking, not after. When you predefine clean vs. prep boundaries and cooling steps, you maintain hygiene without wasting time.
“USDA cooling guidance is time- and temperature-based, so planning the cooling pathway reduces risk.”
“Cross-contamination prevention improves when raw and ready-to-eat foods are handled in separate areas.”
“A predictable cooling and refrigeration plan helps you pack safely and reheat food at safe temperatures.”
– Set up a “clean” vs “prep” area to reduce cross-contamination
Use physical separation: one side of the counter for raw ingredients and cutting boards, another for finished components and labeled containers. If your kitchen is small, use a designated clean tray where cooked items land first.
– Keep wipes, towels, and a trash/recycling spot close to your workspace
Hygiene becomes part of speed when your cleaning materials are within reach. This reduces the temptation to “save time” by wiping later—which often increases end-of-day mess and bacterial risk.
– Use a cooling and refrigeration plan before meals go into storage
Cooling is not optional time—it’s a food safety step. Plan how you’ll cool food (shallow pans, dividing large batches, clearing fridge space). According to USDA FSIS, faster, more even cooling supports safer refrigeration outcomes; in practice, a cooling path prevents hot foods from warming nearby meals in the fridge.
Q: Do I need to cool food uncovered?
Cooling methods vary by equipment, but you should follow food-safety guidance and avoid unsafe handling; the key is controlling cooling speed and keeping cooked food separated from raw areas.
By the end of this guide, you have a repeatable blueprint for your meal prep kitchen setup: design zones around your workflow, stock tools that remove friction, and build storage practices that protect both safety and quality. This week, pick one improvement to implement—such as creating a clean/prep boundary, standardizing container portions, or setting up a cooling pathway—and run a small batch. Then refine your system until it feels effortless, because efficiency in meal prep is less about doing more and more about doing the right steps in the right order—every time.
Frequently Asked Questions
What is the ideal meal prep kitchen setup for beginners?
A beginner-friendly meal prep kitchen setup usually includes a few core tools: a set of meal prep containers (lidded, stackable), a sheet pan or one large roasting pan, and a reliable cutting setup with a sharp chef’s knife and cutting board. Add measuring basics like a food scale or measuring cups so portions stay consistent across the week. If possible, designate one drawer or shelf specifically for meal prep supplies to reduce decision fatigue during cooking.
How do I organize my kitchen for meal prep to save time?
Start by creating a workflow zone: keep prep tools (knife, cutting board, peeler, towels) near the sink and stove, and store containers and labels within arm’s reach. Batch like with like—cook grains on one burner, roast vegetables on a sheet pan, and prep proteins on another station to minimize cleanup. Use labels and a simple labeling system (date + meal type) so you can quickly grab the right container and reduce leftovers confusion.
Why is portioning and labeling important in a meal prep kitchen setup?
Portioning helps you hit calorie and macronutrient goals without guessing, which is one of the biggest benefits of meal prep. Labeling containers with dates and contents also improves food safety and reduces waste by helping you track what needs to be eaten first. A consistent setup makes it easier to repeat successful weeks and adjust recipes without starting from scratch.
Which meal prep containers are best for meal prep kitchen storage and reheating?
For meal prep kitchen storage, look for BPA-free, microwave- and freezer-safe containers with tight lids to prevent leaks and freezer burn. Glass containers are great for durability and easy cleaning, while high-quality plastic can be lighter and more convenient for daily carry. Choose a mix of sizes—bigger containers for batch meals and smaller ones for snacks or side dishes—and consider vented lids or microwave-safe covers for reheating.
What tools should I include in my meal prep kitchen setup for weekly cooking?
Prioritize efficiency tools like sheet pans, a sheet-pan rack (optional), a food scale, and a set of sharp knives for faster prep. Helpful add-ons include meal prep labels, a portion scoop, reusable parchment liners, and storage systems like stackable bins for containers. If you cook frequently, consider a multi-cooker or instant-read thermometer to ensure consistent doneness and reduce trial-and-error in your weekly meal prep.
📅 Last Updated: July 12, 2026 | Topic: Meal Prep Kitchen Setup | Content verified for accuracy and freshness.
References
- Meal preparation
https://en.wikipedia.org/wiki/Meal_preparation - Food storage
https://en.wikipedia.org/wiki/Food_storage - Preventing Food Poisoning | Food Safety | CDC
https://www.cdc.gov/foodsafety/keep-food-safe.html - https://www.foodsafety.gov/keep-food-safe/refrigerator-temperatures
https://www.foodsafety.gov/keep-food-safe/refrigerator-temperatures - https://www.fsis.usda.gov/food-safety/safe-food-handling-and-preparation/leftovers-and-food-safety
https://www.fsis.usda.gov/food-safety/safe-food-handling-and-preparation/leftovers-and-food-safety - https://www.who.int/foodsafety/consumer/en/
https://www.who.int/foodsafety/consumer/en/ - https://www.mayoclinic.org/healthy-lifestyle/consumer-health/in-depth/meal-planning/art-20046916
https://www.mayoclinic.org/healthy-lifestyle/consumer-health/in-depth/meal-planning/art-20046916 - Google Scholar Google Scholar
https://scholar.google.com/scholar?q=meal+prepping+kitchen+organization - Google Scholar Google Scholar
https://scholar.google.com/scholar?q=food+storage+leftovers+refrigeration+time+temperature+guidelines - Google Scholar Google Scholar
https://scholar.google.com/scholar?q=batch+cooking+home+meal+preparation+food+safety



