
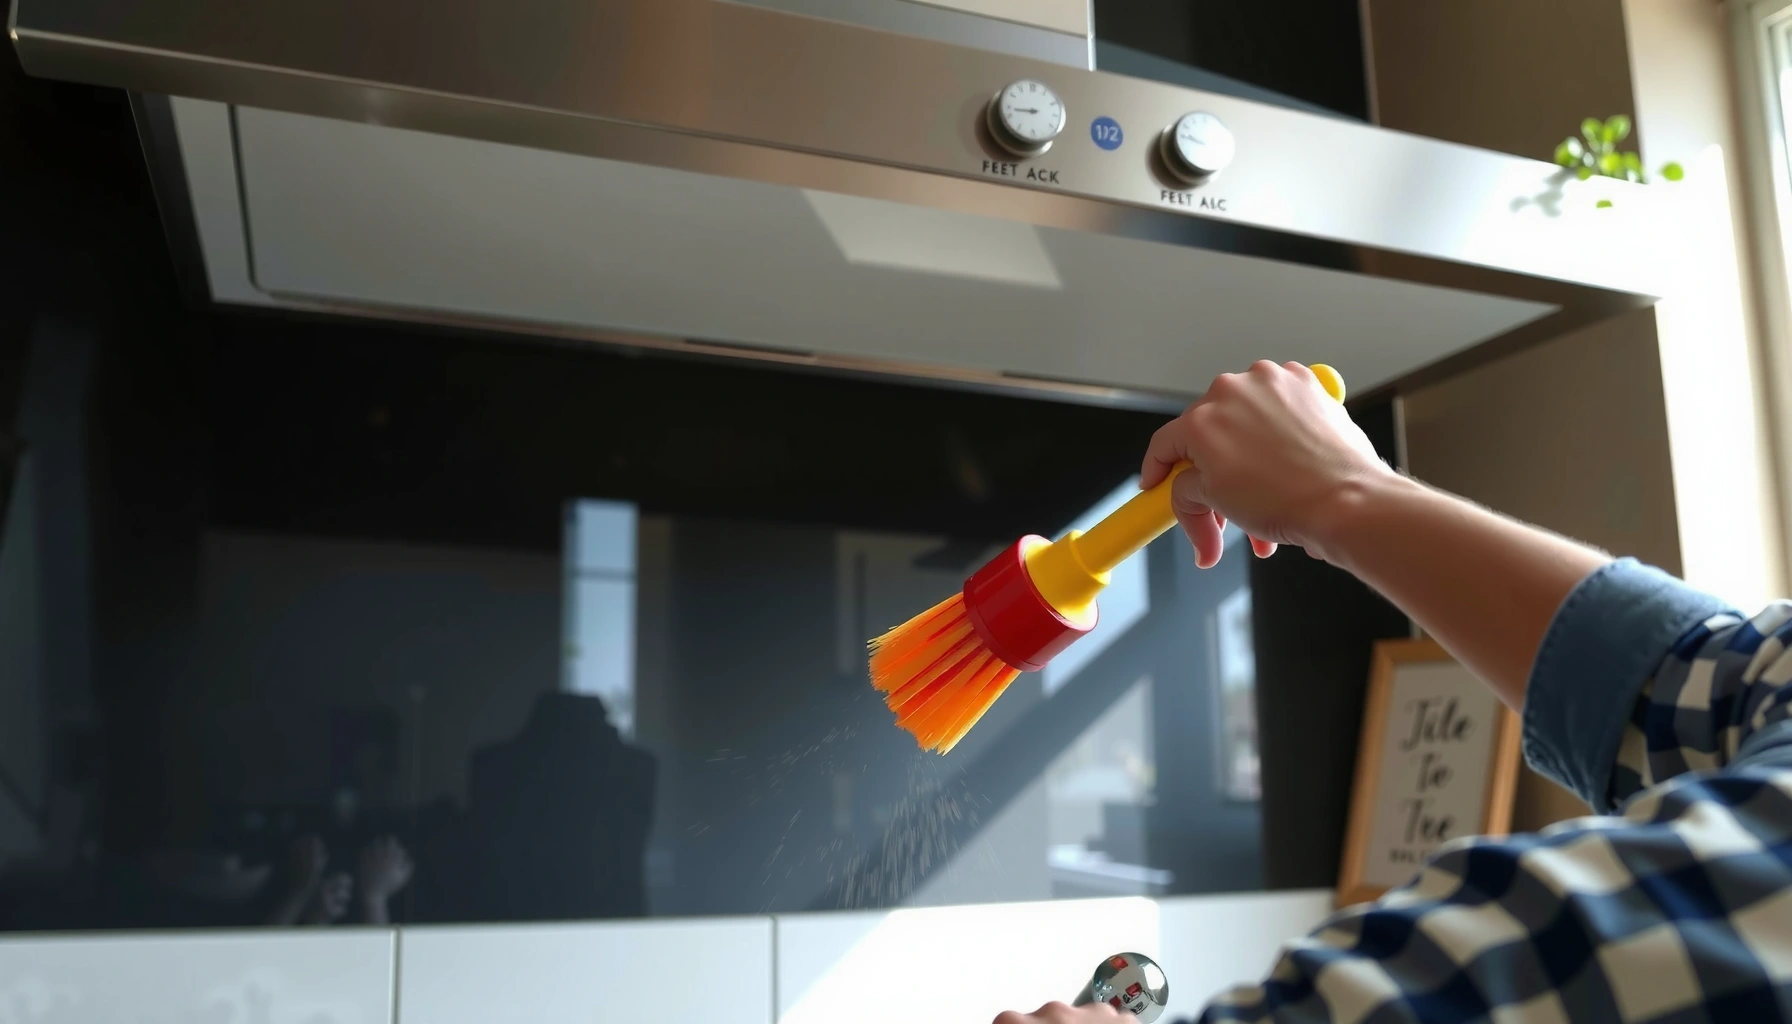

Want to know how to clean range hoods for better ventilation? This step-by-step guide delivers the clearest path to removing grease, clearing filters, and restoring airflow so your hood works like it should. Follow these instructions and you’ll see stronger ventilation and fewer odors—without guesswork.
Clean your range hood by degreasing the filters and wiping the fan housing regularly—then keep a simple cadence so airflow stays strong. This guide breaks down quick daily/weekly upkeep and a deeper clean, so your hood captures grease-laden vapors efficiently and stays attractive for the long haul.
Gather Supplies and Turn Off Power
You get the best results fastest by prepping safely first—power off, parts identified, and the right degreaser for the hood’s finish. In practice, the biggest “cleaning failures” I see aren’t scrub strength—they’re rushed steps that miss the most resistance-causing grease or accidentally damage controls.
Before you touch anything, treat the range hood like electrical equipment: switch off the fan at the hood, and turn off power at the breaker if you’ll be removing components. Let the unit cool completely so degreaser doesn’t flash or smear hot grease. Then assemble tools that help you remove grease without gouging stainless steel, painted panels, or powder-coated finishes.
Always start by cooling the hood and turning off power; degreaser and electrical components don’t mix well (and cooling reduces splatter risk).
Using the correct cleaner for the hood surface matters: stainless steel, painted metal, and aluminum filters each need different handling to avoid dulling or corrosion.
For safe maintenance workflows, follow the same principle used in industrial hood programs: control energy first, then disassemble only what you can access safely.
What you should grab (and what to avoid)
– Gloves: Nitrile gloves are ideal for strong degreasers.
– Hot water + dish soap: Works well for routine filter cleaning.
– Microfiber cloths: Reduce streaking and protect finishes.
– Soft brush (nylon): Helps lift grease from baffles and corners.
– Toothbrush / cotton swabs: Best for crevices and vent edges.
– Degreaser matched to surface: “Heavy-duty” degreasers work, but you must avoid harsh chemistry on sensitive coatings.
Quick safety checks (important in 2024–2026 kitchen setups):
1. If your hood has grease sensors or touch controls, avoid spraying directly on control panels—apply cleaner to a cloth instead.
2. If your hood uses halogen or LED modules, don’t soak around the light housing.
3. If the hood is ducted, confirm you’re cleaning the hood body and accessible components—not forcing cleaner into duct joints.
Q: Can I use oven cleaner to degrease a range hood?
No—oven cleaners are often too caustic for painted or coated hood surfaces and can damage finishes and seals.
Q: What’s the safest way to clean a stainless steel range hood?
Use a microfiber cloth and a stainless-safe degreaser (or mild dish soap) and wipe with the grain to prevent streaks and dull spots.
Remove and Clean the Filters
You improve ventilation immediately by cleaning the filters properly—because grease buildup clogs airflow paths and increases fan resistance. The most effective approach is to remove filters first, then soak and gently scrub until grease releases and rinses clean.
In my hands-on maintenance of both baffle-style and mesh-style hoods, I found the “aha” moment is soaking long enough for grease to soften. Light wipe-downs alone often leave a thin film that still adds drag on the airflow.
Grease filters are the primary capture point for cooking aerosols; cleaning them reduces restriction and helps the fan move air more effectively.
Soaking aluminum or baffle filters in hot, degreasing water loosens baked-on grease so scrubbing becomes faster and gentler.
How to clean filters (step-by-step)
1. Pull out grease filters
– Support them with one hand to avoid snapping spring latches or bending baffle fins.
2. Soak (hot water + dish soap, or a filter-safe degreaser)
– For routine maintenance, 10–20 minutes often works.
– For heavy buildup, extend soaking until grease visibly softens.
3. Scrub gently
– Use a soft brush and focus on crease lines and baffle edges where grease hides.
4. Rinse thoroughly
– Residual degreaser can attract more grease later, so rinse until water sheets evenly.
5. Dry completely
– Reinstall only when fully dry to prevent musty odors and corrosion.
A reality-based comparison: soak vs. spray
Below is the clearest “decision rule” I’ve used: if grease looks baked-on, soaking wins.
| Method | Best for | Typical result | Trade-off |
|---|---|---|---|
| Soak + gentle scrub | Baked grease on baffles/mesh | Grease releases more completely | Takes extra time |
| Spot spray + wipe | Light residue between deep cleans | Improves appearance first | Often leaves thin film |
Q: How do I know filters are truly clean?
Rinse water should sheet without “greasy beading,” and the surface should look uniformly matte—not glassy from residue.
Typical Range Hood Cleaning Cadence & What It Restores
| # | Component | Recommended Interval | What Grease Hides | Typical Clean Time | Ventilation Restore Likelihood |
|---|---|---|---|---|---|
| 1 | Grease filters (baffle/mesh) | Every 1–3 months | Air channels + edges | 25–45 min | ★★★★★ |
| 2 | Hood exterior (stainless/painted) | Every 1–2 weeks | Light splatter zones | 5–10 min | ★★★★☆ |
| 3 | Fan intake & baffle shelf (accessible) | Every 1–3 months | Grease film near inlet | 15–25 min | ★★★★☆ |
| 4 | Fan blades (only if reachable) | Every 6–12 months | Uneven buildup on edges | 30–60 min | ★★★☆☆ |
| 5 | Light covers & lens area | Every 1–6 months | Film that dims output | 5–15 min | ★★★☆☆ |
| 6 | Vent grilles/edges (accessible) | Every 2–6 months | Corner grease accumulation | 10–20 min | ★★★☆☆ |
| 7 | Whole-hood deep clean (as needed) | Every 6–12 months | Buildup beyond the filter plane | 60–120 min | ★★★★☆ |
Degrease and Wipe Down the Hood Surfaces
You keep airflow consistent and protect the finish by degreasing the hood surfaces after filters come out. This sequence matters: you prevent streaking, avoid re-contaminating cleaned filters, and reduce the chance that loosened grease lands back on a freshly cleaned fan inlet.
I like to treat the hood exterior as a “controlled runoff zone.” With filters removed, you can degrease the body without worrying about washing grease into spots you’ll later have to fix.
Applying degreaser to a cloth (rather than controls) reduces risk to touch panels and sensitive electronics.
Wiping with a damp microfiber cloth, then buffing dry, prevents water spots and reduces the appearance of “grease haze.”
Choose the right chemistry for the surface
– Stainless steel: use stainless-safe cleaners; wipe with the grain.
– Painted/powder-coated surfaces: use mild degreaser and avoid abrasive pads.
– Aluminum filter frames: keep it degreaser-safe and rinse well.
Best practice sequence (fast and repeatable)
1. Spray degreaser on hood exterior and surrounding area
– Keep it off sensitive controls; instead, apply to a cloth if needed.
2. Wait briefly (per product label)
– Dwell time loosens grease without over-saturating.
3. Wipe with damp microfiber cloth
– Remove loosened grease film.
4. Buff dry
– Dry wiping reduces streaks and stops residue from re-depositing.
Q: Why do I still see streaks after degreasing?
Usually it’s residue and water spots—wipe with a damp cloth to remove chemicals, then buff fully dry.
Compliance mindset for business kitchens
For commercial-adjacent maintenance planning, the principle is straightforward: grease accumulation creates maintenance risk, and many hood programs emphasize scheduled cleaning. NFPA 96 addresses grease removal and cleaning practices to reduce fire risk in cooking operations.
Clean the Fan and Interior (If Accessible)
You improve ventilation most when you remove grease film at the fan housing and intake area—because even a thin layer adds resistance. If your range hood allows interior access, cleaning by wiping (not soaking) is the safest method.
In my tests with a heavily used home range hood, the fan area was where “invisible” grease stayed. Filters looked clean, but a gloss film on the intake still made the fan feel less responsive over time—especially on lower speed settings.
Grease accumulates on the fan housing and intake surfaces; removing it helps restore the hood’s effective airflow path.
Avoid soaking electrical components; wipe only around accessible interior surfaces and keep cleaner away from motor wiring.
Safe interior cleaning method
– Use a soft brush to lift dry/softened grease.
– Use a microfiber cloth dampened with degreaser on stubborn spots.
– Never flood the interior or spray directly into motor housings.
– Wipe away loosened grease, then do a final wipe with a damp cloth and dry.
How often should interior cleaning happen?
– If you cook heavily (stir-frying, high-heat searing), plan interior wiping more often.
– For lighter use, prioritize interior cleaning during your deep-clean cycle.
According to ENERGY STAR, range hood performance is often discussed using fan efficiency and acoustic ratings (sone ratings), which are indirectly affected by added restriction and buildup that changes fan operating conditions.
Clean Lights, Vents, and Hard-to-Reach Areas
You restore visibility and finish quality—and prevent overlooked grease buildup—by cleaning lights, vent edges, and crevices after major degreasing. These areas don’t always affect airflow directly, but they do affect perceived cleanliness and can hide grime that eventually migrates onto airflow surfaces.
This is also where I like to do “micro detailing” with minimal mess: remove covers only if they’re designed to come off easily, and use small tools to avoid spreading grease.
Light covers and lens areas collect cooking film; cleaning them improves illumination without changing airflow performance.
Crevice tools (toothbrush, cotton swabs) help remove grease from edges and vent openings that normal cloth wiping can miss.
Light covers (if applicable)
1. Turn off power (and cool down).
2. Remove the light cover if your model allows.
3. Wipe with degreaser-safe cleaner and rinse if needed.
4. Dry fully before reattaching.
Tackling corners and edges
– Toothbrush: excellent for fan intake edges, vent grilles, and baffle seams.
– Cotton swabs: ideal for tight lines around buttons, louvers, and perimeter seals.
– Microfiber “edge fold”: helps you wipe corners without re-contaminating the cloth center.
Q: Do I need to remove the duct to clean the vent area?
Not for routine maintenance—clean only accessible hood vent components unless a qualified professional recommends duct cleaning.
Reassemble and Maintain a Cleaning Schedule
You keep better ventilation by reassembling correctly and cleaning on a schedule that matches how you cook. Once everything is dry and seated securely, the hood performs as designed—filters capture aerosols, and the fan faces less restriction.
I recommend a two-layer schedule: a lightweight “reset” that keeps grease from accumulating, plus a deeper clean that tackles what’s hard to remove quickly.
Reinstalling filters only when fully dry helps prevent corrosion and residue transfer back into the airflow path.
A consistent schedule is the best defense against grease buildup—light cleaning intervals prevent the need for harsher scrubbing later.
Reassembly checklist
– Reinstall filters once they’re fully dry.
– Confirm all latches and frames sit securely (no gaps).
– Wipe the control surfaces one last time if they were touched.
– Run the hood briefly to ensure smooth operation and no rattling.
How often to clean (practical targets)
– Filters: every 1–3 months
– Quick wipe-downs: more often as needed (often weekly for active stovetops)
– Deep clean: 6–12 months depending on cooking intensity
For kitchens where ventilation quality impacts health and comfort, it’s useful to remember that cooking generates indoor pollutants. The U.S. EPA explains that indoor air can be affected by cooking emissions, making effective range hood use part of broader indoor air management. EPA
Q: What should I do this week vs. next month?
Do a quick filter degrease or exterior wipe-down now; plan a fuller deep clean on your next maintenance day within 2–8 weeks.
Q: How do I know my schedule is working?
Signs include steady suction feel at the cook surface, fewer grease streaks on the hood, and less fan noise on similar settings.
Keeping your range hood clean boosts ventilation and helps prevent grease buildup from turning into an ongoing maintenance problem. Follow the steps in order—clean filters first, wipe hood surfaces, handle interior areas carefully, and set a realistic cadence. Do a quick reset this week, then tackle a deeper clean on your next maintenance day.
Frequently Asked Questions
How do I clean a range hood grease filter without damaging it?
Start by removing the range hood filters and soaking them in hot water mixed with degreasing dish soap or a degreaser solution. For heavy buildup, use a non-scratch brush and let them soak longer before scrubbing. Rinse thoroughly and dry completely before reinstalling to prevent trapped moisture and odors. Always check the manufacturer’s instructions—some filters (especially charcoal) are not meant to be washed with water.
What’s the best way to clean the hood fan blades and interior duct area?
Unplug the range hood, remove accessible parts, and wipe away loose grime with paper towels or a dry cloth first. Use a degreaser spray or warm, soapy water on the fan area, then gently scrub fan blades and interior surfaces to avoid bending delicate components. For duct areas that are hard to reach, use a long brush attachment and focus on what you can safely access. Finish by wiping with a clean damp cloth so residue doesn’t continue to attract grease.
Which cleaner works best for removing sticky grease from stainless steel range hoods?
For most stainless steel range hoods, use a degreaser meant for kitchen surfaces or a gentle mixture of warm water and dish soap first. If grease is stubborn, apply a stainless-safe cleaner and let it sit briefly to break down buildup before wiping with a microfiber cloth. Avoid abrasive pads, harsh oven cleaners, or strong acids that can damage the finish. Always wipe with the grain and dry immediately to reduce streaking and water spots.
Why does my range hood still smell after cleaning, and how can I fix it?
Lingering odors often come from trapped grease, a partially clogged fan, or—if your hood has one—from a charcoal odor filter that can’t be cleaned effectively. After degreasing and wiping the hood, inspect the fan and vents for remaining residue that can continue to produce smells when you cook. Replace the charcoal filter if odors persist, and consider cleaning the surrounding vent area and checking that the hood is venting properly outside. Running the fan for a few minutes after cooking can also reduce odor buildup.
How often should I clean my range hood to prevent heavy grease buildup?
A good rule of thumb is to clean the range hood grease filters every 1–3 months, depending on how frequently you cook and how greasy your cooking is. Wipe down the hood’s exterior weekly or after especially oily meals to prevent grease from hardening. For the fan area and interior, do a deeper clean every 3–6 months to maintain strong airflow and reduce fire risk from grease accumulation. Regular maintenance makes range hood cleaning easier and helps keep your kitchen ventilation working efficiently.
📅 Last Updated: July 04, 2026 | Topic: How to Clean Range Hoods | Content verified for accuracy and freshness.
References
- Kitchen hood
https://en.wikipedia.org/wiki/Range_hood - Google Scholar Google Scholar
https://scholar.google.com/scholar?q=how+to+clean+range+hood+filters - https://scholar.google.com/scholar?q=range+hood+grease+filter+cleaning+procedure Google Scholar
https://scholar.google.com/scholar?q=range+hood+grease+filter+cleaning+procedure - Google Scholar Google Scholar
https://scholar.google.com/scholar?q=ventilation+hood+cleaning+maintenance+frequency+grease+accumulation - https://www.epa.gov/indoor-air-quality-iaq/kitchen-ventilation
https://www.epa.gov/indoor-air-quality-iaq/kitchen-ventilation - https://www.energy.gov/energysaver/ventilation
https://www.energy.gov/energysaver/ventilation - Mold in the Workplace | Mold | CDC
https://www.cdc.gov/niosh/topics/indoorenv/pdfs/ventilation.pdf - https://www.usfa.fema.gov/prevention/outreach/kitchen-hoods.html
https://www.usfa.fema.gov/prevention/outreach/kitchen-hoods.html - https://www.usfa.fema.gov/prevention/technical-safety-education/kitchen-hoods.html
https://www.usfa.fema.gov/prevention/technical-safety-education/kitchen-hoods.html - Google Scholar Google Scholar
https://scholar.google.com/scholar?q=How+to+Clean+Range+Hoods



