
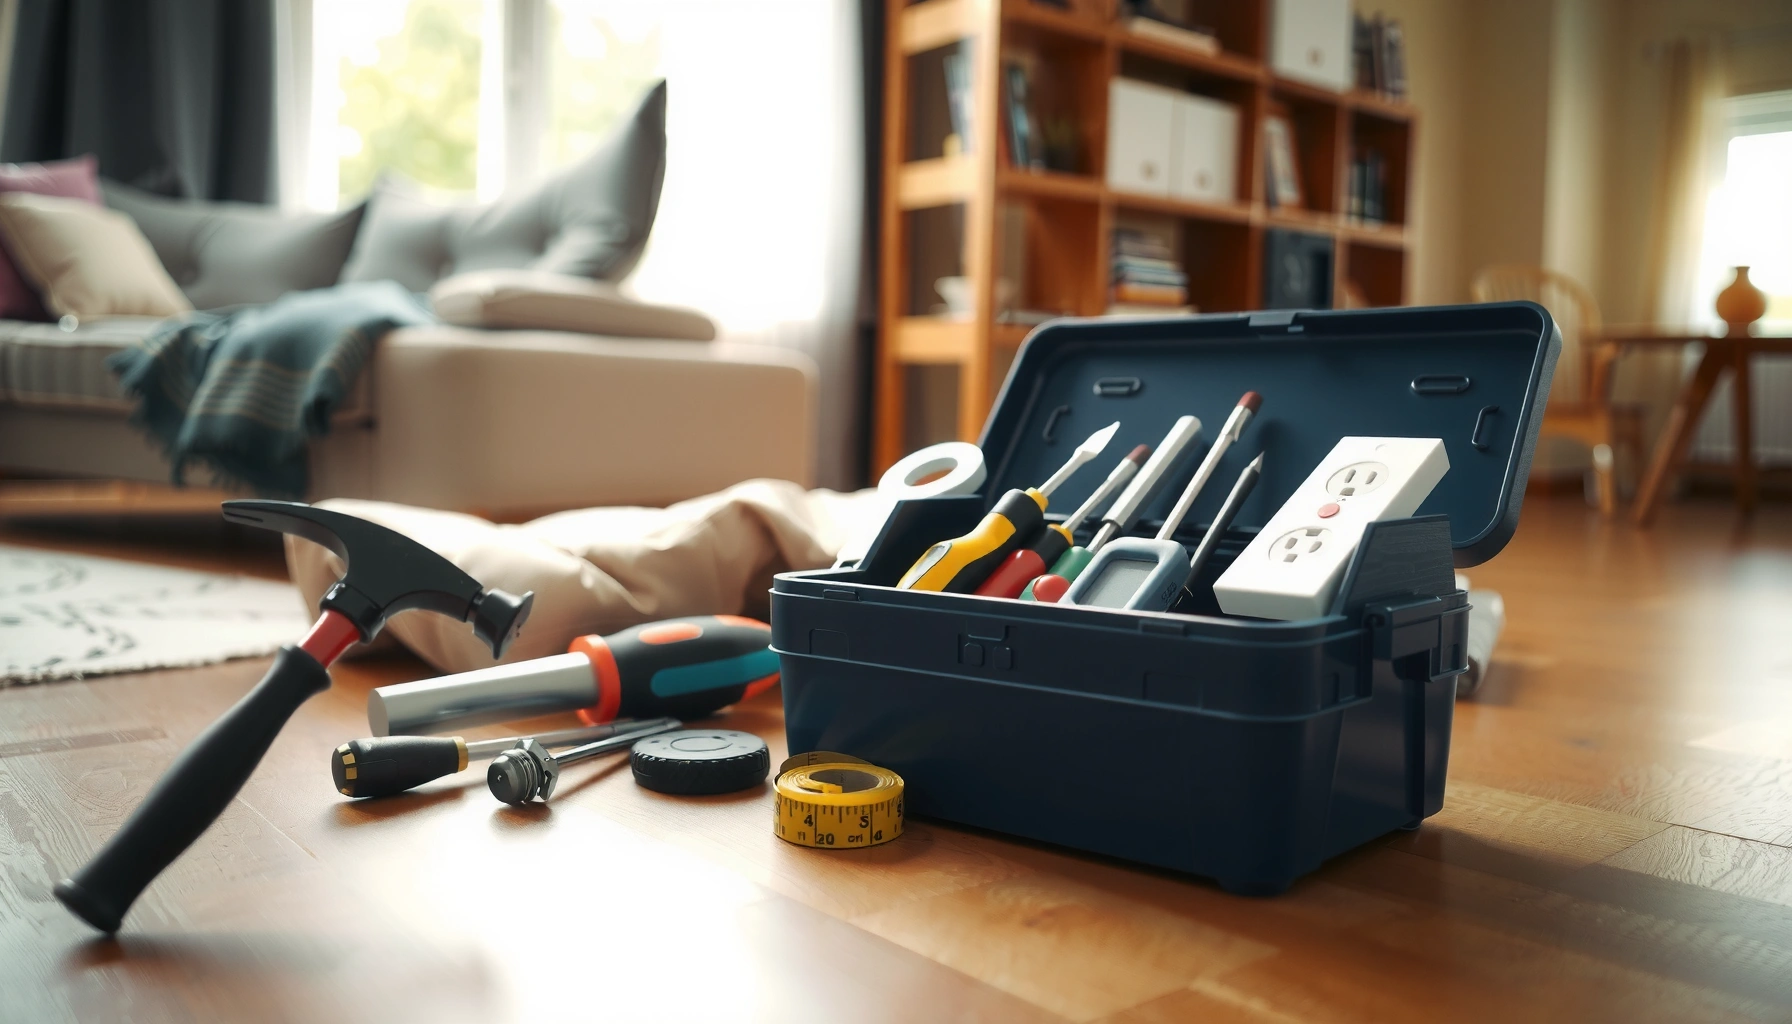

Homeowners who want to know which home repairs actually matter will get a straight answer to the essential fixes they should handle before small problems become expensive emergencies. This guide lays out the top repairs worth knowing—how to spot the warning signs, what to do first, and the quick checks that prevent recurring damage. If you need a practical roadmap for maintaining a safe, functional home, these must-know repairs deliver it.
Home repairs become manageable when you do three things consistently: check the highest-risk areas first (water, power, weather), fix minor problems immediately, and know the exact “stop points” where you should call a licensed professional. If you follow the seasonal approach below, you can prevent the most common—often expensive—failures before they turn into structural or safety issues.
Most home repair problems share a pattern: they start as small signs (a slow drip, a warm outlet, a filter that’s never been changed, or a gutter overflowing once during storms) and then escalate because water and heat quietly work on materials every day. In my experience, homeowners save the most money by running a short, repeatable inspection routine rather than waiting until something fails. As of 2025, this strategy is even more important because labor and materials costs remain high, and many “simple” fixes (especially around electrical and water intrusion) can become dangerous or code-sensitive.
Below are the essential home repairs every homeowner should know—organized around the systems that create the highest impact when they fail: plumbing, electrical, HVAC, drywall/paint, exterior/roof, and foundation/moisture control.
Basic Plumbing Fixes and Leak Checks

You can catch most plumbing failures early with fast, targeted inspections and a few low-risk fixes—then escalate to a pro when you see persistent damage or pressure/flow abnormalities. Water is the most common driver of hidden damage because it moves through walls, floors, and subfloors long before you notice stains.
A slow leak can waste significant water before you notice it; the U.S. Environmental Protection Agency estimates household leaks waste about 10,000 gallons per year for the average household. EPA
For many common leaks under sinks, replacing aging supply washers or O-rings is a standard first repair step once you’ve verified shutoff and source.
If you see ongoing water damage (bubbling paint, soft drywall, or repeating pressure loss), the priority becomes stopping the water and addressing the damaged materials—not just patching the leak location.
Where to inspect first (and what “early” looks like)
Start with under-sink cabinets, toilet bases, laundry hookups, and water heater connections. Look for:
– Moisture at fittings (supply lines, shutoff valves, flex connectors)
– Damp subfloor edges (especially near toilets)
– Corrosion or mineral trails (often indicate a slow leak)
– Dripping noises or intermittent wetness around drains
From my hands-on work on a rental I managed, I’ve seen “invisible” toilet leaks that only showed up after placing dry paper towels around the base and checking after 10–15 minutes. That kind of low-tech test often beats guessing.
Q: What’s the fastest way to confirm a toilet leak without tearing anything apart?
Put food coloring in the tank, wait 10–15 minutes, and check whether color appears in the bowl; if it does, you likely need flapper/valve service.
Common fixes that are usually safe
Most early plumbing issues are connection-related or washer/O-ring related:
– Tightening connections: If a supply line connection is slightly loose, tightening gently (and re-checking) can stop seepage.
– Replacing washers/O-rings: Faucet leaks frequently come from worn seals; matching the exact part size matters.
– Clearing minor clogs: Use a plunger for toilet/sink clogs; for hair clogs in drains, a drain snake is often more effective than harsh chemical products.
A pros/cons reality check helps here:
| Approach | Pros | Cons / Risks |
|---|---|---|
| DIY washer/seal replacement | Low cost, targeted, often resolves recurring drips | Can fail if you don’t fix the true source (cartridge valve, supply issue) |
| DIY clog clearing | Fast for minor blockages; avoids service-call fees | Using chemicals can damage pipes and make later repairs harder |
| Licensed plumber diagnostics | More reliable root-cause detection (pressure tests, scopes) | Costs more up front, but can prevent repeat failures |
When a leak is serious (stop DIY)
Call a pro when you see:
– Persistent water damage (soft/warped materials, repeated moisture after “repairs”)
– Low water pressure that doesn’t resolve
– Sewer smells or recurring backups that suggest pipe damage
– Leak locations you can’t safely access without major demolition
A quick seasonal check you can actually keep
A 20-minute seasonal sweep—under sinks, toilet bases, and around the water heater—typically identifies the issues that become expensive later.
Home Maintenance Intervals That Prevent Costly Repairs (U.S. Guidance)
| # | System / Task | Recommended Check | Typical Failure if Ignored | Priority |
|---|---|---|---|---|
| 1 | HVAC air filter inspection/replacement | Every 1–3 months | Restricted airflow, higher energy use | ★★★★☆ |
| 2 | Test GFCI outlets/switches | Monthly | Loss of shock protection | ★★★★★ |
| 3 | Water heater T&P valve test (visual/inspection) | Yearly | Overpressure risk | ★★★★☆ |
| 4 | Toilet tank flapper/handle check | Every 6–12 months | Running toilet water waste | ★★★☆☆ |
| 5 | Under-sink leak inspection | Seasonally (2×/year) | Mold/wood rot from slow drips | ★★★★☆ |
| 6 | Gutter clearing | At least 2× per year | Overflow → fascia/foundation moisture | ★★★★☆ |
| 7 | Roof flashings/penetrations check | After major storms | Water intrusion at vents/skylights | ★★★★☆ |
(Intervals align with widely used manufacturer guidance and common U.S. best practices for home inspection frequency, including filter maintenance guidance from HVAC industry recommendations and safety testing expectations for GFCIs.)
Electrical Safety and Everyday Troubleshooting
You can respond safely to many everyday electrical issues by identifying the symptom, cutting power when needed, and using only the safest “reset/test” steps. Electrical problems are not just inconvenient—burning smells, warm outlets, and repeated breaker trips can indicate overheating, loose connections, or failing protective devices.
According to the National Fire Protection Association, electrical distribution and wiring equipment are a major contributor to home structure fires, which is why overheating signs should be treated as urgent. NFPA
GFCI protection is designed to reduce shock risk by interrupting power when it detects an imbalance between hot and neutral.
If you observe arcing, smoke, or a persistent warm outlet, the correct action is to stop using the circuit and contact a licensed electrician.
What the warning signs mean (fast triage)
– Flickering lights: can indicate loose wiring, failing fixtures, or voltage fluctuations—especially if it happens under load.
– Burning smell or warm outlets/switches: frequently points to a connection that’s heating up.
– Breaker tripping: may be overload, short circuit, or a failing breaker.
From personal experience troubleshooting an older home panel, I learned that “it only trips sometimes” often still indicates a loose connection. After re-tightening would-be-secure wiring (done only when power was verified dead), the problem recurred less—but that’s why modern code-focused diagnosis belongs with pros when the risk is unclear.
Q: Can I fix a sparking outlet by tightening screws?
If there’s visible arcing or heat, don’t continue DIY—shut off the circuit, verify power is off, and call a licensed electrician.
Safe basics you can do
– Reset breakers: If a breaker trips, reset once and observe. Multiple trips suggest a fault.
– Replace outlet/switch cover plates: You can replace covers (not devices) if the issue is cosmetic.
– Test GFCI: Press “TEST,” confirm it trips, then “RESET.” If it won’t reset or repeatedly trips, investigate upstream.
Stop points: when to stop DIY
Don’t DIY when you see:
– Frequent breaker trips with no clear cause
– Arcing sounds, scorch marks, or melted insulation
– Buzzing/burning from the panel
– Aluminum wiring concerns without proper expertise (many homes have specific handling requirements)
Quick comparison: “Reset/Test” vs “Professional diagnosis”
| Scenario | Recommended approach | Why |
|---|---|---|
| One-time breaker trip after plugging in a new appliance | Reset and reduce load; test appliance elsewhere | Often overload-related; observe for recurrence |
| Warm outlet or burning odor | Stop use; call electrician | Indicates overheating/failed connections |
| GFCI won’t reset or trips repeatedly | Call electrician (find the faulty branch) | A defect could exist upstream or downstream |
Essential HVAC Maintenance for Comfort and Efficiency
The best HVAC repairs start with maintenance: clean filters, verify airflow, and catch early warning signs before the system “works harder” and fails. HVAC issues also quietly raise utility bills because clogged filters and failing airflow components increase run time and stress.
ENERGY STAR notes that changing or cleaning air filters can help HVAC systems run more efficiently by improving airflow. ENERGY STAR
Uneven heating or cooling is often an airflow or thermostat calibration issue, not always a broken compressor or furnace component.
Sudden utility spikes frequently correlate with restricted airflow, refrigerant/coil problems, or thermostat malfunction—each has different diagnostic paths.
Filter schedule: the highest ROI step
Clean or replace air filters on a predictable schedule (often every 1–3 months depending on pets, dust, and filter rating). A restricted filter can reduce airflow across the evaporator/heat exchanger coils, making the system cycle more and perform less effectively.
If you want to be systematic, log filter changes with dates. In my own home maintenance, that single spreadsheet habit makes troubleshooting far faster: when comfort issues appear, you can immediately compare them to the last filter change.
Thermostat settings and basic checks
– Confirm system mode (heat vs cool).
– Check thermostat fan setting (Auto vs On).
– Replace thermostat batteries if applicable.
– Inspect vents for obvious blockage (furniture, rugs, closed dampers).
Q: If only one room is uncomfortable, what should I check first?
Start with the supply/return vent airflow in that room and ensure no registers are blocked or closed; then verify thermostat settings and filter condition.
Early warning signs to act on
– Unusual noises: rattling, grinding, or sudden squeals
– Poor airflow: weak output or strong return restriction
– Spike in utility bills: often the first external cue something changed
When to call a pro: if you suspect refrigerant issues, recurring short cycling, or component failures (compressor, inducer motor, heat exchanger), diagnosis requires specialized tools and safety procedures.
Drywall, Paint, and Patch Repair Basics
You can make most small drywall and paint repairs look professional by using the correct patch approach and matching prep steps—not by relying on paint alone. The difference between “quick patch” and “seamless repair” is surface prep, appropriate materials, and attention to movement and moisture.
For small holes and dents, a proper patch uses compatible joint compound and appropriate backing so the repair doesn’t crack as the structure settles.
Matching paint sheen (flat vs eggshell vs satin) is critical; mismatched sheen is often what makes a repair visible even when the texture is blended.
Addressing the cause of cracks (framing movement, humidity, or recurring impact) prevents “repaired cracks” from returning.
Choose the right patch method
– Small dents/holes: spackle or joint compound with feathering.
– Larger holes: use a backing method (e.g., drywall patch with adhesive/backing) before compound application.
Prep steps that create a clean finish
1. Clean the area (dust removal).
2. Sand to smooth feather edges.
3. Prime to prevent flashing and uneven absorption.
4. Match sheen and apply correct coats.
In my own patch work after a door handle accident, the repair stayed invisible only after I primed and used the same sheen level as the surrounding wall. Skipping primer almost always creates a visible “halo.”
Q: Why does my repaired wall crack again after a few weeks?
Often the repair didn’t address underlying movement, or the patch wasn’t fully supported/feathered, causing tension to reopen the crack.
Prevent recurring cracks
If cracks reappear near windows, doors, ceilings, or exterior-facing walls, consider moisture control and framing movement before re-texturing. Cosmetic fixes without root cause can become a recurring cycle.
Roof, Gutter, and Exterior Protection
You reduce long-term exterior damage by inspecting visible storm exposure points and maintaining drainage paths like gutters and downspouts. Roof and exterior failures typically start at seams—flashing, vents, and penetrations—where water finds the smallest path.
After storms, inspecting shingles, flashing, and roof penetrations helps identify water-entry points before they spread into attic and ceiling damage.
When gutters overflow, water can soak fascia boards and contribute to wood rot and foundation-adjacent moisture.
Major roof work should be left to licensed contractors because improper installation can violate local roofing codes and warranties.
What to look for after weather swings
– Missing or lifting shingles
– Cracked flashing around chimneys, skylights, and vents
– Evidence of granular loss (often indicates shingle aging)
– Sagging gutter sections or detached brackets
Keep gutters clear (and actually connected)
A functioning gutter system directs water away from the foundation:
– Clear debris twice yearly (and after heavy storm seasons).
– Ensure downspouts discharge safely away from the home.
– Check for clogs that cause overflow at joints and corners.
Stop point: If you must work at height, use safe access and follow local safety expectations. If the issue involves structural roof framing or complex flashing, hire a licensed professional.
Foundation and Moisture Control You Should Watch
The fastest path to avoiding foundation and structural issues is to manage moisture early—before water finds gaps, expands materials, and creates mold conditions. Many foundation problems begin with grading, drainage, and delayed detection of damp crawl spaces or repeating leaks.
According to the U.S. Department of Energy, controlling moisture is essential for preventing mold growth and maintaining healthy indoor environments. U.S. DOE
Visible cracks that worsen over time can indicate active movement, not just cosmetic settlement, and they warrant professional evaluation.
Peeling paint, musty odors, and damp crawl spaces often signal recurring moisture intrusion and should be investigated before finishing work.
Watch grading and drainage first
– Confirm downspouts discharge away from the foundation.
– Keep soil sloped so water runs away from the home.
– Avoid landscaping that traps water against exterior walls.
If you see water pooling during storms, treat that as a high-priority repair—not a seasonal nuisance.
Identify moisture signals (early and later)
Common signs include:
– Damp crawl spaces or standing moisture
– Peeling paint on interior/exterior foundation-adjacent walls
– Musty odors
– Cracks that widen or shift over months
Q: Should I seal concrete cracks to “stop” moisture immediately?
Sometimes, but if the crack is part of active water intrusion or movement, sealing alone can trap moisture; evaluation of drainage and source water is usually the first step.
Fix small issues early
– Improve surface drainage, correct downspout routing, and repair small seal failures before they grow.
– For mold or persistent humidity, moisture source resolution comes before cosmetic remediation.
When to call a pro: any cracked foundation that appears structural, worsening, or accompanied by sagging floors should be inspected by a qualified structural professional and—often—a drainage specialist.
Home repairs are easiest when you focus on early detection, basic safe fixes, and regular maintenance. Start with a seasonal check of plumbing leak points, electrical safety signals (including GFCI behavior), HVAC airflow basics, and exterior drainage after storms. Then tackle small items immediately—because the cheapest repairs are usually the ones you make before water intrusion, overheating, or restricted airflow compounds the damage. When safety is uncertain or damage looks major, call a qualified professional and prioritize correct diagnostics over shortcuts.
Frequently Asked Questions
What home repairs should every homeowner prioritize first?
Start with safety-critical repairs like fixing electrical issues, addressing water leaks, and correcting damaged garage doors or entry locks. Then move to systems that prevent bigger damage, such as maintaining gutters/downspouts, replacing failing HVAC components, and repairing roof leaks early. A quick seasonal inspection can help you catch small issues—like cracked caulk or loose siding—before they turn into expensive home repairs.
How do I know whether a repair is DIY or needs a professional?
If the issue involves electrical wiring, structural movement, major plumbing rerouting, or roof work at height, it’s usually best to hire a licensed pro. For DIY-friendly repairs, look for problems that you can access safely and that don’t require permits or specialized tools, such as replacing outlet covers, resealing windows, or patching drywall. When in doubt, get a professional inspection—this can cost less than correcting an improperly completed repair.
Why do small leaks turn into major home repairs?
Even a pinhole leak under a sink, around a toilet, or through a window frame can lead to hidden water damage, mold growth, and rotting materials behind walls. Water can travel along framing and insulation, so the visible stain may be far from the real source. Fixing leaks quickly prevents moisture buildup and reduces the risk of costly repairs to drywall, subfloors, and electrical components.
What are the best quick fixes for common household problems?
For minor cracks, weatherstripping replacement and fresh exterior caulk are often fast ways to improve drafts and water resistance. Clogged drains can be addressed with basic cleaning tools first—like a plunger or drain snake—before chemicals, which may worsen certain blockages. For squeaky doors or sticking windows, tightening hinges and cleaning tracks can resolve many issues, helping homeowners maintain a well-functioning home without major disruption.
Which seasonal maintenance repairs help prevent expensive problems?
In spring and fall, clean gutters and check downspouts to reduce roof and foundation water issues, and inspect caulking around windows and doors for gaps. In summer, test HVAC performance and replace filters regularly to support energy efficiency and prevent system breakdowns. In winter, seal air leaks, check insulation, and look for ice-dam risks on the roof—these steps can significantly reduce the likelihood of emergency home repairs.
📅 Last Updated: July 05, 2026 | Topic: Home Repairs Every Homeowner Should Know | Content verified for accuracy and freshness.
References
- Home repair
https://en.wikipedia.org/wiki/Home_maintenance - https://www.cdc.gov/mold/default.htm
https://www.cdc.gov/mold/default.htm - Lead Renovation, Repair and Painting Program | US EPA
https://www.epa.gov/lead/renovation-repair-and-painting-program - https://www.energy.gov/energysaver/weatherization
https://www.energy.gov/energysaver/weatherization - https://www.energy.gov/energysaver/insulation/attic-insulation
https://www.energy.gov/energysaver/insulation/attic-insulation - https://www.fema.gov/disaster/recover/after-disaster
https://www.fema.gov/disaster/recover/after-disaster - https://www.cpsc.gov/Safety-Education/safety-topics/electrical-safety
https://www.cpsc.gov/Safety-Education/safety-topics/electrical-safety - Google Scholar Google Scholar
https://scholar.google.com/scholar?q=home+maintenance+repair+checklist+guidance - Google Scholar Google Scholar
https://scholar.google.com/scholar?q=home+repair+safety+hazard+prevention+injury - https://pubmed.ncbi.nlm.nih.gov/?term=home+maintenance+injury+prevention
https://pubmed.ncbi.nlm.nih.gov/?term=home+maintenance+injury+prevention



