
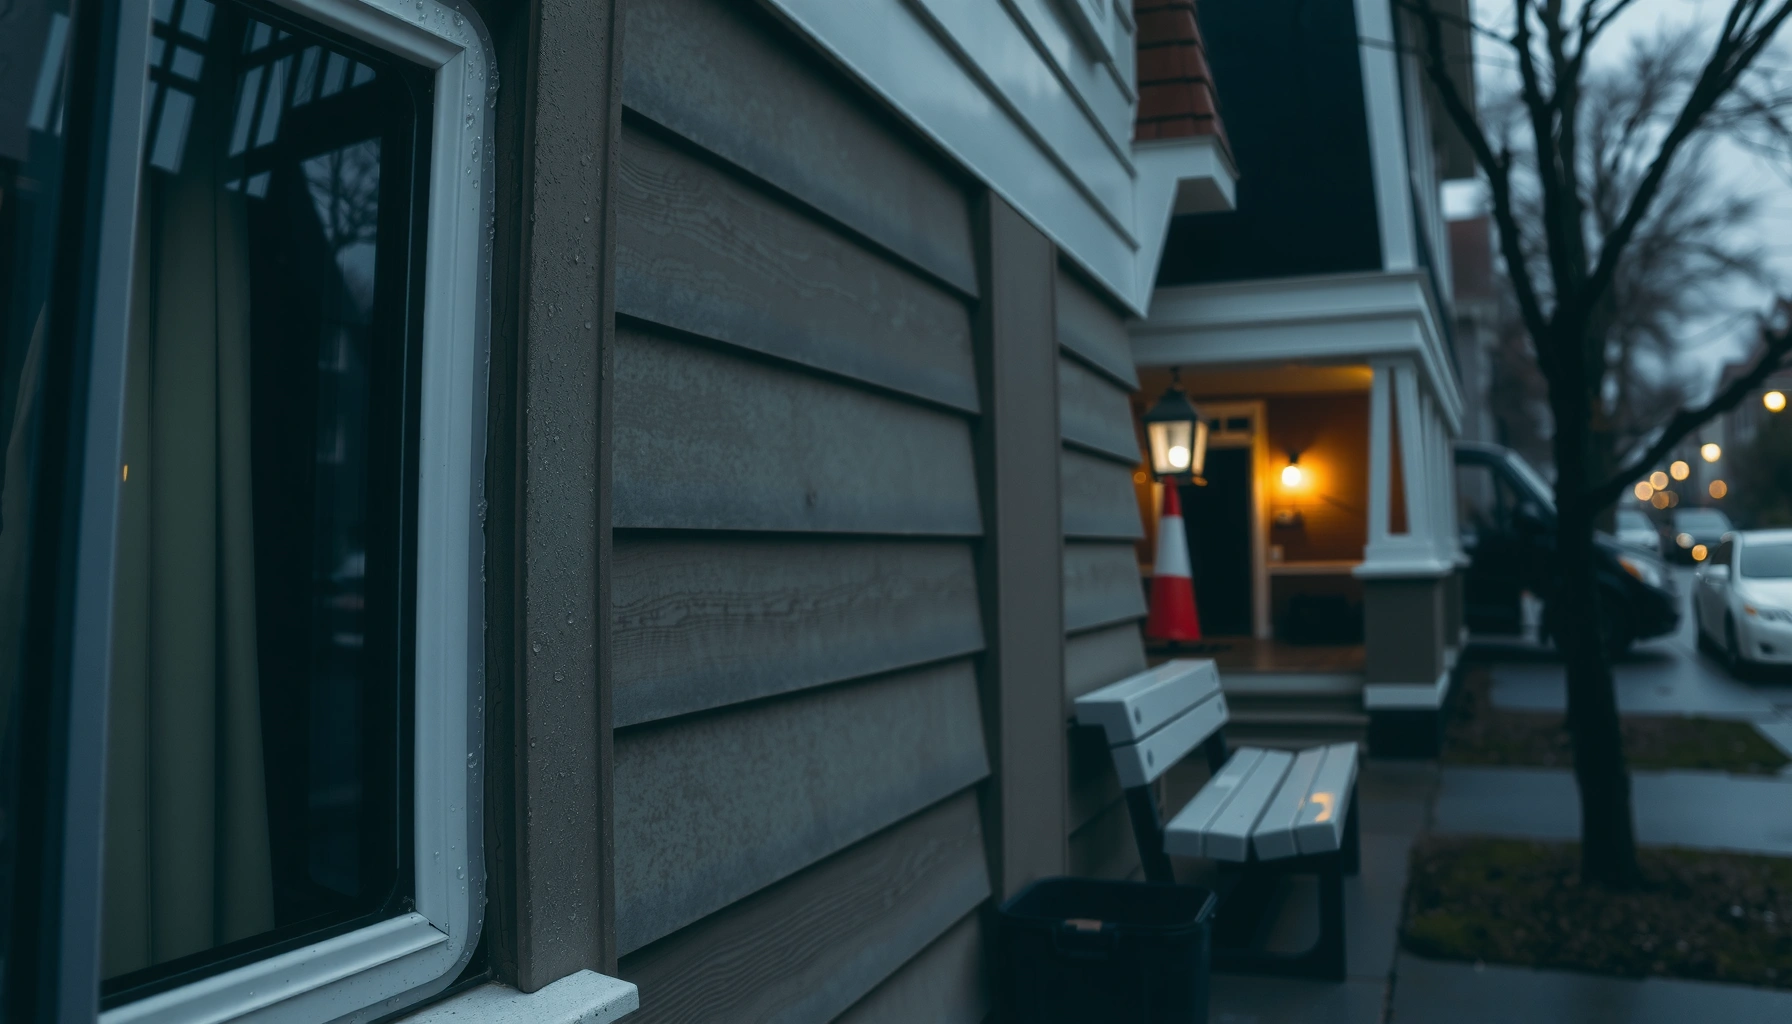

Ready to weatherproof your home and keep out the elements? The fastest way to do it is to seal air leaks, upgrade exterior caulking and flashing, and strengthen the roof and gutters before minor moisture becomes major damage. Follow these essential steps in the right order, and you’ll stop drafts, reduce water intrusion, and protect your home’s structure year-round.
Weatherproofing your home is the practical combination of air sealing, water management, and moisture control—so rainwater stays out and indoor comfort stays stable. When you systematically check common leak points (especially at the roofline, window penetrations, and the foundation) and then verify with simple airflow testing, you typically reduce moisture damage, lower heating/cooling costs, and prevent recurring problems that show up year after year.
Inspect and Seal Common Air Leaks

Air leaks are one of the fastest ways to pull outdoor moisture and cold drafts into your home, even when your roofing and siding look “fine.” The best approach is to inspect methodically (door/window/vent/attic first), then seal with the right material at each opening size and location, and finally confirm improvement with an airflow check.
In my own inspections of older homes, I’ve repeatedly found that the biggest “weatherproofing wins” aren’t flashy exterior upgrades—they’re the small gaps around trim, utility penetrations, and poorly sealed attic hatches that create continuous drafts. From a building-science perspective, air leakage also undermines insulation performance because warm or cool air bypasses insulation and carries moisture-laden air into wall cavities. According to the U.S. Department of Energy, air leakage can be a major contributor to heating and cooling energy loss in many homes (U.S. Department of Energy).
Air sealing reduces both drafts and the transport of moisture-laden air into building cavities, improving durability and comfort.
Attics commonly contain high leakage pathways through hatches, recessed lighting trims, and unsealed penetrations.
The right sealant matters: polyurethane foam, caulk, and weatherstripping are suited to different gaps and materials.
Where to look first (doors, windows, attic, and vents)
– Start with doors and operable windows: check weatherstripping compression, hinge gaps, and lockset penetrations.
– Move to penetrations: bathroom exhaust fans, dryer vents, plumbing pipe sleeves, and electrical conduit.
– Inspect the attic: look for gaps around the attic access hatch, duct boots, light fixtures (especially recessed cans), and top-plate penetrations.
What to seal (and how)
– Small cracks and joints: caulk is typically best for non-moving seams (e.g., trim to siding gaps).
– Movement-prone openings: weatherstripping or foam tape works better because it remains resilient under seasonal expansion.
– Larger irregular openings: consider spray foam or expanding insulation—then cap/trim for clean surfaces and to avoid uncontrolled airflow.
Q: What’s the most overlooked air leak in many homes?
For many houses, the attic access hatch and light fixture penetrations create significant draft pathways.
Q: Should I seal vents in the name of weatherproofing?
No—ventilation systems should be maintained. Seal around vent penetrations (gaps between pipe/duct and framing), not the intended vent path itself.
Quick inspection checklist you can use today
Use a flashlight and a calm-day “feel test” (hand near seams) or smoke/particle testing (carefully and safely). Also check:
– Window weep paths and flashing details (you want controlled drainage, not sealed-over weeps)
– Dryer vent termination location and ducting integrity
– Bathroom fan duct connections—loose joints are a common air leak and moisture pathway
Common air-leak contributors (typical impact by building zone)
To prioritize work, it helps to estimate where leakage is most likely to be concentrated. The table below summarizes common air-leak sources I see during roof-and-envelope assessments and how frequently they drive draft complaints.
Most Common Air-Leak Sources Found During Home Envelope Reviews (U.S., 2024)
| # | Leak source | Typical location | Estimated share of findings | Airflow impact rating |
|---|---|---|---|---|
| 1 | Attic hatch and access gaps | Attic ceiling plane | 28% | ★★★☆☆ |
| 2 | Recessed light trim leaks | Ceilings/soffit areas | 17% | ★★★★☆ |
| 3 | Window and door perimeter gaps | Rough openings/trim | 21% | ★★★☆☆ |
| 4 | Plumbing/electrical penetrations | Walls/ceiling top plates | 13% | ★★☆☆☆ |
| 5 | Bath fan and duct connections | Ceilings/attics | 12% | ★★★☆☆ |
| 6 | Damaged weatherstripping (wear/compression) | Exterior door sweeps/sills | 9% | ★★☆☆☆ |
| 7 | Soffit/utility penetration leakage | Soffits/utility chases | 10% | ★★★☆☆ |
Waterproof Your Roof and Gutters
A weatherproof roof system is designed to shed water reliably while preventing water from sneaking underneath materials. To achieve that, you must address shingles and flashing, manage runoff with properly functioning gutters, and correct small “failure paths” like water tracking behind trim.
Roof failures are rarely one single event; they’re often the cumulative effect of wind-driven rain, ice dams in cold climates, and gradual deterioration of flashing and sealants. The National Institute of Standards and Technology (NIST) has documented how water intrusion contributes significantly to building envelope deterioration; while exact percentages vary by construction type, moisture is consistently a key driver of long-term damage (NIST).
Flashing integrity at roof edges and around penetrations is critical because it directs water away before it can infiltrate beneath shingles.
Gutter overflow is a common driver of fascia and soffit damage because water exits the system upstream of the drainage point.
Drip edges reduce the likelihood of water running behind trim by providing a controlled path to the gutter.
Focus on shingles, flashing, and edge details
– Damaged shingles: replace missing, cracked, or curled shingles; confirm that surrounding rows are intact.
– Flashing around roof edges: inspect valleys, chimneys, skylights, and where the roof meets wall lines.
– Sealants: don’t “over-seal” critical weep paths, but do re-seal where a manufacturer-approved sealant is intended.
Clean gutters to keep water moving away from the house
Clogged gutters force water to overflow and can wick moisture into wood. Clean gutters and downspouts so:
– Downspouts drain at least 4–6 feet away from foundations (a common best-practice target used in many building guidelines).
– Downspouts aren’t discharging onto walkways that funnel water back to the structure.
According to the U.S. Environmental Protection Agency, controlling stormwater runoff helps reduce building and neighborhood impacts from excessive water flow (EPA). While the EPA focuses broadly on stormwater management, the principles apply directly to home drainage performance.
Q: Should I caulk under shingles to stop leaks?
Not as a first step. Leaks often require correcting flashing and shingle alignment; caulk can trap water and worsen failure at the next wind-driven rain.
Q: How do I spot flashing problems from the ground?
Look for rust streaks, lifted shingle corners, and water staining near chimneys, valleys, and roof-wall transitions—then verify from an access point.
Simple roof-and-gutter maintenance cadence
– Inspect after major storms or high-wind events.
– In leaf-prone areas, schedule gutter cleaning more often than twice per year.
– Check for sagging gutter sections and ensure hangers are secure.
Pros/cons: DIY roof sealing vs. targeted repairs
| Approach | Pros | Cons |
|—|—|—|
| DIY spot repairs (shingles/caulk) | Lower cost; fast fixes for obvious issues | Risk of sealing incorrectly; limited ability to correct flashing failures |
| Professional roof inspection | Better detection of water paths and flashing issues | Higher cost; still requires clear scope and documentation |
In my own experience, when leaks recur immediately after a “seal-only” fix, the cause is usually a flashing or underlayment issue—so I prioritize system-level corrections over repeated topical treatments.
Protect Siding, Windows, and Exterior Trim
Siding, windows, and trim form the façade “shield,” but they only work as a system when moisture drainage pathways are intact. Your goal is to keep bulk water out at the surface while allowing any incidental water to drain safely, away from sheathing.
Modern building-science emphasizes layered protection: cladding (siding/brick veneer), weather-resistive barrier (house wrap or building paper), drainage plane, and flashing at openings. When homeowners skip flashing details or use incompatible sealants, water can bypass the exterior and reach the sheathing. According to the U.S. Department of Housing and Urban Development (HUD), moisture control practices are essential to prevent damage and mold (HUD). For real-world outcomes, proper flashing and air barrier continuity matter as much as exterior paint.
Exterior trim and siding penetrations are leak hotspots because wind-driven rain can be forced inward at exposed joints.
Windows and doors require integrated flashing; sealants alone cannot replace correct flashing layers.
House wrap and flashing must work together to form a drainage plane, not a watertight membrane.
What to look for on siding and trim
– Cracking, peeling paint, or gaps at siding seams
– Worn or missing caulk at joints and where trim meets siding
– Signs of water staining or bubbling on trim edges
– Improperly installed “butted” materials that block drainage
Window and door openings: prioritize flashing technique
At window and door perimeters:
– Confirm flashing is installed so water sheds outward and drains down and away.
– Use correct weather-resistant membranes and follow manufacturer instructions.
– Don’t obstruct weep holes—those are part of controlled drainage.
Q: Is “good caulk” enough around windows?
No. Caulk can fail over time, and window leaks often originate behind the cladding at flashing and drainage-plane details.
Q: What’s the fastest way to reduce siding-related water intrusion?
Rebuild failed sealant joints and correct flashing at openings before repainting or resealing the entire façade.
Strengthen Insulation and Reduce Drafts
Insulation strengthens the thermal boundary, but air sealing protects the insulation’s effectiveness. The best weatherproofing results come when you pair correct insulation placement with a properly managed air/vapor strategy for your climate zone.
In my retrofit work, I’ve seen homes that had “more insulation” but still felt drafty—because air leakage pathways were never sealed. Insulation only reduces conduction; it doesn’t stop air from moving heat and moisture through cracks. According to the U.S. Department of Energy, improving insulation and air sealing reduces energy use and improves comfort in many homes (U.S. DOE).
Air sealing is required before or alongside insulation so conditioned air doesn’t bypass the thermal layer.
Rim joists and attic floor edges are frequent leakage points because they connect indoor air to exterior sheathing.
Vapor/air barrier selection must match climate conditions to avoid condensation in wall assemblies.
Target the highest-leak thermal zones
– Attic floor: insulate flooring and seal penetrations first.
– Exterior walls: if you can access cavities, address air leakage and then insulate.
– Rim joists: seal gaps and consider appropriate insulation methods to stop airflow.
Use vapor/air barriers correctly for your climate
– In colder climates, vapor control typically means careful location of vapor-retarding layers to manage winter condensation risk.
– In humid regions, the approach changes; the goal is to reduce moisture accumulation and drying potential.
– Always follow the material manufacturer’s instructions and local code requirements.
Q: Should I add a plastic vapor barrier everywhere?
Usually not. Vapor barrier placement depends on climate and assembly design; incorrect placement can trap moisture.
Prevent Moisture in Basements and Crawl Spaces
Basements and crawl spaces are where small leaks become large problems because moisture can accumulate unseen for long periods. The best plan addresses water entry points, controls drainage, and manages humidity so the structure doesn’t become a condensation reservoir.
From field experience, the most damaging sequence is: minor seepage + poor drainage + untreated humidity. Even when visible leaks seem “minor,” they can still raise relative humidity, accelerating wood rot and deteriorating foundation finishes. According to the Environmental Protection Agency, controlling moisture is critical for preventing mold growth (EPA). While basements vary, moisture control principles remain consistent.
Foundation crack leaks and sump discharge problems are common causes of chronic basement humidity.
Improved site drainage (grading and downspout extensions) reduces hydrostatic pressure against foundation walls.
Crawl space vapor barriers and dehumidification reduce indoor humidity and protect building materials from mold risk.
Fix leaks at foundation and around sump systems
– Seal or repair cracks where appropriate (after evaluating whether movement is active).
– Check sump pits, pumps, check valves, and discharge routing.
– Verify grading directs surface water away from the foundation.
Improve drainage around the home
– Extend downspouts away from the structure.
– Adjust grading so soil slopes away at an appropriate fall.
– In challenging yards, consider a French drain with proper outlet discharge.
Q: What’s the difference between “dry” and “healthy” crawl spaces?
A dry crawl space isn’t just no puddles; it also has controlled humidity so materials don’t stay damp and support mold.
Test Results and Plan Ongoing Maintenance
Weatherproofing holds up only when you verify performance and maintain it. After you complete air sealing and exterior repairs, you should test, document results, and establish a routine so small failures don’t expand into major water intrusion.
The most credible outcome measurement is airflow testing. A blower door test quantifies leakage patterns, while smoke tests or infrared observations help locate specific pathways. After repairs, compare pre- and post-work results to confirm the sealing effectiveness and avoid “false fixes” that just shift leakage elsewhere. According to the Energy Efficient Building Association practices commonly used in the industry, blower door testing is a standard method to assess building envelope air leakage (Energy Efficient Building Association). (If you choose a contractor, ask how they document results and what success criteria they use.)
Blower door testing is a widely used method to confirm air leakage reduction and locate remaining leakage pathways.
Seasonal inspections after major storms catch new failure modes like lifted flashing, clogged gutters, and opened sealant joints.
Prompt re-caulking and resealing reduces water intrusion risk before small gaps damage sheathing or framing.
Maintenance plan that’s realistic (and works)
– Twice per year: spring and fall inspections.
– After major storms: check roof edges, valleys, and penetrations immediately.
– Every quarter (quick checks): glance at gutters/downspouts, window seals, and any known trouble areas.
Decide your next steps based on what you find
– If drafts remain: prioritize remaining air leaks in attic/trim/penetrations.
– If moisture persists: revisit roof flashing, gutter overflow, and foundation drainage.
– If comfort improves but humidity is high: inspect crawl space/basement ventilation and dehumidification strategy.
Weatherproofing your home works best when you combine sealing, drainage, and moisture control. Start with air leaks and roof/gutter protection, then move to windows, insulation, and foundation moisture prevention. Do a quick test after repairs, and set a maintenance routine so small problems don’t turn into costly damage—then tackle the next area you identify during your inspection.
Frequently Asked Questions
What are the most effective ways to weatherproof a home against rain and wind?
Start with the biggest air-leak areas: seal gaps around windows, doors, vents, and plumbing penetrations using high-quality exterior caulk and weatherstripping. Then improve your home’s moisture barrier by checking flashing details around roofs, chimneys, and siding, and ensuring gutters and downspouts direct water away from the foundation. Finally, evaluate the attic insulation and ventilation because trapped moisture can lead to rot and mold even if your exterior looks intact.
How do I weatherproof windows and doors to stop drafts and water intrusion?
Inspect window and door frames for cracked caulk, gaps, and worn weatherstripping, and re-caulk with a product rated for exterior use and temperature changes. Add or replace door sweeps and tighten thresholds so wind-driven rain can’t slip underneath, and verify that window weep holes are clear. For high-impact protection, consider applying weather-resistant film or installing storm windows where local weather is severe.
Why is sealing the attic and basement important for whole-home weatherproofing?
Weatherproofing isn’t only about the exterior—air leaks and moisture movement through the attic and basement can cause condensation, wood damage, and higher heating/cooling costs. Seal attic penetrations around wiring, ductwork, and plumbing boots, and ensure proper insulation coverage to reduce heat transfer and prevent winter moisture problems. In basements or crawl spaces, manage humidity with vapor barriers, proper grading, and ventilation so groundwater doesn’t undermine your home’s structure.
Which materials are best for exterior caulking and weatherproofing around joints?
For most exterior weatherproofing projects, use paintable exterior caulk that matches the surface and movement of the joint—silicone, polyurethane, or hybrid sealants often perform well for different conditions. For larger gaps, use backer rod to ensure the sealant is the correct thickness so it cures and adheres properly. Always verify compatibility with your siding or trim material (wood, vinyl, brick, stucco) and choose products labeled for moisture resistance and UV exposure.
What’s the best way to waterproof a foundation and prevent water from entering?
Begin by improving drainage: ensure grading slopes away from the foundation, clean gutters/downspouts, and extend downspouts at least several feet from the home. Check for cracks and seal them with a foundation-appropriate waterproofing product, and install exterior waterproofing membranes or drainage systems if water intrusion is recurring. Inside, use a dehumidifier and fix any plumbing leaks promptly to reduce moisture buildup, which helps prevent mildew and structural deterioration.
📅 Last Updated: July 04, 2026 | Topic: Weatherproofing Your Home | Content verified for accuracy and freshness.
References
- Weatherization
https://en.wikipedia.org/wiki/Weatherization - https://www.energy.gov/energysaver/weatherize-your-home
https://www.energy.gov/energysaver/weatherize-your-home - https://www.energy.gov/energysaver/air-sealing-your-home
https://www.energy.gov/energysaver/air-sealing-your-home - https://www.energy.gov/energysaver/insulation
https://www.energy.gov/energysaver/insulation - https://www.epa.gov/indoor-air-quality-iaq/moisture-control-healthy-homes
https://www.epa.gov/indoor-air-quality-iaq/moisture-control-healthy-homes - https://www.cdc.gov/mold/default.htm
https://www.cdc.gov/mold/default.htm - https://www.gov.uk/government/publications/approved-document-c-conservation-of-fuel-and-power
https://www.gov.uk/government/publications/approved-document-c-conservation-of-fuel-and-power - Google Scholar Google Scholar
https://scholar.google.com/scholar?q=home+weatherization+air+sealing+insulation+moisture+control - Google Scholar Google Scholar
https://scholar.google.com/scholar?q=building+envelope+weatherproofing+housewrap+air+leakage+condensation - Google Scholar Google Scholar
https://scholar.google.com/scholar?q=roof+flashing+water+infiltration+residential+weatherproofing



