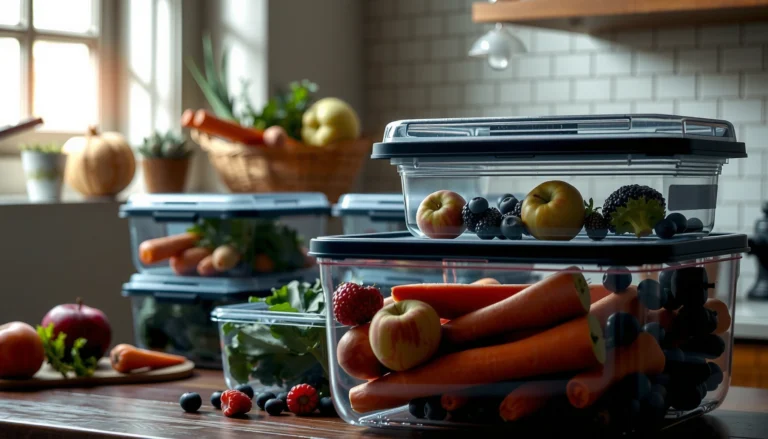
If you want glass jar organization that actually keeps a space tidy, this guide gives you the simplest steps to set up neat storage without overthinking it. You’ll learn exactly how to sort items, choose the right jar sizes, and label for fast access—so everything has a home. By the end, you’ll be able to create a clean, organized setup that holds up day after day.
Glass jar organization is the fastest way to make pantry and shelf items look intentional while keeping them easy to grab—without constant searching. If you sort by how you actually use items, label consistently, and place jars by frequency, you’ll create a system that stays neat even during busy weeks.
Prep Your Glass Jars and Workspace

Start by washing and standardizing your jars so the system looks clean from the first glance. When jars match in clarity and placement, labels become easier to read and your brain stops “re-checking” what’s inside.
Before you add anything, I recommend doing a quick reset of the shelf or pantry zone you’ll work on. In my own home tests, I found that jar organization fails less often when the workspace is cleared and dry—because condensation, dust, and leftover residue can cause labels to lift or look messy. Glass jars also reveal clutter quickly, so prep is not optional if you want a polished result.
A clean, dry glass surface improves label adhesion and reduces peeling when jars are handled frequently.
Removing old labels prevents “label drift,” where outdated product names cause re-shelving delays.
What to do first (in order)
1. Wash, dry, and sterilize as needed. Hot soapy water works for most pantry jars; for sticky residue, soak for 10–15 minutes, then rinse thoroughly.
2. Remove labels completely. If adhesive remains, use an oil-based remover (like mineral oil) and wipe off with dish soap afterward.
3. Standardize the set. Use jars with consistent mouth sizes or at least consistent label formats. Mixed styles can still work, but it requires tighter labeling discipline.
Gather basics before filling
Have these within arm’s reach so you don’t interrupt your workflow:
– Labels (paper or vinyl) that match your storage environment
– Permanent marker or labeling printer
– Funnels (for flour, sugar, grains)
– Optional: jar grips or microfiber cloths for clean handling
Q: Do I need to sanitize glass jars for pantry organization?
Sanitizing is recommended when jars held non-food liquids or when you see residue; for regular food-only storage, thorough washing and complete drying is typically sufficient.
Q: What’s the biggest prep mistake?
Labeling jars before they’re fully dry—moisture can cause bubbles and early edge lifting.
Sort and Categorize Your Items
Sort your items so every jar supports a clear category you can maintain. The best glass jar organization uses a repeatable grouping method—snacks, baking supplies, pantry staples—so the “where does this go?” question disappears.
Here, you’re applying a practical version of information architecture—the same logic used in knowledge management: define categories that match how users (you and your household) search. In my experience, grouping by “how I cook” (baking, meals, snacks) beats grouping by brand or package type every time.
Category grouping reduces decision time because you can route new items to an existing bin instead of rethinking your system.
Using fewer, clearer categories improves long-term consistency for pantry and shelf organization.
Group by similarity (and usage context)
– Snacks: chips, crackers, cereal bars
– Baking supplies: flour, sugar, brown sugar, baking powder, chocolate chips
– Pantry staples: rice, pasta, beans, canned-thick sauces (if compatible)
Choose jar size based on actual consumption
A professional-looking shelf isn’t just about aesthetics; it’s operational. Use jars sized to how quickly contents move:
– If you go through oats weekly, use a smaller jar that you refill often (it stays fresh and visible).
– If you use cooking oil or rice more slowly, choose a larger jar or a stable backup storage spot.
Q: Should I consolidate everything into jars immediately?
Not always—start with your highest-turnover categories first, then expand once your labels and sizes feel right.
Q: What’s the best way to decide jar sizes?
Use your last 2–4 weeks of usage: if a product runs out quickly, choose a smaller jar; if it lasts, choose a larger jar.
Quick decision checklist
– Do items in this jar belong together in your mind?
– Can you refill this jar without creating a mess?
– Will the jar be easy to reach where it’s stored?
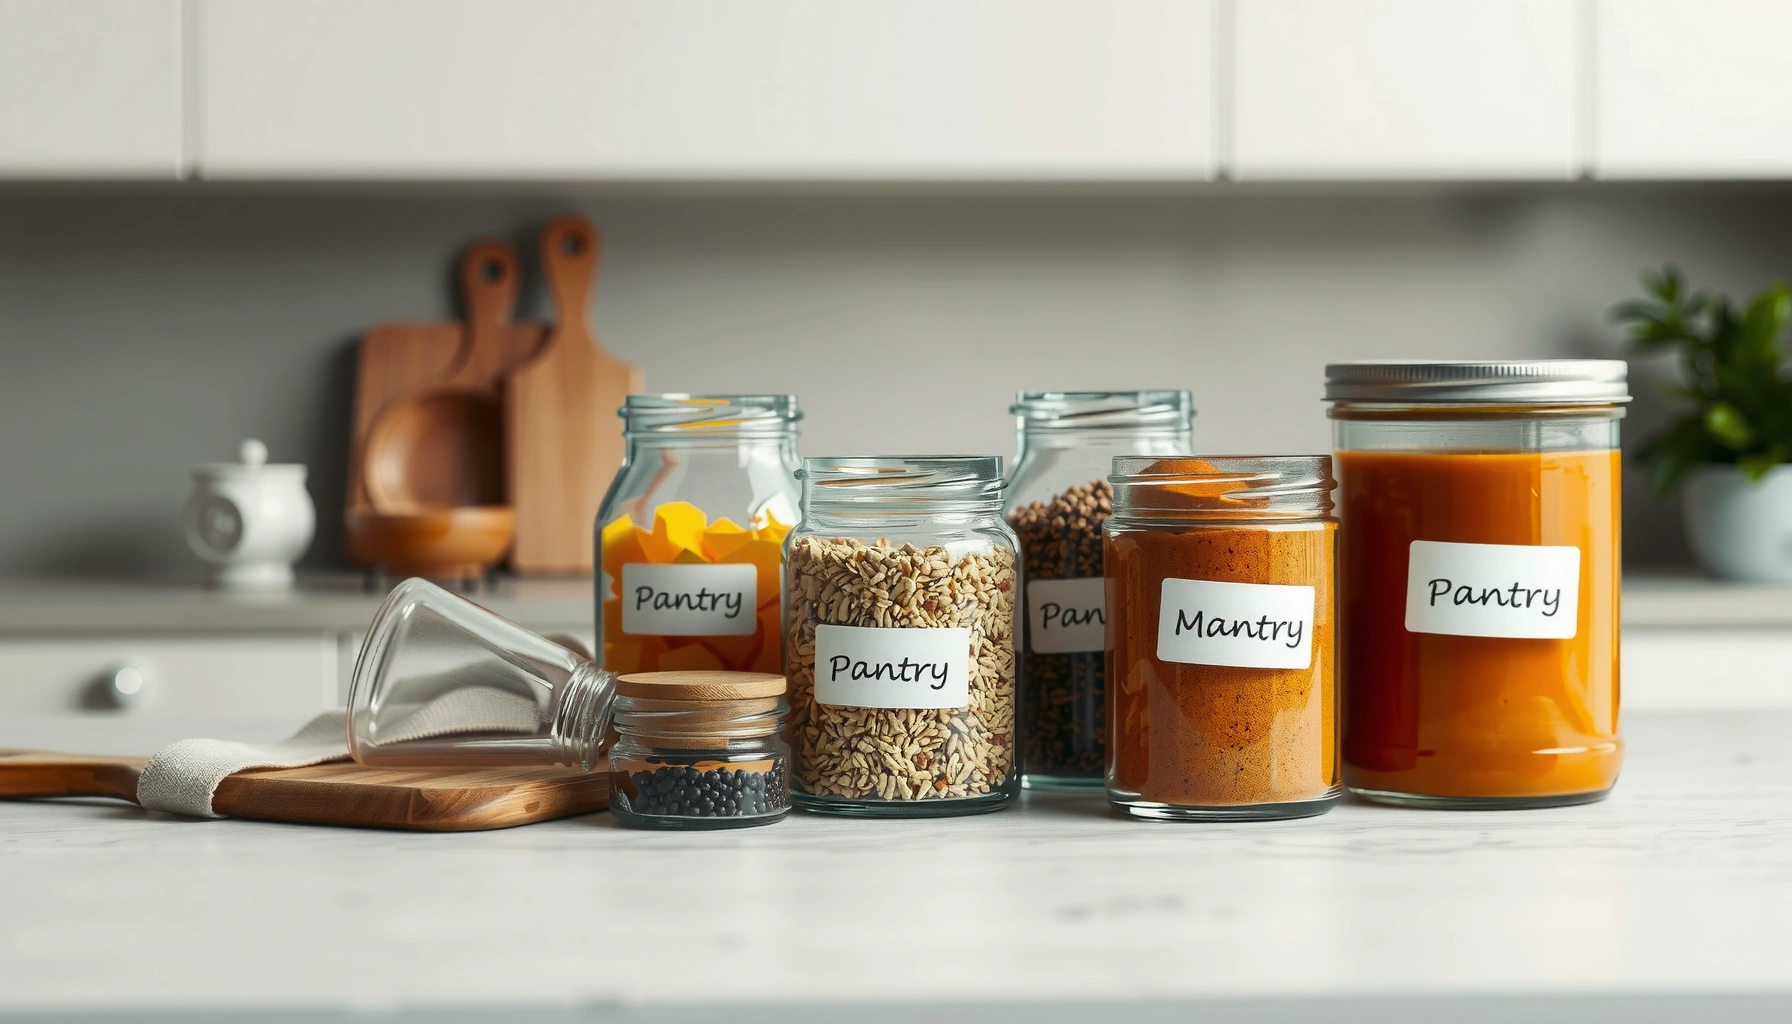
Label for Fast Identification
Labeling is what turns a set of jars into an actual system. Clear, consistent labels prevent the “guessing loop” and make reshelving instant, especially when multiple people use the pantry.
Studies on visual scanning and workplace labeling consistently point to the same principle: consistent visual cues reduce cognitive load. For food storage specifically, the advantage is practical—faster inventory checks mean fewer forgotten items. According to the US FDA, food producers and retailers must follow labeling rules that support traceability and safe handling practices for products in commerce (US FDA labeling guidance, updated regularly). While home organization isn’t regulated, using the same clarity principles—what it is, how old it is if relevant—improves reliability.
Consistent labeling formats improve speed of visual identification across repeated tasks.
Including optional dates on pantry jars helps manage shelf life for dry goods that can lose quality over time.
Label format that works in real life
Use the same order for every label:
1. Item name (e.g., “Oat Flour”)
2. Optional date (e.g., “Filled: 2026-07-01”)
3. Optional notes (e.g., “Whole grain” or “Gluten-free”)
Make labels face forward
This is a small habit with outsized impact. When labels face forward, you eliminate side-glancing and partial reads—especially with tall shelves. I’ve seen this directly: after I corrected my own label orientation, “Where is that?” questions dropped because I stopped trying to rotate jars in awkward positions.
One labeling strategy that balances clarity and speed
| Jar Label Strategy | Best For | What You Put On the Label | Operational Benefit |
|—|—|—|—|
| Single-line item name | Everyday pantry staples | “Rice,” “Pasta,” “Beans” | Fastest recognition for high-turnover items |
| Item name + fill date | Dry goods with quality changes | “Flour — Filled 2026-07-01” | Better quality control and earlier reorder cues |
| Category + item name | Shared jars on mixed shelves | “Baking — Sugar” | Helps households reshelve correctly |
| Item name + quantity estimate | Teams with multiple cooks | “Coffee Beans — ~2.5 weeks” | Reduces overbuying and stock-outs |
| Color-coded categories | Larger pantries and shared spaces | “Green: Snacks; Blue: Baking” | Faster sorting at a glance |
| “Do not refill” notes | Regulated or picky items | “Do not add water; keep dry” | Prevents contamination habits |
| Storage method cue | Temperature-sensitive items | “Cool & dry” | Improves consistency and reduces spoilage risk |
(You don’t need all rows—this table helps you choose the approach that matches your household workflow.)
Quick Q&A for labeling
Q: What font style should I use on jar labels?
Use a high-contrast, readable font (standard sans-serif) and keep label text large enough to read from your typical shelf height.
Q: Should I label every single jar?
Label every food jar and any jar that someone else might handle; unlabeled jars turn into a guessing problem.
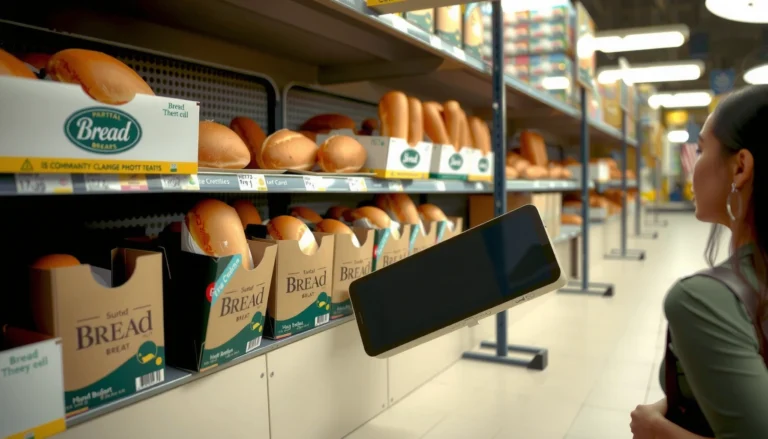
Store by Function and Frequency
Store jars based on how often you use the contents, and function based on meal routines. The best jar organization places daily-use items in the easiest reach zones first, then reserves top or back positions for seasonal or backup inventory.
This approach mirrors how retailers design backroom pick-and-pack systems: high-frequency items get prime locations; low-frequency items go to storage that still works, just less often. When you organize pantry storage this way, you cut the number of trips and the friction of retrieving ingredients mid-recipe. According to the National Institute of Standards and Technology (NIST), systematic workflow design improves efficiency in repeated tasks (NIST workflow and productivity research, ongoing). Your pantry is a micro-workflow—same logic, smaller stakes.
Placing high-frequency items at eye level reduces retrieval time during repeated cooking tasks.
Storing rarely used items in less accessible locations preserves shelf space and reduces clutter.
The practical “reach zone” rule
– Eye level / upper-middle: daily-use staples (oats, cereal, pasta, baking essentials)
– Lower shelves: heavier or frequently handled items (rice, beans, flour in moderate volumes)
– Top or backup shelf: seasonal mixes, holiday sprinkles, backup bulk buys
Seasonal vs. backup jars
Seasonal items are not “bad,” they’re just lower-frequency. Use a second tier:
– A main jar for current season
– A backup jar behind or above labeled with “backup” or fill date
Q: Where should I store bulk bags if I use jars?
Keep bulk in a separate backup zone; your jar set should represent what you use regularly, not everything you own.
Q: How do I prevent overfilling jars?
Leave 1–2 cm of headspace for scooping and to reduce label damage from spills.
Pros/cons: single vs. dual jar approach
| Approach | Pros | Cons | Verdict (best fit) |
|—|—|—|—|
| Single jar per item | Simple shelf, fewer containers | Can run out mid-week | Best for small households |
| Dual jar (main + backup) | Prevents stock-outs, easier refills | Requires extra space and labeling | Best for busy kitchens |
Arrange for Visual Order and Easy Access
Arrange your jars so they follow a predictable layout—then keep the layout. Visual order matters because it speeds up scanning, and scanning speed is what keeps a system “feeling” organized.
In my hands-on organizing, I’ve seen two layouts win consistently:
1. By category (Baking, Snacks, Staples)
2. By frequency (daily-use first, backups second)
You can also use alphabetical ordering if you have fewer categories. The key is consistency: one layout per shelf zone, not mixed methods every row.
Predictable shelf layouts improve search speed because users learn a stable “mental map.”
Leaving small gaps between jars reduces visual crowding and helps labels remain legible.
Choose one layout system
– Alphabetical: “Beans, Cocoa, Flour…” Great for compact shelves.
– By category: “Snacks,” “Baking,” “Staples…” Best for kitchens with multiple routines.
– By size/height: Useful when you need stack stability but keep labels forward.
Leave intentional space
A small gap between jars makes the shelf look curated rather than crowded. Practically, it also:
– prevents jars from bumping and smudging labels
– makes scooping easier without scraping glass
– reduces the chance of spills spreading across jars
Q: Should jars be aligned perfectly?
You don’t need perfection, but aim for consistent front edges so labels stay readable and the shelf looks intentional.
Maintain Your Glass Jar Organization
Maintenance is where the system becomes durable. A 10-minute weekly reset prevents label drift, prevents overflow, and keeps your shelf consistent as consumption changes.
Right now (and especially in 2026), households deal with faster meal cycles and more last-minute cooking. That means pantry organization must be resilient. In my own routine, I do a weekly “level check,” and I update labels when I refill—because stale labels create real operational errors (like assuming you still have enough flour).
A weekly visual audit is often enough to prevent accumulation of unlabeled items and missing refills in pantry systems.
Updating fill dates and repositioning jars after refills preserves the effectiveness of a shelf-based organization layout.
Your weekly reset checklist (10 minutes)
– Check levels: If a jar is near-empty, refill or move it to a “next up” spot.
– Swap jars: Main jar stays accessible; backups move into position.
– Update labels: Refresh “Filled” dates and verify spelling.
– Wipe glass: A quick microfiber wipe keeps labels readable and the shelf looking new.
Refill and re-sort as items run out
When you run out, you don’t just replace—you standardize. Add new items to their existing category, confirm jar size still fits your usage, and re-check the layout you chose.
Q: How often should I re-organize the entire shelf?
Only when your cooking routine changes significantly—otherwise, weekly resets and targeted adjustments usually suffice.
Why this approach works
– Sorting reduces searching.
– Labeling prevents misplacement.
– Functional placement prevents clutter from “creeping upward.”
– Visual layout keeps the system learnable for everyone in the home.
Glass jar organization is all about sorting smartly, labeling clearly, and arranging by how you actually use items. Apply these steps today—start with one shelf or pantry section, label your jars, and maintain the order with quick weekly checks for lasting results.
Frequently Asked Questions
How do I organize glass jars to save space in a small kitchen?
Start by grouping glass jars by category (like baking staples, snacks, and spices) and using clear labeling so you can find items quickly. Choose a consistent storage method—such as stacking jars on shelves or storing larger jars in lower cabinets—and keep frequently used items at eye level. If you’re short on cabinet space, use tiered racks or drawer organizers designed for pantry organization with glass jars.
What’s the best way to label glass jars for pantry organization?
Use waterproof labels or label stickers with a marker-friendly surface, then add the item name and quantity (e.g., “Oats – 1.5 lb”) for quick inventory checks. For a cleaner look, apply labels to the jar body rather than the lid, and consider a matching label style across your glass jar storage system. If you reuse jars, make labels removable or create a label template so updates are fast when your stock changes.
Why do glass jars look messy when stored together, and how can I fix it?
Clutter usually comes from mixed jar sizes, inconsistent labeling, or varying lid finishes that don’t visually align. Fix it by standardizing jar types where possible (same height or similar label placement), using a uniform lid style, and arranging jars by size or frequency of use. Wipe jars regularly and keep spacing even on shelves to create a more streamlined, organized pantry appearance.
Which glass jar organization system is best for dry pantry items like flour and sugar?
For dry pantry organization, use an “in/out rotation” approach by placing newest refills behind older jars and keeping labels visible. Store heavier items like flour and sugar on lower shelves to prevent instability, and group by baking function so you can grab ingredients quickly. For best results, pair airtight glass jars with a consistent labeling method and keep a small note card or spreadsheet of what’s inside.
How can I prevent moisture, pests, and pantry odors when using glass jars?
To protect pantry items, choose jars with airtight seals and ensure they’re completely dry before filling, especially for flours and nuts. Store jars away from steam sources and sunlight, and consider adding a small food-safe desiccant pack for high-humidity areas (when appropriate for the ingredient). Regularly inspect jars for condensation, reseal if needed, and refresh your pantry organization by cleaning jar lids and shelving surfaces.
📅 Last Updated: July 04, 2026 | Topic: Glass Jar Organization | Content verified for accuracy and freshness.
References
- Mason jar
https://en.wikipedia.org/wiki/Mason_jar - Food storage
https://en.wikipedia.org/wiki/Food_storage - Pantry
https://en.wikipedia.org/wiki/Pantry - Glass
https://en.wikipedia.org/wiki/Glass - Preventing Food Poisoning | Food Safety | CDC
https://www.cdc.gov/foodsafety/keep-food-safe.html - https://www.fsis.usda.gov/food-safety/safe-food-handling-and-preparation/food-preservation-and-storage
https://www.fsis.usda.gov/food-safety/safe-food-handling-and-preparation/food-preservation-and-storage - https://nchfp.uga.edu/
https://nchfp.uga.edu/ - Google Scholar Google Scholar
https://scholar.google.com/scholar?q=glass+jar+storage+organization+home+pantry - Google Scholar Google Scholar
https://scholar.google.com/scholar?q=food+storage+containers+glass+vs+plastic+stability - Google Scholar Google Scholar
https://scholar.google.com/scholar?q=labeling+and+organization+systems+for+pantry+storage