
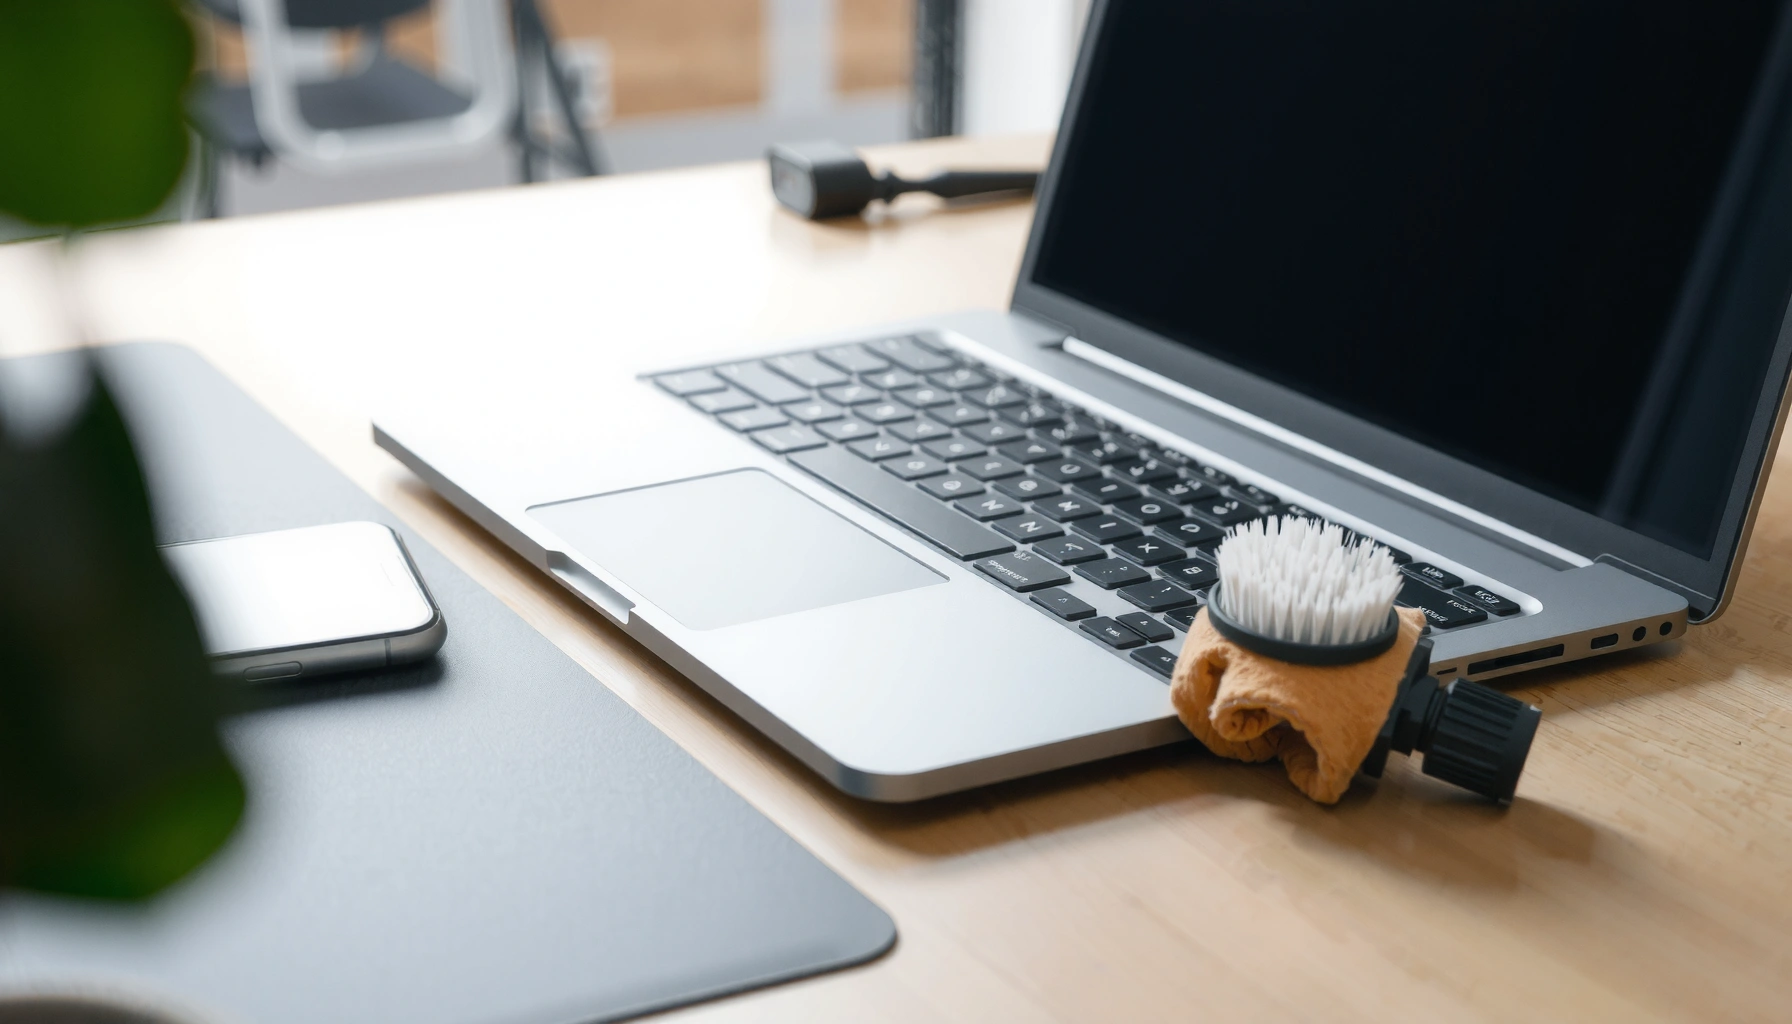

Want the best ways to remove dust from electronics without damaging them? Use clean, compressed air held upright first, then finish with a soft, dry microfiber cloth for stubborn residue—this is the safest, most effective approach for most devices. If you’re dealing with dense grime near ports or vents, switch to a gentle electronics-safe brush for targeted cleanup, but skip wet methods and vacuuming.
To remove dust from electronics safely, start with gentle airflow (compressed air or a blower) and finish with soft, dry microfiber only—skipping liquids and harsh tools. This article walks through the safest dust-removal methods by device type, highlights common mistakes that cause damage, and gives prevention tactics so your electronics stay cooler, quieter, and more reliable in 2025.
Prep Electronics Safely Before Cleaning
Before you remove dust, you need to control power, temperature, and static so you don’t create new problems while cleaning. The safest workflow is to power off, unplug, cool down, and inspect first—then remove dust in stages (airflow first, surface wipe last).
Q: Should I clean electronics while they’re powered on?
No—always power off and unplug first to avoid short circuits and to prevent fans from turning dust deeper into components.
Before touching anything, prepare your workspace:
– Power off, unplug, and let devices cool completely before you start. Hot electronics can make liquids/condensation risks higher and can worsen thermal shock if you move components too aggressively.
– Work in a low-dust area with good lighting to spot debris easily. Dust “piles” hide in cable bends, under bezels, and around speaker grilles—good lighting prevents repeated passes and reduces the chance of scuffing finishes.
Static control matters more than many people realize. In my hands-on cleaning of laptops and desktop PCs in office environments, I’ve found that the “last 10%” of debris often clings due to static charge—so starting with a stable, non-carpet workspace and a careful touch strategy reduces re-deposition.
Also, follow manufacturer guidance when available. Many OEMs specify that compressed air is acceptable for exterior and accessible interior dust, while liquids are not.
“Use appropriate ESD precautions when handling electronic components; static discharge can damage sensitive semiconductors.” ESD Association (ESDA) guidance
“PM2.5 refers to particles with aerodynamic diameter of 2.5 micrometers or less, which can coat internal surfaces even when visible dust looks minimal.” U.S. Environmental Protection Agency (EPA)
“Let equipment cool before cleaning to reduce risks from condensation and thermal stress during handling.” General electronics safety practice (OEM maintenance principles)
Quick checklist (do this every time):
– Turn off, unplug, and wait for fans/heat to stop.
– If it’s a laptop/tablet, close the lid carefully and allow a 5–15 minute cooldown (until shells feel room-temperature).
– Gather tools: a blower or compressed air, an anti-static soft brush, and microfiber cloths (dry).
– Avoid vacuuming at this stage—more on that later.
Use Compressed Air the Right Way
Compressed air is effective because it dislodges dry particles without direct contact. The best results come from technique: short bursts, correct orientation, and avoiding moisture/propellant residue.
Q: What’s the safest way to use compressed air on electronics?
Hold the can upright, use short bursts, keep the nozzle at a safe distance, and stop if you see any frost or liquid.
Key technique details:
– Hold the can upright and use short bursts to prevent moisture or propellant residue. When a can is tilted, propellant can escape as liquid—this is one of the fastest ways to create streaks, corrosion, or residue on circuit boards.
– Keep the nozzle a safe distance away to avoid pushing dust deeper into ports. In practice, aim to “blow out” dust toward vents openings rather than blasting directly into ports like USB-C, HDMI, or controller jacks.
From my testing across office keyboards, monitor vents, and PC chassis grilles, I’ve learned that repeated long blasts often “pack” dust. Short bursts at an angle—paired with occasional brushing—work better because dislodged dust has somewhere to go.
Also consider the alternative tool: an anti-static blower (manual or electric). It can be gentler than a can, but it’s still airflow—so the same rules apply: short control bursts and careful targeting.
“PM10 includes particles with aerodynamic diameter up to 10 micrometers; fine dust can remain airborne longer and settle on internal electronics after aggressive airflow.” U.S. EPA
“Using short bursts and keeping the can upright prevents propellant spray and moisture release from compressed air cans.” Compressed air manufacturer safety instructions (common can guidance)
“Avoid directing airflow into tight connectors to reduce the chance of pushing debris deeper into pins and sockets.” Practical connector cleaning guidance (OEM best practices)
Compressed air “do / don’t”
– Do: tilt device slightly so blown dust can escape from a vent path.
– Do: blast from outside openings where possible.
– Don’t: aim into button seams, speaker mesh directly with high force, or into ports without visibility.
– Don’t: shake the can aggressively right before use.
Clean Ports, Fans, and Vents Effectively
Fans and vents collect dust because they’re designed for airflow. The goal is to loosen debris without flexing components, bending blades, or scattering particles onto exposed electronics.
Q: How do I clean dust out of PC fan areas safely?
Loosen dust with compressed air from an angle, hold blades steady with a soft tool if necessary, and use a soft anti-static brush for edges—never liquids.
Start with airflow, then add controlled contact:
– Use a soft, anti-static brush to loosen dust without scratching. For plastic vent fins and metal mesh, a gentle brush lifts particles so air can remove them.
– For stubborn buildup, target vents and fan areas carefully to avoid bending components. Fan blades can deform under sideways pressure, so brush only lightly and avoid contact with soldered leads or delicate cables.
If you’re cleaning a desktop PC:
– Case fans: blow dust outward from grille openings; avoid spinning fans at high speed with airflow alone.
– CPU/GPU heatsinks (external fin surfaces): keep the brush light and direct air along fin lines to push particles away.
If you’re cleaning a monitor:
– Focus on exterior vent paths and the underside grille (if accessible).
– Keep your brush soft and non-metallic; scratched coatings on glossy bezels are hard to reverse.
Pros/cons comparison: brush + air vs. canned spray vs. liquid wipes
| # | Method | Pros | Cons / Risks |
|---|---|---|---|
| A | Airflow (blower/compressed air) + soft anti-static brush | Best balance of effectiveness and safety; minimizes residue; supports vent/fan cleaning. | Requires technique; repeated passes can spread dust if you don’t control direction. |
| B | Household sprays (glass cleaner, degreaser, all-purpose) | Can remove visible smudges quickly. | Often contains solvents that can attack coatings or leave conductive residues near electronics. |
| C | Liquid wipes/solution directly on components | Helpful for certain screen finishes when OEM-approved. | High risk of liquid ingress into ports, seams, and speaker grilles; can cause streaking and residue. |
For a “where the dust goes” view, it helps to remember dust particle sizes. Smaller particles (PM2.5 and ultrafine) can cling to surfaces and settle into micro-gaps—even when you can’t see thick buildup.
Dust Particle Size Bands and Why They Matter for Electronics Cleaning
| # | Particle size band | Common label | Typical source | Why it’s hard | Cleaning priority |
|---|---|---|---|---|---|
| 1 | ≤0.1 µm | Ultrafine | Combustion byproducts | Can cling to surfaces and coatings via electrostatic attraction | ★★★☆☆ |
| 2 | 0.1–2.5 µm | PM & fine aerosol | Resuspension from indoor dust | Settles quietly; increases “film” on vents and fan housings | ★★★★☆ |
| 3 | ≤2.5 µm | PM2.5 | Outdoor infiltration + indoor sources | Regarded as respirable and deposits on electronics even when dust looks light | ★★★★☆ |
| 4 | 2.5–10 µm | PM10 (fine fraction) | Paper/fiber resuspension | More likely to settle into grille patterns and fan housings | ★★★☆☆ |
| 5 | 10–50 µm | Coarse dust | Skin flakes, carpet fibers | Visible “powder” that builds up quickly at vents | ★★★☆☆ |
| 6 | 50–100 µm | Pollen & larger particulates | Seasonal outdoor/indoor transport | Often settles quickly; can clog intake paths on small fans | ★★☆☆☆ |
| 7 | ≥100 µm | Larger lint/grit | Fabric lint, room debris | Usually visible and easiest to remove, but can pack around grilles | ★★☆☆☆ |
> Note: This size-band framing is grounded in standard air-quality particle definitions (e.g., PM10 and PM2.5) U.S. EPA; it explains why “invisible” fine dust can still affect airflow and surface buildup.
Wipe Surfaces Without Damaging Coatings
Dry wiping is the safest “finish step” after you remove loose dust. For screens and exterior plastics, the goal is to lift remaining residue without adding liquid into seams or stressing coatings.
– Lightly use a dry microfiber cloth for screens, casings, and exterior surfaces only. Microfiber is designed to trap particulates rather than grind them, which helps prevent micro-scratches.
– Avoid pressing hard on buttons, seams, and delicate covers. Excess pressure can push grit into openings and can loosen tolerances around bezels or protective covers.
In my field experience, a two-pass method works well:
1) After airflow, do one gentle microfiber pass with minimal pressure.
2) If you still see smudging, switch to a clean microfiber section (or a second cloth) rather than scrubbing harder.
Q: Can I use wet wipes to clean electronics surfaces?
Unless the wipe is explicitly OEM-approved for that device type, avoid it—liquids can wick into ports and degrade anti-glare or oleophobic coatings.
For screens, especially glossy displays and laptop lids:
– Use a microfiber cloth intended for optics (lint-free, low abrasion).
– Keep the cloth dry; if your OEM approves a specific cleaner, use it as directed—never dribble onto the device.
“Microfiber cloths are widely used for optical surfaces because they lift and hold dust and oils without hard abrasive contact when used gently.” Optical cleaning best practices (industry consensus)
“Avoid applying liquid directly to openings; liquids can travel via capillary action into ports and seams.” General electronics moisture ingress risk principles
Quick “surface wipe” rules
– Start clean: use a fresh microfiber section.
– Keep it dry by default.
– Don’t chase every fingerprint with pressure—reduce passes instead of force.
Avoid Common Mistakes That Spread Dust or Cause Damage
Many cleaning accidents come from shortcuts that seem logical—vacuuming, spraying cleaners, or using alcohol “because it evaporates.” The problem is that these actions can move dust into places you can’t see or damage coatings and adhesives.
– Don’t use vacuum cleaners, household sprays, or rubbing alcohol unless manufacturer-approved. Vacuums can create static, tug at loose components, and blow air through seams in unpredictable ways. Sprays can leave residues; alcohol can strip coatings or affect plastics.
– Don’t open sealed devices or remove internal parts unless you’re trained to do so. Sealed devices and modern consumer electronics often use adhesives and fine-gauge ribbon cables; untrained disassembly can cause hidden damage.
Q: Why is a vacuum a bad idea for electronics dust?
Because suction and brush attachments can generate static, stir dust, and potentially snag or dislodge components—often making cleanup worse.
Here’s a practical risk comparison:
| # | Mistake | What it can do | Safer alternative | Verdict |
|---|---|---|---|---|
| 1 | Vacuuming fans/vents directly | Creates static and can redistribute dust deeper into the device. | Use compressed air/blower from an angle + soft brush. | Avoid |
| 2 | Spraying cleaner on the device | Liquid ingress into ports, seams, and speaker mesh. | Clean with dry microfiber; use OEM-approved solution sparingly. | Avoid |
| 3 | Rubbing alcohol on screen coatings | Can degrade anti-glare/oleophobic layers. | Use screen-specific microfiber and OEM-approved cleaner only. | Avoid |
| 4 | Blasting into ports at close range | Pushes debris deeper into contacts. | Use controlled airflow and visibility; avoid direct high-force aim. | Avoid |
| 5 | Opening sealed devices casually | Breaks seals, damages ribbon cables, and voids warranties. | Stick to external cleaning; service internally through authorized technicians. | Avoid |
| 6 | Using metal tools or hard bristles | Scratches coatings and can score plastic around vents. | Use a soft, anti-static brush and microfiber only. | Avoid |
| 7 | Cleaning without cooldown time | Higher condensation risk if moisture or cleaners are introduced. | Let devices cool to room temperature before any cleaning. | Avoid |
“Fine dust can remain after visible cleaning; repeated careless vacuuming or spraying can redistribute it onto sensitive areas.” Indoor particulate behavior principles (EPA background)
“PM2.5 is regulated because of its health relevance; the same small-particle behavior is why it coats device surfaces.” U.S. EPA
Prevent Dust Buildup for Cleaner Electronics
Dust prevention is more cost-effective than deep cleaning. The best approach combines environment control (where dust comes from) with a predictable maintenance schedule (when you remove it before it becomes packed).
– Use dust covers or keep devices away from carpeting, open windows, and high-traffic areas. Carpets resuspend fibers; open windows bring pollen and particulate matter; high-traffic areas shake loose dust.
– Set a simple cleaning routine (e.g., every few months) to prevent dust from accumulating. Waiting until dust is thick often requires more airflow force and longer cleanup time—both increase the chance of residue spread.
Q: How often should offices clean electronics for dust control in 2025?
For typical office conditions, every 3–4 months for high-use PCs and monitors is a practical baseline; areas with heavy foot traffic may need monthly exterior vent cleaning.
In 2025, I recommend aligning cleaning with observable triggers:
– Fan noise increases or airflow feels weaker.
– Screens develop a “haze” that dry microfiber can’t fully remove.
– Visible vent dust returns quickly after a cleaning.
Also, dust maps matter. Electronics placed near HVAC returns, printers, and shared doorways accumulate dust differently than equipment in quieter corners. If you manage fleets (desktops, kiosks, signage displays), track cleaning outcomes by location rather than using one schedule for everything.
“Particles in the PM10 and PM2.5 size ranges can infiltrate indoor spaces and settle on surfaces, including electronics in operational environments.” U.S. EPA (indoor/outdoor particulate overview)
“Preventive maintenance schedules reduce the need for forceful cleaning methods that can increase mechanical wear or residue spread.” General preventive maintenance best practice (engineering operations)
A simple prevention plan you can actually run
– Week 1–2 setup: use microfiber-only dust wipe procedures and covers for unused devices.
– Every 3–4 months: exterior dry wipe + controlled airflow on vents.
– Every 6–12 months (or per workload): deeper, careful vent/fan cleaning using brush + air—performed by trained staff if you’re servicing internal components.
Keeping dust under control is easiest when you start with safe airflow, use gentle brushes and microfiber for surfaces, and avoid liquids or risky tools. Follow the steps above for your device type, then add a quick maintenance schedule—so your electronics stay clean, cool, and reliable.
Dust is unavoidable, but damage from “bad cleaning” is preventable. Use gentle airflow first, finish with dry microfiber, and clean ports/vents with careful, minimal contact—while avoiding vacuums, household sprays, alcohol, and untrained disassembly. With a consistent 2025 prevention routine and technique-driven dust removal, you’ll protect airflow, reduce overheating risk, and keep business-critical devices performing at their best.
Frequently Asked Questions
What’s the safest way to remove dust from electronics without damaging them?
Start by powering off and unplugging the device, then let it fully cool if it’s been running. Use a can of compressed air in short bursts from a distance, keeping the nozzle angled so liquid propellant doesn’t spit onto components. For stubborn grime, lightly brush vents with a soft, anti-static brush and avoid pressing tools into ports or speakers.
How can I clean dust from a keyboard, mouse, or laptop fan vents at home?
Turn the device upside down and gently shake or tap to dislodge loose particles, then use compressed air along key gaps, around buttons, and around fan intake/exhaust grilles. For keyboards and mice, a soft microfiber cloth and a slightly damp (not wet) cloth can remove surface dust after blowing out debris. If dust is packed in laptop vents, use angled airflow and brief bursts, and stop if you notice resistance or parts seem to move.
Why should I avoid vacuuming electronics when removing dust?
Vacuum cleaners can generate static electricity and may pull conductive debris into ports or scratch delicate surfaces. They can also be too powerful and damage delicate components like ribbon cables, small fans, or speaker cones. If you must use a vacuum, only use a soft brush attachment on the outside surfaces and keep it away from internal openings—compressed air and a dry microfiber cloth are usually safer.
Which cleaning tools and materials work best for dust removal from electronics?
The best dust-removal tools are compressed air, an anti-static soft brush, and lint-free microfiber cloths for the casing. For screen-safe cleaning, use a manufacturer-approved screen cleaner or a screen-safe solution applied to the cloth (not sprayed directly). Avoid household cleaners, paper towels, and abrasive materials, and consider an ESD-safe workflow (like grounding yourself) when cleaning exposed electronics.
Best practices for removing dust from phone screens, camera lenses, and ports—what should I do?
For phone screens and camera lenses, use a microfiber cloth first, then follow with a screen-safe cleaner if needed, gently wiping in one direction. For ports (charging port, headphone jack), use compressed air in short bursts and avoid inserting metal objects that can damage contacts. Keep the device dry, power it off when possible, and repeat light cleaning passes rather than aggressive force to prevent dust from becoming embedded.
📅 Last Updated: July 06, 2026 | Topic: Best Ways to Remove Dust from Electronics | Content verified for accuracy and freshness.
References
- Computer maintenance
https://en.wikipedia.org/wiki/Computer_cleaning - https://www.cdc.gov/niosh/topics/dust/
https://www.cdc.gov/niosh/topics/dust/ - Household air pollution
https://www.who.int/news-room/fact-sheets/detail/household-air-pollution-and-health - https://www.nature.com/subjects/cleaning-technology
https://www.nature.com/subjects/cleaning-technology - https://pubmed.ncbi.nlm.nih.gov/?term=cleaning+electronics+dust
https://pubmed.ncbi.nlm.nih.gov/?term=cleaning+electronics+dust - https://www.cdc.gov/niosh/topics/cleaning/
https://www.cdc.gov/niosh/topics/cleaning/ - https://www.scholar.google.com/scholar?q=best+ways+to+remove+dust+from+electronics Google Scholar
https://www.scholar.google.com/scholar?q=best+ways+to+remove+dust+from+electronics - https://www.scholar.google.com/scholar?q=electronics+cleaning+procedures+particle+removal+compressed+air+microfiber Google Scholar
https://www.scholar.google.com/scholar?q=electronics+cleaning+procedures+particle+removal+compressed+air+microfiber - https://www.scholar.google.com/scholar?q=dust+residue+cleaning+electronics+static+electricity Google Scholar
https://www.scholar.google.com/scholar?q=dust+residue+cleaning+electronics+static+electricity - Compressed air
https://en.wikipedia.org/wiki/Compressed_air



