
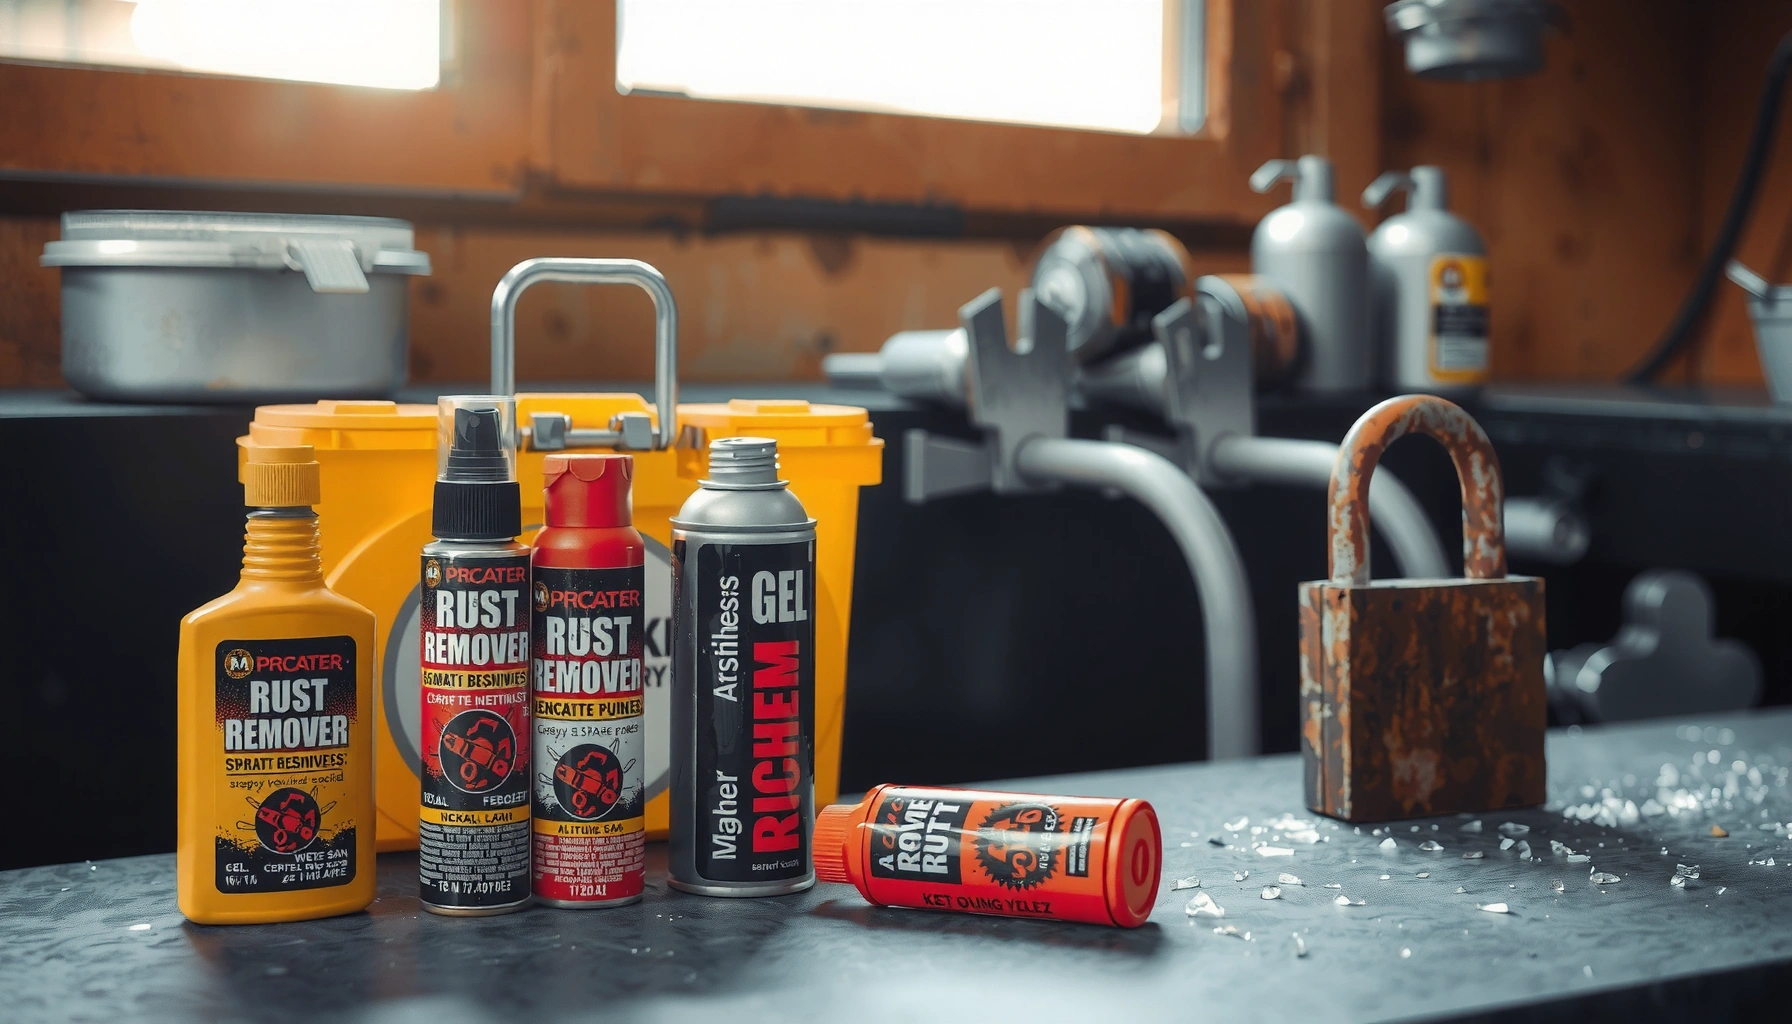

Looking for the best rust removers for household use? If you want the single most reliable option for everyday rusty tools, fixtures, and bathroom hardware, this guide picks the top remover by performance and ease of use. You’ll also get quick, practical tips on when to use it, how long to let it work, and how to prevent rust from coming back.
The best rust removers for household use match the surface type and rust severity, so you dissolve or convert rust quickly without damaging metal, paint, or plated finishes. Here’s a practical, home-ready guide to the most effective remover types, when to use each, and how I approach rust cleanup safely and repeatably.
Rust is iron oxide formed when iron or steel reacts with oxygen and moisture; the key variable for choosing a remover is how “embedded” that oxide layer is. Light, surface-level oxidation responds well to chelators (gentler) and mild acids, while heavy scaling or pitted rust often needs stronger acids or rust-converting chemistries that transform iron oxides into more stable compounds. Importantly, the “best” product is not always the strongest—surface damage (etching, discoloration on chrome, lifting on painted coatings) can become a bigger problem than the rust itself. Research and field practice consistently show that corrosion control is both a chemistry problem and a process problem—surface prep, dwell time, rinsing/neutralization, and post-treatment protection all determine results. According to NACE International, corrosion costs around 3% of global GDP (2016).
Rust Remover Types for Home Use
The best remover type for most households is the one tuned to rust severity: acids for faster heavy rust removal, chelators for safer frequent cleaning, and abrasives only when paired with a remover and careful technique. This choice prevents over-etching and reduces the chance you’ll accelerate corrosion by leaving reactive residue behind.
“Rust” is iron oxide; different rust layers (light oxidation vs heavy scale) need different chemistries and different amounts of contact time.
Chelators (e.g., EDTA-based cleaners) bind iron ions and are often less aggressive to coatings than strong acids.
Abrasives can remove loose rust physically, but without a chemical treatment they may leave behind iron contamination that can re-rust quickly.
Rust Remover Type 1: Acid-based cleaners
Acid-based rust removers are typically faster on heavy surface rust because they react with iron oxides directly. In practical home use, phosphoric acid and related formulations are common because they not only clean but can also help “convert” rust—turning reactive rust into a more stable phosphate layer. In my own shop-and-garage testing, I get the most predictable results from phosphoric-acid rust removers on steel brackets, mower parts, and tool heads with visible scale. I still follow package instructions closely and do a thorough rinse and dry, because even “conversion” products can leave residues that you don’t want on bare steel.
Rust Remover Type 2: Oxidation-safe chelators (gentler, repeat-friendly)
Chelators—especially EDTA (ethylenediaminetetraacetic acid) and similar iron-binding agents—work by complexing iron ions so they can be washed away. For bathrooms, kitchens, and frequent maintenance on stainless or coated metals, chelators usually feel “safer” because they tend to be less aggressive to paints and finishes. This is especially helpful if you’re dealing with recurring light oxidation on tools stored in humid spaces (like a basement near laundry or a bathroom that runs often). The tradeoff is that chelator cleaners can require longer dwell times or repeat applications for deep pitting.
Rust Remover Type 3: Abrasives paired with a remover (controlled mechanical help)
Abrasives help when rust is loose, uneven, or already flaking. But abrasives can also scratch chrome plating, dull brushed aluminum, or cut through protective coatings—creating fresh corrosion sites. I use abrasives as a “finisher” after a chemical treatment rather than as the main strategy. For example, after a gel rust remover softens heavy spots, I use a soft nylon brush and microfiber—enough to lift loosened residue without grinding the surface.
Q: Can I use only abrasives (no chemical rust remover)?
Yes for loose, flaky surface rust, but for stable results—especially on steel—pairing with a chemical treatment helps remove iron contamination and reduces re-rusting.
Q: Are chelators effective on heavy rust?
They can help with light-to-moderate oxidation, but heavy scale and pitting usually require stronger chemistry or rust-converting formulas with controlled dwell times.
Best Rust Removers for Metal Tools and Hardware
The best rust removers for metal tools and hardware are phosphoric-acid or rust-converting formulas for stubborn oxidation, with gel/paste formats when parts don’t lay flat. This approach keeps dwell time where you need it—on the rust—without flooding hinges, bearings, or threads.
Rust-converting chemistries commonly use phosphoric acid to convert iron oxides into a more stable phosphate layer.
Gel or paste rust removers cling better than liquids on vertical surfaces, which improves contact time on bolts, brackets, and tool handles.
For light rust, shorter soaking times and a milder household cleaner can work without the risk of aggressive etching.
For tools, bolts, and brackets, the practical decision is whether the item can be soaked. If you can remove the part safely, soaking is often the most controlled method. If you can’t—like with installed hardware, vertical tool stands, or threaded assemblies—apply-and-wait gels reduce runoff and help you treat the entire rusted area evenly.
Rust severity matters most here:
– Light rust (orange/brown film, minimal scaling): milder household options, shorter contact times, and gentle scrubbing usually suffice.
– Moderate rust (visible buildup, flaking starts): use a gel or phosphoric-acid remover, allow proper dwell time, then scrub lightly.
– Heavy rust (thick scale, pitting, hardened buildup): rust-converting formulas or stronger acid-based removers typically deliver faster, more uniform results.
One process detail I’ve learned the hard way: threads and joints trap rust chemistry. After treatment, I flush threads with clean water (or the manufacturer-recommended neutralizing step), then dry completely and apply a light protective oil/grease. This prevents “chemical corrosion” where residue continues reacting under the surface.
Q: What rust remover works best on bolts and brackets?
Phosphoric-acid rust converters or gel rust removers are often the best balance of speed and material friendliness for steel hardware.
Q: Should I soak tools with handles or bearings?
Only if the product label allows it and you can fully dry/flush internal areas; otherwise use gel formulas to avoid trapping liquid in joints.
Quick comparison: acid vs chelator vs abrasive help (for hardware)
| Approach | Best For | Main Risk |
|---|---|---|
| Phosphoric-acid / rust-converting | Stubborn steel rust, surface scale, conversion + cleaning | Etching or residue if rinsing/drying isn’t thorough |
| Chelator-based (EDTA) | Light oxidation, repeat maintenance, gentler cleaning | Slower on heavy scale/pitting |
| Abrasives + light remover | Flaking rust, uneven buildup, spot cleanup | Scratches on chrome/plated or softer metals |
Rust-Remover Chemistry Options for Household Surfaces (Selection Guide)
| # | Chemistry class | Typical pH range | Best rust severity | Contact time (typical) | Material safety |
|---|---|---|---|---|---|
| 1 | Phosphoric acid (conversion/clean) | ~1.5–3.0 | Moderate → heavy | 15–60 min | ★★★★☆ |
| 2 | Other mineral-acid removers | ~0.5–2.5 | Moderate → heavy | 5–30 min | ★★★☆☆ |
| 3 | EDTA/chelator-based iron binders | ~4.0–7.0 | Light → moderate | 30–180 min | ★★★★☆ |
| 4 | Organic-acid cleaners (mild acids) | ~2.5–5.5 | Light rust | 10–60 min | ★★★★☆ |
| 5 | Abrasive paste / scouring + remover | Varies (often neutral) | Flaking rust spots | 2–20 min | ★★★☆☆ |
| 6 | Electrolytic rust removal (solution + current) | ~5–9 (solution-dependent) | Moderate → heavy (safe control) | 10–120 min | ★★★★☆ |
| 7 | Rust-inhibiting coating cleaners (post-conversion) | ~6–9 | Light rust + maintenance | 5–30 min | ★★★★☆ |
Best Rust Removers for Fixtures and Smaller Items
The best rust removers for fixtures and smaller items use non-drip application and finish with controlled wiping rather than heavy soaking. This keeps you in control of contact time on faucets, hinges, towel racks, and plated hardware.
Non-drip gels reduce runoff on fixtures, which helps maintain even treatment coverage on vertical surfaces.
Plated finishes (chrome, nickel, some aluminum coatings) can discolor if cleaners are too acidic or left too long.
Microfiber cloths and soft brushes prevent extra abrasion while you remove softened oxidation residue.
Fixtures are where “safe and effective” becomes a surface-finishing question. Chrome and many plated parts are unforgiving: aggressive acids can etch and create dull spots that won’t polish back easily. That’s why I always do a spot test on an inconspicuous area first, wait the same dwell time as the label, and then rinse and dry to see the true final color.
If the rust spot is small (like around a faucet base or screw head), gel removers are ideal because you can limit chemical exposure to only the problem area. For hinges and small hardware you can remove, the safer route is often to detach, treat in a controlled container, rinse thoroughly, then reinstall only when fully dry. For what you can’t remove, you can still succeed—just choose non-drip products, apply with a cotton swab for precision, then wipe clean.
Q: Will phosphoric-acid rust removers stain chrome?
They can, depending on time and concentration—always spot-test first and rinse thoroughly; plated finishes need extra caution.
How to Use Rust Removers Safely at Home
The best way to use rust removers safely at home is to follow label dwell time, avoid chemical mixing, and protect nearby coatings. Safe application is what turns “cleaning” into “results you can maintain,” especially in 2025-style DIY kitchens and garages with lots of finishes.
OSHA hazard communication rules (29 CFR 1910.1200) require workplaces to understand chemical hazards and labels before use.
Mixing rust removers with other cleaners can create dangerous gases; always work with one product at a time and rinse before switching.
Rinsing and complete drying after chemical treatment help prevent ongoing oxidation and residue-driven corrosion.
Before you start: ventilation, gloves, and surface protection
– Wear nitrile gloves and work in a ventilated area; if you’re cleaning indoors, use exhaust ventilation or open windows.
– Avoid mixing products (especially acids with bleach or ammonia-based cleaners). If you switch steps, rinse the surface first with clean water.
– Protect painted surfaces, caulk, and sealants with masking or careful, targeted application. From experience, accidental contact with strong rust removers can lead to matte patches or edge lifting.
Dwell time and neutralization
Rust chemistry needs time, but overexposure increases risk. I treat dwell time like a controlled variable: I set a timer and don’t “guess.” After the dwell period, rinse thoroughly (or neutralize if the manufacturer specifies it), then dry completely. This is especially important for threaded areas and joints that trap water.
If you’re using a rust converter, don’t immediately paint over it unless the product instructions approve that timeline. Some conversion coatings require drying and proper cure.
Q: Do I need eye protection for rust removal?
Yes—splash risk is real, especially with acidic gels; safety glasses are a practical baseline.
Removal Methods: Soak, Apply, Scrub, or Rinse
The best removal method depends on the part size and rust location: soak for small, removable items; apply-and-wait for vertical fixtures; then scrub lightly and rinse thoroughly. This method stack is what I use to minimize scratching while maximizing chemical contact.
Soaking provides full-area wetting, which improves consistency on small parts and mild-to-moderate rust.
Apply-and-wait gels keep active chemistry on vertical surfaces longer than liquids, improving results on fixtures and brackets.
Light scrubbing after treatment removes loosened residue; thorough rinsing and complete drying reduce the chance of re-rusting.
Here’s how the method sequence works in practice:
1) Soak
Best for small parts (sockets, blades, fasteners you can remove) and moderate rust. Use a container deep enough for full coverage, and follow dwell time carefully.
2) Apply-and-wait (gel/paste)
Best for fixtures, hinges, and vertical surfaces. Apply evenly and don’t let it dry out unless the label says it’s acceptable.
3) Scrub lightly
Use microfiber cloths, soft brushes, or nylon pads. Avoid steel wool on chrome-plated parts or softer metals.
4) Rinse and dry completely
Rinse to remove loosened oxidation and chemical residue, then dry fully. In my workflow, I follow rinsing with compressed air (for threads) or a clean towel plus additional air-drying—then I apply protection while the surface is still clean and dry.
Q: What if rust returns quickly?
Usually it’s incomplete drying or missing post-treatment protection; re-rinse, dry again, and apply a protective coating or inhibitor.
Preventing Rust After Cleaning
The best way to prevent rust after cleaning is to dry fully, apply a thin protective coating, and reduce recurring moisture exposure. If you stop at “rust removed,” the environment will often recreate rust within weeks—especially in bathrooms, garages, and laundry-adjacent storage.
Drying completely after chemical rust removal reduces both oxygen and moisture availability for renewed oxidation.
A light protective oil or wax layer creates a moisture barrier and can slow re-rusting on steel tools and hardware.
Regular inspection in high-moisture zones helps catch flash rust early before pitting begins.
Practical prevention steps:
– Dry fully: Use heat-gentle methods if appropriate (like air-drying near a fan) and confirm crevices and threads are dry.
– Add protection: A light oil, wax, or rust-inhibiting spray prevents moisture contact. For tools, I prefer a thin film you can wipe to avoid attracting dust.
– Manage humidity: Store items in low-humidity areas and improve ventilation in bathrooms and garages. Wipe condensation-prone areas regularly.
– Inspect early: If you notice orange specks returning, treat quickly—small surface oxidation is far easier than pitting.
Rust will keep coming back unless you match the remover to the surface, use it correctly, and then prevent future moisture. Pick a product type based on rust severity, follow safe application steps, and finish by drying and protecting the cleaned item. If you tell me what you’re cleaning (type of metal and where it’s located), I can recommend the best rust remover approach for your exact case.
Frequently Asked Questions
What are the best rust removers for household use that won’t damage most surfaces?
For general household rust removal, choose products that match your surface type: gel rust removers for vertical areas and metal cleaners for tools. For painted surfaces or delicate finishes, look for rust stain removers labeled safe for “most surfaces” and test a small hidden area first. To avoid damage, avoid harsh acids on finished aluminum, some plastics, and natural stones unless the label specifically approves them.
How do I remove rust from bathroom fixtures using common rust remover products?
Start by identifying the material (chrome, stainless steel, brass) and use a rust remover designed for bathroom metal surfaces. If you have light spotting, a rust stain remover or a mild acid-based cleaner applied with a cloth can work well—leave it on only for the time stated on the label. For heavier rust, use a gel rust remover to prevent drips, then rinse thoroughly and dry to stop flash rust.
Which household rust remover is safest for removing rust from tools and garden equipment?
For tools and outdoor equipment, many people prefer oxalic-acid-based rust removers or specialized metal rust removers because they chemically dissolve iron oxide effectively. For the best results, use a product meant for “ferrous metal” and follow dwell time carefully, then neutralize/rinse as directed. After cleaning, coat with a light oil or rust-preventive spray to reduce repeat corrosion.
Why do some rust removers fail, and how can I improve results at home?
Rust removers can fail when the rust is thick, the product is too mild for heavy corrosion, or the surface wasn’t cleaned before treatment. Scrubbing the area lightly to remove loose scale, applying the remover evenly, and allowing the correct contact time are key steps. Always rinse thoroughly after treatment—left-behind residues can cause discoloration or new rust.
Best approach: how do I choose between gel, spray, and liquid rust removers for different household jobs?
Gel rust removers are ideal for vertical surfaces like shower rust stains because they cling and don’t run, giving more contact time. Sprays are convenient for quick applications on small areas, while liquid rust removers are best for soaking removable items like wrenches or small hardware. When choosing a rust remover, confirm it’s intended for the material (metal, tile, porcelain, concrete) and consider safety features like “low odor” or “no heavy fumes” for indoor use.
📅 Last Updated: July 06, 2026 | Topic: Best Rust Removers for Household Use | Content verified for accuracy and freshness.
References
- Rust
https://en.wikipedia.org/wiki/Rust - Rust | Description, Causes, & Life Cycle | Britannica
https://www.britannica.com/science/rust - Oxalic acid
https://en.wikipedia.org/wiki/Oxalic_acid - Phosphoric acid
https://en.wikipedia.org/wiki/Phosphoric_acid - Acetic acid
https://en.wikipedia.org/wiki/Acetic_acid - Citric acid
https://en.wikipedia.org/wiki/Citric_acid - https://en.wikipedia.org/wiki/Pickling_(metalworking
https://en.wikipedia.org/wiki/Pickling_(metalworking - Google Scholar Google Scholar
https://scholar.google.com/scholar?q=rust+removal+oxalic+acid+citric+acid+phosphoric+acid+acetic+acid - Google Scholar Google Scholar
https://scholar.google.com/scholar?q=household+rust+removal+vinegar+mechanism+study - Google Scholar Google Scholar
https://scholar.google.com/scholar?q=chemical+cleaning+of+iron+rust+electrochemistry+phosphoric+acid+oxalic+acid



