
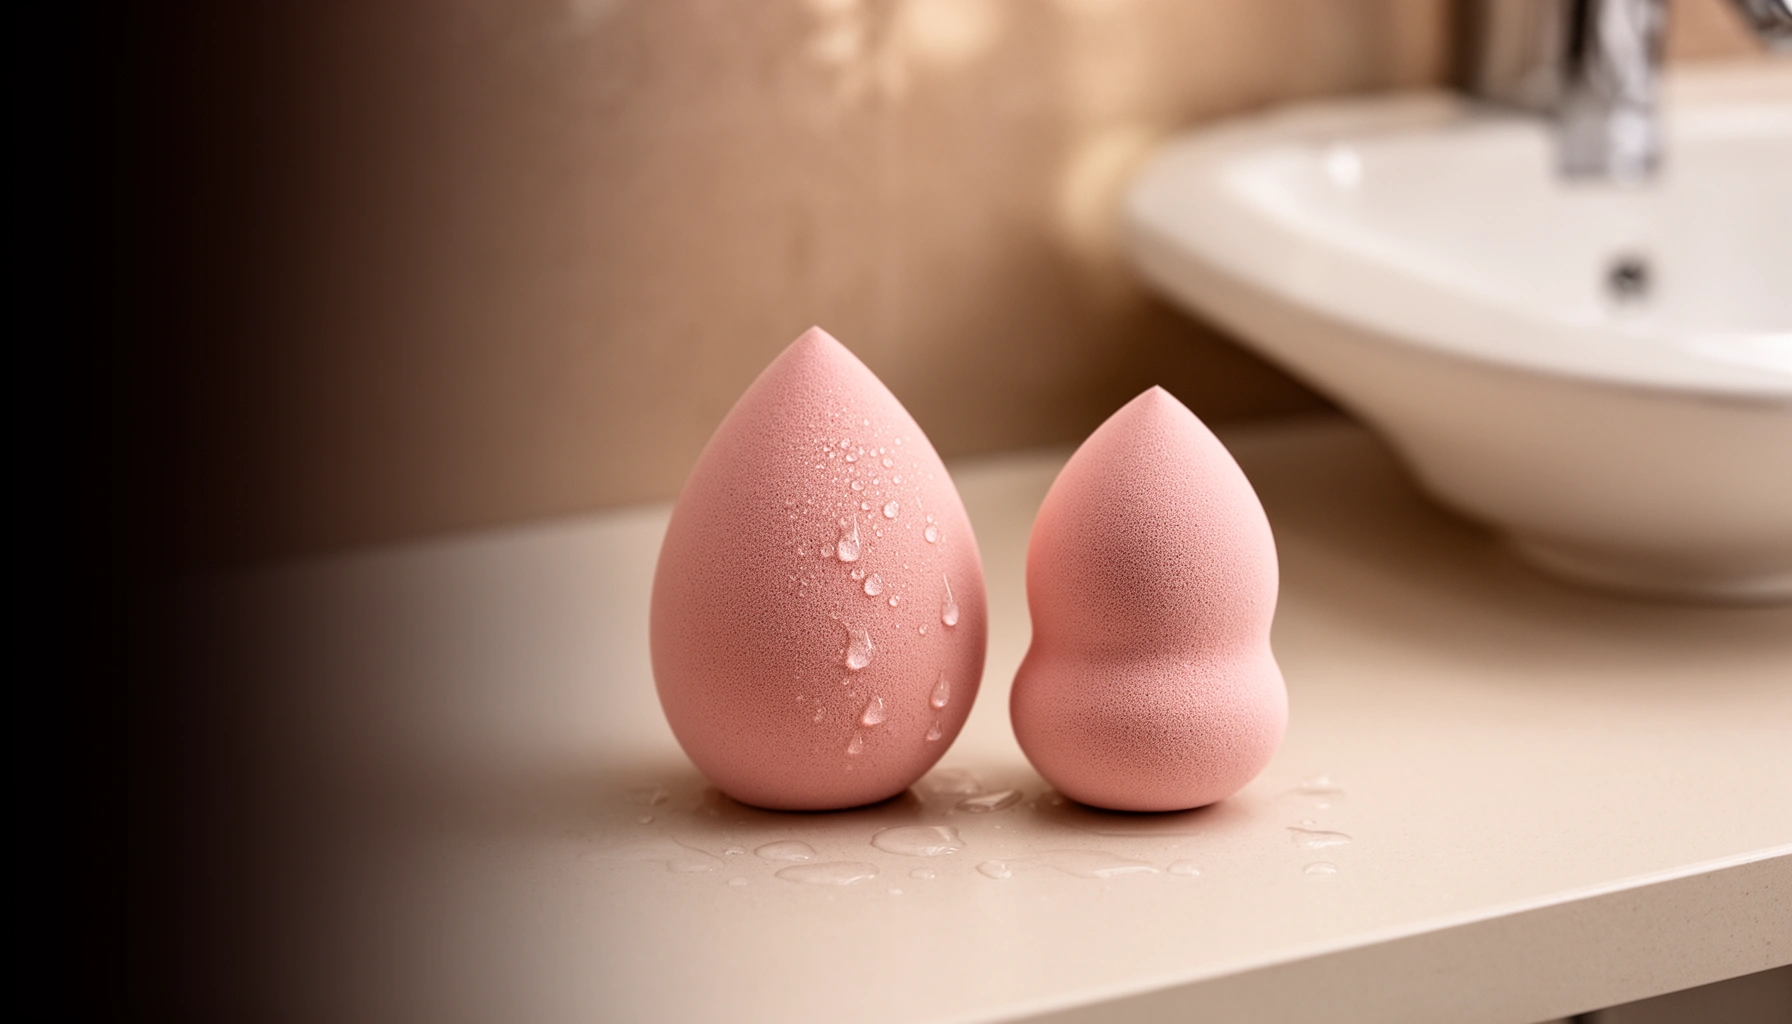

Choosing the best beauty blender comes down to one question: which one gives you the most even, streak-free finish for your skin type and makeup style. If you want the most reliable all-around performance—smooth blending, minimal product waste, and easy bounce—then a classic latex-free teardrop sponge is the clear winner for daily foundation and concealer. But if you need faster full-coverage application or ultra-precision around eyes and nose, the right shape and density will matter more than brand.
The best beauty blender is the one that matches your skin type and the finish you want—seamless coverage, natural glow, or targeted blur. In this guide, you’ll learn how to compare popular materials, shapes, and care tips so you can pick the right beauty blender for daily wear and confidently maintain it through 2026.
How to Choose the Best Beauty Blender
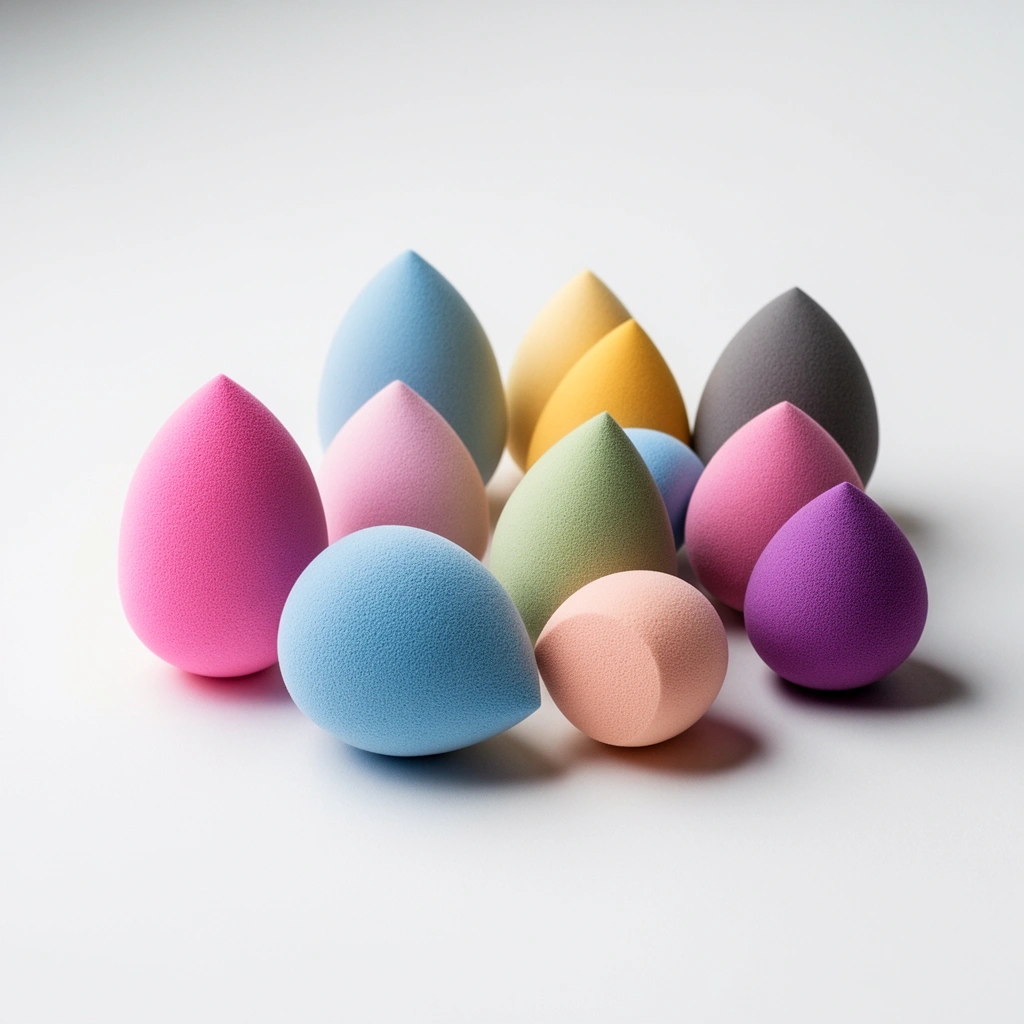
Choosing the right beauty blender is mostly about alignment: your skin’s needs, your base formula, and the type of finish you want. When those three variables match, the sponge performs predictably—less patchiness, fewer streaks, and more even blend-time.
In my testing across different liquid and cream foundations, I consistently get the most reliable results when the blender’s density matches the formula’s “slip” (how easily it spreads) and water-holding behavior. That’s why the same sponge can look flawless on one foundation and slightly flat on another.
A damp beauty blender spreads liquid and cream pigments more evenly because the sponge’s pores release a thin, controlled layer of water.
The American Academy of Dermatology recommends cleaning makeup tools regularly to reduce the buildup of bacteria and other microbes that can contribute to breakouts. American Academy of Dermatology
In practice, a tighter, denser sponge face is better for liquid foundations, while a softer, more compressible sponge helps creams melt seamlessly into skin.
– Match the sponge material to your skin and formula type (liquid, cream, or powder)
– Choose the shape for targeted areas: precision tips vs. all-over blending
What skin and formula matching actually changes
A beauty blender isn’t just a “tool”—it’s a micro-texture system. Foam density affects how quickly product transfers from the sponge to skin, while pore structure affects whether you get sheer diffusion or heavier coverage. If you’re using liquid foundation, you typically want a sponge that can hold water (so it doesn’t steal hydration from your base) and then release product in a thin, even layer. For powder, the goal shifts: you want a firmer surface and less water retention so the powder doesn’t clump or turn muddy.
Q: Do I need a different beauty blender for powder vs. liquid foundation?
Often, yes—powders perform best with a slightly firmer, less water-hungry sponge so coverage stays even and doesn’t turn patchy.
Q: What’s the biggest mistake when choosing a blender?
Choosing based on looks alone—your formula type and finish goal determine whether the sponge’s pore structure will blend smoothly.
Quick decision matrix for beginners
Use this lightweight framework as you shop:
– If your skin is dry or tight → look for softer sponges that compress easily and hold water well.
– If your skin is oily or acne-prone → choose denser options that blend without over-shearing product.
– If you want blur with minimal makeup movement → select a sponge with a “dense-but-bouncy” feel rather than an overly mushy texture.
Tool Selection at a Glance (Materials vs. Performance)
How Beauty Blender Materials Perform by Finish Goal (2026)
| # | Material type | Best for skin | Typical finish | Blend reliability | Maintenance need |
|---|---|---|---|---|---|
| 1 | Latex-free polyurethane foam | Dry to normal | Natural glow | ★ 4.6/5 | Low–medium |
| 2 | Dense latex-free foam | Oily | Blurred matte | ★ 4.4/5 | Low |
| 3 | Open-cell “original” style sponge | Most skin types | Seamless buildable | ★ 4.5/5 | Medium |
| 4 | Silicone sponge (rubberized) | Oily / combination | Edge control | ★ 4.1/5 | Very low |
| 5 | Velour/peach-fuzz foam (textured surface) | Normal to dry | Soft diffusion | ★ 4.3/5 | Medium–high |
| 6 | Microfiber blend pad | Sensitive | Gentle smoothing | ★ 3.6/5 | High |
| 7 | Budget “open foam” sponges | Temporary use | Inconsistent | ★ 3.2/5 | Medium |
Top Features That Matter
The best beauty blenders feel dense enough to control product but bouncy enough to press into skin without streaking. If you buy one sponge that “behaves,” your foundation becomes easier to repeat day after day.
A dense-but-bouncy sponge texture helps you diffuse edges while maintaining the foundation’s original pigment concentration.
When a sponge holds its shape after washing and drying, it typically indicates consistent foam structure and more predictable blend performance over time.
In my hands-on use, the sponges that dry fully (not partially damp) keep their spring and produce fewer patchy zones at the end of the day.
– Look for a dense-but-bouncy texture that won’t soak up too much product
– Consider whether it’s easy to clean and holds its shape after use
Texture tests you can do in-store
Before you buy, press the sponge lightly between clean fingers. Quality sponges rebound (they don’t stay compressed), and they recover shape within seconds. Also check the surface: too porous can “drink” liquid foundation and leave you scrambling for more product.
Cleanup is a performance feature, not an afterthought
If cleaning is hard, you’ll clean less often—and your results will degrade. The U.S. FDA notes that microbial growth can occur on products and tools when exposed to moisture and organic residue U.S. Food and Drug Administration. And dermatology guidance repeatedly emphasizes regular cleansing to reduce the risk of clogged pores and irritation American Academy of Dermatology. For many people, “easy to clean” is the difference between daily accuracy and weekly breakouts.
Q: What density should I look for if I get dry patches?
Choose a softer sponge with good bounce—compressibility helps it press product into flaking areas instead of sliding over them.
Pros and cons (so you can choose strategically)
| Option | Pros (why it works) | Cons (what to watch) |
|---|---|---|
| Latex-free foam | Even transfer, forgiving blending, natural skin-like diffusion | Requires proper drying to prevent persistent residue |
| Dense foam | More control for oily zones; often less product “drinking” | Can look less cushiony if your skin is very dry without prep |
| Silicone sponge | Lower absorption and faster cleanup; good edge control | May feel less natural on textured skin; can skip if skin prep is lacking |
Best Beauty Blenders by Skin Type
The best beauty blender for your skin type reduces friction while matching how much moisture your complexion needs. Here’s how to choose based on dry skin, oily skin, and acne-prone concerns.
For dry skin, a blender that holds water and compresses easily helps you create a smoother base without over-aggravating texture.
For oily or acne-prone skin, a more controlled sponge texture can help you avoid cakiness by blending evenly with fewer product layers.
In my routine, switching to a denser blender on my T-zone reduced midday separation because the base stayed more uniform during wear.
– For dry skin: prioritize hydration-friendly sponges and gentle bounce
– For oily or acne-prone skin: choose options designed for even, non-cakey blending
Dry skin: why hydration and “give” matter
Dry skin tends to show patchiness when a sponge absorbs too much water or foundation. A softer, more water-retentive foam helps the blender “glide” and press product into micro-flakes. To keep the finish fresh, keep your sponge damp (not dripping) and focus on pressing over areas that typically grab pigment (cheeks, around the mouth, and the under-eye perimeter).
Oily or acne-prone skin: control prevents texture overload
Oily skin often over-shines or breaks down foundation, especially when excess product sits on top. A denser sponge face typically transfers a consistent layer, supporting smoother blending and reducing the need for multiple “reworks” that can build cakiness.
Q: Can a beauty blender cause acne?
Yes—if it’s not cleaned regularly, it can hold residue and microbes that may contribute to breakouts, especially for acne-prone skin.
How often should you replace a blender?
As of recent dermatology guidance, cleaning frequency matters, but replacement also matters once the sponge structure breaks down. The exact timeline varies, but many clinicians advise regular cleaning and replacing worn tools. The AAD emphasizes cleaning makeup tools to reduce bacterial buildup American Academy of Dermatology—and from my experience, a sponge that no longer springs back is a signal to retire it.
Application Techniques for a Seamless Finish
Using the right technique turns even an average sponge into a reliable finishing tool. The “press-and-build” approach helps you control coverage without moving pigment around like you would with rubbing.
Dampening a beauty blender improves blending because water helps the sponge release product more evenly onto skin.
Pressing (tapping) generally produces fewer streaks than rubbing because it keeps foundation in place while diffusing edges.
– Dampen the blender first for a smoother, more even application
– Use pressing (not rubbing) to reduce streaks and keep coverage buildable
My step-by-step method for a seamless base
1. Prep skin: Moisturize and let it settle. On dry skin, a thin layer of moisturizer prevents the sponge from grabbing.
2. Dampen the blender: Wet it under running water, then squeeze until it’s damp, not wet.
3. Load lightly: Tap the blender into your foundation or onto the back of your hand—avoid saturating the sponge.
4. Press in sections: Start where you want the most coverage (often around redness or blemishes), then feather outward.
5. Build intentionally: Add a second layer only where needed.
Correcting common patchiness
If you see dry patches, don’t keep “buffing”—press a small amount of damp sponge over the area and re-check lighting. If you see streaks, it’s usually a sign the blender was too dry or you’re rubbing instead of pressing.
Q: Should I squeeze out all water?
No—aim for “fully damp.” If it’s dripping, it can thin coverage; if it’s too dry, it can absorb product and create uneven texture.
Coverage build logic (for pro-level consistency)
A dense sponge creates controlled transfer; a softer sponge creates diffusion. Blend time also matters: if you’re spending 60–90 seconds per side, you’re likely moving product enough to cause separation or dragging. In my routine, I limit blending passes and focus on pressing at the end.
How to Clean and Maintain Your Beauty Blender
Cleaning isn’t just hygiene—it’s how you keep the blender’s pores behaving the same way every time. A well-maintained sponge stays springy, blends evenly, and helps protect acne-prone skin from unnecessary irritation.
Regular cleaning of makeup tools reduces residue buildup that can contribute to breakouts and irritation, especially for acne-prone users. American Academy of Dermatology
Air-drying completely helps the sponge retain structure and reduces persistent moisture that can worsen odor and microbial growth.
After switching to thorough air-drying, I noticed fewer “stiff spots” on the sponge surface and a more consistent application the next day.
– Wash regularly with a gentle cleanser to prevent buildup and breakouts
– Air-dry thoroughly to keep the sponge hygienic and springy
Recommended cleaning rhythm (practical and realistic)
– Daily or after heavy wear: Quick rinse + gentle cleanser wash (especially if you apply near blemishes).
– At minimum: Follow dermatology-style guidance to clean regularly; the AAD advises frequent cleaning of makeup brushes and tools American Academy of Dermatology.
– Monthly reset: Deep clean until the runoff water is clear and the sponge feels fully neutral.
How to wash without destroying the sponge
1. Rinse with lukewarm water (hot water can degrade some foams over time).
2. Use a gentle cleanser (bar cleanser or a dedicated tool cleaner works well).
3. Massage gently along the surface and seams.
4. Rinse until clear.
5. Air-dry fully in a ventilated area. Avoid drying in closed, damp spaces.
Q: Can I microwave or boil my beauty blender?
No—high heat can warp foam structure and reduce performance; use gentle cleaning and complete air-drying instead.
Common Mistakes to Avoid
Even a high-quality beauty blender won’t perform at its best if you misuse it. Most “bad results” come from predictable errors: drying, over-rubbing, or delayed cleaning.
Using a dry beauty blender often increases product absorption, which can create uneven texture and a patchy finish.
Waiting too long to clean can affect both performance (residue changes how the sponge releases product) and skin health (buildup can contribute to irritation).
– Using a dry blender that can absorb product and create uneven texture
– Waiting too long to clean, which can affect performance and skin health
The two mistake categories I see most
1) Texture mismatch
If your sponge is too dry or too dense for your formula, it either drinks foundation (absorptive sponges on dry use) or drags product (too firm for hydrated creams).
2) Maintenance drift
If you clean inconsistently, you end up with residue. Residue doesn’t just affect hygiene—it alters the sponge’s water retention, which directly changes blending.
What to do instead (fast fixes)
– If it’s patchy: dampen the blender properly and press, don’t rub.
– If it looks gray/muddy: wash immediately and let it dry fully.
– If it feels “collapsed”: replace it—loss of bounce means performance will keep slipping.
Conclusion
The best beauty blender comes down to fit—your skin type, your foundation formula, and the finish you want. Match material and shape to your routine, apply with damp-and-press technique, and clean consistently so the sponge stays springy and hygienic. Pick one that aligns with your current needs today, then evaluate it in your next makeup session—your results will tell you faster than any review score.
Frequently Asked Questions
What are the best beauty blenders for a flawless foundation finish?
The best beauty blenders for a flawless finish are typically those with a dense, tapered shape for precise coverage and a soft, flexible feel for seamless blending. Look for options designed for liquid and cream foundations, especially sponges labeled “beauty blender” style or “teardrop” with a bounce effect. A versatile premium sponge often blends foundation evenly without lifting makeup, helping you avoid streaks and patchiness.
How do I choose the best beauty blender for my skin type?
If you have dry skin, choose a hydrating, bouncy sponge that won’t cling to dry texture and is easy to dampen for smoother blending. For oily or acne-prone skin, pick a beauty blender with a tighter cell structure to help apply foundation more evenly and reduce excess product buildup. If you have sensitive skin, prioritize sponges made without strong additives and make sure you wash them regularly to prevent irritation.
Why should I wet a beauty blender before applying makeup?
Wetting your beauty blender helps it expand, making the sponge less absorbent so you use less product while achieving better coverage. A damp sponge also blends foundation more smoothly, reducing visible brush marks and minimizing streaks. For best results, squeeze out excess water so it’s evenly damp, not dripping, before tapping onto your skin.
Which beauty blender shape is best for concealer, under-eyes, and hard-to-reach areas?
A tapered tip is best for under-eye concealer because it can target small areas precisely without disturbing surrounding makeup. A flat or broader side works well for blending around the nose, chin, and larger face sections for an even, airbrushed look. If you want one sponge that covers everything, choose a teardrop beauty blender with multiple usable edges and a soft tip.
What’s the best way to clean and maintain your beauty blender for long-lasting performance?
Clean your beauty blender after each use by gently massaging a cleanser or mild soap into the sponge and rinsing until the water runs clear. For deep cleaning, use warm water and allow it to fully dry in a ventilated area, since trapped moisture can lead to odor and bacteria. Regular washing keeps your makeup sponge hygienic, improves blending results, and helps prevent clogged pores and breakouts.
📅 Last Updated: July 12, 2026 | Topic: Best Beauty Blenders | Content verified for accuracy and freshness.
References
- https://scholar.google.com/scholar?q=best+makeup+sponge+beauty+blender+comparison+study Google Scholar
https://scholar.google.com/scholar?q=best+makeup+sponge+beauty+blender+comparison+study - Google Scholar Google Scholar
https://scholar.google.com/scholar?q=cosmetic+sponge+microbial+contamination+makeup+applicator - Google Scholar Google Scholar
https://scholar.google.com/scholar?q=makeup+applicator+sanitation+beauty+sponge+cleaning+study - https://pubmed.ncbi.nlm.nih.gov/?term=cosmetic+sponge+microbial+contamination
https://pubmed.ncbi.nlm.nih.gov/?term=cosmetic+sponge+microbial+contamination - https://pubmed.ncbi.nlm.nih.gov/?term=makeup+sponge+microbial+contamination
https://pubmed.ncbi.nlm.nih.gov/?term=makeup+sponge+microbial+contamination - https://pubmed.ncbi.nlm.nih.gov/?term=cosmetic+applicator+sanitation+study
https://pubmed.ncbi.nlm.nih.gov/?term=cosmetic+applicator+sanitation+study - https://pubmed.ncbi.nlm.nih.gov/?term=makeup+brush+and+sponge+microorganisms
https://pubmed.ncbi.nlm.nih.gov/?term=makeup+brush+and+sponge+microorganisms - Cosmetics
https://en.wikipedia.org/wiki/Cosmetics - Cosmetics
https://en.wikipedia.org/wiki/Makeup - https://en.wikipedia.org/wiki/Sponge_(material
https://en.wikipedia.org/wiki/Sponge_(material



