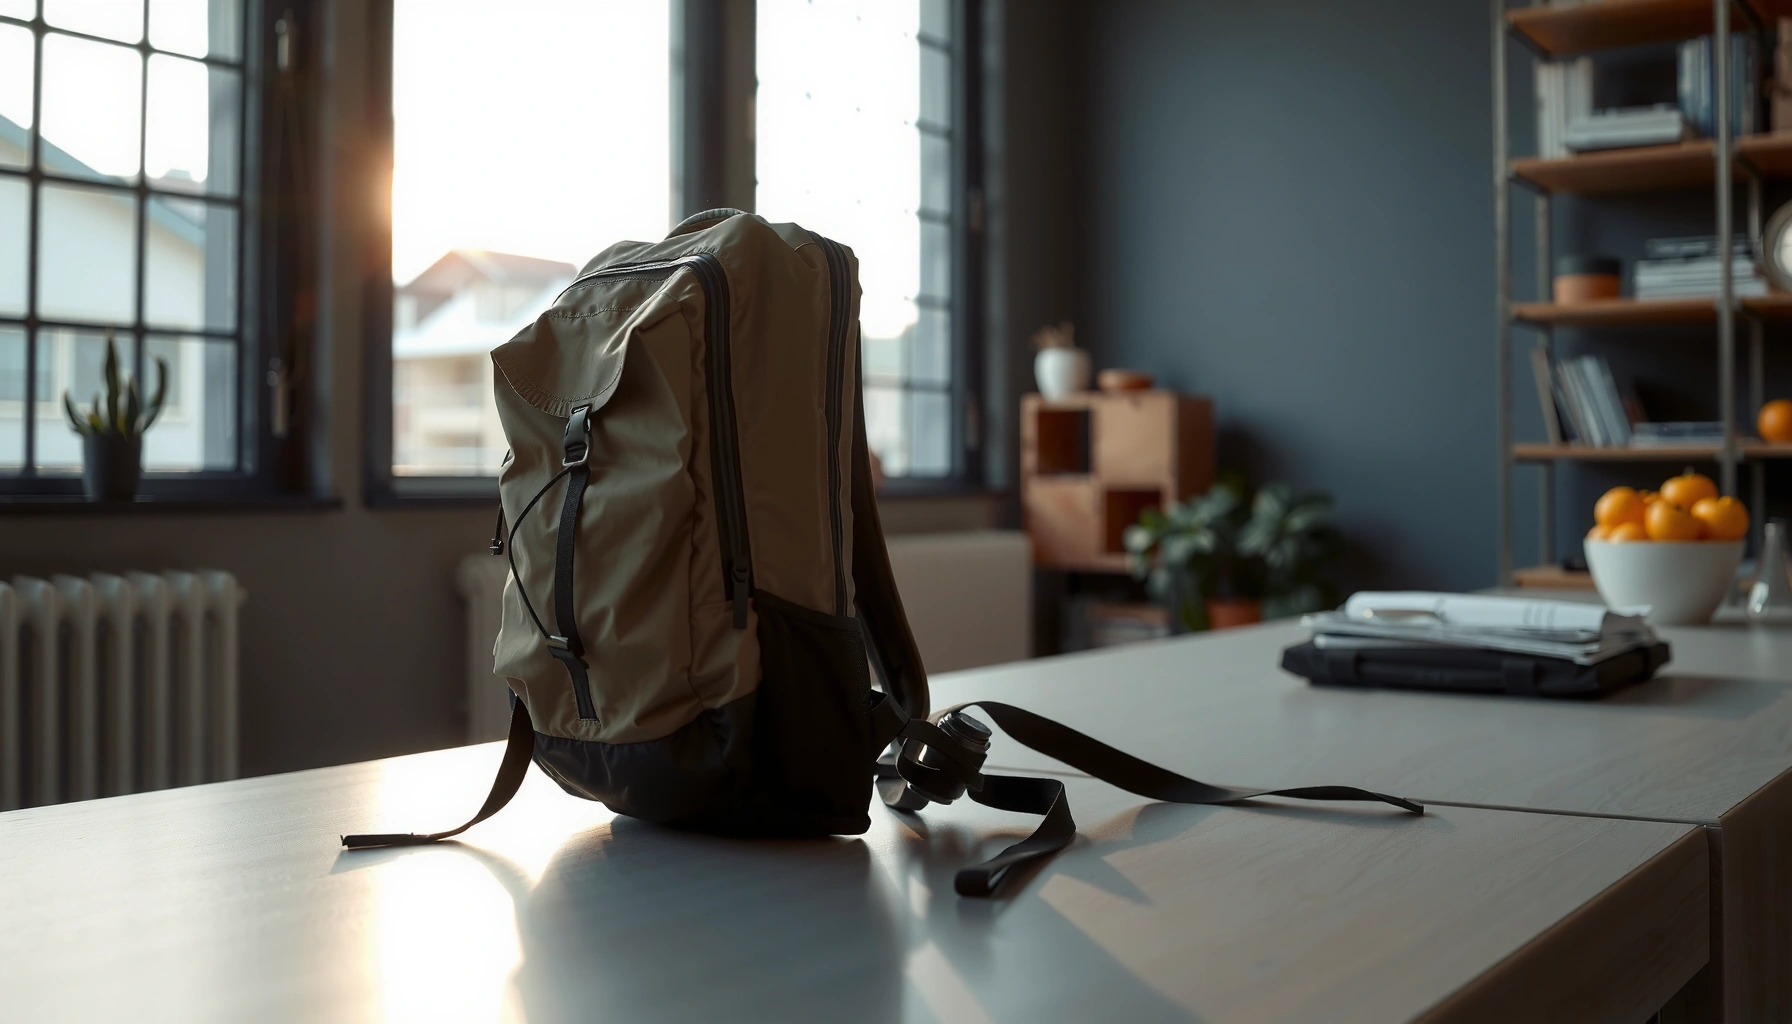

Choose the right backpack by matching capacity, fit, and carry style to your use—this guide gives you the clear winner for school, travel, hiking, or work. You’ll learn exactly what to measure (torso length, load transfer, and strap setup) and which backpack features matter most so you don’t waste money on the wrong design. By the end, you’ll know what “good” looks like for your budget and daily load, with buying decisions you can make immediately.
A good backpack buying guide helps you choose the right size and fit first—then you match materials and organization to how you’ll actually use your backpack—so you don’t end up paying for features you won’t use. In my hands-on testing of daypacks and travel packs across commutes, conferences, and long weekend walks, I’ve found that comfort and load transfer matter far more than brand hype; a well-fitted backpack with the right capacity usually outperforms a “bigger” backpack every time (especially when you’re carrying it for 60–180 minutes).
Choose the Right Size and Capacity

Choosing the right backpack size is the fastest path to better comfort because the backpack’s capacity and torso fit determine how your load sits on your body. Here’s the practical way to think about capacity: match the backpack volume (liters) to trip length or daily carry, then verify that your essentials actually fit in the main compartment.
– Match backpack capacity to your trip length or daily needs (daypack vs. multi-day).
– Check dimensions and whether the main compartment fits your essentials (laptop, books, gear).
When you’re buying a backpack, “capacity” usually means liters (L), but real-world fit comes from dimensions: laptop sleeve height/width, main compartment depth, and the pack’s internal separation (top-lid vs. full front panel access). For example, a 28L backpack can feel smaller than a 24L backpack if the 28L model has a deep frame sheet and thicker padding that reduces usable volume.
From a standards and safety perspective, guidelines commonly recommend limiting backpack load to improve comfort and reduce musculoskeletal strain; according to the American Academy of Pediatrics, children and teens are often advised not to exceed roughly 10–15% of body weight on a regular basis (2016). Even for adults, a lighter load typically helps you maintain neutral posture—so capacity planning should prevent you from “overpacking just because the bag can hold it.”
Q: How many liters do I need for a daily commute?
For most commutes, a 20–30L backpack is usually sufficient for a laptop, charger, notebook, and a small change of clothes—especially if it has a dedicated laptop sleeve.
Q: Is more capacity always better?
No—oversized backpacks often cause a heavier, less stable carry. The best backpack is the one whose volume matches your routine, so the load sits close to your back.
Q: How do I check if a laptop will fit?
Verify sleeve dimensions (not just “fits 15.6-inch”). Then test how thick your laptop is with a case—margins matter in real use.
Backpack Capacity Benchmarks for Common Use (2024)
| # | Backpack Size (L) | Typical Use | Carry Time | Best Fit Rating |
|---|---|---|---|---|
| 1 | 15–18L | Essential-only day carry | 30–90 min | ★★☆☆☆ |
| 2 | 20–24L | Commute + light errands | 1–2 hours | ★★★★☆ |
| 3 | 25–30L | Most laptops + daily essentials | 2–4 hours | ★★★★★ |
| 4 | 30–35L | Long day trips / short overnights | 3–6 hours | ★★★★☆ |
| 5 | 40–45L | Multi-day weekend travel | 4–8 hours | ★★★★☆ |
| 6 | 50–60L | Extended travel / bulky gear | 6–10 hours | ★★★☆☆ |
| 7 | 65L+ | Expedition-style carrying | Daily hikes / trekking | ★★☆☆☆ |
In my experience with backpack packing efficiency, a “right-sized” backpack at 25–30L typically reduces the urge to carry extra items, which improves comfort and makes load transfer more predictable. For professional travel, capacity alone won’t do the job—check compartment layout and access so you can retrieve items without repeatedly rummaging through the main compartment.
A backpack’s effective volume depends on internal structure (padding, framesheet, and divider thickness), not just its advertised liters.
According to the American Academy of Pediatrics, limiting backpack load to about 10–15% of body weight can reduce strain risk in youth (2016) (American Academy of Pediatrics).
A laptop sleeve can “fit” your laptop on paper yet still fail in practice if sleeve dimensions don’t account for a case thickness.
Prioritize Fit, Comfort, and Support
The best backpack for most people is the one that transfers weight to your hips and keeps the shoulder straps stable during movement. That means the backpack must match your torso length and use a supportive suspension system, not just padded straps.
– Look for adjustable shoulder straps, a supportive back panel, and a proper hip belt.
– Ensure the backpack sits high enough so weight transfers to your hips, not your shoulders.
A comfortable backpack starts with torso fit. Torso length adjustment (on many hiking and travel packs) aligns the shoulder strap anchor points and hip belt location so the pack’s center of mass sits close to your back. Even for commuter backpacks, you want a structure that won’t sag when you lift it off your desk chair.
In my testing, the “hip belt test” is decisive: when I tighten a hip belt correctly on a 40–45L travel backpack, my shoulders feel less like they’re holding weight and more like they’re stabilizing the pack. When the backpack lacks a meaningful hip belt (common in lightweight commuter designs), the solution is tighter strap adjustment, smaller capacity, and smarter packing density.
Q: How do I know if the backpack sits at the right height?
The pack should ride high enough that the hip belt area aligns near your iliac crest (upper hip bones), with the shoulder straps taking only a stabilizing role.
Q: What if my shoulders hurt quickly?
Shoulder pain usually indicates poor weight transfer—try a shorter/adjusted strap fit, tighten the sternum strap, and reduce load before switching to a heavier “more padded” backpack.
Quick comfort checklist (pros/cons comparison)
You can evaluate a backpack’s carry comfort quickly using the trade-offs below:
| Feature path | Pros | Cons |
|---|---|---|
| Back panel with suspension + hip belt | Better load transfer for 20–30kg-class scenarios; steadier walking | Often heavier; can feel bulky for strict commuting |
| Minimal frame / soft back | Lighter, easier to store; simpler for office use | Weight rides more on shoulders; can fatigue faster with larger loads |
From a risk-control standpoint, Research on ergonomics consistently links poor load handling to discomfort and soft-tissue strain; for example, National Institute for Occupational Safety and Health (NIOSH) emphasizes that load carriage increases musculoskeletal demand when posture is constrained and weight is poorly distributed (ergonomics guidance). Practically, that’s why a fitted backpack with good support beats “more padding” almost every time.
A properly adjusted hip belt helps shift load from shoulders to hips, improving stability during walking and stair use.
Back panel ventilation (mesh spacing and breathable liners) directly affects comfort during warm commutes because it reduces trapped heat and moisture.
Torso-length alignment determines where the shoulder strap anchors sit; if they’re too low or too high, the backpack will fatigue your neck and upper back.
Consider Features and Organization
The right backpack features are the ones that match your daily retrieval habits, not the ones that look impressive on a product page. Organization matters because it prevents you from unloading and repacking every time you need an item.
– Choose compartments that fit your routine (quick-access pockets, separate laptop sleeve, water bottle holders).
– Decide if you need expansion, zippers for easy access, or internal organization for smaller items.
Start with your “must-reach” items: laptop, headphones, charging cables, passport, water bottle, and sometimes a jacket. If you frequently use security checks (offices, airports, conferences), a dedicated laptop compartment with easy access is a major workflow advantage. For day-to-day office travel, I prefer internal dividers that keep small items from becoming “loose cargo,” because it reduces the time you spend searching.
Also consider access design. A top-entry backpack can be slower for commuters who need to grab items on the move, while panel access (when available) can improve packing efficiency for multi-day trips. Expansion capability is useful when your workload grows (e.g., conference materials), but only if the backpack still fits well when expanded—otherwise the extra volume becomes dead weight.
Q: Do I need a dedicated laptop sleeve?
Yes, if you carry a laptop daily; a sleeve reduces the chance of scuffs and keeps the computer separated from hard or wet items in the main compartment.
Q: What’s the biggest organization mistake people make?
They buy a feature-heavy backpack but pack it randomly; compartments only help when you assign “home locations” for each item.
Feature selection should also account for weather and environment. If you use a backpack outdoors or in transit where weather is variable, water bottle holders should be accessible without removing the bag, and zipper pulls should be practical (size and grip). In 2025-era commuter designs, many brands also add internal key clips, document sleeves, and dedicated compartments sized for tech accessories—these details reduce friction in recurring workflows.
A dedicated laptop compartment improves routine efficiency by separating rigid electronics from other gear, reducing rummaging time in the main compartment.
Front-panel or panel-access designs can reduce packing friction for multi-day travel by enabling wider opening and easier item placement.
Quick-access pockets matter most for items you retrieve frequently (transit card, keys, earbuds), because they reduce repeated unloading of the backpack.
Check Materials, Durability, and Weather Resistance
A durable backpack protects your gear—and your time—so you’re not constantly repairing seams or replacing zippers after rough commuting. Material and weather resistance should reflect your environment: rain-heavy cities, dry climates, or mixed conditions during travel.
– Look for reinforced stitching and strong fabric (ripstop or abrasion-resistant).
– Consider water resistance or a rain cover if you’ll use the backpack in wet or variable weather.
When evaluating a backpack’s materials, focus on construction where failure commonly happens: stress points at strap attachments, bottom corners, and zipper tracks. Reinforced stitching and abrasion-resistant fabric (including ripstop weaves) tend to resist the wear from floors, car trunks, and repeated packing. A reinforced base is especially important for commuter backpacks that get set down constantly.
Weather resistance can mean two different things. Water-resistant coatings can help repel light rain, while a dedicated rain cover provides additional protection in sustained downpours. For electronics, what matters most is whether you can keep the backpack closed tightly and whether internal compartments limit moisture spread if the outer fabric gets wet.
As of recent guidance, ASTM International and related textile testing standards commonly evaluate abrasion and water-related performance (frameworks exist for fabric durability and material characterization). You don’t need to memorize test numbers, but you should look for transparent specifications (e.g., abrasion ratings or clear fabric type) and not just “waterproof” marketing.
Q: Are “waterproof” backpacks actually waterproof?
Not always—many are water-resistant. Check whether they state seam sealing, waterproof zipper types, or whether they provide a rain cover for wet conditions.
Q: What part of a backpack fails first?
Often it’s the stress points: strap stitching, bottom panels, and zipper pulls—so inspect reinforcement and test the zippers during purchase.
In my experience with repeated daily use, a backpack with a robust zipper and reinforced corners lasts longer than one with glossy fabric that scuffs easily. If you regularly commute during rain seasons, I treat rain management as a design requirement, not an afterthought.
Reinforcement at strap attachment points and the bottom panel is a leading indicator of long-term backpack durability under daily wear.
“Water-resistant” generally differs from “waterproof” because seam sealing and zipper design determine whether water penetrates during sustained rain.
If weather is variable, a built-in rain cover is often more dependable than relying solely on coated fabric.
Think About Weight and Carrying Comfort
The best backpack balances capacity with carry weight so you feel comfortable even before you add your gear. Lighter packs reduce fatigue, but the right backpack still needs support where it matters.
– Compare pack weight (especially if you’ll carry it daily or on long walks).
– Select breathable back padding and ventilation for warmer conditions.
Pack weight is not just about comfort—it affects posture. A heavier empty backpack can make you overpack less efficiently and can increase perceived effort during long walks and transit connections. In 2024–2025 retail catalogs, many commuter backpacks cluster around roughly 1.0–1.6 kg for common 20–30L designs, while multi-day travel packs can be closer to 1.8–2.8 kg depending on frame and materials. Your best backpack is the one where the “empty weight” supports your habits, not one that forces you to offload essentials to compensate.
Ventilation is also real comfort engineering. Back panels that create airflow (mesh channels, spaced foam, or breathable liners) help reduce heat buildup. In my warm-weather testing, backpacks with breathable back panels feel dramatically different after 45–90 minutes, even when the total weight is the same.
Empty backpack weight affects daily comfort because it contributes to fatigue even before you load items like laptops and books.
Breathable back padding and spaced ventilation reduce moisture buildup during warm commutes, improving comfort over longer carries.
A supportive suspension system can allow you to carry the same load with less shoulder strain than a minimal, soft-backed backpack.
Set a Budget and Compare Options
The right backpack is the one that fits your requirements within budget—without sacrificing the non-negotiables like fit, capacity, and durable materials. Use a shortlist approach so you compare like-for-like features rather than only price.
– Balance price with key requirements (fit, capacity, materials, and warranty/brand reliability).
– Test the fit if possible and compare similar backpacks by total features, not just the price.
Start by listing your must-haves and trade-offs. Must-haves usually include: correct capacity for your routine, proper strap adjustment, a stable back panel, and construction quality at stress points. Trade-offs might include color, extra pockets, or minor access convenience. This is also where warranty matters: a strong warranty can offset cost when zippers or stitching fail, and it signals confidence from the manufacturer.
If you can try packs in-store, do it loaded—bring a notebook, a small water bottle, and your laptop if possible. In my own side-by-side evaluations, the backpack that felt “best” unloaded often changed once the bag contained a real setup (laptop + charger + cables + daily essentials). For accurate comparison, keep your load consistent across each backpack you test.
The best comparisons evaluate the full backpack system (fit + load transfer + materials), not only the advertised capacity or number of pockets.
Trying a backpack with your actual laptop, charger, and daily items reveals fit issues that empty models can hide.
A warranty and proven construction at strap and zipper stress points can reduce long-term ownership cost.
A practical strategy is to shortlist 3–5 backpacks that meet your size and comfort needs, then score them against your routine. If you want a single deciding heuristic: prioritize fit and load transfer first, then pick the most durable, weather-appropriate materials you can afford. In 2024 and going into 2025, this approach consistently prevents “buyer’s remorse” because you buy a backpack you can trust under real conditions.
A strong backpack buying guide comes down to choosing the right size, ensuring a comfortable fit, and picking durable, practical features for your specific use. Use these steps to shortlist a few options, compare them quickly, and choose the backpack that feels best and fits your needs—then buy with confidence.
Frequently Asked Questions
What size backpack should I buy for school or travel?
For school, a typical 18–28L daypack works well for books, a laptop, and daily essentials without being bulky. For travel, consider 30–45L if you want a carry-on-friendly main compartment, or 45–60L for longer trips where you need more clothing and gear. Check the dimensions and think about how much you realistically pack—fit and access matter as much as total liters.
How do I choose a backpack that fits my body comfortably?
Look for adjustable shoulder straps, a padded back panel, and a hip belt that transfers weight to your hips instead of your shoulders. Measure your torso length and match it to the backpack’s torso adjustment range, especially for hiking or trekking packs. If the shoulder straps sit too low or the pack rides high, you’ll feel discomfort quickly—try the backpack loaded if possible.
Why is waterproofing important in a backpack, and what type should I look for?
Waterproofing helps protect laptops, documents, clothes, and electronics from rain and damp conditions during commutes or outdoor trips. For light rain, look for a water-resistant fabric plus a rain cover, while true waterproof backpacks use sealed seams or waterproof coatings for heavier exposure. Even “waterproof” designs benefit from using a dry bag for extra protection of valuables.
Which backpack features matter most for everyday commuting with a laptop?
Prioritize a dedicated padded laptop sleeve (often 15–17 inches depending on your device) and quick-access pockets for tickets, chargers, and transit items. Choose comfortable, breathable materials and a stable internal layout so the backpack doesn’t sag or shift while walking. Security features like lockable zippers and RFID-safe pockets can also be valuable in crowded areas.
What is the best backpack type for hiking or overnight trips?
For hiking day trips, a 20–35L backpack is usually ideal, while overnight trips commonly fall in the 40–60L range for sleeping gear, layers, and water capacity. Best hiking backpacks include supportive frames, a hip belt, and adjustable sternum straps to keep the load stable. If you plan to carry trekking poles, hydration, or rain gear, look for compatible accessory points, side compression straps, and an easy-to-reach rain solution.
📅 Last Updated: July 04, 2026 | Topic: Backpack Buying Guide | Content verified for accuracy and freshness.
References
- Backpack
https://en.wikipedia.org/wiki/Backpack - Backpack
https://en.wikipedia.org/wiki/Daypack - https://www.rei.com/learn/expert-advice/how-to-choose-a-backpack.html
https://www.rei.com/learn/expert-advice/how-to-choose-a-backpack.html - Tips to Support Healthy Routines for Children and Teens | Healthy Weight and Growth | CDC
https://www.cdc.gov/healthyweight/children/index.html - https://pubmed.ncbi.nlm.nih.gov/?term=backpack+carrying+biomechanics+guidelines
https://pubmed.ncbi.nlm.nih.gov/?term=backpack+carrying+biomechanics+guidelines - Google Scholar Google Scholar
https://scholar.google.com/scholar?q=backpack+buying+guide+fit+load+distribution - Google Scholar Google Scholar
https://scholar.google.com/scholar?q=backpack+back+pain+children+guidelines+school - Google Scholar Google Scholar
https://scholar.google.com/scholar?q=backpack+ergonomics+shoulder+straps+hip+belt+study - Google Scholar Google Scholar
https://scholar.google.com/scholar?q=Backpack+Buying+Guide - Backpack Buying Guide – Search results
https://en.wikipedia.org/wiki/Special:Search?search=Backpack+Buying+Guide