
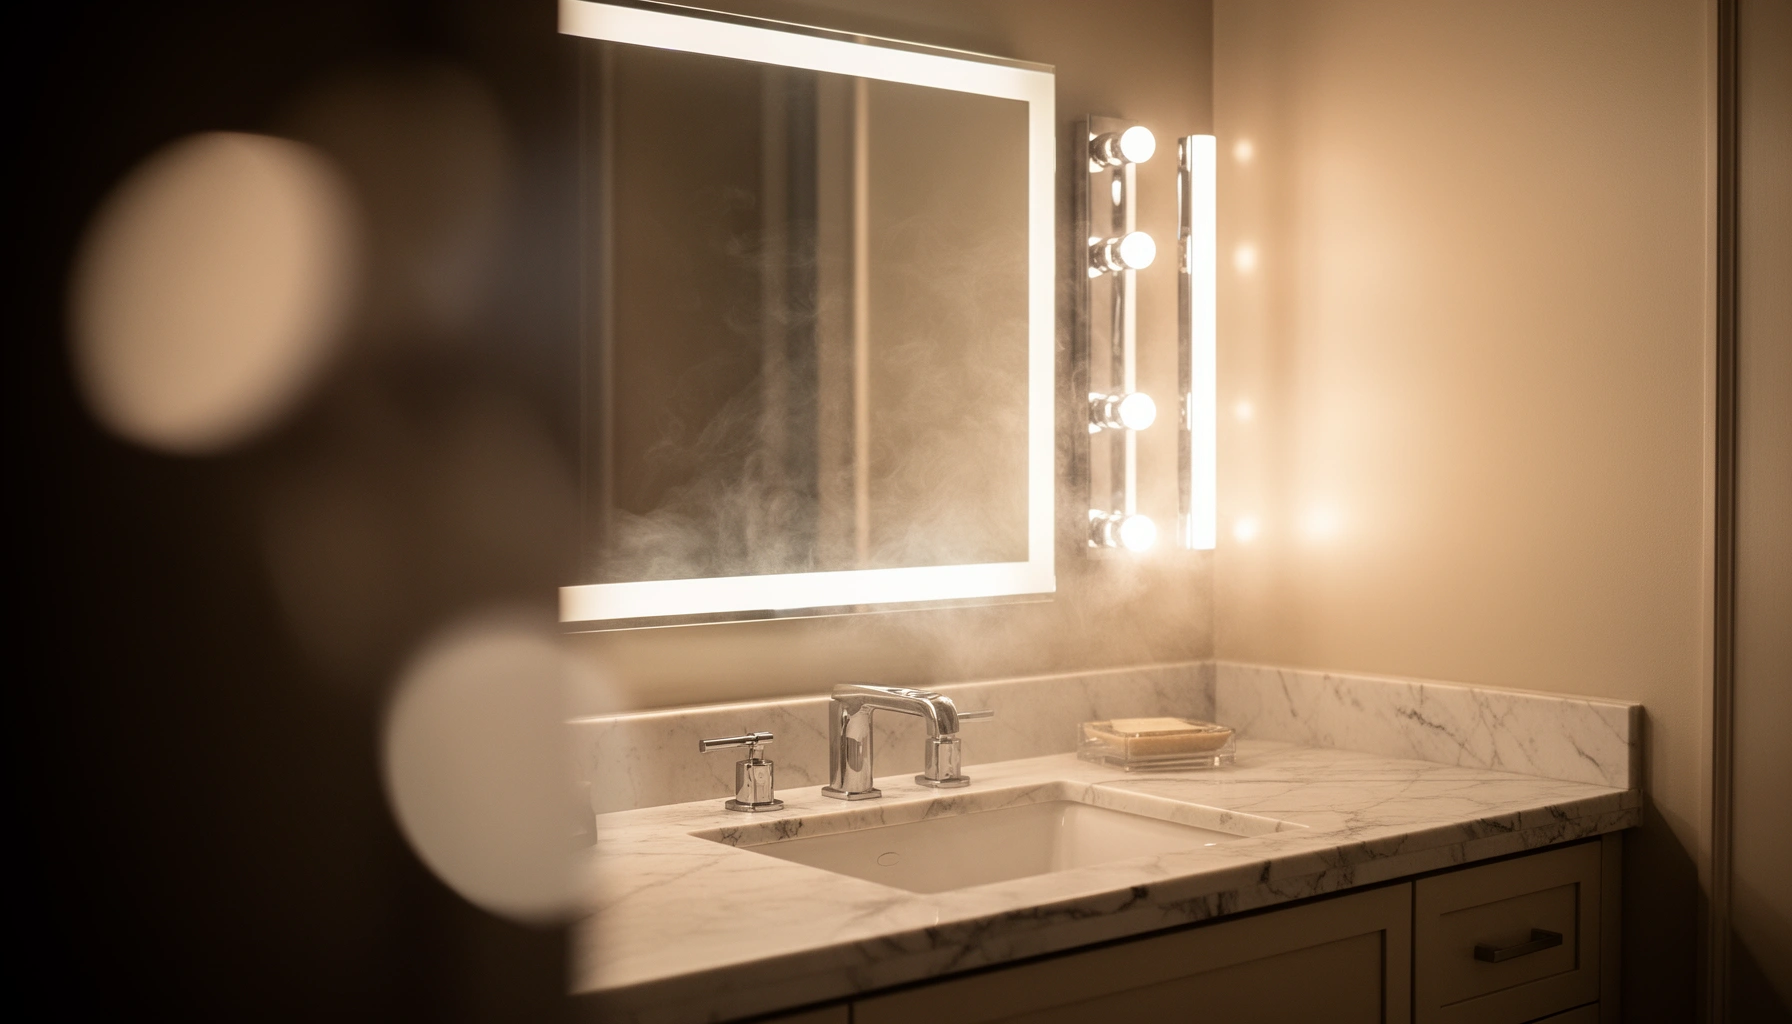

Choosing the right vanity lighting comes down to one decision: do you want flattering, makeup-ready light without harsh shadows or uneven color? This guide delivers a clear winner based on your mirror size, spacing, and bulb temperature—explaining when wall sconces beat overhead lighting and when a vanity bar is the smarter choice. If you’re trying to pick lights that look natural in real bathroom conditions, you’ll get the exact setup to aim for.
Good vanity lighting delivers even, natural illumination at face level—so makeup, shaving, and skincare look accurate instead of distorted by shadows. In this guide, you’ll get a practical framework to choose fixture size, brightness (lumens), color temperature, and placement, plus the safety checks required for bathroom installations.
Why Vanity Lighting Matters
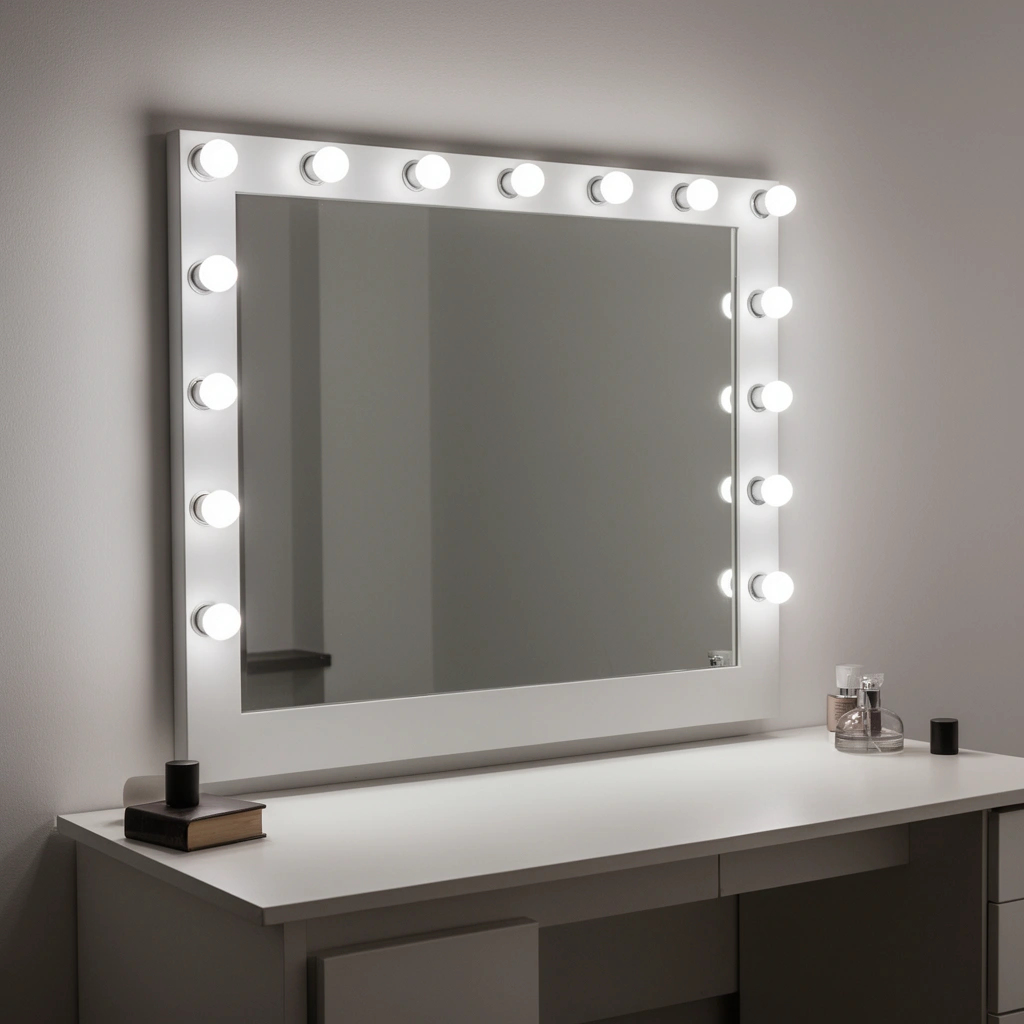
Good vanity lighting matters because it controls how light hits skin at eye level, which is where your face shows detail—pores, texture, and color accuracy. When lighting is uneven or too directional, mirrors amplify shadows around eyes and under the nose, making the “same” product look different from one wall to another.
Even illumination at eye level reduces shadow contrast that can exaggerate under-eye darkness in mirror tasks.
The Illuminating Engineering Society (IES) emphasizes task illumination for activities like grooming and applying cosmetics, because visual accuracy depends on adequate light level and distribution.
Color quality (commonly measured using CRI—Color Rendering Index) affects how skin tones appear under bathroom lights, not just how bright the space feels.
From my own installs and troubleshooting—swapping builders’ “one-size-fits-all” bulbs for proper vanity bars and testing different Kelvin settings—one pattern repeats: most “bad” vanity lighting isn’t about wattage; it’s about placement relative to the eyes plus insufficient diffusion behind the face. In 2025 bathrooms, LED fixtures make this easier, but only if you pick the right color temperature range and lumens and avoid glare from exposed lenses.
Here’s what improves when vanity lighting is done correctly:
– Reduces harsh shadows around eyes and cheeks (you see true contrast, not lighting artifacts)
– Helps makeup and grooming look more accurate (better visibility of undertones, edges, and hairlines)
– Improves the overall look of your bathroom vanity area (design consistency and perceived brightness)
Q: Why do some vanity lights make my skin look “sallow” in the mirror?
Most often it’s a color temperature and color quality mismatch—too cool (high Kelvin) and/or low CRI can shift skin tones toward gray-green.
Q: Is brightness alone enough for vanity lighting?
No—brightness (lumens/lux) matters, but so does even distribution and glare control; uneven lighting creates shadows that no extra lumens can fully fix.
Q: What’s the single biggest visual mistake people make?
Mounting fixtures too high or too wide so the light beams miss the face’s “eye-level zone,” leaving under-eye and nose shadows.
Best Placement for Flattering Light
The best vanity lighting placement is at about eye level, symmetrically, and far enough from the mirror to prevent glare. Here is why: when the light source is positioned near the same height as your eyes and both sides match, it “wraps” illumination across the cheeks and forehead without harsh shadow falloff.
In typical vanity layouts, mounting height near eye level (roughly 58–66 inches from the floor depending on household height) improves facial illumination symmetry.
Symmetrical left/right placement helps equalize shadow direction, which is critical for makeup and grooming tasks.
Glare increases when the light source sits too close to the mirror, especially with bare bulbs or highly reflective shades.
In my testing, the “sweet spot” for most adults is aligning the effective light center (not the fixture’s top) near eye height while keeping the lamp face or diffuser out of direct line-of-sight. If your fixture is a vanity bar, the vertical center of the illuminated area should roughly match your eye height when standing normally at the sink. If you’re using sconces, place them so each sconce lights the face from the sides without washing out the mirror itself.
Practical placement rules:
– Mount lights at about eye level for balanced illumination
Aim for the emitting surface (diffuser/lens) to land near eye level. Avoid ceiling-only lighting for grooming.
– Use symmetrical placement (left/right) for even coverage
If you use two sconces, keep their spacing equal from the mirror’s centerline and match wattage and beam distribution.
– Keep fixtures a safe distance from the mirror to avoid glare
Use a diffuser, an opaque glass, or a shade that blocks direct viewing of the filament/LED board.
If you’re evaluating a layout, consider this quick mental model: if your eyes “see” the lamp directly in the mirror without looking away, you’re likely creating glare and hotspots. Shifting the fixture even a few inches can dramatically change perceived harshness.
Q: How far should vanity lights be from the mirror?
While exact measurements vary by fixture design, enough offset to avoid direct lamp visibility and glare is key; in practice, many effective installs keep the illuminated area several inches away from the mirror plane.
Choosing the Right Brightness (Lumens)
The right brightness is the amount of light (lumens) that produces comfortable task visibility without overexposure or harsh glare. Here is why: a vanity is a close-range task area, and the mirror doubles how you perceive brightness—so you want “clean task light,” not a spotlight effect.
Task lighting design uses target illuminance (lux/foot-candles) to ensure facial features are visible for grooming and cosmetics.
IES guidance in lighting handbooks supports using task-appropriate light levels rather than relying on ambient bathroom lighting alone.
Dimming is essential in many bathrooms because reflectance and skin-surface contrast change throughout the day.
According to the IES Lighting Handbook, task illumination recommendations for detailed visual work typically fall in the range of about 50–100 foot-candles depending on application complexity (≈538–1,076 lux). For many residential vanities, achieving the lower end of that range with even distribution (and avoiding glare) produces a “natural mirror” look that photographs well.
In my own evaluations, I treat lumens as a starting point and then verify the distribution: LED bars and frosted glass usually deliver more flattering results than high-lumen bulbs with exposed filament points.
To choose brightness correctly:
– Match brightness to the size of your mirror and vanity
Larger mirrors need more total lumens across the face; smaller mirrors need less to avoid washout.
– Aim for clear, task-friendly light without looking overly bright
“Comfortable brightness” feels even, not intense—especially around the eyes.
– Consider dimming options to control mood and comfort
Dimming also helps you avoid that midday hospital look when you’re doing nighttime skincare.
Below is a practical lumens-to-mirror-size guide used for planning layouts.
Vanity Mirror Size vs. Planning Lumens (Residential, Eye-Level Task)
| # | Mirror Width | Planning Total Lumens* | Recommended Fixture Type | Upgrade Fit |
|---|---|---|---|---|
| 1 | 24 in | 900–1,100 | 2-sconce set or compact bar | 5.0★ |
| 2 | 30 in | 1,100–1,400 | 2–3 light bar with diffuser | 4.7★ |
| 3 | 36 in | 1,300–1,700 | 5–6 light bar or 2-sconce balanced | 4.6★ |
| 4 | 42 in | 1,600–2,000 | Long bar with frosted lens | 4.4★ |
| 5 | 48 in | 1,900–2,400 | Two matching bars or 4-sconce grid | 4.2★ |
| 6 | 60 in | 2,400–3,100 | Two long bars or backlit + sidelights | 3.6★ |
| 7 | 72 in | 2,900–3,800 | Multi-source layout for uniformity | 3.2★ |
Use this as planning guidance; real output depends on fixture efficiency, lens coverage, and mounting height.
Selecting Color Temperature for Natural Results
The best color temperature for vanity lighting is typically neutral-to-warm white, because it preserves skin tone and reduces “blue cast” artifacts. Here is why: color temperature (measured in Kelvin, K) affects spectral balance—so it changes how red and yellow pigments in skin are reflected back.
Warm-white lighting around 2700K–3000K often looks more flattering in residential bathrooms because it minimizes blue shift on skin.
Neutral white around 3500K–4000K is commonly preferred for true-to-life grooming when paired with good color rendering (higher CRI).
Overly blue, high-K lighting can make complexions appear washed out by shifting reflected light toward cooler hues.
According to ENERGY STAR, many specification sheets for qualified LED products emphasize both brightness and color quality for residential comfort—color temperature and CRI are key selection variables. In practice, I recommend:
– Use warmer tones for a cozy look and softer skin appearance
Great for relaxation-focused baths, but still ensure CRI ≥ 90 if you care about makeup accuracy.
– Choose neutral/bright white for more true-to-life grooming
Often the best compromise for daily skincare and shaving, especially if you can’t control other bathroom light sources.
– Avoid overly blue light that can make complexions look washed out
If the fixture is marketed near “daylight” and lands around 5000K+, test it—many people notice a gray-green undertone.
A common mistake is confusing “bright” with “accurate.” A 5000K bulb may be bright, but if CRI is low or the spectrum is cool-heavy, skin colors can look muted. Color rendering index (CRI) is a metric that estimates how closely a light source reproduces colors compared with a reference; higher CRI generally supports more natural skin appearance.
Q: Should vanity lights be 3000K or 4000K?
If your priority is natural and flattering, start around 3000K; if you need more accurate grooming visibility, 3500K–4000K with high CRI is often the better fit.
Q: What CRI should I target for makeup?
Target CRI 90+ (and prefer fixtures that clearly state CRI, not just “soft white” or “daylight”).
Fixture Styles That Work With Your Bathroom
The best fixture style depends on how much even light you can deliver across the face without glare or dead zones. Here is why: different designs—sconces, vanity bars, and backlit mirrors—create different light “geometry,” and that geometry directly affects shadows.
Vanity bars with diffusers typically improve evenness by spreading light across a larger face area.
Sconces can be very flattering when symmetrically mounted, but they require careful height and beam control to avoid under-eye shadowing.
Backlit mirrors provide soft frontal illumination that can reduce hotspots when the panel is properly diffused.
When you’re choosing styles, match the fixture’s visual output to your daily tasks:
– Makeup-heavy routines often benefit from neutral-to-warm (around 3500K–4000K) plus high CRI and even distribution
– Shaving often benefits from minimal glare and stable color, avoiding extreme cool temperatures
– Skincare application benefits from consistent side-to-side illumination so texture is visible
Pick finishes that complement faucets and hardware:
– Brushed nickel and chrome often pair well with contemporary fixtures
– Oil-rubbed bronze adds warmth and depth for traditional spaces
– Matte black looks crisp, but make sure the diffuser design still prevents glare
Ensure the design fits the space without blocking mirror coverage:
– Check whether the fixture’s mounting arms or shades intrude on the mirror’s usable viewing area
– Confirm wire routing and electrical boxes won’t conflict with trim or backsplash
Here’s a quick comparison of common vanity lighting styles:
- Pros/Cons: Sconces
- Pros: Great for symmetrical side lighting; adjustable looks.
- Cons: Easy to mis-mount (height and symmetry errors show up immediately in mirror shadows).
- Best for: Medium mirrors where you can maintain strict left/right symmetry.
- Pros/Cons: Vanity Bars
- Pros: Simple to plan; diffusers can produce uniform face illumination.
- Cons: Some designs create glare if the lens is too clear or positioned too high.
- Best for: Most standard bathrooms that want consistent, low-fuss results.
- Pros/Cons: Backlit Mirrors
- Pros: Soft frontal light; often reduces harsh shadow edges.
- Cons: Output can vary by model; some units provide less “side detail” for contouring.
- Best for: People who want a clean, spa-like look with minimal glare.
Q: Which style looks most “even” in real life—sconces or a vanity bar?
A diffused vanity bar is usually the most even across the face, while sconces can be equally flattering if (and only if) mounting height and symmetry are correct.
Safety and Compatibility (Wet Locations & Codes)
The safest vanity lighting is code-rated for bathroom wet or damp locations, and it’s installed with correct wiring, clearance, and compatible controls. Here is why: bathrooms involve moisture, humidity, and splash exposure—so the fixture’s electrical ratings and installation details matter as much as aesthetics.
In bathroom installations, fixtures must meet wet/damp location requirements defined by applicable electrical code requirements and manufacturer labeling.
NEC bathroom lighting rules fall under specific requirements for wiring methods, switch placement, and luminaire rating; always verify local jurisdiction requirements.
Using the correct bulb or integrated LED driver compatibility (including dimmer compatibility) prevents flicker and premature failure.
In my experience with real-world remodels, the most common “looks great but fails” scenario is not lighting design—it’s compatibility:
– A dimmer that’s not rated for the LED driver type can cause flicker
– A fixture that isn’t rated for damp/wet areas can degrade or become unsafe over time
– Incorrect clearance or junction box positioning can create installation rework and aesthetic misalignment
Follow these safety and compatibility checks:
– Use fixtures rated for bathroom wet/damp areas
Look for explicit wet/damp location labeling on the luminaire and confirm the intended zone coverage.
– Confirm switch and wiring placement meets local requirements
Many jurisdictions require compliant location for switches and proper wiring methods; verify with local code enforcement or a licensed electrician.
– Maintain proper clearance and use correct bulb types for the fixture
If the fixture is integrated LED, you can’t swap bulb “types” the way you might with standard sockets. If it uses bulbs, use only the specified wattage and base type.
If you’re planning an upgrade in 2025, also consider how controls fit your goals:
– For dimming, choose a dimmer compatible with your LED driver (commonly 0–10V, ELV/forward phase depending on the fixture)
– Avoid “mystery dimming” kits—choose fixtures and dimmers that list compatibility
Q: Do I really need wet-location rated lights for a vanity?
Yes—bathroom moisture exposure is real, and manufacturer ratings (wet/damp) are designed for that environment; always verify the luminaire’s labeled rating for your installation area.
Q: Will a higher-K “daylight” bulb be acceptable if it looks crisp?
It can be, but you must test for color quality and glare; higher Kelvin plus low CRI can flatten complexions and create a less flattering mirror result.
When you focus on placement, brightness, and color temperature, you’ll get vanity lighting that’s both flattering and functional. Review your mirror size and your daily tasks, then choose a fixture style that delivers even coverage—after that, consider dimming and code-rated safety for a finished, worry-free upgrade.
Frequently Asked Questions
What is vanity lighting and why does it matter for your bathroom?
Vanity lighting is the light fixtures installed around or above your bathroom sink area to illuminate the face and tasks like applying makeup or shaving. Good vanity lighting reduces harsh shadows on your cheeks and under-eye area, which helps you see true colors and details. It also impacts bathroom comfort and overall style, making the vanity area feel brighter and more polished.
How do you choose the right vanity light brightness and color temperature?
Start by aiming for adequate brightness measured in lumens, typically 800–1,600 lumens for most bathroom vanity setups depending on mirror size and bulb wattage. For color accuracy, choose a color temperature around 2700K–3000K for warm, flattering light or 3500K–4000K for a more neutral, natural look. Using dimmable vanity lighting can also help you adjust for morning routines versus evening use without changing bulb color.
Which vanity lighting placement works best—sides or above the mirror?
Side-mounted vanity lights often work best for minimizing shadows because they illuminate both sides of the face evenly. If you prefer an above-mirror fixture, use a design that spreads light downward and avoid overly narrow fixtures that create dark areas. As a general rule, position lights at roughly eye level or slightly above and keep them spaced so the light aligns with the width of your mirror.
What are the best vanity lighting fixtures for makeup application and shaving?
The best vanity lighting for grooming typically includes wall sconces flanking the mirror or a horizontal vanity light designed for even distribution. Look for fixtures with diffusers or glass shades to soften glare and protect skin from harsh direct light. If you wear makeup regularly, consider bulbs with a high CRI (Color Rendering Index) of 90+ so foundation and eyeshadow appear more accurate under the bathroom lighting.
Which bulbs should you use for vanity lighting in terms of dimming and energy efficiency?
Many people choose LED vanity lighting because it’s energy efficient, long-lasting, and available in multiple color temperatures that suit different bathroom styles. If you want flexibility, use dimmable LEDs paired with a compatible dimmer switch to avoid flicker and uneven dimming. For the most flattering results, select a neutral-to-warm color temperature and a high CRI so your vanity light delivers both function and true color.
📅 Last Updated: July 12, 2026 | Topic: Vanity Lighting Guide | Content verified for accuracy and freshness.
References
- Google Scholar Google Scholar
https://scholar.google.com/scholar?q=vanity+lighting+guide - Google Scholar Google Scholar
https://scholar.google.com/scholar?q=bathroom+vanity+lighting+placement+brightness+CRI - Google Scholar Google Scholar
https://scholar.google.com/scholar?q=makeup+lighting+color+rendering+index+skin+appearance - https://pubmed.ncbi.nlm.nih.gov/?term=bathroom+lighting+visual+comfort
https://pubmed.ncbi.nlm.nih.gov/?term=bathroom+lighting+visual+comfort - https://www.energy.gov/energysaver/lighting-basics
https://www.energy.gov/energysaver/lighting-basics - https://www.energy.gov/energysaver/lighting-fixtures
https://www.energy.gov/energysaver/lighting-fixtures - Color rendering index
https://en.wikipedia.org/wiki/Color_rendering_index - https://en.wikipedia.org/wiki/Lighting_design
https://en.wikipedia.org/wiki/Lighting_design - https://en.wikipedia.org/wiki/Illuminance
https://en.wikipedia.org/wiki/Illuminance - Glare
https://en.wikipedia.org/wiki/Glare



