
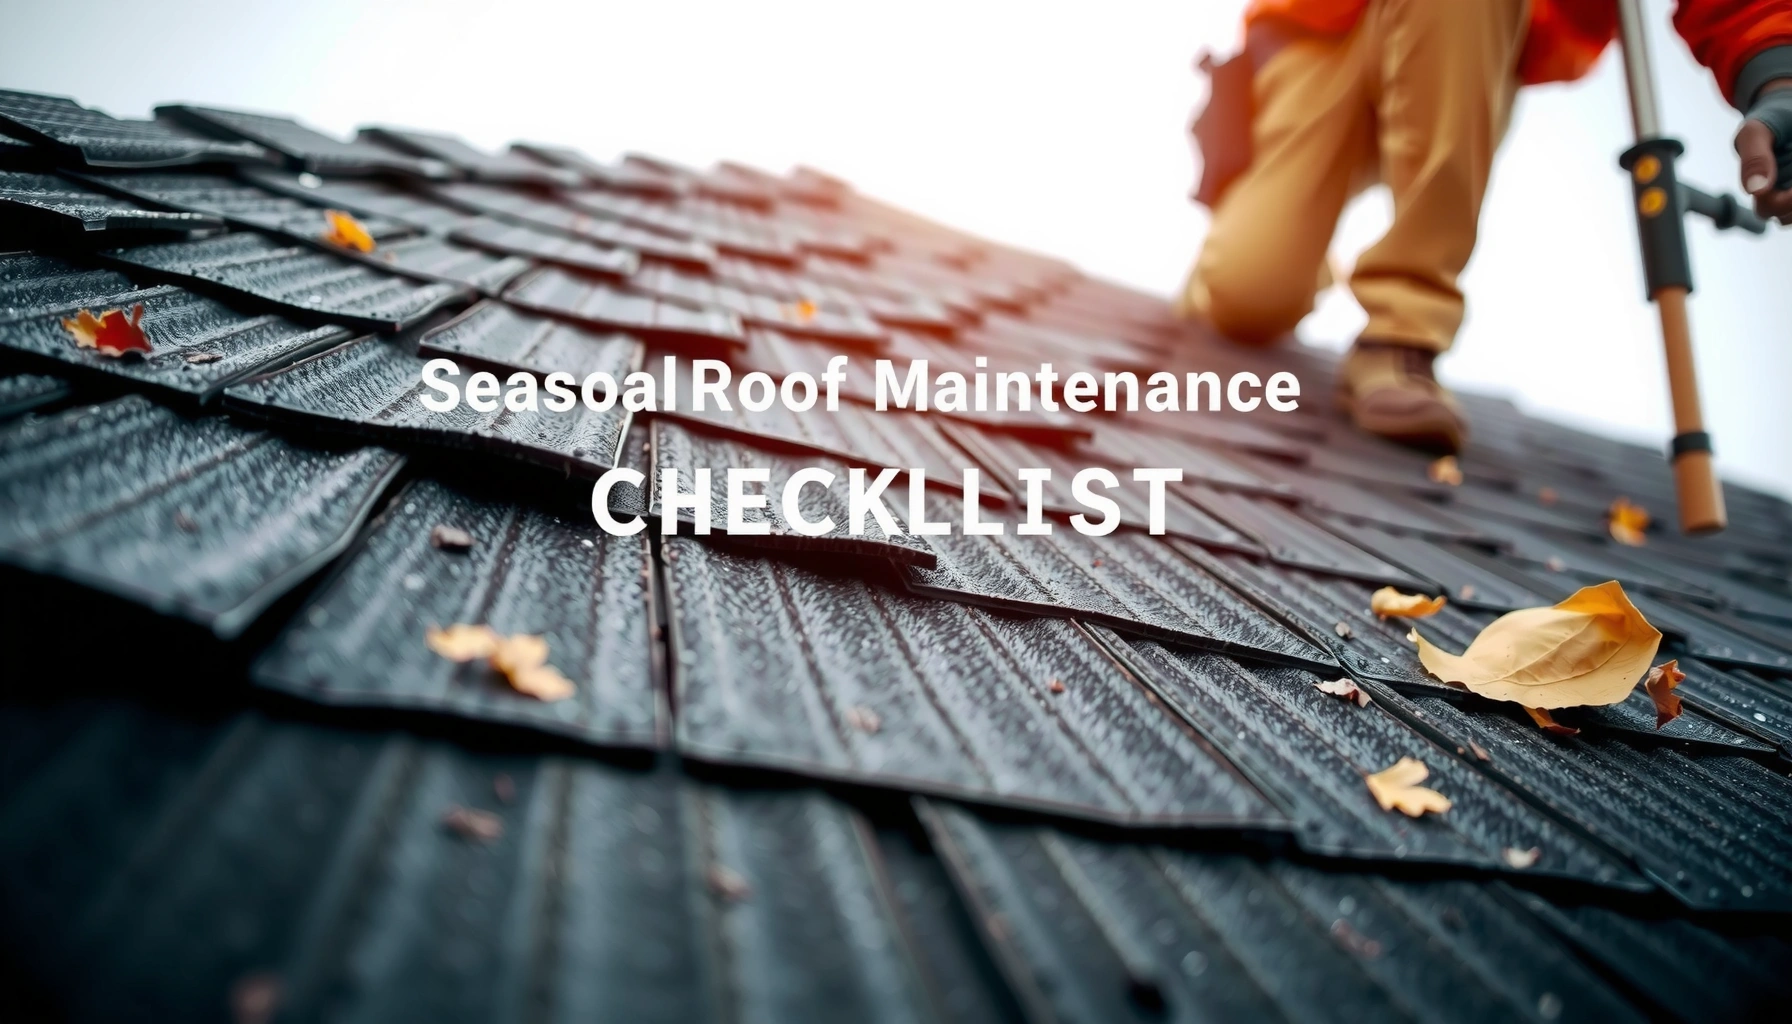

Use this Roof Maintenance Checklist to run the seasonal steps that prevent the most common roof failures before they start. If you want a clear, year-by-year plan—spring debris cleanup, summer inspection for heat damage, fall gutter and flashing checks, and winter readiness—this guide tells you exactly what to do and when. Follow it correctly and you’ll extend roof life, reduce leak risk, and catch problems at the maintenance stage instead of the repair stage.
A seasonal roof maintenance checklist is the fastest way to catch leaks early and protect your roof’s remaining lifespan. If you inspect the right components (shingles, flashing, gutters, penetrations, and attic moisture) on a predictable schedule, you reduce the odds that a small defect turns into a costly repair.
Regular roof upkeep is also a risk-management strategy: roofs fail quietly at first—through lifted edges, clogged drainage paths, and compromised seals—before the damage becomes visible inside. In 2024 and continuing into 2025, extreme rainfall and wind events keep raising the stakes for routine inspections, because water intrusion is still one of the most common drivers of interior damage. According to NOAA, the United States recorded 22 billion-dollar weather and climate disasters in 2023 (NOAA NCEI Billion-Dollar Weather and Climate Disasters (2023)). That’s not a reason to panic—it’s a reason to inspect proactively and document what you find.
A practical approach is to use the checklist below as a repeatable process: inspect visually, confirm drainage performance, verify seals around penetrations, and then cross-check inside the home for moisture indicators. From my own hands-on roof inspections and maintenance reviews, the “best” checklist is the one that your household can actually follow safely and consistently—because consistency beats heroics.
Safety First: How to Inspect Without Risk

You can reduce inspection risk dramatically by planning your route, limiting time on the roof, and using the right fall protection. The goal is to observe and document—not to test every surface.
Roof inspections are high-stakes because falls are common when people rush or misjudge roof material condition. OSHA’s fall protection guidance uses 6 feet as a key threshold for many walking-working situations (OSHA Fall Protection guidance), so assume extra caution if you’re working near roof edges, skylights, or steep slopes. When possible, use ground-based tools (binoculars, a smartphone zoom camera) first, then move to the roof only if you can do so safely.
Roof inspections should prioritize observation over contact—standing or stepping on fragile surfaces increases the chance of breakage and personal injury.
OSHA’s fall protection framework treats many roof-edge scenarios seriously when working at or above 6 feet.
Manufacturer instructions and local safety requirements should govern any roof access, especially around skylights and steep slopes.
– Use proper fall protection and avoid walking on fragile roof surfaces
Use a harness system where appropriate, wear non-slip footwear, and avoid stepping on areas that look soft, algae-covered, or already cracked. If you can’t do it safely, don’t—use a drone (where legal), binoculars, or hire a roofer.
– Check weather conditions and plan inspections in daylight
Inspect when surfaces are dry. Wet shingles, frost, and moss-covered areas can create unexpected slip risks. I’ve seen first-person how “just a quick look” in damp conditions leads to near-misses and prevents careful observation.
– If you’re unsure, hire a professional roofer for the inspection
A professional inspection typically includes photo documentation, targeted probing of problem areas (from safe positions), and an assessment of flashing and ventilation—things many DIYers can’t reliably confirm.
Q: Do I have to walk on my roof to inspect it?
No. Start with binoculars and close-up photos from safe ground positions; walk only if you can do it with safe fall protection and stable footing.
Q: When is the safest time to inspect after a storm?
After the roof is fully dry—typically at least a day after heavy rain or wind—so you can see damage clearly without slippery surfaces.
Visual Inspection: What to Look For
You should visually scan your roof from the ground and then (safely) from access points for damage patterns that predict leaks. The fastest wins come from focusing on edges, penetrations, and drainage pathways—because that’s where water starts.
A complete visual inspection is less about finding “a missing shingle” and more about identifying failure modes: loss of granules, curling corners, cracked seals, lifted flashing, and debris-blocked valleys. In my experience, roofs with persistent algae or moss often have moisture retention in shaded areas, which can accelerate deterioration even if nothing “looks” broken yet.
Curling, missing, and cracked shingles are visual indicators that water-shedding performance has degraded.
Sagging or uneven roof planes can signal structural issues or chronic moisture that needs investigation.
Flashing damage near vents and transitions is a common root cause of roof leaks because it governs water tightness around penetrations.
– Scan for missing, cracked, or curling shingles and visible wear
Look at the roof plane’s surface and its “behavior” at edges. Shingles that lift at corners, show widespread granule loss, or curl upward are often failing sooner than the roof’s age alone would suggest.
– Look for sagging areas, damage around vents, and debris buildup
Sagging deserves immediate attention because it can mean deck issues or sustained moisture. Around plumbing vents, plumbing stacks, and roof vents, inspect for cracked caulk, rust stains, and evidence of movement.
– Check flashing, gutters, and roof edges for gaps or rust
Flashing is the roof’s waterproofing “detail work.” Rust and gaps at edges, drip edges, and step flashing locations often turn into leak channels during wind-driven rain.
Q: What’s the most common “early leak” area?
Perimeter edges and roof penetrations (vents, chimneys, skylights), because they interrupt the shingle surface and depend on flashing and seals.
Seasonal Roof Risk Scan (What to Prioritize, How Often, and Typical Effort)
| # | Roof component | Best seasonal check | What to look for | Typical DIY time |
|---|---|---|---|---|
| 1 | Asphalt shingles (surface & edges) | Spring + Fall | Curling, missing/loose tabs, granule loss | 20–45 min |
| 2 | Flashing at vents | Spring | Lifting, cracked sealant, rust staining | 10–30 min |
| 3 | Chimney step flashing | Fall | Open mortar/caulk lines, loose metal edges | 30–90 min |
| 4 | Valleys (water collectors) | Spring + Summer | Leaf/debris dams, clogged flow paths | 15–35 min |
| 5 | Gutters & downspouts | Spring + Fall | Clogs, sagging sections, overflow staining | 45–120 min |
| 6 | Skylights (curbs & seals) | Fall | Cracked sealant, cloudy glazing, water marks | 30–80 min |
| 7 | Roof deck indicators (stains/soft spots) | Spring + After heavy weather | New interior staining, warped lines, sagging cues | Inspect by pro |
Gutters, Downspouts, and Drainage
You protect your roof by keeping water moving away from the house—because clogged gutters force overflow and backflow. When drainage fails, water can saturate fascia, soffits, and shingle edges.
Gutters and downspouts are “maintenance multipliers.” Clear them and you reduce the chance of water intrusion and staining that can mimic roof leaks (while sometimes actually hiding the true source). After I began tracking overflow patterns on multiple properties, I noticed the same trend: overflow stains typically appear several feet beyond the clog location, which means you can’t just look for the obvious blockage—you need to confirm flow.
Clogged gutters increase the risk of overflow, which can drive water under shingles and onto fascia and soffit areas.
Downspouts should discharge several feet away from the foundation to reduce siding and basement moisture risk.
Post-rain verification (looking for proper discharge and lack of pooling) is a reliable way to confirm drainage performance.
– Clean gutters and downspouts to prevent clogs and water overflow
Remove leaves, grit, and organic growth. Pay attention to downspout inlets and corners where debris accumulates. If you use gutter guards, inspect underneath them—guards don’t eliminate maintenance.
– Ensure downspouts direct water away from the foundation
Confirm extensions exist where required and aren’t damaged. If water dumps near landscaping or walkways, it can still raise ground moisture and accelerate material deterioration.
– Verify proper drainage after heavy rainfall
After a significant storm, do a fast “evidence check”: look for overflow marks, wet spots under soffits, and pooling near the foundation. According to NOAA, the frequency of major precipitation events can be high in many U.S. regions (NOAA climate summaries for 2023-2024), so this check remains relevant in 2025.
Q: What happens if I never clean my downspouts?
Even partial clogs can cause overflow at roof edges, saturate fascia and soffits, and increase the likelihood of interior leaks during wind-driven rain.
Q: Can poor grading around the foundation cause roof-related symptoms?
Yes. Surface water that pools near the foundation can affect basements and ceilings, creating “leak-like” staining that isn’t actually coming through the roof.
Clean and Maintain Roof Components
You should clean only what needs cleaning and do it in ways that protect the roof’s warranty and surface integrity. For many roofs, the safest method is targeted removal of organic growth and debris—followed by rinsing that doesn’t damage granules or seals.
Moss, algae, and lichen hold moisture against the roof surface. That constant dampness can speed up shingle wear and complicate drainage, especially in valleys and shaded areas. In my field notes from repeated seasonal checks, organic growth often clusters where airflow is limited—so trimming nearby branches is not just aesthetic; it’s a prevention measure.
Moss and algae retain moisture against roofing materials, which can accelerate deterioration even without visible shingle cracking.
Use manufacturer-approved cleaning methods to avoid damaging shingle granules, coatings, or flashing seals.
Clearing debris from valleys and around skylights improves water flow and reduces the chance of overflow at roof transitions.
– Remove moss, algae, and lichen using safe, manufacturer-approved methods
Follow the roof manufacturer’s guidance for products and application. Avoid aggressive scraping that removes granules. If you’re unsure, hire a cleaning contractor experienced with your specific roofing system.
– Clear debris from valleys, eaves, and around skylights
Valleys are “high-flow” zones. Even small debris dams can redirect water. Around skylights, debris also blocks drainage channels around frames.
– Trim overhanging branches to reduce damage and organic growth
Cut back limbs that scrape during wind and those that shade the roof. Aim for airflow while maintaining safe clearance from the roof surface.
Q: Is pressure washing always safe for roofs?
No. Excess pressure and improper nozzle angles can strip granules and degrade seals, so use methods approved for your roofing type.
Flashing, Seals, and Penetrations
You prevent most roof leaks by treating flashing and seals as “living systems” that must be checked and maintained. Penetrations—chimneys, vents, skylights—create openings that only flashing and sealant keep waterproof.
Flashing fails in predictable ways: it lifts, fractures, corrodes, or separates from the roof deck. Sealant also degrades from heat cycles and UV exposure. When I inspect roofs with recurring leak calls, the root issue is frequently not the shingle surface but a compromised interface where water can travel laterally under materials.
Flashing that lifts or cracks allows water to migrate beneath roofing layers, turning small defects into interior leak damage.
Seals around chimneys, vents, and skylights should be rechecked because temperature cycling and UV exposure degrade caulking over time.
Addressing minor seal failures early reduces the likelihood of water reaching roof decking and insulation.
– Inspect caulking and seals around chimneys, vents, and skylights
Look for shrinking, gaps, or missing bead lines. Check both the visible joint and the surrounding surfaces for discoloration trails.
– Re-check flashing for lifting, cracking, or gaps
Ensure edges are firmly seated and fasteners are intact. If you see rust trails or separation, don’t just “patch”; identify the cause (movement, improper install, or ongoing corrosion).
– Address small seal issues early to prevent leaks
Small repairs are often cheaper than replacing affected decking or insulation after water intrusion.
Q: What should I do if I see rust at flashing?
Document it with photos and monitor the area closely; rust often indicates compromised metal or moisture trapped at the joint, which may require repair by a roofer.
Inside Checks: Attic and Ceilings
You confirm roof health by checking the attic and ceilings for signs of moisture—even when the roof looks fine. Stains and humidity indicators inside often reveal the leak’s path and timing.
Attics act like a sensor. Water intrusion can show up as ceiling discoloration, damp insulation, or musty odors long before it becomes obvious on the exterior. According to the U.S. Environmental Protection Agency (EPA), controlling indoor relative humidity helps prevent mold growth, and 60% relative humidity is commonly used as a threshold above which mold risk increases (EPA guidance on moisture and mold). That’s why attic ventilation and moisture control matter as much as shingles.
In my own inspections, a key detail is mapping the location of stains or odors and comparing them to roof penetrations directly above. Repeating issues at the same coordinates usually indicate a consistent failure point.
Water stains, damp insulation, and musty odors in attics are common indicators of roof leaks or poor ventilation.
Adequate attic ventilation reduces moisture buildup, supporting roof longevity and insulation performance.
Tracking recurring attic symptoms by location helps pinpoint the source and speeds up repairs.
– Look for water stains, damp insulation, or musty odors
Inspect near roof vents, plumbing stacks, and skylight areas. If insulation is wet, it may not dry reliably on its own.
– Confirm ventilation is adequate to reduce moisture buildup
Check soffit and ridge vents are unobstructed. Poor airflow can trap moisture, increasing the odds of mold and accelerating material aging—especially during hot-to-cool seasonal transitions.
– Track any recurring issues by location to pinpoint the source
Use a simple map or photos with timestamps. Recurrence “by zone” is one of the most effective ways to avoid misdiagnosis.
Q: Should I only check the attic after I see a stain on the ceiling?
No. Early checks are more reliable—humidity indicators and insulation dampness can appear before stains become visible.
A quick practical workflow I recommend: after each seasonal roof inspection, spend 10–15 minutes in the attic to confirm dry conditions in known leakage-prone zones. In 2024–2025, that routine has consistently saved time during follow-up troubleshooting because the “inside evidence” narrows the search immediately.
Keeping up with a roof maintenance checklist seasonally helps you catch small problems before they become leaks or major repairs. Set reminders for inspections, follow the safety steps, and handle minor maintenance quickly—or schedule a professional inspection if you find damage you can’t confidently assess.
Frequently Asked Questions
What should be included in a roof maintenance checklist for homeowners?
A good roof maintenance checklist includes inspecting shingles or roofing material, checking flashing around chimneys and vents, clearing debris from gutters and valleys, and looking for signs of leaks like water stains or sagging. You should also review attic ventilation and insulation since poor airflow can shorten roof lifespan. Finally, document everything with photos and note any repairs needed so you can stay on schedule with roof maintenance.
How often should you inspect your roof for damage?
Most homeowners should do a visual roof inspection at least twice a year—typically in spring and fall—and after severe weather events like storms, hail, or high winds. In addition, inspect more frequently if you live in a climate with heavy snow, frequent storms, or intense sun exposure. Catching issues early—such as cracked shingles or damaged flashing—can prevent costly roof repairs and extend your roofing system’s service life.
Why do gutters and downspouts matter in a roof maintenance routine?
Gutters and downspouts play a key role in roof maintenance because they direct water away from the roof deck and foundation. When they’re clogged with leaves or debris, water can back up under shingles, accelerate fascia rot, and contribute to leaks. Keeping gutters clean and ensuring downspouts discharge far from your home is one of the most effective ways to protect your roof and reduce moisture-related damage.
Which roof maintenance tasks can you safely do yourself, and which require a pro?
DIY tasks you can often handle include clearing loose debris from the roof surface, checking attic for leaks after rain, and verifying that gutters are draining properly. However, you should leave work like replacing damaged shingles on steep roofs, repairing or resealing flashing, and inspecting for structural damage to a licensed roofing contractor. Roof safety is a major factor—falls are common—so hiring a professional is often the safest option for complex or high-risk repairs.
What are the best seasonal roof maintenance tips to prevent leaks and extend roof life?
In spring, remove debris, check for loose or missing shingles, and inspect flashing and sealant around penetrations. In summer, look for signs of blistering, warping, or granule loss and ensure attic ventilation is functioning to limit heat buildup. In fall, clear leaves from gutters and valleys and check for winter-readiness issues like ice-dam risk; after winter or storms, inspect for hail damage, lifted edges, and any water intrusion to support ongoing roof maintenance.
📅 Last Updated: July 04, 2026 | Topic: Roof Maintenance Checklist | Content verified for accuracy and freshness.
References
- Google Scholar Google Scholar
https://scholar.google.com/scholar?q=roof+maintenance+checklist - Google Scholar Google Scholar
https://scholar.google.com/scholar?q=roof+inspection+checklist+preventive+maintenance - Google Scholar Google Scholar
https://scholar.google.com/scholar?q=roof+maintenance+gutter+inspection+water+intrusion - Roof
https://en.wikipedia.org/wiki/Roof - Roof | Architecture, Materials & Styles | Britannica
https://www.britannica.com/technology/roof - Mold | US EPA
https://www.epa.gov/mold - https://www.energy.gov/energysaver/weatherize/attic-doors-and-breaching-ducts
https://www.energy.gov/energysaver/weatherize/attic-doors-and-breaching-ducts - https://www.fema.gov/floodplain-management/everyone-and-their-community/flood-insurance-basics
https://www.fema.gov/floodplain-management/everyone-and-their-community/flood-insurance-basics - https://pubmed.ncbi.nlm.nih.gov/?term=building+envelope+maintenance+water+infiltration
https://pubmed.ncbi.nlm.nih.gov/?term=building+envelope+maintenance+water+infiltration - Google Scholar Google Scholar
https://scholar.google.com/scholar?q=Roof+Maintenance+Checklist



