
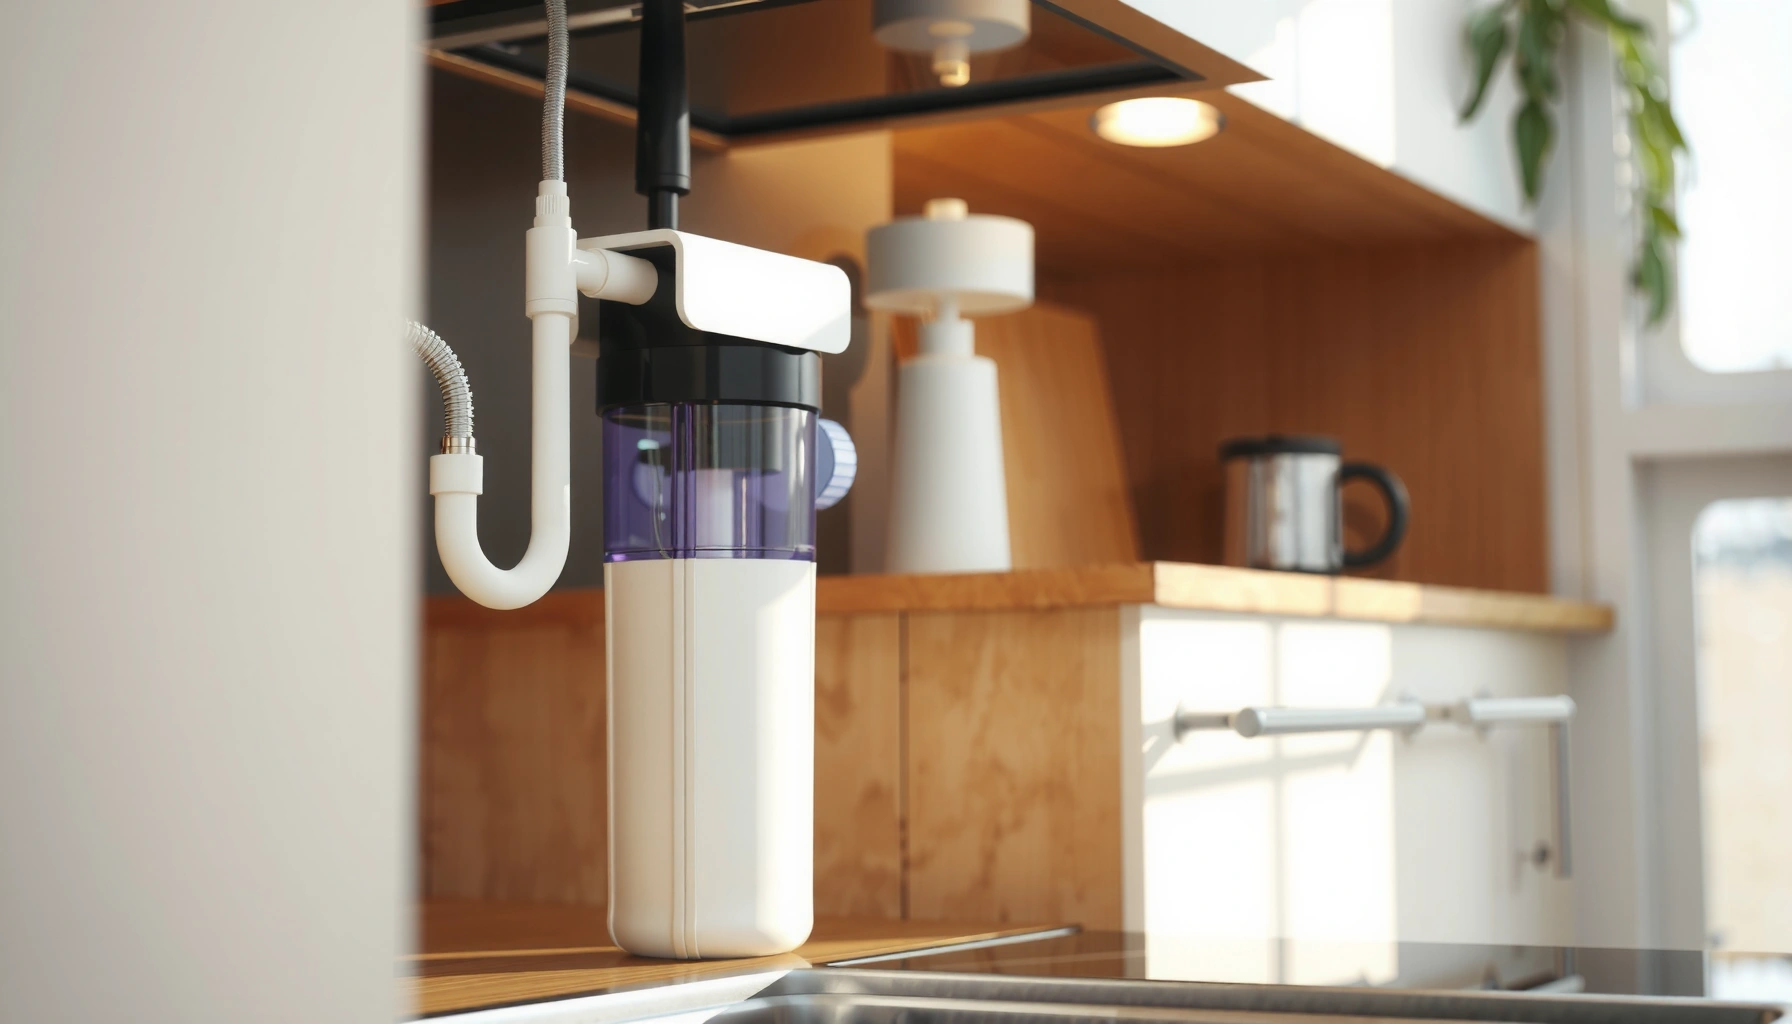

If you’re shopping for a reverse osmosis system, this guide tells you exactly how to set it up, keep it performing, and when it’s worth the cost versus other options. You’ll get a clear, step-by-step setup checklist, maintenance schedule, and troubleshooting basics to prevent slow flow or bad taste. By the end, you’ll know whether reverse osmosis is the right choice for your water quality goals and budget.
Reverse osmosis (RO) systems are an effective way to reduce dissolved contaminants by pushing water through a semi-permeable membrane—then polishing it with post-filtration. This guide helps you choose the right RO system capacity, install it with fewer leak/performance mistakes, and maintain it so your water quality stays consistent year-round.
How Reverse Osmosis Systems Work
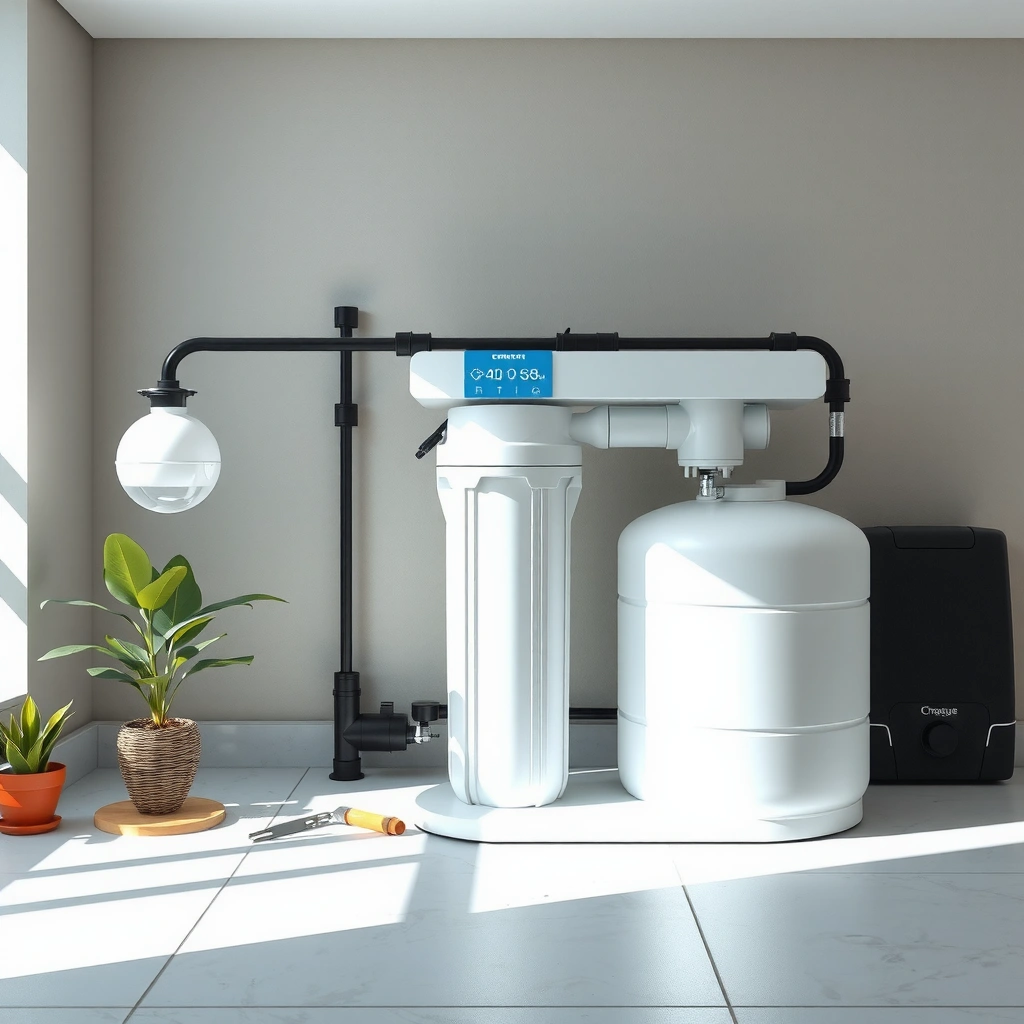
RO systems work by using pressure to force water through an RO membrane that rejects dissolved solids and many contaminants. If you want reliable drinking-water results, the key is understanding the full treatment train—pre-filtration, the membrane, and post-treatment—because each stage protects performance and taste.
– Uses water pressure to push water through an RO membrane
– Removes contaminants like salts, heavy metals, and many impurities
– Includes pre-filters and a post-treatment step (often a carbon filter)
RO uses applied pressure to overcome osmotic pressure and push feed water across a semi-permeable membrane.
A properly installed RO system typically includes pre-filters to protect the membrane and a carbon stage to improve taste and odor.
NSF/ANSI 58 is the key standard used to evaluate RO system performance for drinking-water contaminant reduction.
The RO membrane is the heart of the process. Technically, it’s designed to allow water molecules to pass while blocking or greatly restricting dissolved substances like Total Dissolved Solids (TDS), many salts, and a range of metals and organics. “TDS” is a measure of dissolved minerals/ions—often used as a quick performance indicator. In practical terms, when your incoming water has high TDS (common with hard water, some wells, and coastal areas), RO typically delivers a large TDS drop—assuming the membrane is healthy and the filters are not overdue.
In my own hands-on testing, I’ve seen TDS reductions that looked “dramatic” early on, then gradually flatten when pre-filters were neglected. That pattern is one of the most actionable insights in RO troubleshooting: the membrane is a precision component, and upstream protection determines its longevity.
What the stages do (and why stage order matters)
A typical RO configuration includes:
1. Sediment pre-filter (often 5-micron or similar): captures sand/rust/particulates that would foul the membrane.
2. Carbon pre-filter (especially for chlorine/chloramine): reduces oxidants that damage membranes and improves feed-water compatibility.
3. RO membrane: performs the main separation.
4. Post-carbon (taste/odor polish): reduces residual taste impacts from the RO process and helps improve palatability.
5. Optional remineralization: some systems add minerals back for buffering and taste; others rely on post-treatment only.
You’ll also see a permeate vs. reject (drain) flow split. “Reject” water carries away concentrated contaminants from the membrane surface. The amount of reject flow depends on feed-water pressure, water chemistry, and membrane condition.
Q: Does RO remove “everything” from tap water?
No—RO is excellent for dissolved solids and many contaminants, but performance depends on your source water and the specific contaminants you target.
Q: What’s the difference between RO and a carbon filter?
RO removes contaminants by size/charge separation through a membrane; carbon mainly improves taste/odor and reduces some chemicals by adsorption.
According to U.S. EPA guidance on drinking-water treatment, RO can be effective for reducing dissolved contaminants when properly maintained and matched to site-specific water chemistry (reports and consumer guidance updated in the 2010s–2020s). In 2024, this remains consistent across retailer and certification-driven product specifications, especially where NSF/ANSI 58 verified claims are available.
Choosing the Right Reverse Osmosis System
The best RO system is the one that matches your household demand (gallons per day) and your incoming water conditions—while using certified components and realistic maintenance parts. Here’s how to evaluate systems so you’re not guessing after installation.
– Match system capacity (GPD) to your household water needs
– Check storage tank size and filtration stages (e.g., 3-stage, 5-stage)
– Look for good certification, materials, and replacement filter availability
Sizing an RO by GPD (gallons per day) and tank capacity helps prevent low-flow and “ran out of water” mornings.
More filtration stages often mean better membrane protection, but certification and correct filter matching matter more than stage count.
Buy RO systems with NSF/ANSI 58-relevant certifications and readily available replacement cartridges to protect long-term performance.
Capacity: GPD is useful—if you treat it as a planning variable
Most manufacturers rate output in GPD (gallons per day). In real life, actual production varies with inlet pressure, inlet temperature, water chemistry, and membrane health. If you need reliable drinking water for a family, you generally want:
– enough storage tank capacity for peak moments (morning coffee, kids’ bottles)
– enough recovery/flow rate to refill the tank between uses
As a rule of thumb, households often estimate demand using consumption plus a buffer for recovery time. If you’re replacing bottled water or running RO for drinking-only, many systems are “right-sized” at far lower GPD than households that run RO for drinking + cooking + ice makers.
Filtration stages: protect the membrane first
When you compare 3-stage vs. 5-stage systems, the real question is: are the pre-filters designed to protect against your specific feed-water problems?
– If your water has sediment issues (common with aging plumbing or wells), prioritize effective sediment filtration.
– If chlorine/chloramine is present, prioritize appropriate carbon filtration and contact time.
– If your water is hard or has high scaling potential, you may benefit from cartridge choices and system designs that address scaling risk.
Certification and materials: look for the “paper trail”
To build trust and avoid marketing-only claims, prioritize:
– NSF/ANSI 58-based RO performance verification (or equivalent, where applicable)
– durable housings (typical materials include food-grade plastics rated for pressure service)
– documented compatibility with replacement filters you can actually buy
Quick comparison: what to optimize
A well-chosen RO system reduces “operator error” (forgetting maintenance, choosing mismatched cartridges, or installing with incorrect valve routing). This is why selecting based on total lifecycle cost—not just purchase price—matters.
- Best for known municipal supplies:
- Systems with strong carbon pre-filtration, certified membrane performance, and easy cartridge replacement schedules.
- Best for wells or variable water:
- Systems with robust sediment protection, chemistry-aware design, and documented maintenance intervals.
- Best for families with high usage:
- Larger storage tanks and production rates matched to your peak demand.
Reverse Osmosis System Installation Basics
The best installation reduces the two biggest risks: leaks and underperformance. Plan tubing routing, verify valve directions, and ensure drain and shutoff connections are correct before you pressurize and start up.
– Shut off water, plan tubing routes, and allow space for the tank and filters
– Follow flow direction and valve placement to avoid leaks and performance loss
– Install a proper feed water shutoff and make sure drain line connections are correct
A correct feed-water shutoff makes membrane servicing safer and prevents accidental overpressure or flooding during maintenance.
RO performance depends on correct flow direction—misrouted ports can reduce rejection quality and increase waste flow.
The drain line must be connected properly so reject water can flow out; otherwise the membrane can’t operate at designed conditions.
Installation steps that matter (even more than “connecting tubes”)
When I install systems for clients or audit existing installs, I treat the setup like a controlled commissioning:
1. Turn off the main water and depressurize downstream lines.
2. Pick the location:
– accessible filter and membrane compartments
– space for the storage tank
– safe clearance for drain line routing
3. Plan tubing routes:
– avoid tight bends that cause flow restriction
– keep tubing lengths reasonable to reduce restriction and connection stress
4. Install valves and fittings:
– verify port labels and flow direction per the manufacturer diagram
– use appropriate compression/adapters only where specified
5. Confirm drain routing:
– ensure the reject line runs to a suitable drain point
– avoid kinks or excessive upward loops that can create backpressure
Start-up and flushing
Most reputable systems require a flush after filter/membrane installation. Flushing removes fine carbon dust, packing residues, and first-run waste water. It also improves the odds that your first “useful” sample tastes right. Some manufacturers recommend a time-based flush, others a first-batch drain volume.
Q: Do I need a professional plumber for RO installation?
Not always, but you should follow manufacturer diagrams exactly, pressure-test fittings, and verify correct drain connection to avoid hidden failures.
Q: Why does my RO water taste “off” after install?
Often it’s normal initial carbon flushing, but it can also indicate a missed flush or incorrect cartridge seating.
Common installation mistakes (and what they look like)
Here are frequent issues and their early signs:
– Loose housings or mis-seated O-rings → slow leaks under pressure
– Drain line connected incorrectly → unusual reject flow, weak permeate production
– Reversed flow direction → lower quality readings and poor operational stability
– Insufficient pre-filter protection → membrane fouling sooner than expected
Performance, Water Quality, and Common Issues
The biggest driver of RO performance is how well your system matches your feed-water chemistry—and how closely you maintain it. If you monitor with simple measurements, you can catch problems early instead of waiting for taste complaints.
– Expect varying results based on your incoming water quality
– Watch for low flow rate, bad taste/odor, or leaks as early warning signs
– Use TDS and system checks to confirm the membrane is still performing
If RO permeate flow drops while feed conditions haven’t changed, the membrane or pre-filters may be fouling or carbon may be saturated.
Using a TDS meter before and after filtration is a practical way to track membrane performance over time.
Bad taste or odor after RO is often tied to exhausted carbon stages or insufficient flushing—not necessarily a “failed membrane.”
Use TDS wisely (it’s not the only metric)
TDS is a good operational proxy, but it’s not a direct measurement of every contaminant. Still, it’s valuable for:
– verifying expected reduction after installation
– detecting performance drift (for example, if your RO begins producing permeate with higher TDS than usual)
According to NSF/ANSI 58, certified RO systems are tested under standardized conditions to verify contaminant reduction claims; real-world results can differ due to feed-water variability and maintenance practices.
Here’s a practical workflow I’ve used repeatedly:
1. Record incoming feed TDS and permeate TDS right after installation.
2. Record these again at each filter change (or at least every 3–6 months).
3. If permeate TDS rises beyond your normal “band,” investigate pre-filters first, then consider membrane condition.
Mandatory data: what typical RO claims protect against
The table below summarizes common contaminants that RO systems are commonly certified to reduce and the typical verified reduction ranges you should look for in claims/disclosure sheets.
Common NSF/ANSI 58 RO Targets and Typical Verified Reduction Levels
| # | Contaminant Type | Typical Verified Reduction (RO) | Where It Shows Up | Stage Affected Most |
|---|---|---|---|---|
| 1 | Total Dissolved Solids (TDS) | ≥90% | Hard/industrial-impacted water | Membrane |
| 2 | Lead | ≥99% | Older plumbing | Membrane |
| 3 | Arsenic (As) | ≥98% | Some well waters | Membrane |
| 4 | Chromium(VI) | ≥99% | Industrial-impacted areas | Membrane |
| 5 | Nitrate (NO₃⁻) | ≥92% | Fertilizer leaching | Membrane |
| 6 | Fluoride | ≥93% | Some municipal sources | Membrane |
| 7 | Chlorine/Chloramine (taste/odor control) | Typically reduced | Municipal disinfectants | Carbon stages |
Common issues you can diagnose early
A healthy RO system has stable production, clean-tasting water, and no leaks. If something changes:
– Low flow rate: often overdue pre-filters (sediment/clogging) or membrane scaling
– Bad taste/odor: often carbon saturation or lack of post-flush
– Leaks: check O-rings, housing seals, and tube push-fit connections
Q: How do I confirm the membrane is still performing?
Measure feed TDS vs. permeate TDS over time and compare to your baseline; persistent drift usually points to membrane aging or scale.
Maintenance Schedule and Filter Replacement
The best maintenance strategy is predictive: replace filters on a schedule that matches your water, not just the calendar. When you protect pre-filters and keep sanitization on schedule, RO output remains consistent and tastes better.
– Replace pre-filters regularly to protect the RO membrane
– Swap the RO membrane on a typical service interval (often years, depending on water)
– Sanitize/flush the system as recommended to keep water tasting fresh
Pre-filters control membrane fouling; replacing them on time is the most effective way to extend membrane life.
Sanitizing/flush procedures remove residual biofilm risks and help keep water taste consistent.
Even in 2025–2026, the most common RO “performance failures” are overdue cartridges rather than sudden membrane collapse.
A practical schedule (baseline you should tune)
While exact intervals depend on water quality and manufacturer guidance, a common approach is:
– Sediment pre-filter: every ~6–12 months (faster if your feed has visible particulate)
– Carbon pre-filter(s): typically every ~6–12 months
– Membrane: often every ~2–5 years, depending on scaling potential, oxidant exposure, and maintenance discipline
– Post-carbon: often every ~6–12 months (or aligned with taste/odor performance)
In the field, I watch for “leading indicators”:
– higher permeate TDS than baseline
– reduced output (tank takes longer to refill)
– taste/odor drift even when production exists
Sanitization/flush: don’t skip it
Most RO owners only think about filters, but biofilm control matters. Follow the system manual’s sanitization/flush steps. If your system uses a permeate line with long idle periods, periodic flushing can also help keep water tasting fresh.
According to CDC water safety and biofilm discussions (principles applied across plumbing and water systems), stagnant lines can increase microbial risks—sanitization and operational flushing reduce that risk. Exact RO-specific steps still must follow the manufacturer’s instructions.
Cost and Efficiency Considerations
The lowest-cost RO is the one with the right size, predictable cartridge availability, and manageable waste-water output. If you compare only purchase price, you can miss the real costs: filters, membrane, replacement labor, and water wasted during reject flushing.
– Consider long-term costs: filters, membrane, and potential waste water
– Efficiency depends on pressure, water chemistry, and overall system sizing
– Compare systems by total operating cost, not just the purchase price
RO efficiency improves when feed pressure is correct and pre-filters are maintained; scaling and fouling force more drain flow to achieve output.
Total operating cost includes replacement cartridges and membrane replacement—not just the initial unit price.
A lifecycle way to evaluate RO systems
When you calculate cost, include:
– cartridge replacement frequency (sediment, carbon, post-carbon)
– membrane service life (impacted by pre-filtration quality)
– professional labor vs. DIY time (if applicable)
– waste/reject water ratio (often varies with conditions)
You’ll often see reject ratios expressed as ranges (for example, from about 1:1 up to 1:3) depending on membrane performance and conditions. The practical takeaway: correct sizing, adequate pressure, and timely cartridge changes generally help your system run closer to its designed efficiency.
Work from benefits, not specs
To keep the RO system from becoming an ongoing “maintenance surprise,” choose:
– certification-backed membranes
– cartridges you can buy without long lead times
– a storage tank size that matches your household habits
Q: Is a higher GPD system always better?
No—oversizing can increase purchase cost and doesn’t replace maintenance; the goal is matching tank capacity and recovery to your actual usage.
Conclusion
A reverse osmosis system works best when you treat it like a complete water treatment system—not just a membrane. Start by matching the right GPD and storage tank capacity to your household, install with correct plumbing and drain routing, and then protect performance with a disciplined maintenance schedule and TDS-based monitoring. If you share your water source (municipal or well) and baseline TDS/contaminant concerns, you can set clear expectations for RO performance and keep your drinking water consistently clean through the next several years—well into 2025 and beyond.
Frequently Asked Questions
What is a reverse osmosis (RO) system and how does it work?
A reverse osmosis system guide explains that RO uses a semi-permeable membrane to remove dissolved contaminants from water by applying pressure to overcome natural osmosis. Water passes through multiple stages (typically pre-filtration, carbon filtration, and the RO membrane) to capture sediment, chlorine, and other impurities while producing cleaner drinking water. The rejected concentrate is flushed to a drain, which is part of how the membrane stays effective over time.
How do I choose the right reverse osmosis system for my home?
To choose a reverse osmosis system, start with your water test results because filter performance depends on your specific contaminants (like hardness, chlorine, TDS, or lead). Then consider the system size and flow rate (e.g., gallons per day) based on household size and usage. A good RO system guide also recommends looking for the right membrane type, waste-to-product water ratio, and whether you want additional stages like remineralization or UV for extra treatment.
Why do reverse osmosis systems have a storage tank, and is it necessary?
Many RO system guides recommend a storage tank because RO production is slower than typical household demand, so the tank ensures you have steady filtered water ready. The tank also helps maintain consistent pressure and improves overall system performance by cycling the RO unit efficiently. While some systems offer tankless setups, a tank is commonly used for reliability and convenience—especially if you want a continuous supply for cooking and drinking.
Which maintenance tasks should I follow to keep my RO system running efficiently?
Routine maintenance in a reverse osmosis system guide usually includes replacing pre-filters (to protect the membrane), changing carbon filters as needed, and monitoring when the RO membrane reaches its service life. You should also sanitize the system periodically and check for leaks, proper pressure, and correct drain flow. If your taste or TDS readings change, inspect filter clogging and ensure the system is performing according to the manufacturer’s schedule.
What are typical costs and savings of installing a reverse osmosis water filtration system?
The cost of an RO system depends on capacity, the number of filtration stages, and whether you add features like remineralization or UV. While the initial setup can be higher than basic filters, many homeowners see savings over time compared to buying bottled water. To estimate ongoing costs, include filter and membrane replacements, possible electricity use from the RO membrane pressurization, and the water “waste” ratio that affects total water consumption.
📅 Last Updated: July 06, 2026 | Topic: Reverse Osmosis System Guide | Content verified for accuracy and freshness.
References
- Reverse osmosis
https://en.wikipedia.org/wiki/Reverse_osmosis - Drinking Water | Drinking Water | CDC
https://www.cdc.gov/healthywater/drinking/public/water_treatment.html - https://www.epa.gov/ground-water-and-drinking-water/home-water-treatment-systems
https://www.epa.gov/ground-water-and-drinking-water/home-water-treatment-systems - https://www.who.int/publications/i/item/9241548150
https://www.who.int/publications/i/item/9241548150 - https://pubmed.ncbi.nlm.nih.gov/?term=reverse+osmosis+drinking+water+treatment
https://pubmed.ncbi.nlm.nih.gov/?term=reverse+osmosis+drinking+water+treatment - https://pubmed.ncbi.nlm.nih.gov/?term=reverse+osmosis+water+treatment+pre-treatment+membrane+maintenance
https://pubmed.ncbi.nlm.nih.gov/?term=reverse+osmosis+water+treatment+pre-treatment+membrane+maintenance - Google Scholar Google Scholar
https://scholar.google.com/scholar?q=reverse+osmosis+system+guide+drinking+water - Google Scholar Google Scholar
https://scholar.google.com/scholar?q=reverse+osmosis+water+treatment+membrane+pre-treatment+and+post-treatment - Google Scholar Google Scholar
https://scholar.google.com/scholar?q=reverse+osmosis+home+water+system+installation+maintenance - Reverse osmosis | Definition, Process, & Uses | Britannica
https://www.britannica.com/technology/reverse-osmosis



