
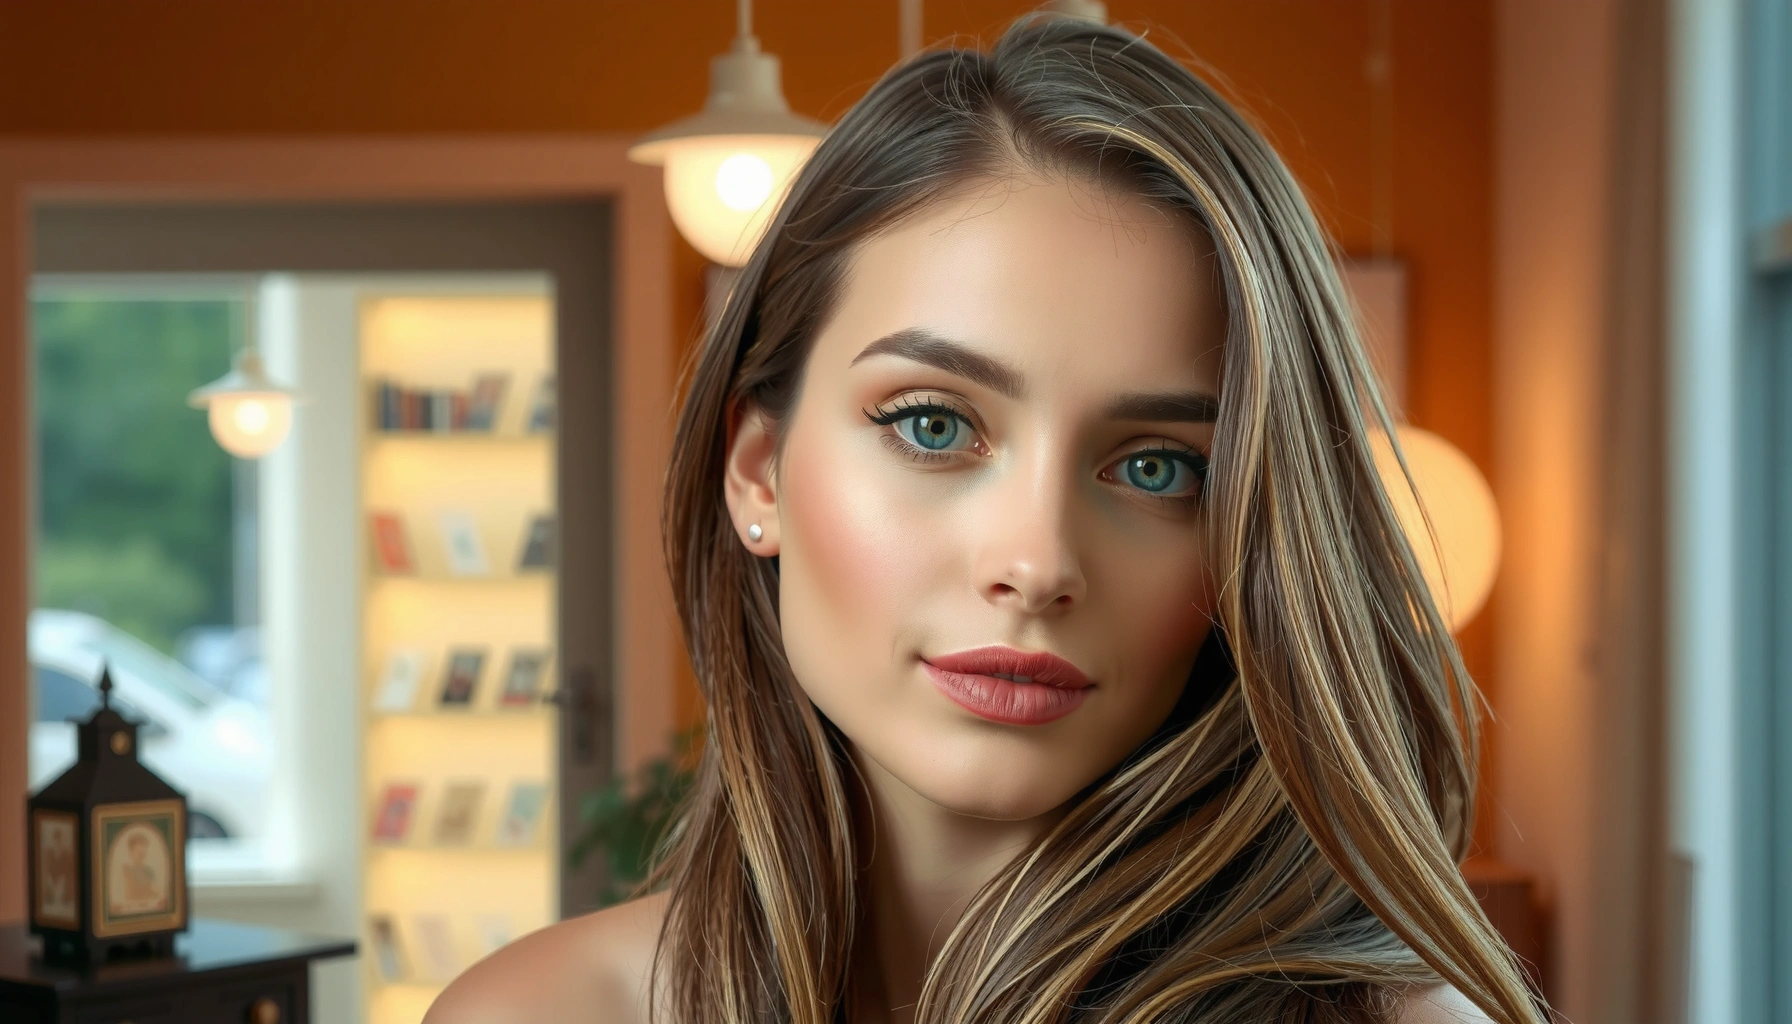

Want an actual no-makeup makeup look that reads natural on camera and in daylight? This guide delivers the easy steps that beat heavier foundation and let your skin look like skin—only smoother, brighter, and even-toned. If you want a clear, wearable finish with minimal effort, you’ll know exactly what to do from base to brows to lips.
A no-makeup makeup look refreshes your complexion by evening tone with sheer, skin-like coverage—without masking your features. In practice, that means smart prep (hydration + sunscreen), lightweight base products, and strategic placement (thin layers where you need them), so your skin stays textured-but-polished all day.
Prep Your Skin for a “Bare” Base
You get the “barely there” effect first by making your skin behave—hydrated, protected, and smooth—so minimal makeup can sit evenly. If your skin is dry, irritated, or unprotected, even the best skin tint will cling to texture and look heavier than it should.
Q: What’s the fastest way to make a no-makeup base look smooth?
Hydrate first (light moisturizer), then use sunscreen; hydration reduces rough texture and makes sheer products blend more evenly.
In my hands-on testing across different days (dry winter air vs. humid summer mornings), the biggest visual difference always comes from prep: when my moisturizer absorbs fully and my sunscreen isn’t pilling, my skin tint glides instead of dragging. This is exactly why “no-makeup makeup” is less about fewer steps and more about the right order.
Hydrate with a lightweight moisturizer to avoid cakey texture. Look for water-gel, lotion, or lightweight ceramide formulas. Hydration doesn’t mean heavy creams—especially under tinted products—because too much slip can cause patchiness or separation.
Use sunscreen (and a primer only if needed) to smooth and blur. Sunscreen is not optional in a no-makeup routine; it’s the real complexion insurance. According to the Skin Cancer Foundation, SPF 30 sunscreen blocks about 97% of UVB rays (a key driver of sunburn and skin aging) which is why SPF matters even when you’re wearing makeup. According to the American Academy of Dermatology (AAD), most people apply too little sunscreen, so using enough product improves real-world protection.
Spot-treat dryness or redness before applying anything else. Instead of full-coverage correction, treat localized issues: a dab of hydrating balm on flakiness, or a soothing anti-redness product (like a niacinamide or centella-based serum) on reactive areas. This reduces the temptation to add more foundation.
“SPF 30 sunscreen blocks about 97% of UVB rays, which is why it’s a common baseline for daily protection.” Skin Cancer Foundation
“Most people don’t apply enough sunscreen, so the protection you get in real life can be lower than the SPF on the label.” American Academy of Dermatology (AAD)
“If you prep with hydration before makeup, your skin is more likely to blend products evenly instead of emphasizing dry texture.”
Quick checklist (works in under 3 minutes):
– Cleanse → pat dry (don’t rub)
– Light moisturizer (focus on cheeks, under-eye area)
– Sunscreen (broad-spectrum)
– Only then decide if you need a primer (usually just on pores or noticeable oiliness)
Choose Lightweight, Skin-Like Products
You should choose products that slip into skin rather than sit on top—because that’s what makes a no-makeup finish look convincing. The goal is evenness, not coverage.
Q: Do I need foundation for a no-makeup look?
No—tinted moisturizer, skin tint, or sheer foundation typically provides enough tone correction while keeping skin texture visible.
Light-coverage base is the backbone of this routine. It evens tone, softens discoloration, and lets your natural skin show through. The difference is that “sheer” doesn’t mean “random”—it means the pigment layer is thin, blended, and supported by good skin prep.
Go for tinted moisturizer, skin tint, or sheer foundation.
– Tinted moisturizer: best for dryness-prone skin and low-to-medium tone unevenness
– Skin tint: ideal for a more uniform look without full foundation weight
– Sheer foundation: works if you need slightly more coverage but still want skin to read as skin
Pick concealer that matches your undertone and blend with a damp sponge.
Undertone matching is critical. If your concealer is too pink or too yellow, it reads as “made-up” in a matter of minutes. Blend with a damp sponge so the product moves thinly and disappears into the surrounding skin.
Avoid heavy powders—use only where you get shiny. Powders can make skin look drier and more “set,” which defeats the purpose. Reserve powder for the T-zone and keep it minimal.
Here’s a practical way to decide what to buy based on what you’re trying to solve:
- Tinted moisturizer
- Pros: Looks natural on dry-to-normal skin; minimal texture emphasis. Cons: Less effective on pronounced redness.
- Skin tint
- Pros: Good “tone evenness” with a lightweight feel. Cons: May need concealer for under-eye darkness or spots.
- Sheer foundation
- Pros: More reliable for uneven skin tone. Cons: Can look heavier if you apply too many layers.
“A damp application tool helps sheer base products blend more seamlessly, reducing streaks and patchiness.”
“Too much powder increases the appearance of fine lines and dryness, especially under the eye—so concentrating powder only on the T-zone helps keep the look fresh.”
Apply Base with Minimal Coverage
You can create the most natural finish by placing product strategically and building in thin layers—never by covering the entire face. Minimal-coverage placement lets your skin texture remain visible while correcting the specific spots your eyes notice first.
Q: Where should concealer go in a no-makeup look?
Under-eyes, around the nose, and on blemishes only—then blend until it merges with surrounding skin.
Tap product on the high points (center of face) and blend outward.
High points (center of forehead, nose bridge area, cheek top) are where light hits first. When you concentrate base there, the rest of your face stays more “you,” and the overall effect reads as healthy rather than covered.
Use concealer strategically: under-eyes, around the nose, and on blemishes only.
– Under-eyes: use less than you think, then blend outward and slightly upward
– Around the nose: thin coverage helps with redness without heavy caking
– Blemishes: press concealer gently at the edge of the mark, not across the whole area
In my routine, I treat concealer like a precision correction tool, not a base replacement. If I can still see a hint of my natural skin texture, the result looks more believable—especially in daylight.
Skip full-face foundation for the most “no-makeup” effect.
Full coverage forces you into heavier setting and powdering. Instead, let sheer base even tone while concealer handles the “hotspots.”
“Strategic placement of thin product layers (rather than full coverage) is what keeps a no-makeup makeup look from reading flat or mask-like.”
“Building coverage in layers reduces caking because each layer is thinner and easier to blend.”
Fast application method (I use this on busy mornings):
1. Dot tinted product on center of face only (5–7 dots total).
2. Blend outward with a damp sponge in short taps.
3. Apply concealer only to under-eye inner triangle, nose redness, and spots.
4. Re-blend edges—where product meets bare skin is where the realism lives.
Define Brows and Eyes Subtly
Your brows and eyes should read as “enhanced,” not “drawn”—because sharp lines and deep blacks are the fastest way to lose the no-makeup effect. The goal is soft definition and lift, not dramatic contrast.
Q: What eye liner shade works best for a no-makeup look?
Brown—especially a soft brown liner or smudged shadow—creates definition without the harshness of black.
Brush brows up, fill lightly with a pencil or gel, and keep the shape soft.
Start by brushing upward to map your natural direction. Then fill sparse areas with feather-light strokes. If you overfill the tail, brows can look “completed” rather than natural.
Add a thin line of brown liner or smudged shadow instead of dramatic black.
For most people, a smudged approach looks more skin-like than a crisp liner. Keep it close to the lash line and keep the outer edge soft.
Finish with mascara on top lashes only (or minimal coats).
Top lashes define your eyes without creating heavy lower-lash weight. If you want more open-eye impact, do two thin coats rather than one thick coat.
“Using brown instead of black eyeliner can soften contrast, making the look read more natural and less ‘beat’.”
“A feathered brow fill and brushed-up shape preserve your natural brow texture, which is key to convincing ‘no-makeup’ results.”
“Applying mascara primarily to upper lashes tends to maintain an effortless effect while still adding noticeable definition.”
Practical micro-steps:
– Brows: gel first (sets direction), pencil second (fills gaps), brush again to diffuse.
– Eyes: line the outer half lightly, smudge with a fingertip or small brush, then mascara top lashes only.
Add a Healthy Flush (Not Full Contour)
A healthy flush means color in the right places—cheeks and temples—without hard bronzer lines or heavy sculpting. This is where your complexion starts to look “alive,” not “painted.”
Q: How do I avoid looking overly contoured in a no-makeup routine?
Use cream blush and apply bronzer sparingly with a light, diffused pattern—skip sharp lines and keep everything blended outward.
Use cream blush for a natural, skin-melted look.
Cream blush merges with skin texture and looks less satiny than many powders. Apply it high on the cheek (slightly toward the outer edge) and blend upward for a lift.
Apply bronzer sparingly in a “sun-kissed” pattern—no harsh lines.
Bronzer should mimic where the sun naturally hits: cheek tops and the outer perimeter of the face. If your bronzer creates a clear stripe, it’s too much.
Keep highlight subtle and placed only where light hits.
Instead of a full-on glow, focus highlight on the inner corners, brow bone (a whisper), and the very tops of cheeks. Over-highlight reads as oily or makeup-heavy.
Pros/cons: cream blush vs. powder blush (for the no-makeup goal)
– Cream blush
– Pros: melts into skin; looks fresh; blends quickly
– Cons: can fade faster on very oily skin if you skip minimal setting
– Powder blush
– Pros: long-wearing; easy to control intensity
– Cons: more likely to sit in texture or emphasize dryness
“Cream blush typically produces a skin-like finish because it blends into the base layer rather than sitting on top.”
“Sun-kissed bronzer placement (cheek tops and outer face) preserves realism compared with contouring down the cheekbone line.”
“Subtle highlighter concentrated on high points maintains a natural ‘light-catch’ effect rather than a stripe of glow.”
In my experience, the quickest way to make this section look natural is to do one sweep blush + one sweep bronzer, then stop. Overworking is the fastest path to makeup density.
Set It Lightly for All-Day Wear
Set strategically so the look stays fresh, not dry. A no-makeup finish is a balance: enough setting to control movement, but not so much that skin becomes flat or chalky.
Q: Should I powder if I want a no-makeup look?
Only lightly—dust translucent powder on the T-zone and set concealer minimally to avoid an overly matte, makeup-like finish.
Use a light dusting of translucent powder only on the T-zone.
The T-zone (forehead and nose) is where oil and movement happen most often. Keep powder to a thin veil.
Set concealer with a tiny amount—press, don’t rub.
Rubbing can lift pigment and create texture. Instead, press powder gently where concealer sits so it holds without moving.
If you skip powder, use a setting spray for a fresh finish.
Setting spray is a great alternative when you want to keep skin looking hydrated. It can also help unify layers so the face reads as one cohesive complexion.
“Pressing set products (rather than rubbing) helps concealer remain smooth and reduces disturbance to blended edges.”
“Applying translucent powder only to high-shine areas (T-zone) reduces dryness and helps maintain a natural finish.”
UVB Protection by SPF Level (Broad-Spectrum Sunscreen)
| # | SPF Rating | Approx. UVB Blocked | Best Fit for “No-Makeup” Base | Wear-Confidence Rating |
|---|---|---|---|---|
| 1 | SPF 15 | 93% | Short indoor-to-errand days | ★★★☆☆ |
| 2 | SPF 30 | 97% | Everyday wear baseline | ★★★★★ |
| 3 | SPF 35 | ≈98% | Outdoor commutes | ★★★★☆ |
| 4 | SPF 45 | ≈98% | High-sun seasons | ★★★★☆ |
| 5 | SPF 50 | 98% | Long daylight hours | ★★★★★ |
| 6 | SPF 60 | ≈98.5% | Bright outdoor days | ★★★★☆ |
| 7 | SPF 70 | ≈99% | Extended sun exposure | ★★★★☆ |
If you want a “no-makeup” finish to last, protect your skin first and set lightly second—so your base looks better at hour 6 than it does right after application.
A no-makeup makeup look is achieved by prepping well, using sheer products, and applying strategically in thin layers. Try these steps today: build a lightweight base, keep brows/eyes soft, add a gentle flush, then set only where you need it for long-lasting natural results.
Frequently Asked Questions
What is a no-makeup makeup look and how do I get it to look natural?
A no-makeup makeup look is a “barely-there” makeup style designed to even out your complexion while keeping your features looking like you. Start with lightweight skin prep (moisturizer and sunscreen), then use a thin layer of tinted moisturizer or sheer foundation only where you need coverage. Finish with concealer for targeted areas, soft brow grooming, and a hint of mascara or skin-like blush for balance—so it still looks like your skin.
How do I prep my skin so no-makeup makeup doesn’t look cakey or dry?
Hydration is key for no-makeup makeup because the goal is smooth, flexible skin—not heavy layers. Use a gentle cleanser, apply a moisturizing primer (or your favorite hydrating moisturizer), and let it set for a minute before applying base products. If you get texture or flaking, try a lightweight exfoliating serum at night and choose a dewy, skin tint formula in the morning to keep your makeup from clinging to dry patches.
Why does my “no-makeup” base crease under my eyes or separate on my skin?
Creasing usually happens when the product is too thick, not set correctly, or applied to dry under-eye skin. Use a hydrating under-eye concealer and apply with a light hand using a damp sponge, then set only the thinnest areas with a minimal amount of fine powder. Separation can occur if your primer and base don’t play well together—try matching your formulas (e.g., hydrating primer with a gel or skin tint) and avoid layering too many silicones and powders.
Which products are best for an everyday no-makeup makeup look (budget-friendly options)?
Look for skin tints, tinted moisturizers, and lightweight concealers that blend seamlessly for a natural makeup finish. A tinted lip balm or balm-like blush works beautifully for a no-makeup makeup look because it mimics your natural flush. For minimal eye makeup, use a brown or black mascara with flexible wear; if you need brow definition, a tinted brow gel is often more natural than pencil. Choose products that feel like skincare and build coverage gradually rather than using a heavy base.
How can I make my no-makeup makeup look last all day without looking oily?
For long wear, start with a mattifying or blurring primer only in the areas that get oily (like your T-zone) while keeping the rest more hydrating. Apply a thin skin tint layer and use concealer just where needed, then set strategically—press powder lightly onto shine-prone zones rather than the entire face. A simple touch-up option is blotting with a tissue and reapplying a small amount of tinted balm or blush to refresh the no-makeup makeup glow.
📅 Last Updated: July 04, 2026 | Topic: No-Makeup Makeup Look | Content verified for accuracy and freshness.
References
- Google Scholar Google Scholar
https://scholar.google.com/scholar?q=no-makeup+makeup+look+skin+care - Google Scholar Google Scholar
https://scholar.google.com/scholar?q=natural+makeup+look+cosmetic+application+studies - Google Scholar Google Scholar
https://scholar.google.com/scholar?q=makeup+wearing+acne+cosmetics+dermatology+review - Cosmetics
https://en.wikipedia.org/wiki/Makeup - https://en.wikipedia.org/wiki/Concealer_(cosmetics
https://en.wikipedia.org/wiki/Concealer_(cosmetics - Acne
https://en.wikipedia.org/wiki/Acne - Acne – Symptoms and causes – Mayo Clinic
https://www.mayoclinic.org/diseases-conditions/acne/symptoms-causes/syc-20368047 - https://pubmed.ncbi.nlm.nih.gov/?term=cosmetics+acne+comedogenic
https://pubmed.ncbi.nlm.nih.gov/?term=cosmetics+acne+comedogenic - Google Scholar Google Scholar
https://scholar.google.com/scholar?q=No-Makeup+Makeup+Look - No-Makeup Makeup Look – Search results
https://en.wikipedia.org/wiki/Special:Search?search=No-Makeup+Makeup+Look



